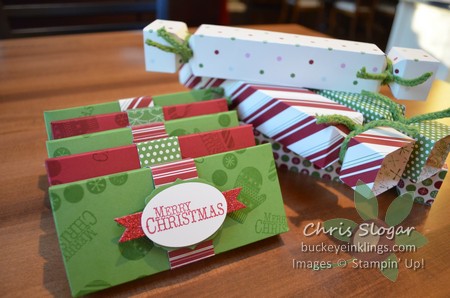
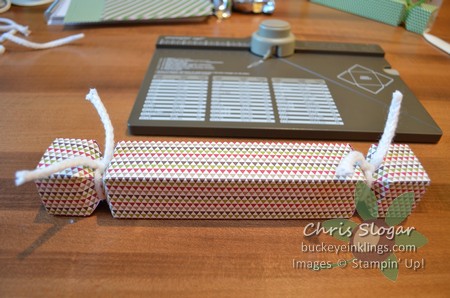
 I made both of these full-size candy bar wrappers using the envelope punch board, and will start with detailed instructions on the “crackers” shown on the right, which each hold a 3 Musketeers bar.
There are many different patterns available, and they can be altered to suit the dimensions that you need. I like starting with a 6″ width of paper, since that width will use the paper efficiently. The paper for the crackers shown is 10″ long.
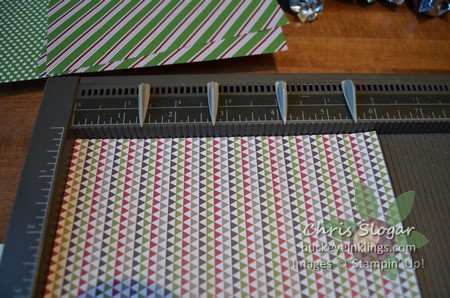 With the 6″ side along the top of your scoring board, start by scoring at 1 3/8″, 2 3/4″, 4 1/8″, and 5 1/2″.
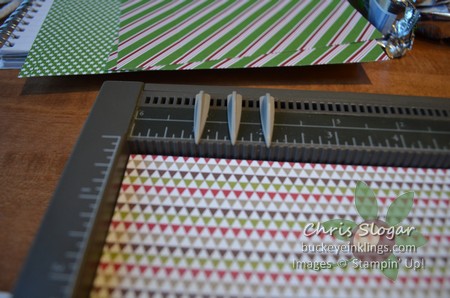 Then, turn the paper and score at 1″, 1 1/2″ and 2″ from EACH end. The distance between the ends does not matter – you can change this length as needed.
Fold on each score line, in each direction. If you find that the designer paper is cracking and looking torn on the score lines, fold it the opposite direction first, and then fold in the finished direction.
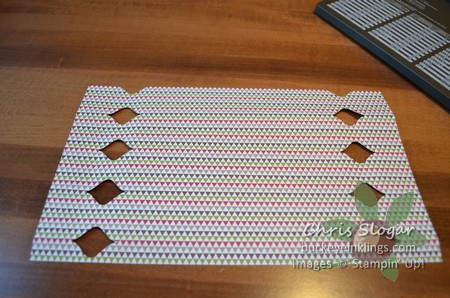
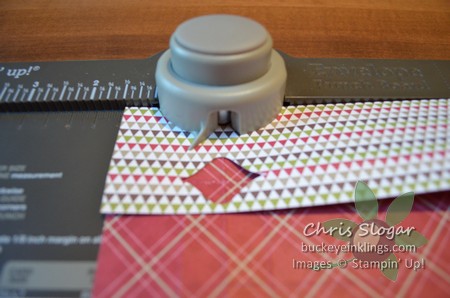 Then start punching – on each lengthwise fold and along the edge, 1 1/2″ from EACH end, until your paper looks like this:
 At this point, if everything has been scored and folded, the cracker will virtually make itself. Add some sticky strip on the end that is scored 1/2″ from the edge.
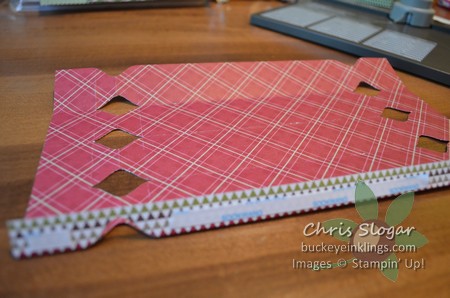 Simply stick this to the other end, add your treat and tie off the ends. Easy!!
 The other boxes shown in the first picture are the more typical boxes that we have been making from the envelope punch board. They hold a full-size Reese’s twin pack. I won’t go into great detail here, but I started with a 7 1/8″ square of cardstock, and my score lines were 2″ and 3″. Click here for a bit more detail on this type of box.
These are great projects for desginer paper, and as you can see, I used up a bunch of my retired stash! I even pulled out the retired stamp set that went with the paper.
