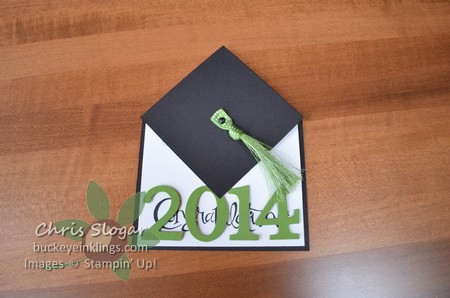
Every year about this time, we realize our need for graduation cards, and this has been one of my all-time favorites. I was making it even before we had the diagonal scoring plate. At that time, we had to measure to certain points and then carefully score between them. Not anymore! Let me show you how easy it is with the diagonal scoring plate. And yes, these will be in Card Buffet at the end of the month.
Also, before I get too bogged down with the directions for this card, I expect to post again later today, with an announcement from Stampin” Up! about a 5-Day Mystery Promotion, so please check back later for those details.

Start with a 4 1/4″ x 11″ piece of cardstock, scored and folded in half at 5 1/2″. Put the fold along the top edge of the scoring tool.
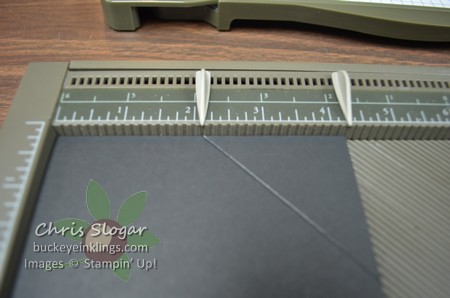
Score along the diagonal from the 2 1/8″ mark. You have to use more pressure than usual to get the impression through both layers.
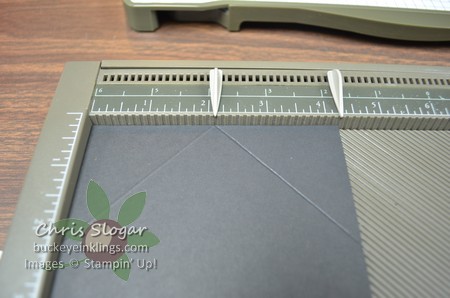
Flip the cardstock and make the same score on the other side. In the photo above, the score on the left is the first score.
Open up the cardstock and use your bone folder to crease these diagonal scores and the original fold at 5 1/2″. The crisper these folds, the easier this card will take shape!
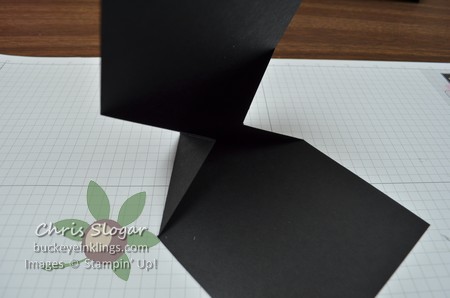
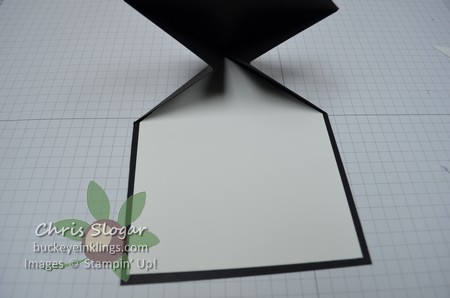
Once you have the folds nice and crisp, the horizontal center fold can be pushed inward to make the pointed end of the card.
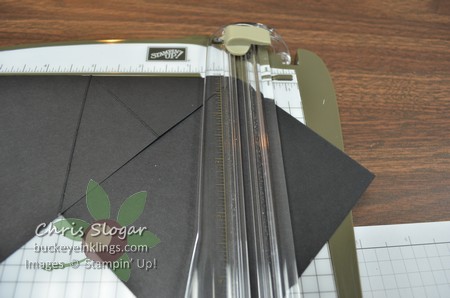
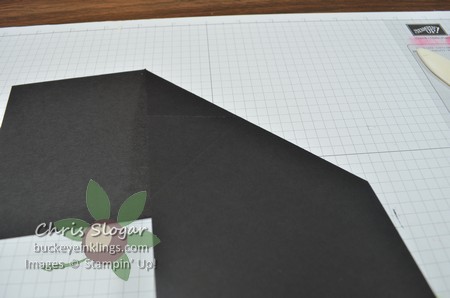
To finish the cap shape on the card front, lay your card on your trimmer as shown above and cut off the first corner of the card front.
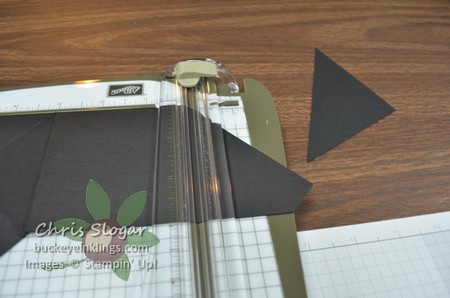
Fold along the other diagonal and repeat.
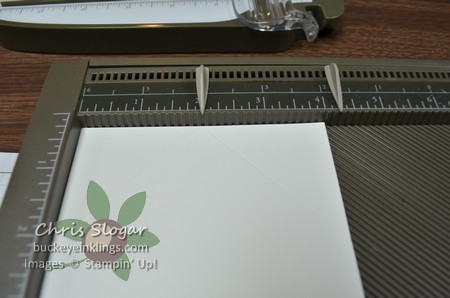
To make a white liner, I start with a 4″ x 5 1/4″ piece of Whisper White and score on the diagonal, starting at 2″ on each side. Once again, make the first score, then flip the cardstock and make the second score on the back. Use those score lines as a cutting guide, and you will have a piece that fits nicely into this unique shape.
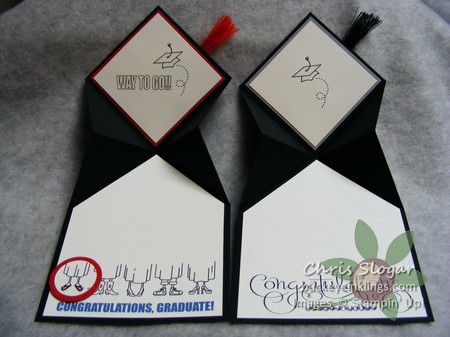
At this point, you can decorate as you like. I always put a tassel on the top of the cap, made by fraying a length of ribbon.
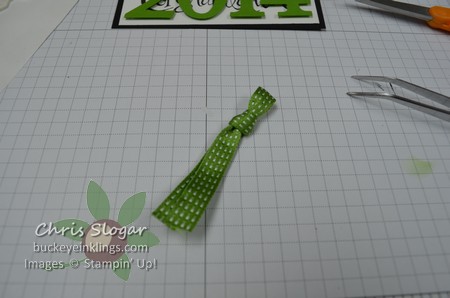
Start with an 8″ length of ribbon, knotted as shown, creating two “tails”.
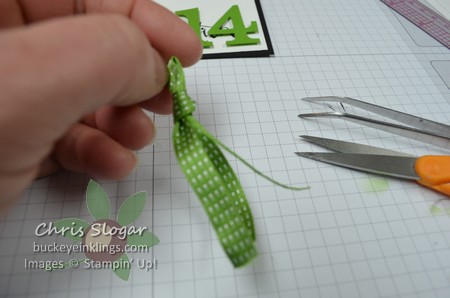
There is a binding on the ribbon that runs along each edge. Trim off that binding, up to the knot.
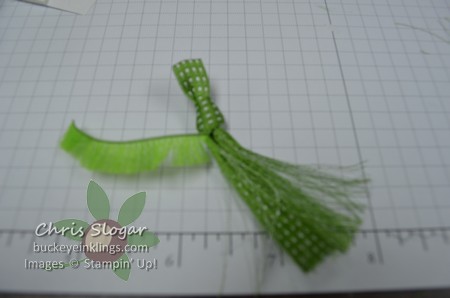
Then separate strands that run lengthwise from the strands that run across the width of the ribbon. Trim away the other binding and cross-strands. Repeat on the other tail to create the tassel.
Here are some other ideas, from past years. The images were printed from MDS on both of these samples.

You can use the same technique to make these little house shapes, too.
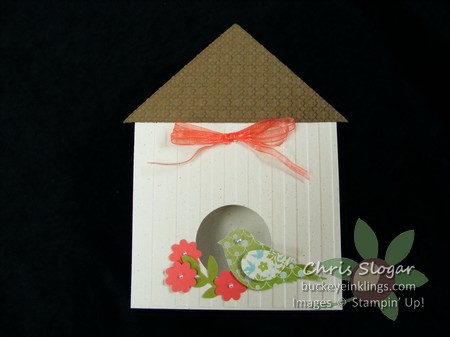
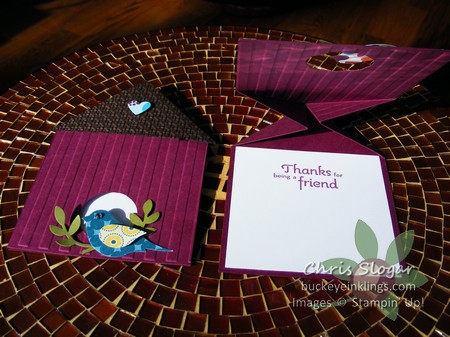
I started with a narrower card base, with diagonal scores from the halfway point on the width so that with roofs, these would fit into a standard envelope.
Have a great weekend, and Happy Easter!
