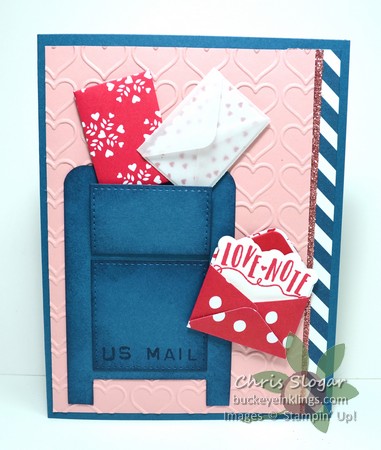
Wait ’til you see all of the cute framelits in the Love Notes collection! They coordinate with the “Sealed with Love” stamp set, and I have used four of the framelits here – the envelope, the envelope liner, and the two note card inserts. The Real Red and Whisper White paper is also new, from a collection of delightful prints called Sending Love. These new products will be available starting January 4, 2017.

I made a mailbox for all of these little envelopes. It started as a 2 3/8″ x 3 1/2″ Dapper Denim rectangle. I rounded the top corners, and I cut out a small section at the bottom with a 1 5/8″ square framelit.
I also cut two 1 5/8″ stitched squares with one of the Stitched Shapes Framelits. I cut 3/8″ off one edge of one of the squares, and I also scored it 1/4″ from this cut. The cut and scored piece is for the door of the mailbox.
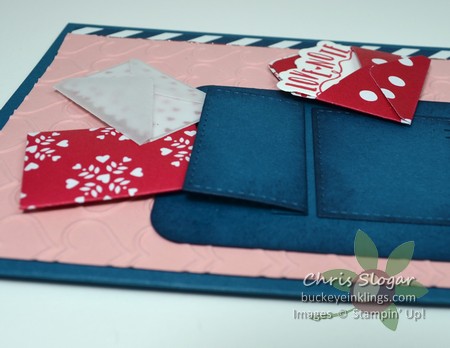
I glued the 1/4″ flap to the mailbox, and I propped the door open with two stacked dimensionals. Then I added the envelopes.
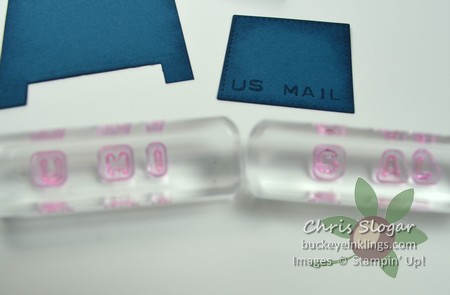
“Labeler Alphabet” comes in handy for any words that you need. Here’s my trick for mounting them close – I use two blocks and alternate letters.
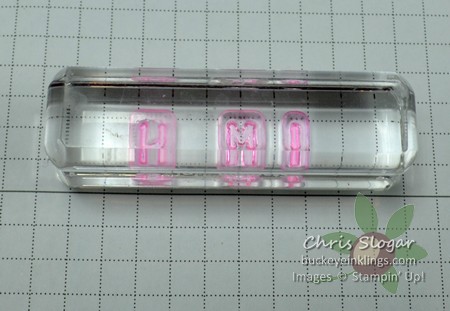
First, I lay out every other letter face down on my grid paper, and I pick them up with an acrylic block.
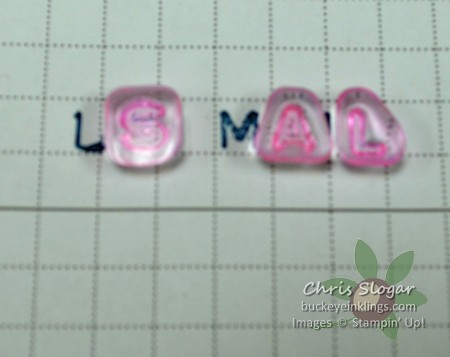
I stamp that first group of letters on the grid paper, and then add the missing letters, face down.
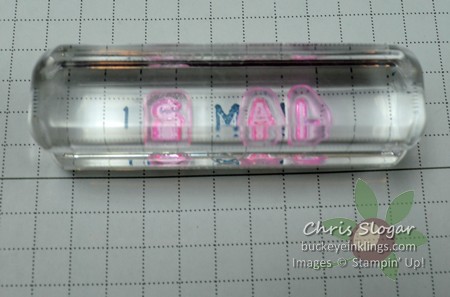
Use a second acrylic block to pick up the second group of letters. You can stamp out any word or phrase repeatedly in two steps with stamps that you set up in this manner.
Have a great Monday!
