This site is currently under reconstruction.

This site is currently under reconstruction.
The new products are available today! Did you know that in addition to the new Mini and SAB products, we also have new scrapbooking products? Click the links below to see the catalogs/brochures or click here to see them in the store.
Click here to see the new Mini Catalog in pdf form.
Click here to see the Sale-a-bration brochure in pdf form.
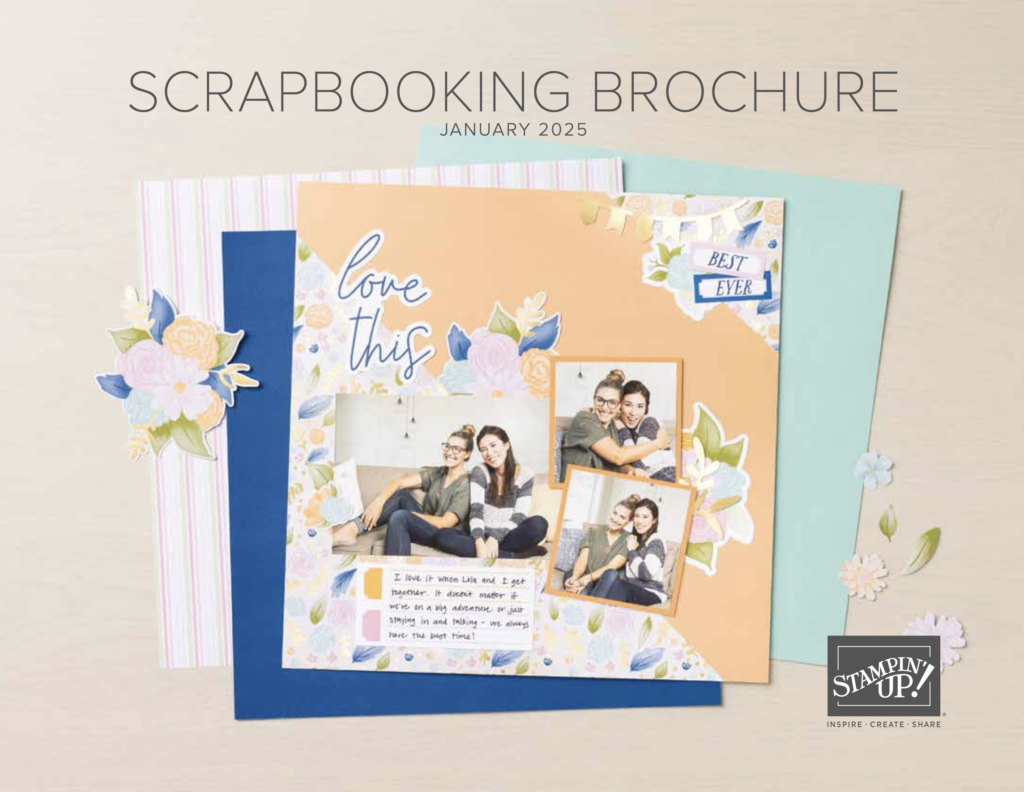
Click here to see the Scrapbooking Brochure in pdf form.
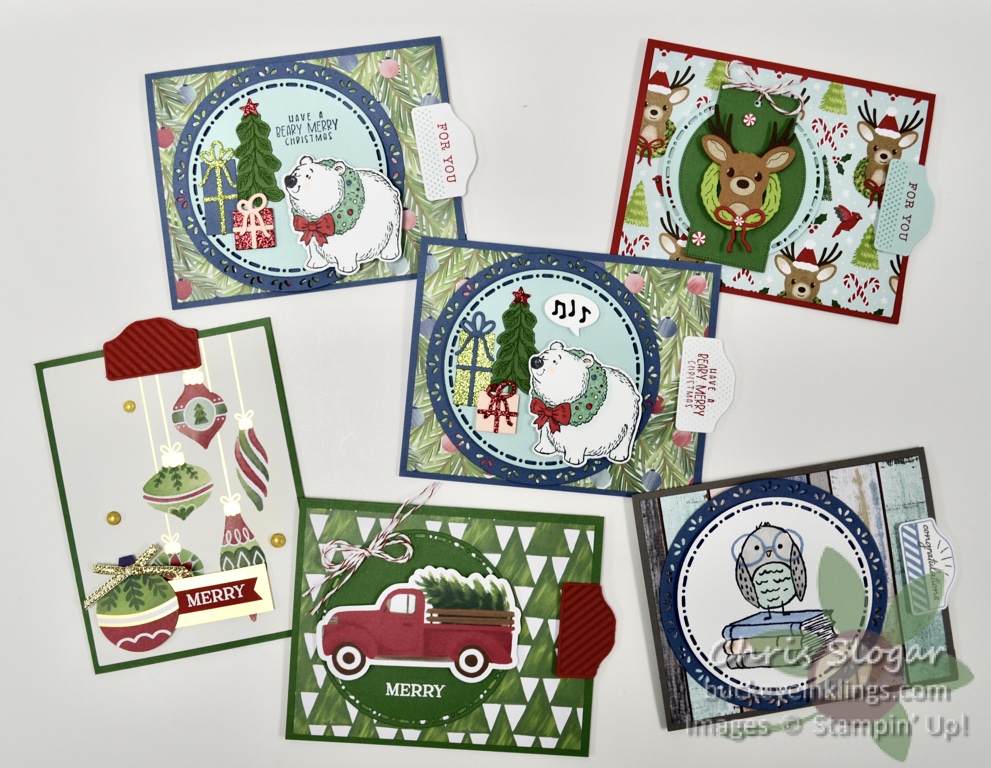
I showed this group of gift card holders on my Facebook Live today. In each of these, a gift card can be placed in a pocket created from half of a Medium Envelope.
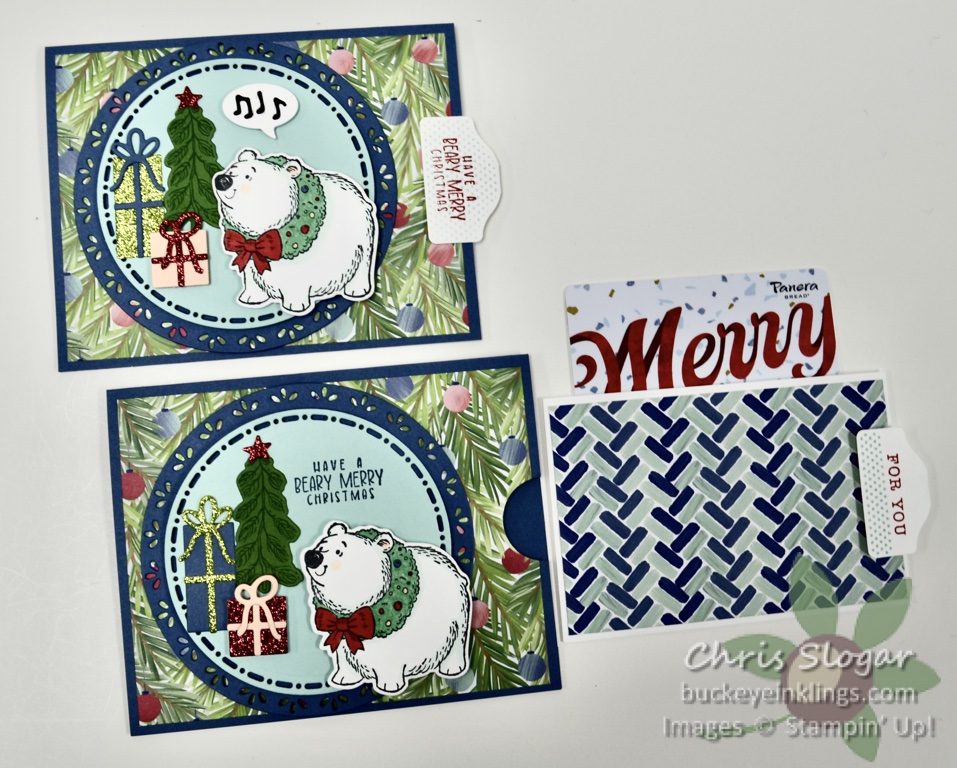
I used the Christmas Friends bundle with A Little Bit Festive designer paper here. The tab is from the Keeping Tabs bundle. Dimensions are as follows:
Please refer to the video for more detailed instructions.
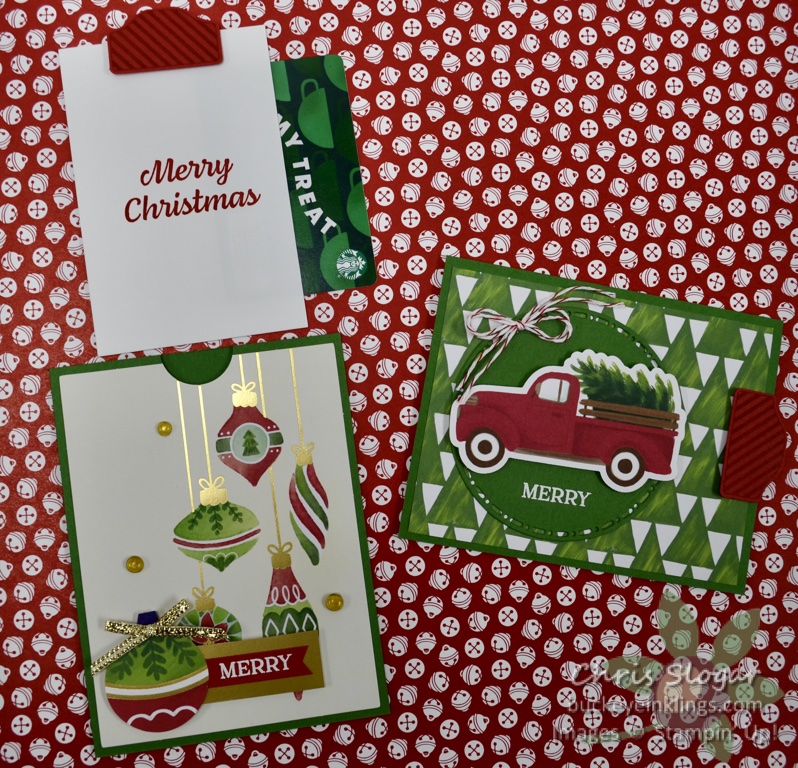
These are simpler with the use of the pre-cut pieces from the A Little Bit Festive designer paper pack. The one on the left uses a 3 3/4″ x 5″ card on the front of the sleeve instead of a 3 3/4″ x 4 3/4″ piece of designer paper, so its base is increased by 1/4″ in that dimension (5 1/4″ x 8 1/2″, scored at 4″ and 8″).
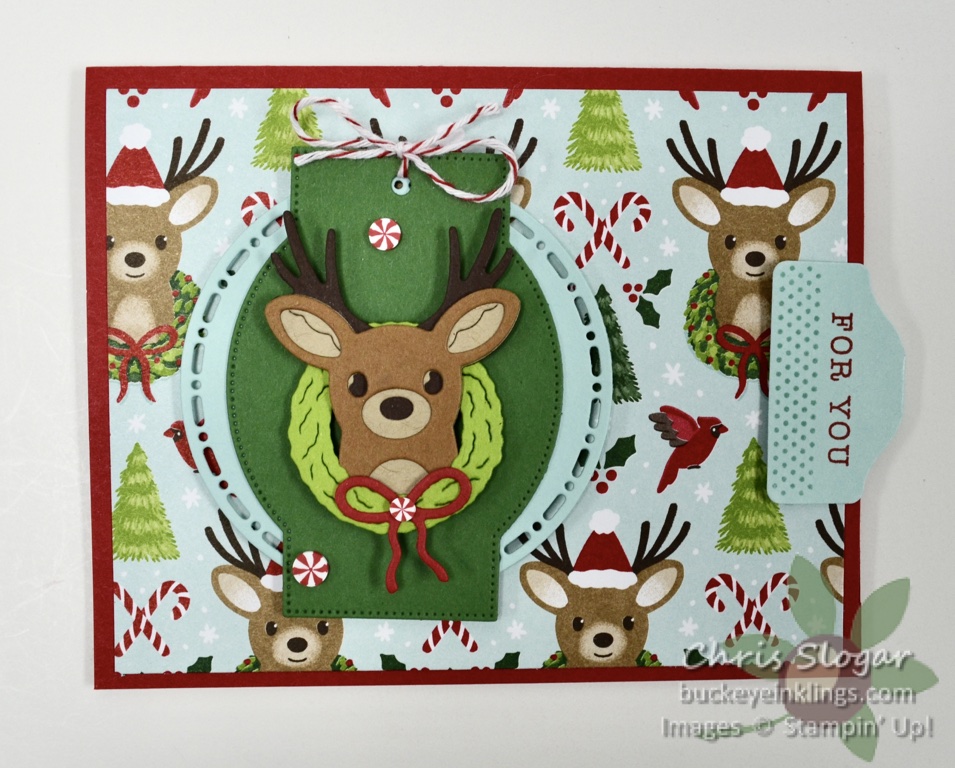
Last but not least, here is my Reindeer Fun version.
Thank you so much for checking out my projects! If you would like to purchase any of the Stampin’ Up! products shown, please click here. The Precision Glue Press can be found by clicking the link below. Purchases made at businesses I support may earn a commission for me at no additional cost to you. Thank you!

Products from the September-December 2024 Mini Catalog are now available! Spend $35 or more in September with Host Code 4TBKNVC7, and I will send you a pack of Adhesive-Backed Sparkle Gems and a handmade card.
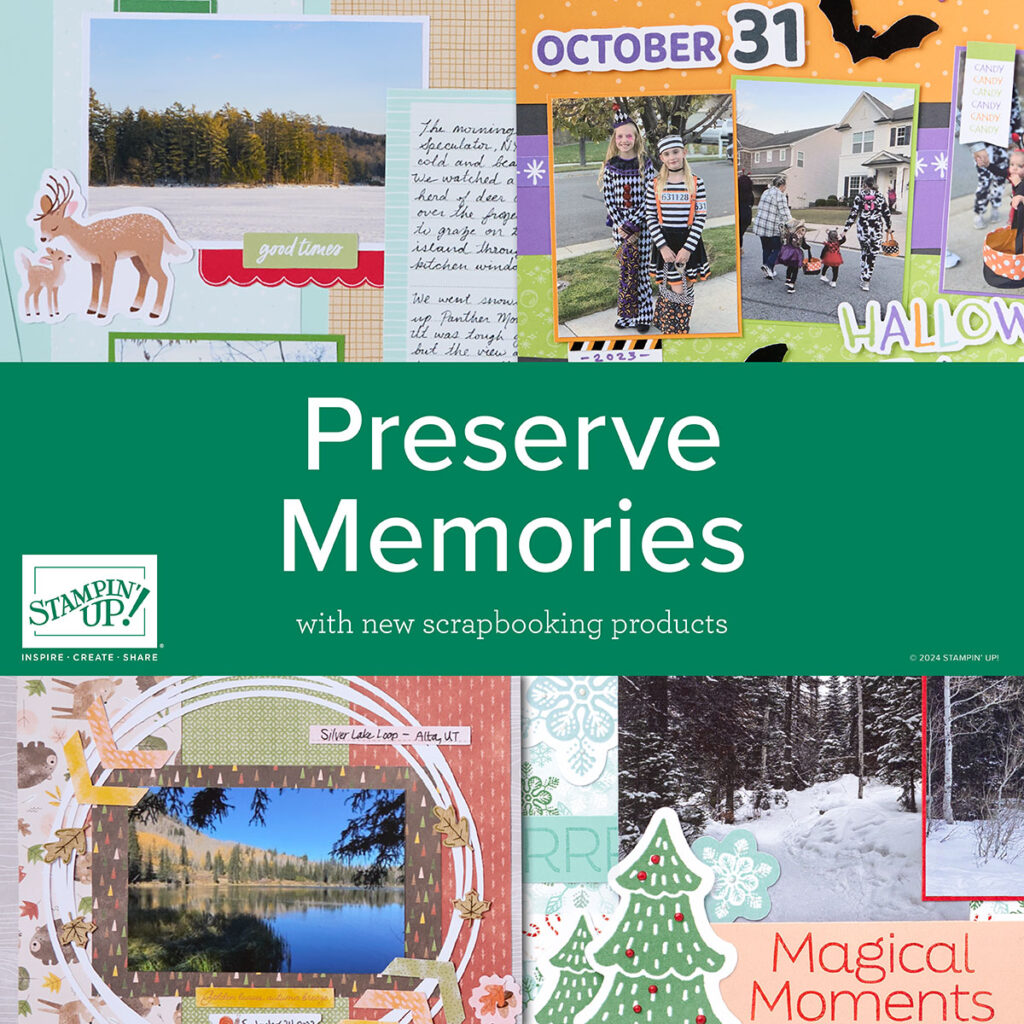
Our new scrapbooking products are available now too. Click here to see the brochure in pdf form.
I support the following business in my crafting and am providing the link to their shop below so that you can check out their products. If you click on the link and make a purchase, I may earn a commission at no additional cost to you. Thank you for supporting my work in this way!

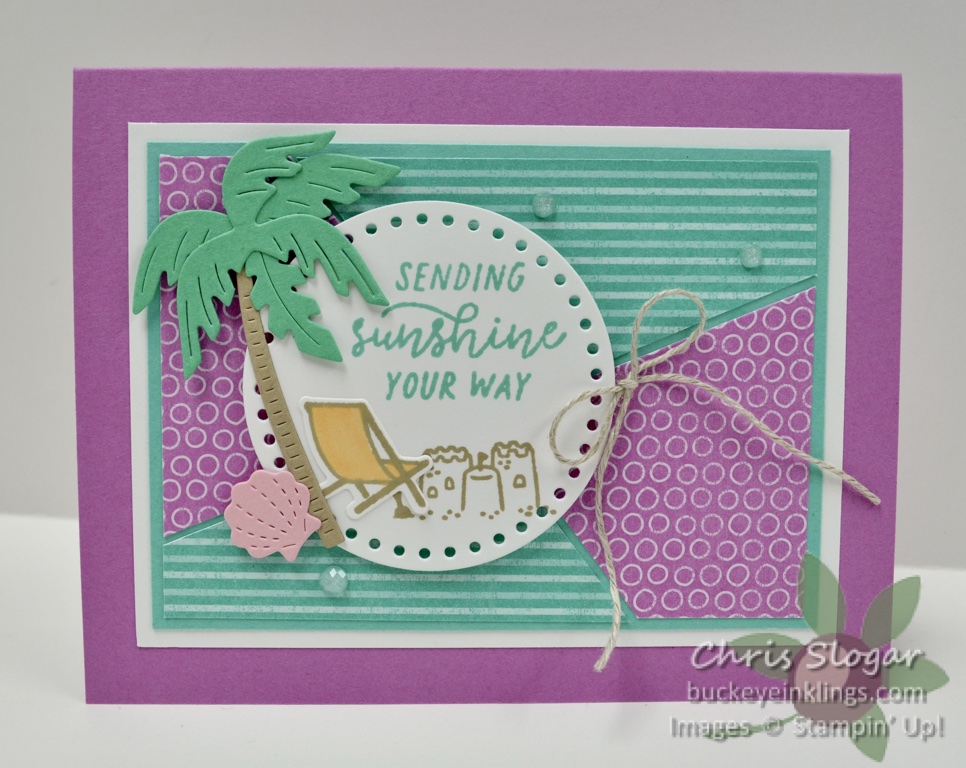
This is my favorite of this week’s remakes! I have always loved patchwork backgrounds, but the Beach Day bundle focal point puts this one over the top – it is a perfect bundle for our new In Colors!
Thank you for checking out my card! If you need any of the products shown, our new 2024-2025 products are now available. Click here to go to the online store, or use the carousel below to go to a product used in today’s projects.

Today’s card is a remake of this one made in a Zoom Team Meeting last fall. I CASEd this fun fold from Karen Titus, and made it with the Bird’s Eye View stamp set and Countryside Inn designer paper. The pinwheel opens to reveal another message…
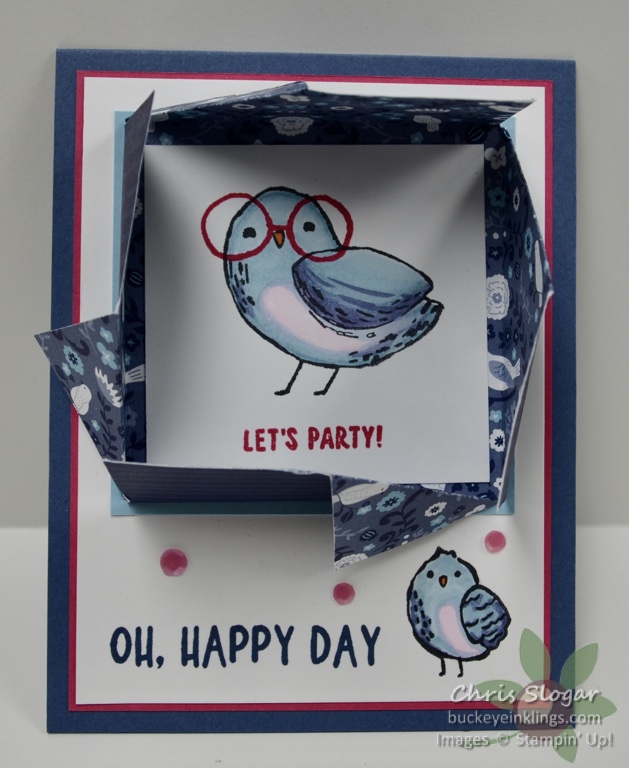
Today’s version, with our new In Colors is shown below.
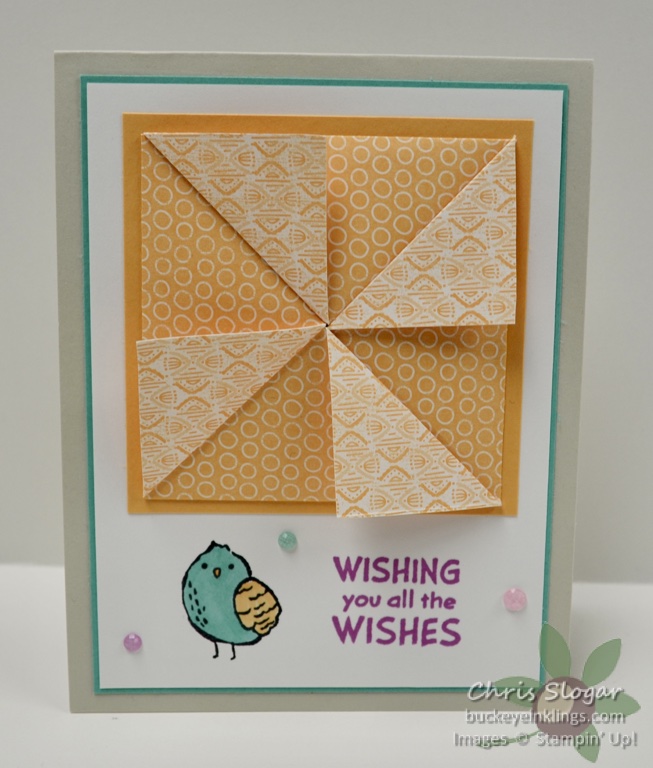
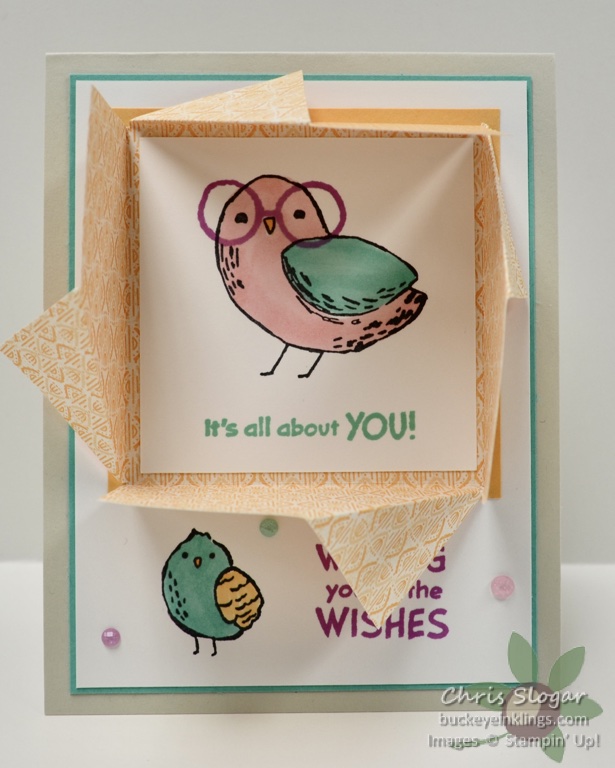
These are so fun to make, and they really lend themselves to any focal point! Please click here for the Facebook Live – with all the details – and join the Buckeye Inklings Stampers Group on facebook to get notice of all of my Live videos.
Thanks so much for checking out my cards! If you need any of the products shown, our new 2024-2025 products are now available – click here to go to the online store.
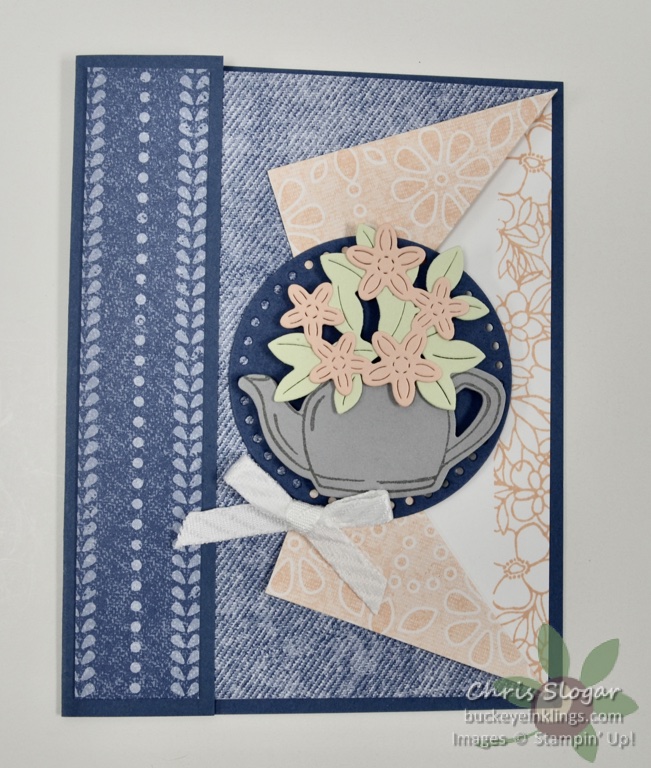
I CASEd my Demonstrator friend Sandy Carlson to make this collar fold card. The designer paper collar piece is the card front. That beautiful designer paper is new – Country Lace.
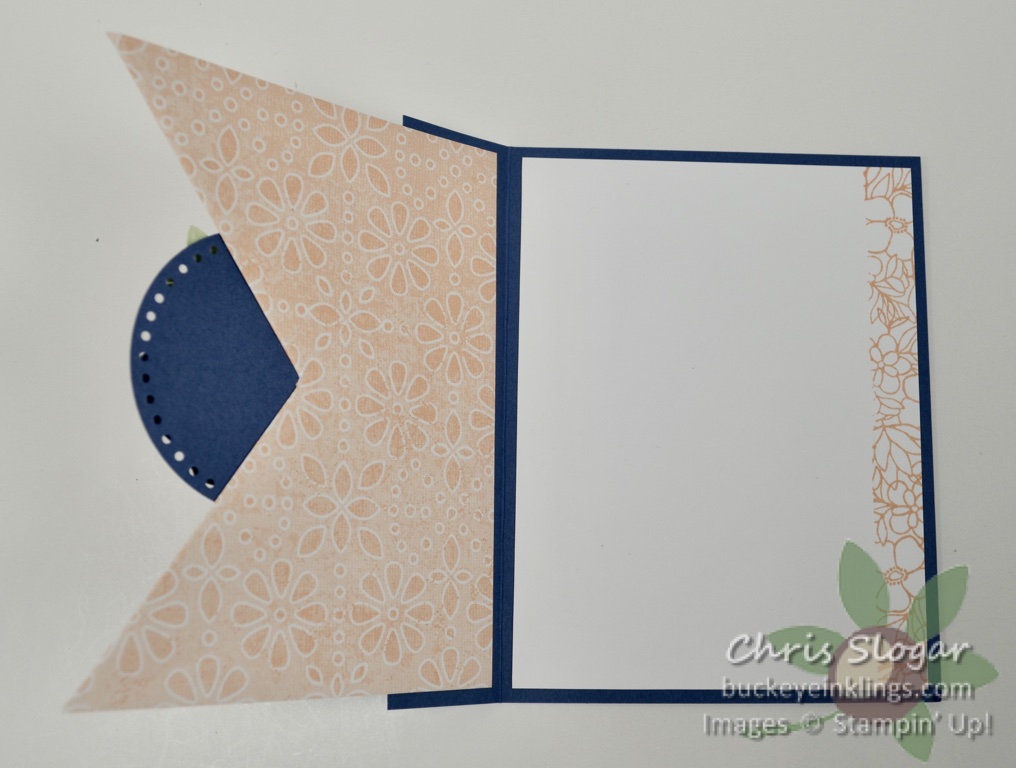
We made the Misty Moonlight/Petal Pink Country Lace version in a team meeting, and I remade it today with our new Petunia Pop In Color on Facebook Live. Both versions use the Country Flowers bundle.
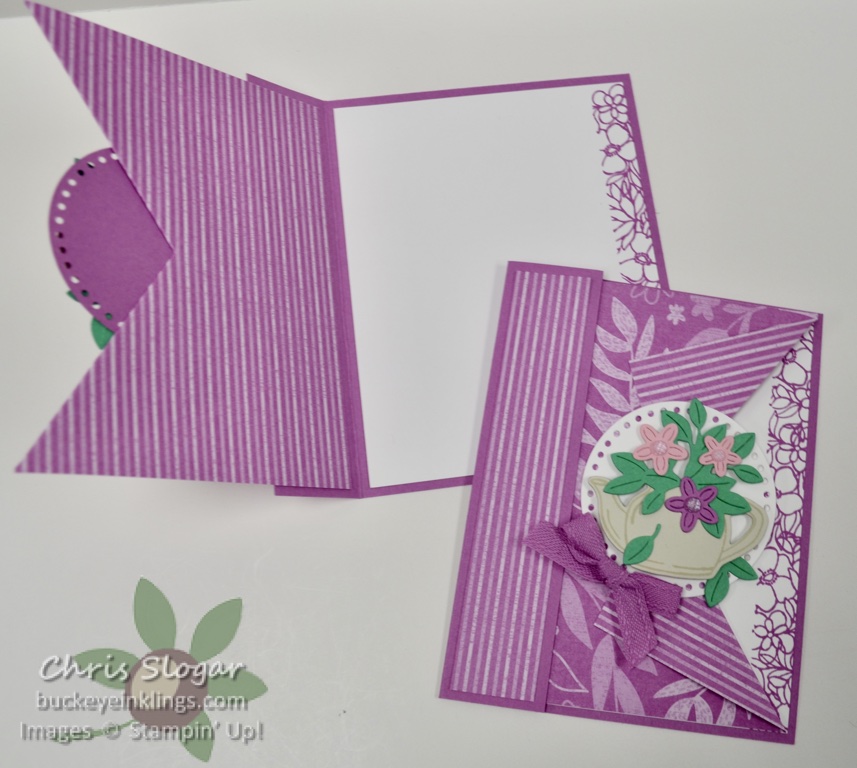
Dimensions are shown below. Click here to see the video, and please join the Buckeye Inklings Stampers Group on Facebook to get notice of all of my Live videos.
Thanks so much for checking out my cards! If you need any of the products shown, our new 2024-2025 products are now available. Click here to go to the online store, or use the carousel below to go to a product used in today’s projects.
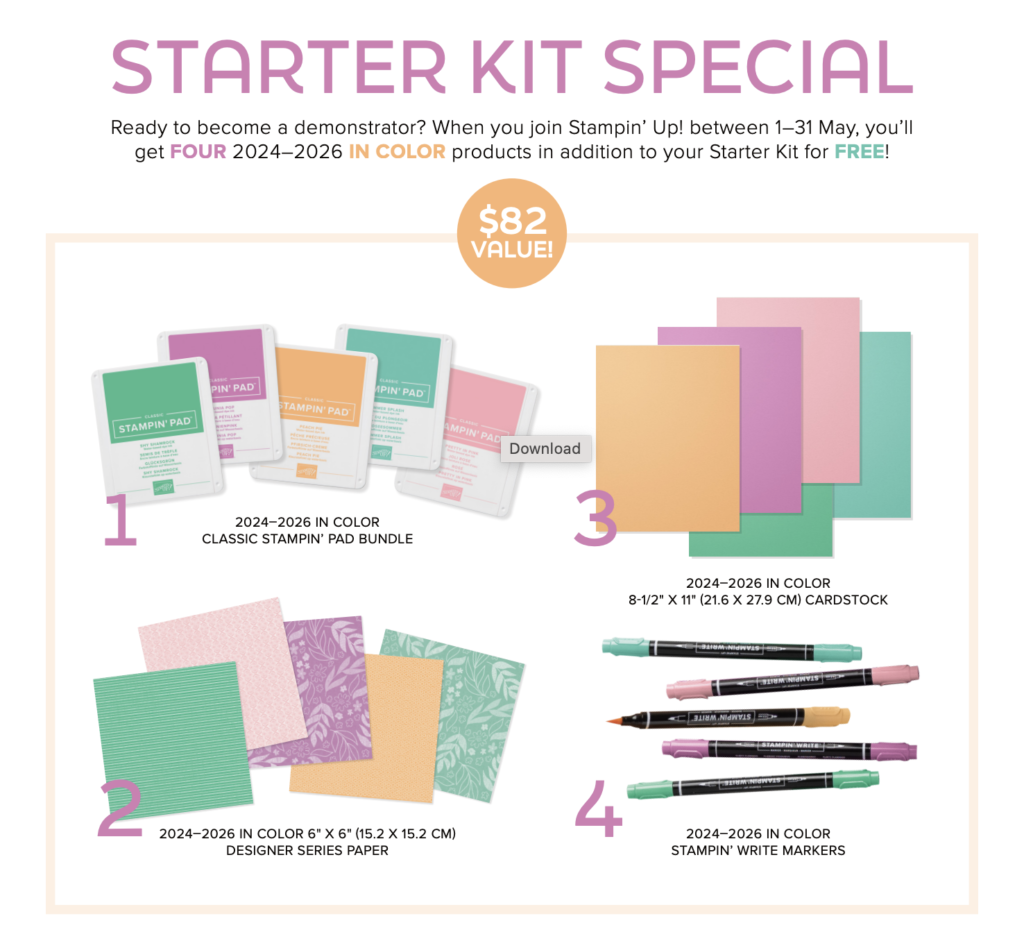
To celebrate the awesome Starter Kit special that starts tomorrow, May 1, I will be Live on Facebook each morning this week at 10am EST with a remake of a favorite project using our great new In Colors! Today’s project was an easel card that I originally learned from my upline Mindy Gray in a team meeting.
If you would like to get a Starter Kit, click here (May 1) to make your selections! There is no obligation to purchase anything beyond the kit, or to sell, but purchases made while a Demo are at least 20% off! Please don’t hesitate to contact me at stampyourworld@gmail.com if you have questions, or would like to set up a call to discuss.
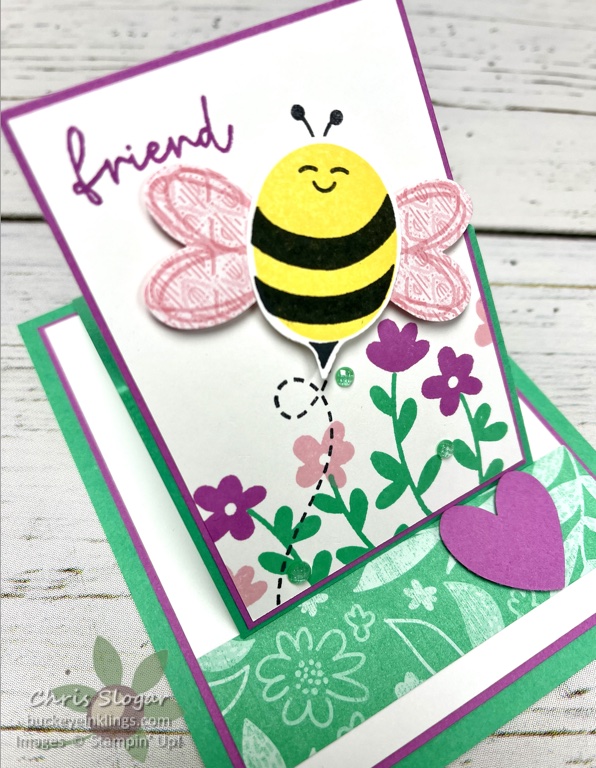
I will list dimensions below, but you may need to check out the video for instructions.
Thanks so much for checking out my project. If you would like to see my original post for this card type, click here. There are many more examples on this original post, but as mentioned, one of the mat sizes is slightly different.
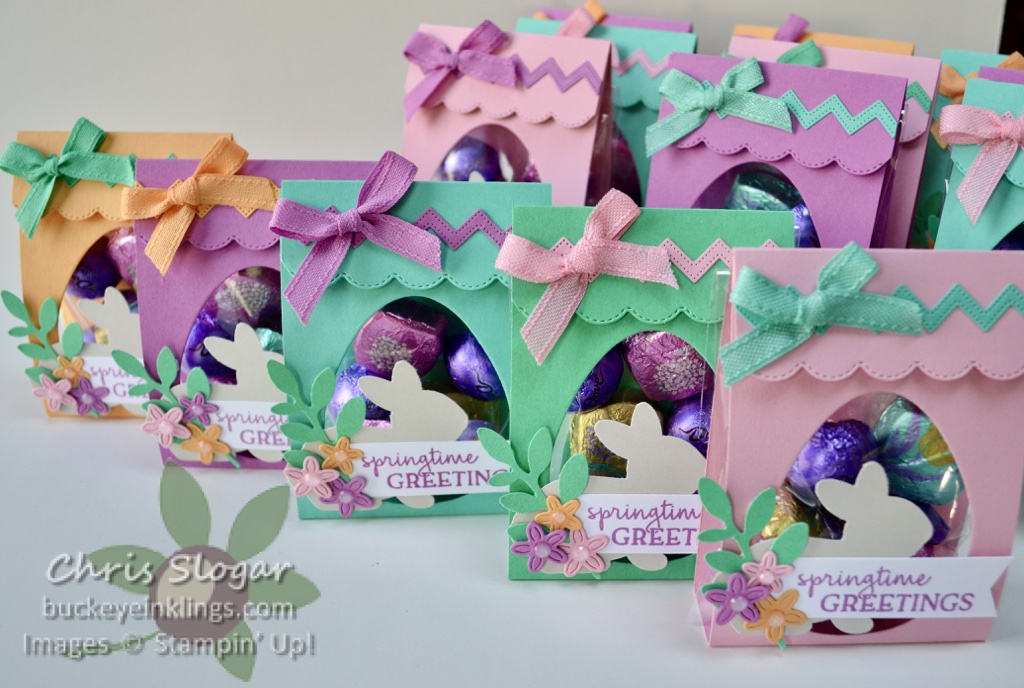
I received my new Annual Catalog pre-order this weekend, and I was inspired to make these favors with our beautiful new In Colors! They are ready just in time for Easter, and I already shipped them out to my daughters to share with their coworkers, many of whom will be working this weekend.
From left to right, the base colors are Peach Pie, Petunia Pop, Summer Splash, Shy Shamrock and Pretty in Pink. These colors will be available to customers on May 1. It is a Demonstrator perk to get them early (and at a discount).
If you have any questions about joining, please don’t hesitate to ask – especially at this time of year when you may have a big “Last Chance” list and/or if you are stocking up to beat the price increases. You can always get more for your money with the Starter Kit, and future purchases are discounted.
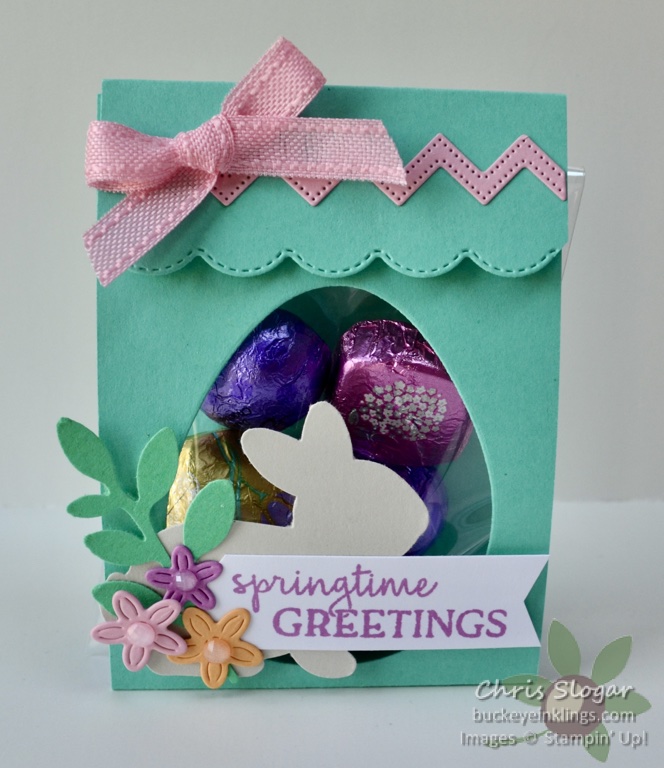
My favors are made from a 3 1/8″ x 11″ strip of cardstock, scored at 4 1/4″, 5 1/4″ and 9 1/2″. I used dies from the Excellent Eggs collection to cut the opening and for the cute stitched details on the flap. I used three punches to speed up production – the Easter Bunny, Banners and Bough punches.
There are a few more sneak peeks here too – the cute flowers are from the Country Flowers bundle that will be available in the new catalog. And did you notice the yummy In Color accessories – the stitched ribbon and gems? Love those details!
Maybe less exciting, but still important…the bunny is punched from another new color, Basic Beige. The greeting is from our most recent Paper Pumpkin kit.
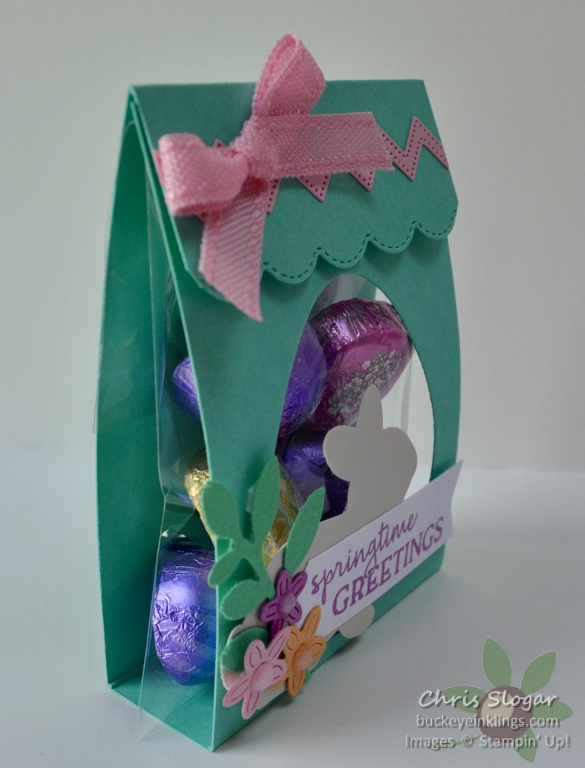
My pouch is only 1″ wide for a flat cello bag of Dove chocolates. You can easily play with your pouch dimensions to suit your treat. I presented this on Facebook Live yesterday, you can view the video below. Please join my Buckeye Inklings Stampers Group on Facebook to get notice of all of my live videos.
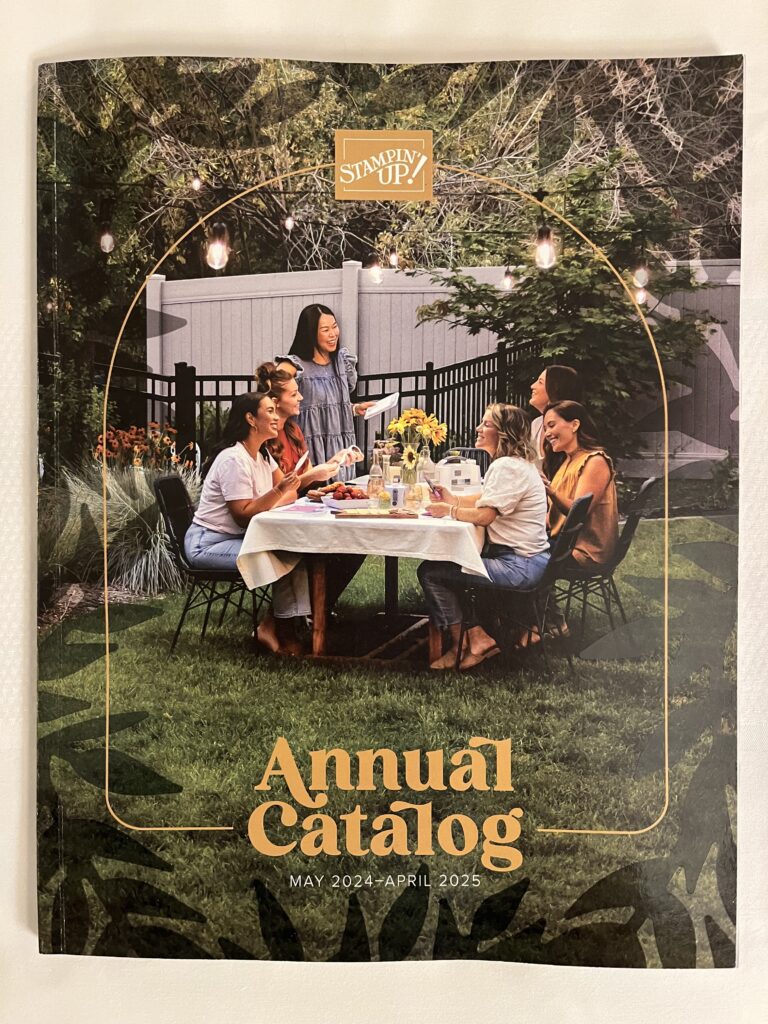
Demonstrators are getting a look at our upcoming 2024-2025 Annual Catalog this week! If you have ordered from me in the past 6 months, you will get a copy mailed to you in mid-April. If you would like a copy and have not ordered recently, or if you need a Demonstrator, just let me know! Email me at stampyourworld@gmail.com. I am happy to send a copy to anyone who is interested.
As always, the new catalog is accompanied by our Last Chance Products sale. The sale prices will be in effect April 9-30, but products are only available while supplies last. Use the links below to see the Last Chance Lists from both the 2023-2024 Annual and Jan-Apr 2024 Mini.
Click here for the 2023-2024 Annual Catalog Last Chance List
Click here for the January-April 2024 Mini Catalog Last Chance List
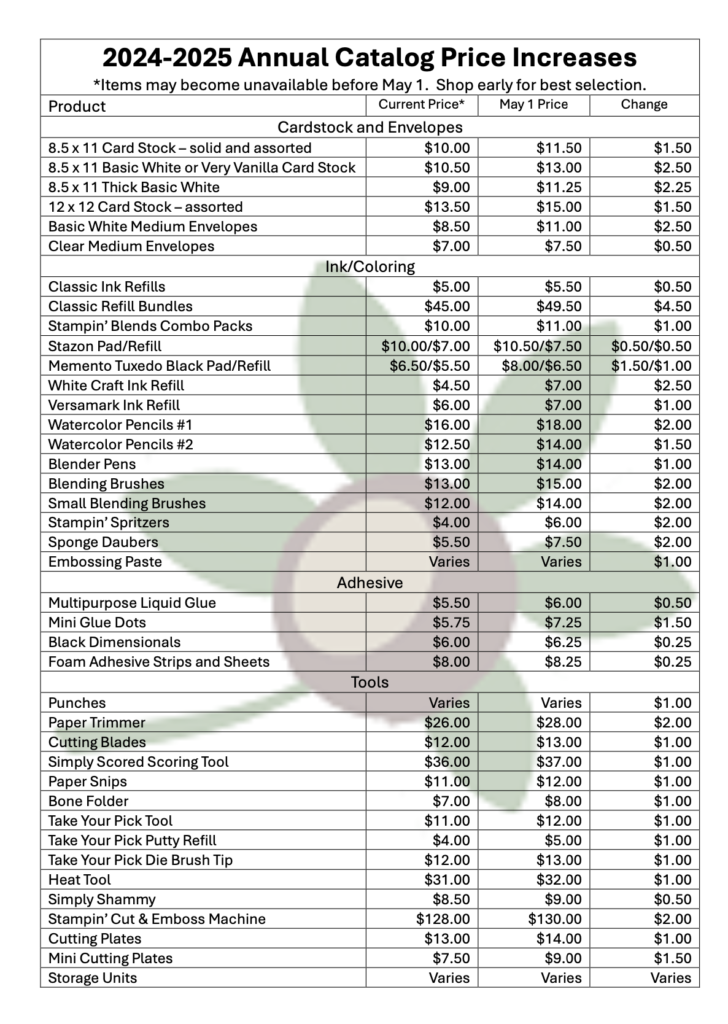
While you are planning your “Last Chance Lists”, please also be advised that there are price increases coming on many basics – you may want to stock up now on your favorites!