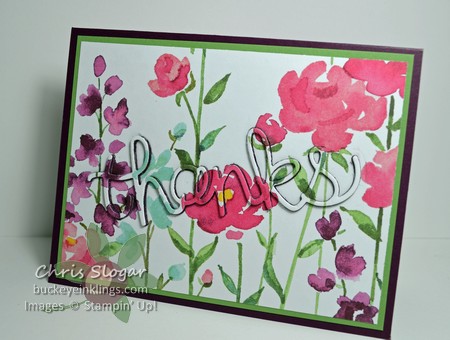
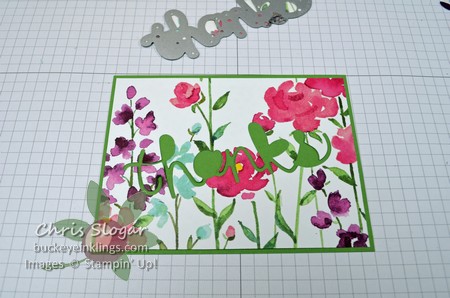
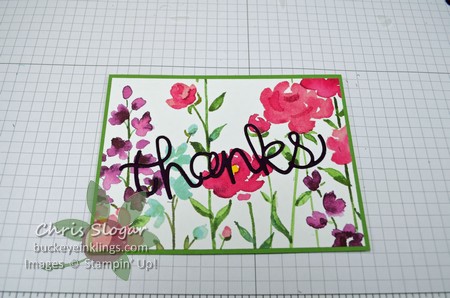
Inlaid die cutting typically involves piecing positive and negative pieces of a die cut to create one flat layer. On this card, I started with an inlaid piece – the word “thanks” – and then I built up more layers, finishing with the cutout from the printed piece.
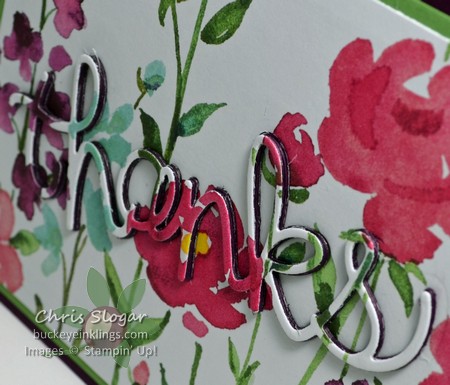
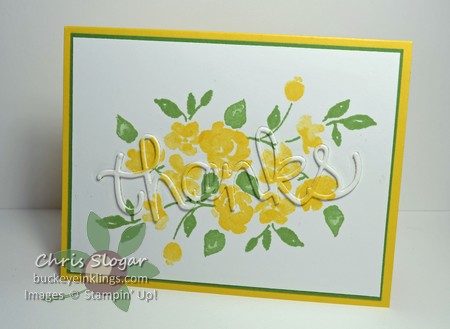
The effect is subtle on this busy piece of Painted Blooms designer paper, but surprisingly more obvious on card stamped with light colors below.
This Daffodil Delight card is an exact CASE of a card I found on Pinterest from iguanastamp.wordpress.com. This card inspired me to try this technique, and I have pictures of the steps I took to make the designer paper card.
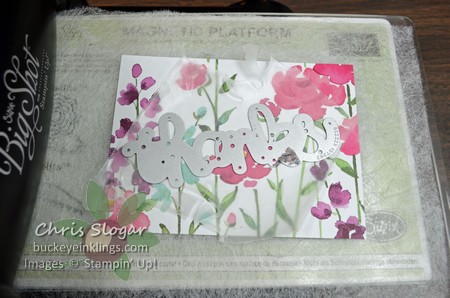
I started with a 3 7/8″ x 5 1/8″ piece of designer paper. I placed the “thanks” thinlit in my desired location – note that I have a dryer sheet under the designer paper and a piece of wax paper over the designer paper for easier cutting and separating.
I removed the thinlit from the designer paper, being careful to save every piece of designer paper from the thinlit – the pieces were all actually trapped in the thinlit, but they popped out easily thanks to the wax paper. I attached the designer paper background to a 4″ x 5 1/4″ piece of Wild Wasabi.
I added a Blackberry Bliss “thanks” cut-out, gluing it carefully into the background. I also added in the small background pieces from the designer paper – the center of the “a” and loops of the other letters. I could have stopped here, and this looks great, too. This is what inlaid die cutting looks like – a flat layer that has been pieced together.
I added three more layers of Blackberry Bliss “thanks” cut-outs, and then the designer paper “thanks” from my original cut to get more dimension.
The “thanks” on the Daffodil Delight card is built up with four layers of Whisper White. In the case of the Whisper White, I glued two pieces of Whisper White together so that I could cut “thanks” only twice to make a total of four built-up layers. This is possible with Whisper White because it is thinner.
Thanks for looking! Have a great day!

