I have pictures and videos from yesterday’s Facebook Live…it was a little rough, definitely not my best Live, but the projects are worth looking at! LOL I’m going to blame the ringing phone. It also didn’t help that I set myself up for failure with the two acrylic plates around the wreath folder.
Anyway, let’s start with the follow-up projects…
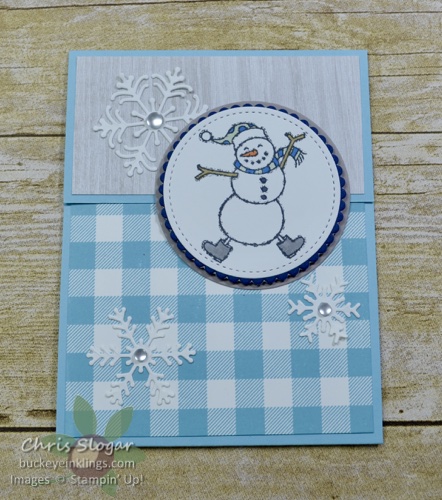
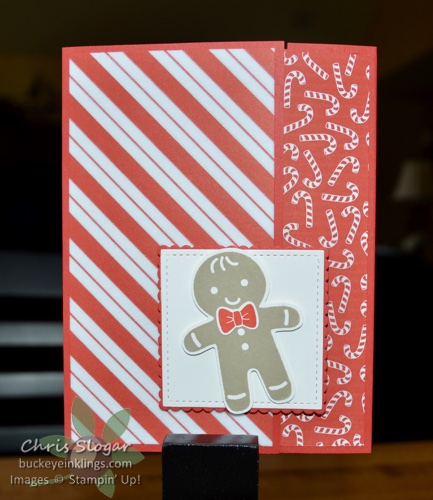
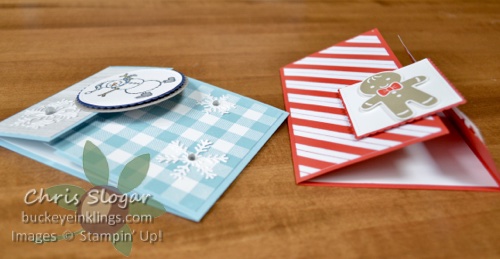
This was one of last week’s cards – a gate fold with a mat piece that extends over the seam. Click here for more details on this project. I suggested that the gate fold can go either way on this card type, and yesterday I showed this example…
The Poppy Parade card base measures 5 1/2″ x 8 1/2″, scored at 3″ and 7 1/4″. The designer paper pieces measure 1 1/2″ x 5 1/4″ and 2 3/4″ x 5 1/4″.
So that was easy enough, but the next one gave me trouble…
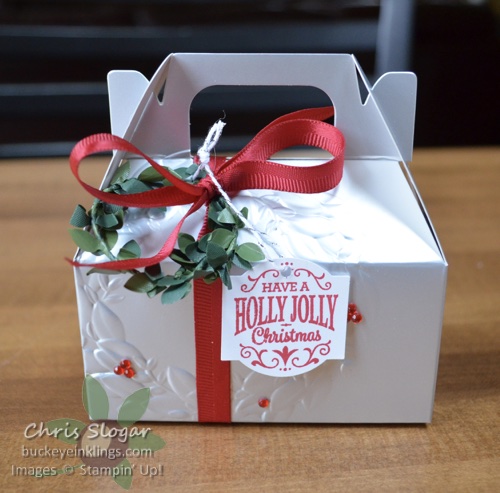
The gable box is embossed with the Seasonal Wreath Dynamic Textured Impressions Embossing Folder. This is one of those thicker folders that provides deep texture. When you send this folder through the Big Shot, don’t forget that you only need one acrylic plate with the Dynamic folders!! If you are going to make a Facebook Live about this, I recommend setting only one plate out so that you don’t end up flustered like me!
And finally, after the ringing phones, we got to the main focus…
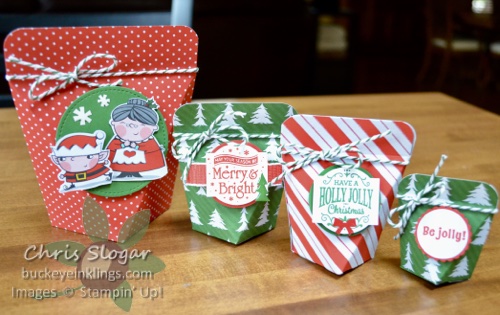
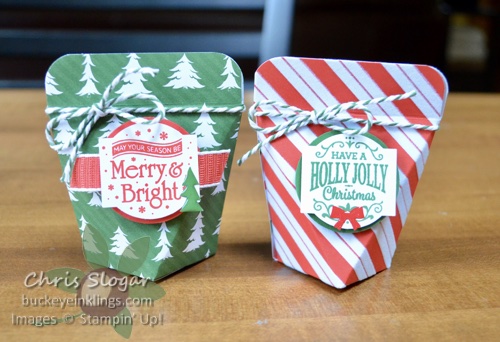
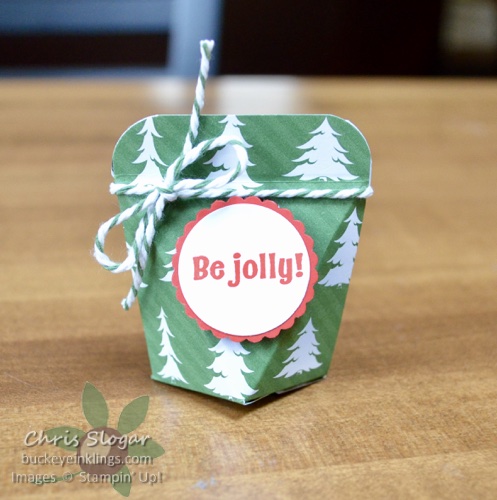
These are self-closing favors, and as you can see, you can make them in a variety of sizes. Once you learn the technique you can modify the size even more. I will go over the three sizes shown.
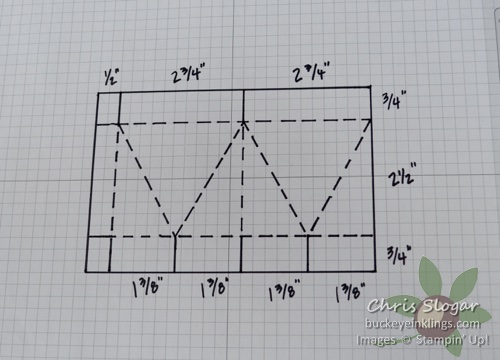
This is the size that we made in the video. You can make this size from a 4″ x 6″ piece of designer paper. The scoring is shown in the picture below, and I have also listed the steps to create this piece. If you need more help on this, I refer you back to the Live Video – this part of the video actually went ok!!
- Score 3/4″ from top and bottom of the piece (horizontal dotted lines in picture).
- Score the vertical solid and dashed lines. (I rotate the piece so that the bottom of the designer paper is at the top of my scoring tool. Then I score at 1 3/8″, stopping at the 3/4″ score line. Score full length at 2 3/4″. Score at 4 1/8″, stopping at the 3/4″ score line. Score full length at 5 1/2″. This leaves a 1/2″ tab that you see at the left on this picture).
- Score diagonals as shown using a straight edge, stylus and pierce mat.
- Cut solid lines to trim away corners and create tabs. Trim a slight taper on each tab at the bottom of the box.
- Round top corners (if desired).
- Add adhesive to side flap and secure. Add adhesive to two alternate bottom tabs and secure.
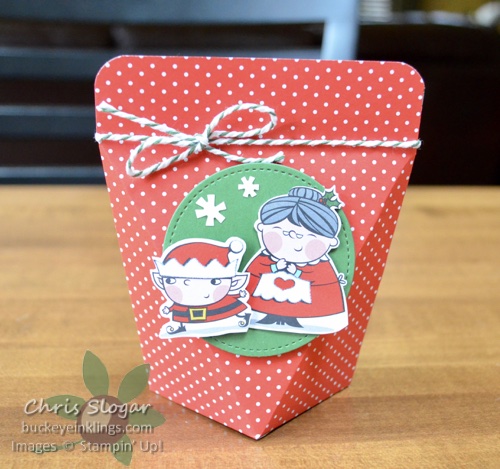
This favor is made from a 5 3/4″ x 8 1/2″ piece of designer paper. The method is the same, but the dimensions differ as follows:
- The horizontal score lines are made at 1″ from the top and bottom edges.
- After you rotate the paper to score the bottom edge, the locations of the vertical scores are 2″, 4″, 6″, and 8″.
And finally, the cute little is made from a 2 3/4″ x 4 1/2″ piece of designer paper.
- The horizontal score lines are made at 1/2″ from the top and bottom edges.
- After you rotate the paper to score the bottom edge, the locations of the vertical scores are 1″, 2″, 3″ and 4″.
Please don’t hesitate to contact me if you have any questions.
If you need any of our fabulous products, I would very much appreciate your business in my online store! Please click here to shop, or use the carousel below to be directed to a product used in today’s projects.
Place an order over $35 with this month’s Hostess Code and you will receive a package of Red Rhinestones and a handmade card from me as a thank you! Orders over $50 are also eligible for a Buckeye Point in my Loyalty Rewards Program.

