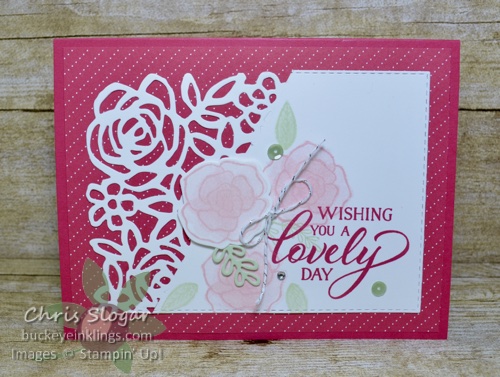
I showed three cards on Facebook Live last night using the technique of partial die cutting. On this card, I started with a Whisper White stitched rectangle (the second largest), and I cut the left side with part of my Springtime Impressions Thinlit.
You can achieve a partial cut by covering only part of the die with your acrylic plate. This leaves partially cut openings where the die cut ends. You can use a straightedge and exacto knife along this border – cut along the straightedge to finish the edges of the partially cut openings.
I used a pattern from the All My Love designer paper collection along with stamps from “Forever Lovely” to finish this card.
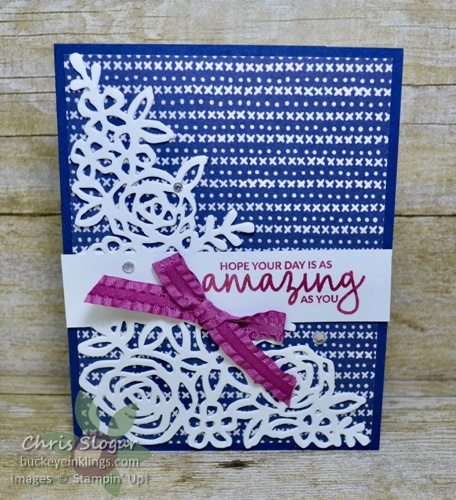
Starting with a 4 1/4″ x 5 1/2″ piece of Whisper White, the die cut for this card was partially cut from the top and then partially cut from the bottom in order to leave an intact strip through the center. The strip was then created by cutting with the straightedge and exacto knife.
The designer paper on this card is from the Needlepoint Nook collection, and the stamp is from “Incredible Like You”.
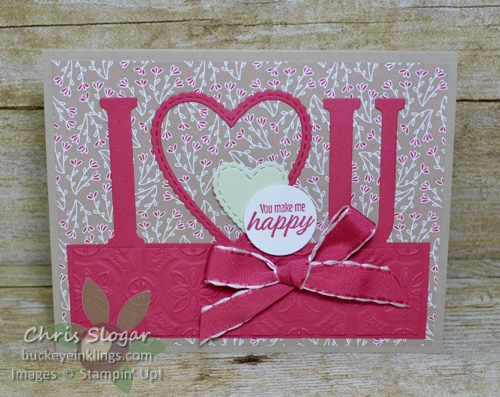
On this sample, I cut a 3 3/4″ x 5″ piece of Lovely Lipstick with letters and a heart die from the Be Mine Stitched Framelits. In this case, the acrylic plate was placed so that the bottom of each die was not cut. I then placed the straightedge to connect the bottom of the letters and heart, and I used the exacto to cut between them.
Please refer to my Facebook Live video for more details and a demonstration of this technique. If you are not a Facebook member, click here for the video.
If you need any of our awesome products, please click here to shop now, or use the carousel below to be directed to a product used on today’s card.
Place an order over $35 with this month’s Hostess Code and you will receive a package of Gingham Gala Adhesive-Backed Sequins and a handmade card from me as a thank you! Orders over $50 are also eligible for a free Sale-a-bration item and a Buckeye Point in my Loyalty Rewards Program. I appreciate your orders!


