Color Inspiration

img_3718

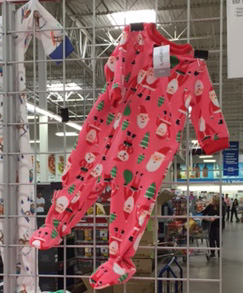
I was at Sam’s Club the other day, and I rolled right past this display of sleepers at first.  But then my mind caught up with my actions and I had to back up.  The color combination grabbed me.

I used these colors with a throwback (retired) stamp set, and throwbacks are going to be my new focus on Thursdays.  I do get rid of many retired sets, but I also have many keepers that I still like to use…and I am guessing most of you can identify with this!

dsc_0192w

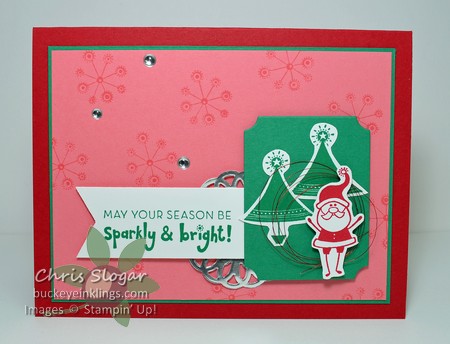
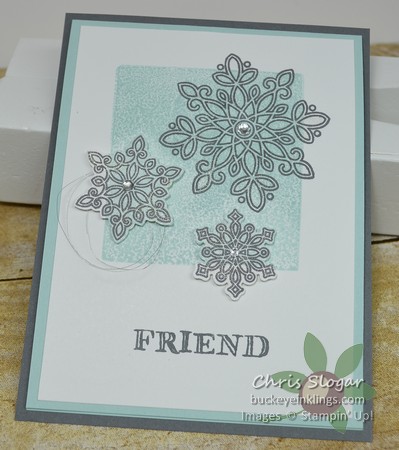
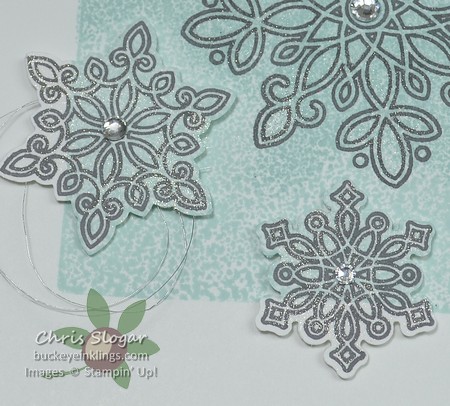
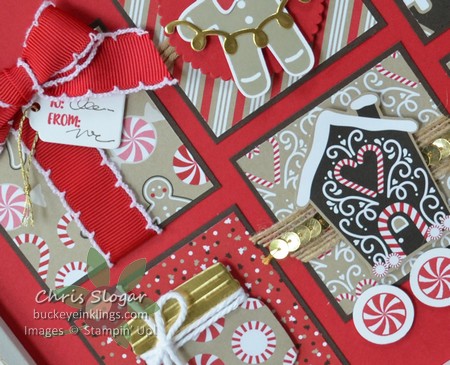
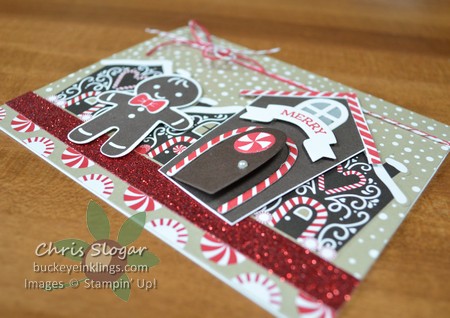
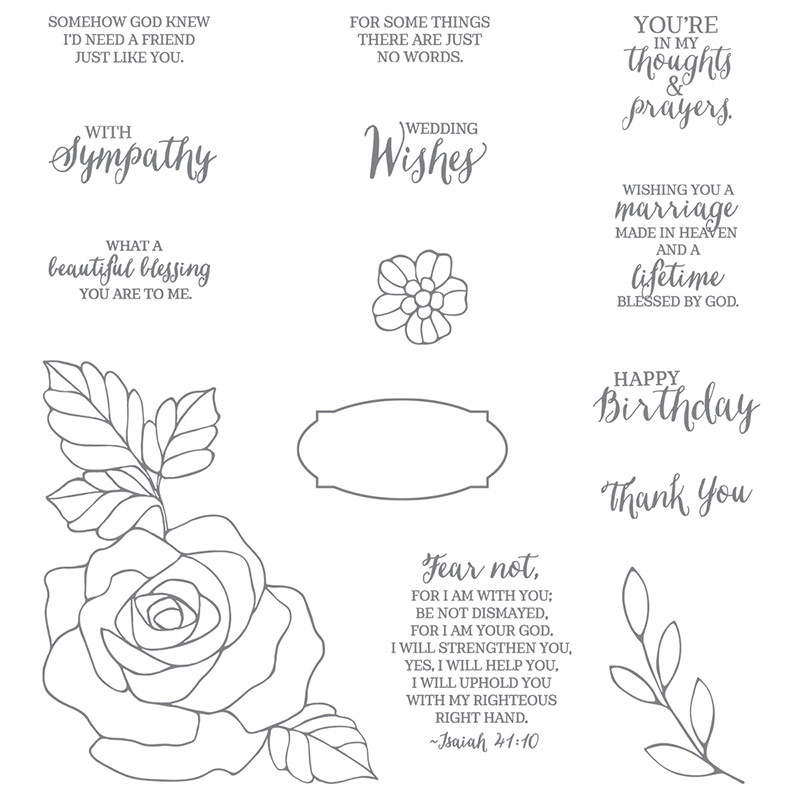
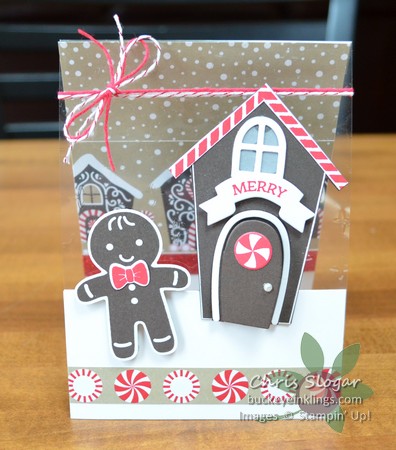
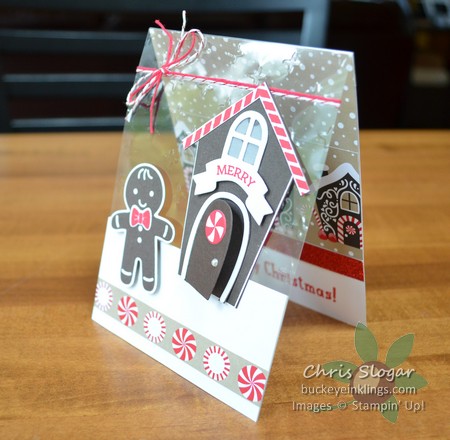
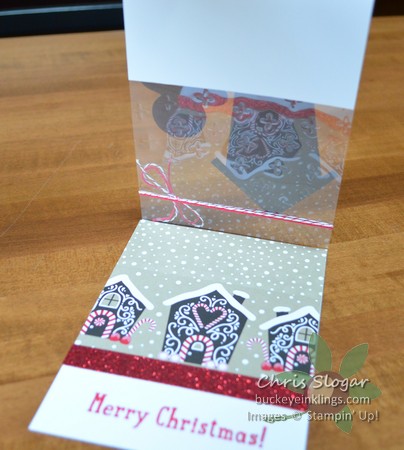
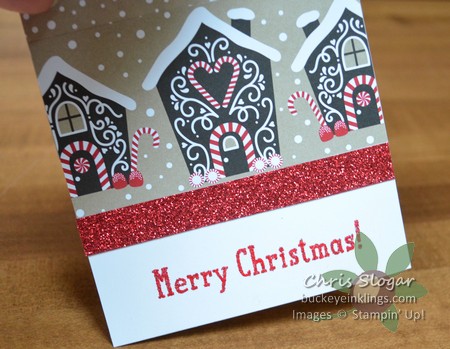
The stamps I used here are from the set “Sparkly & Bright”, released in the 2009-2010 Annual Catalog.  Retired product always looks so fresh and new when used with new colors and tools!  I also made a card in these colors using current product…

dsc_0193w

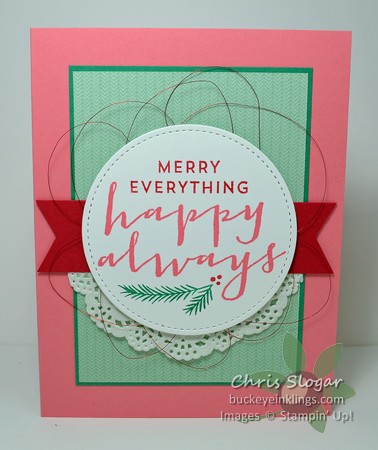
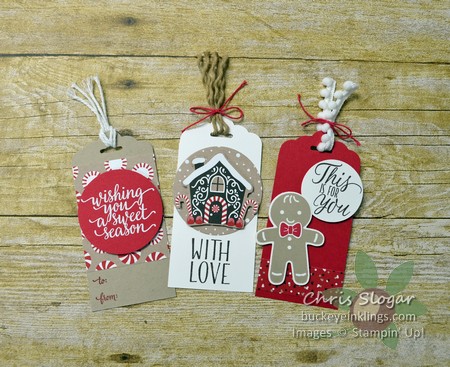
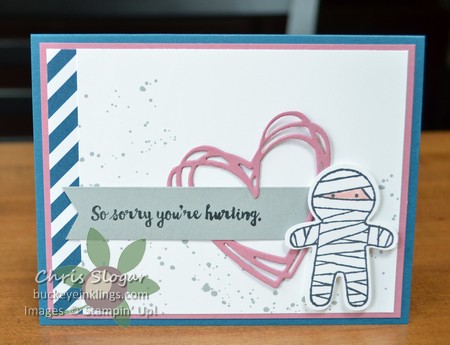
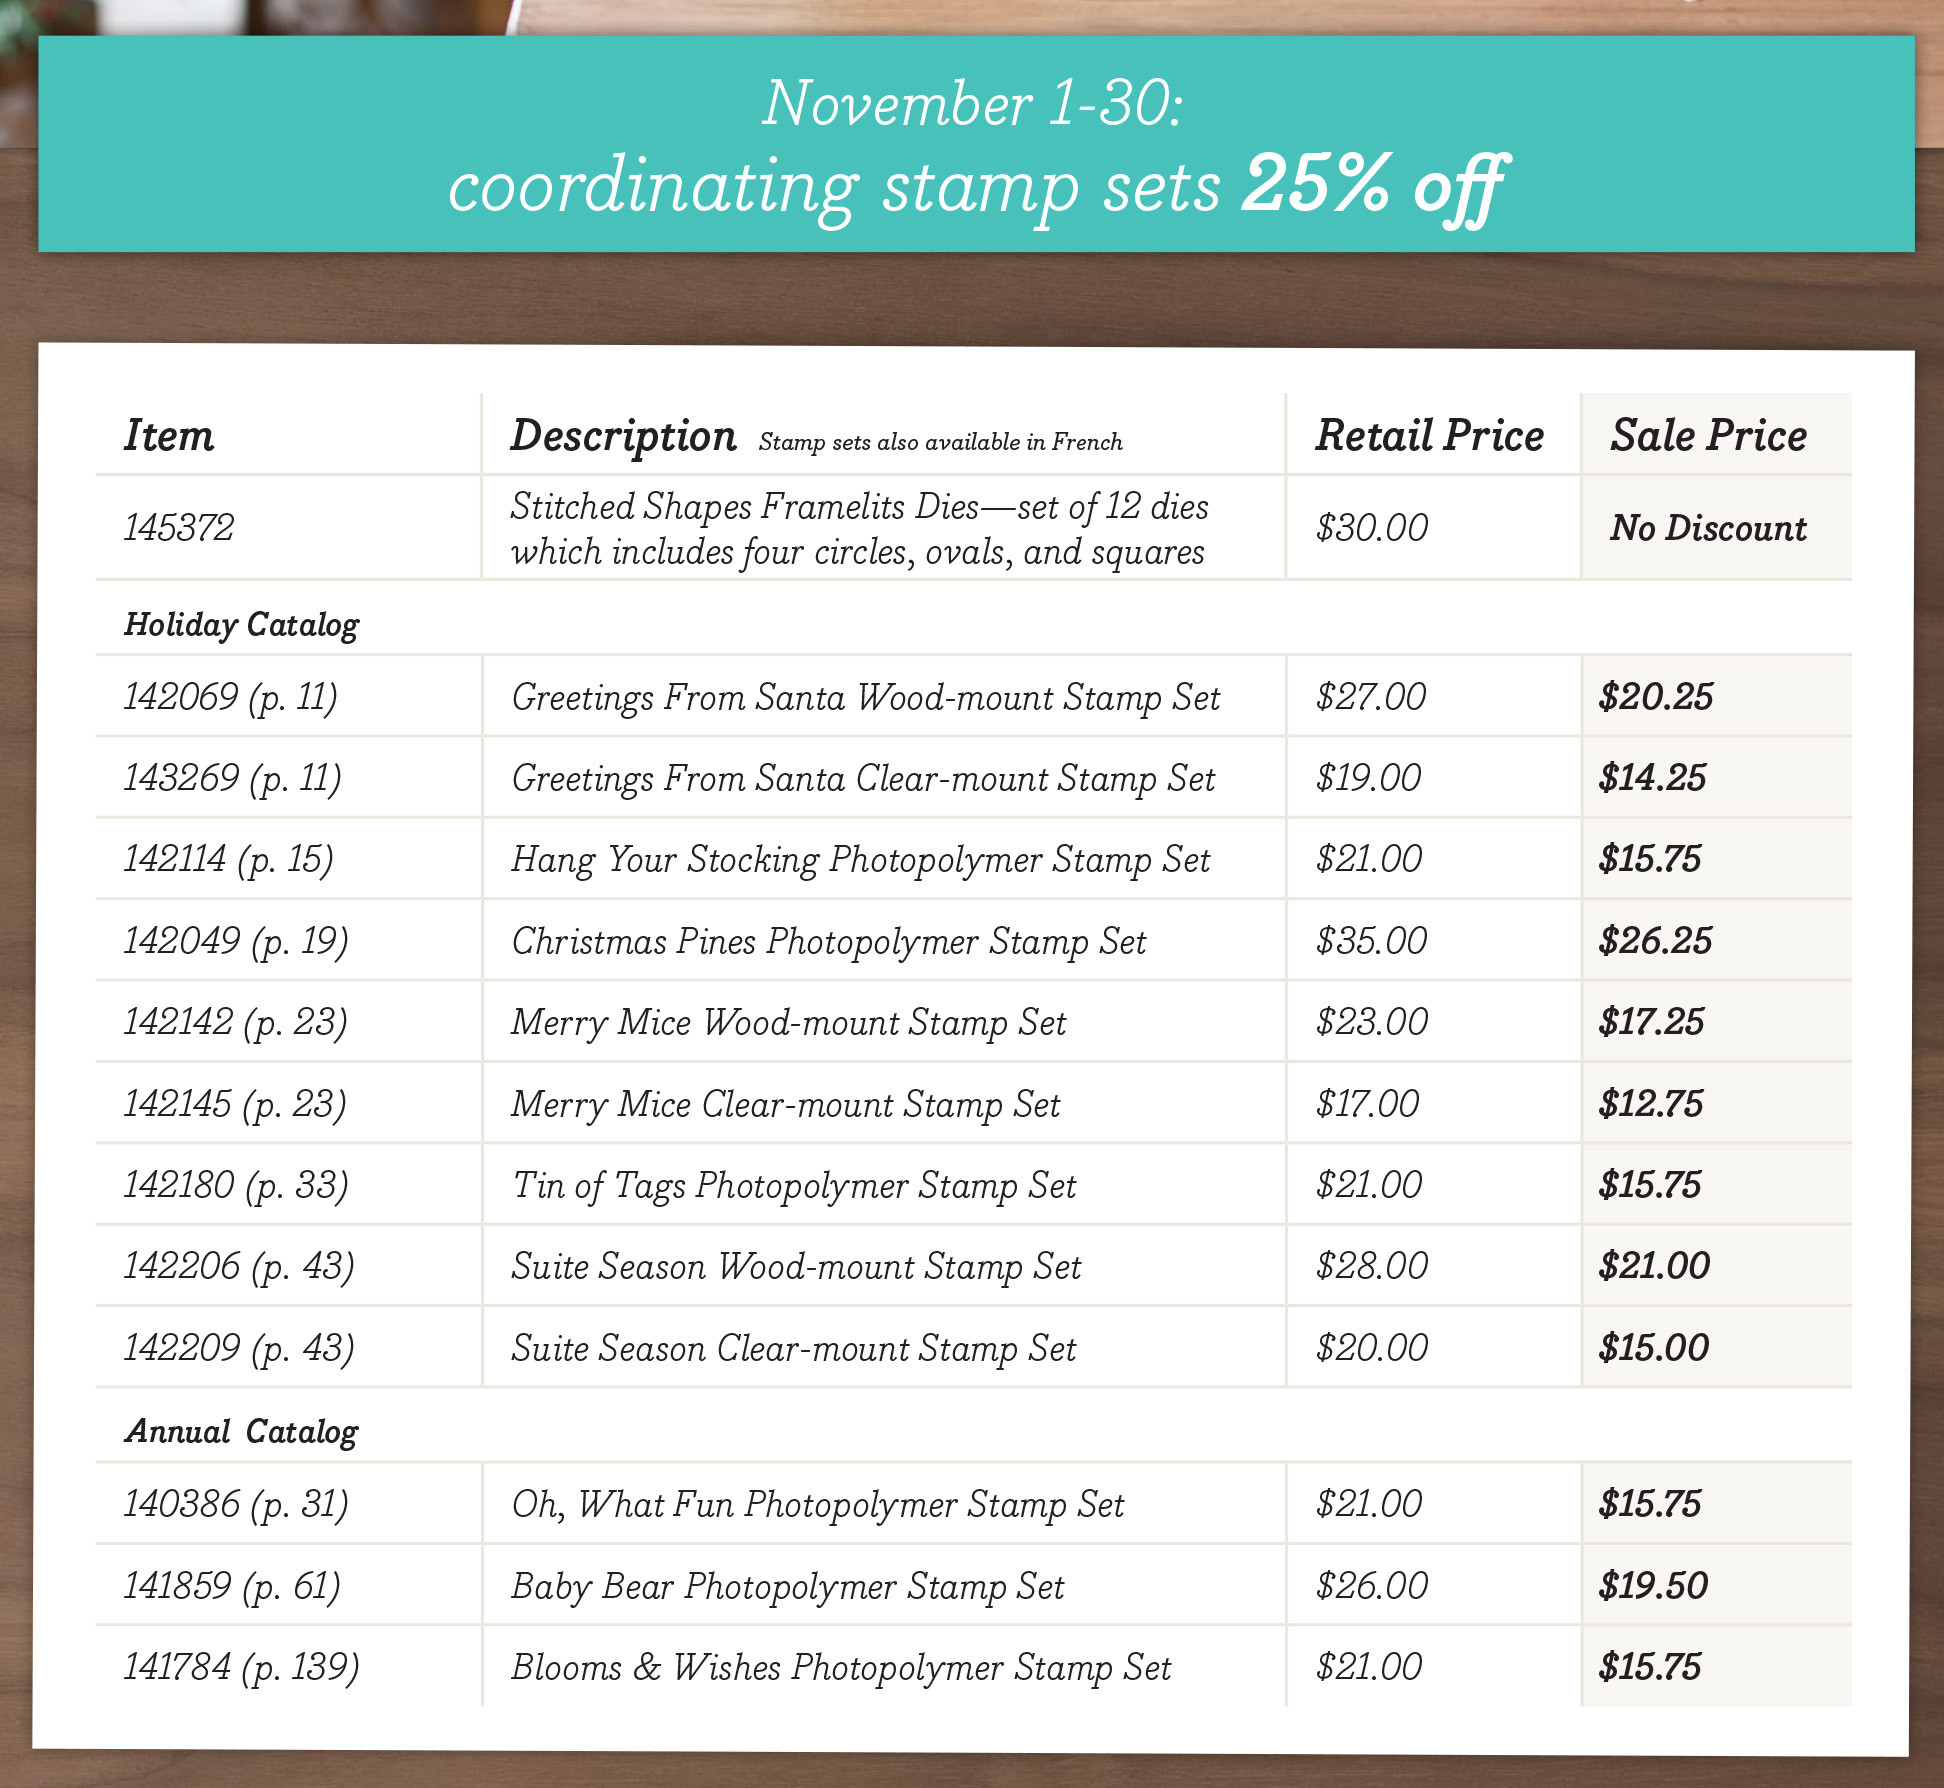
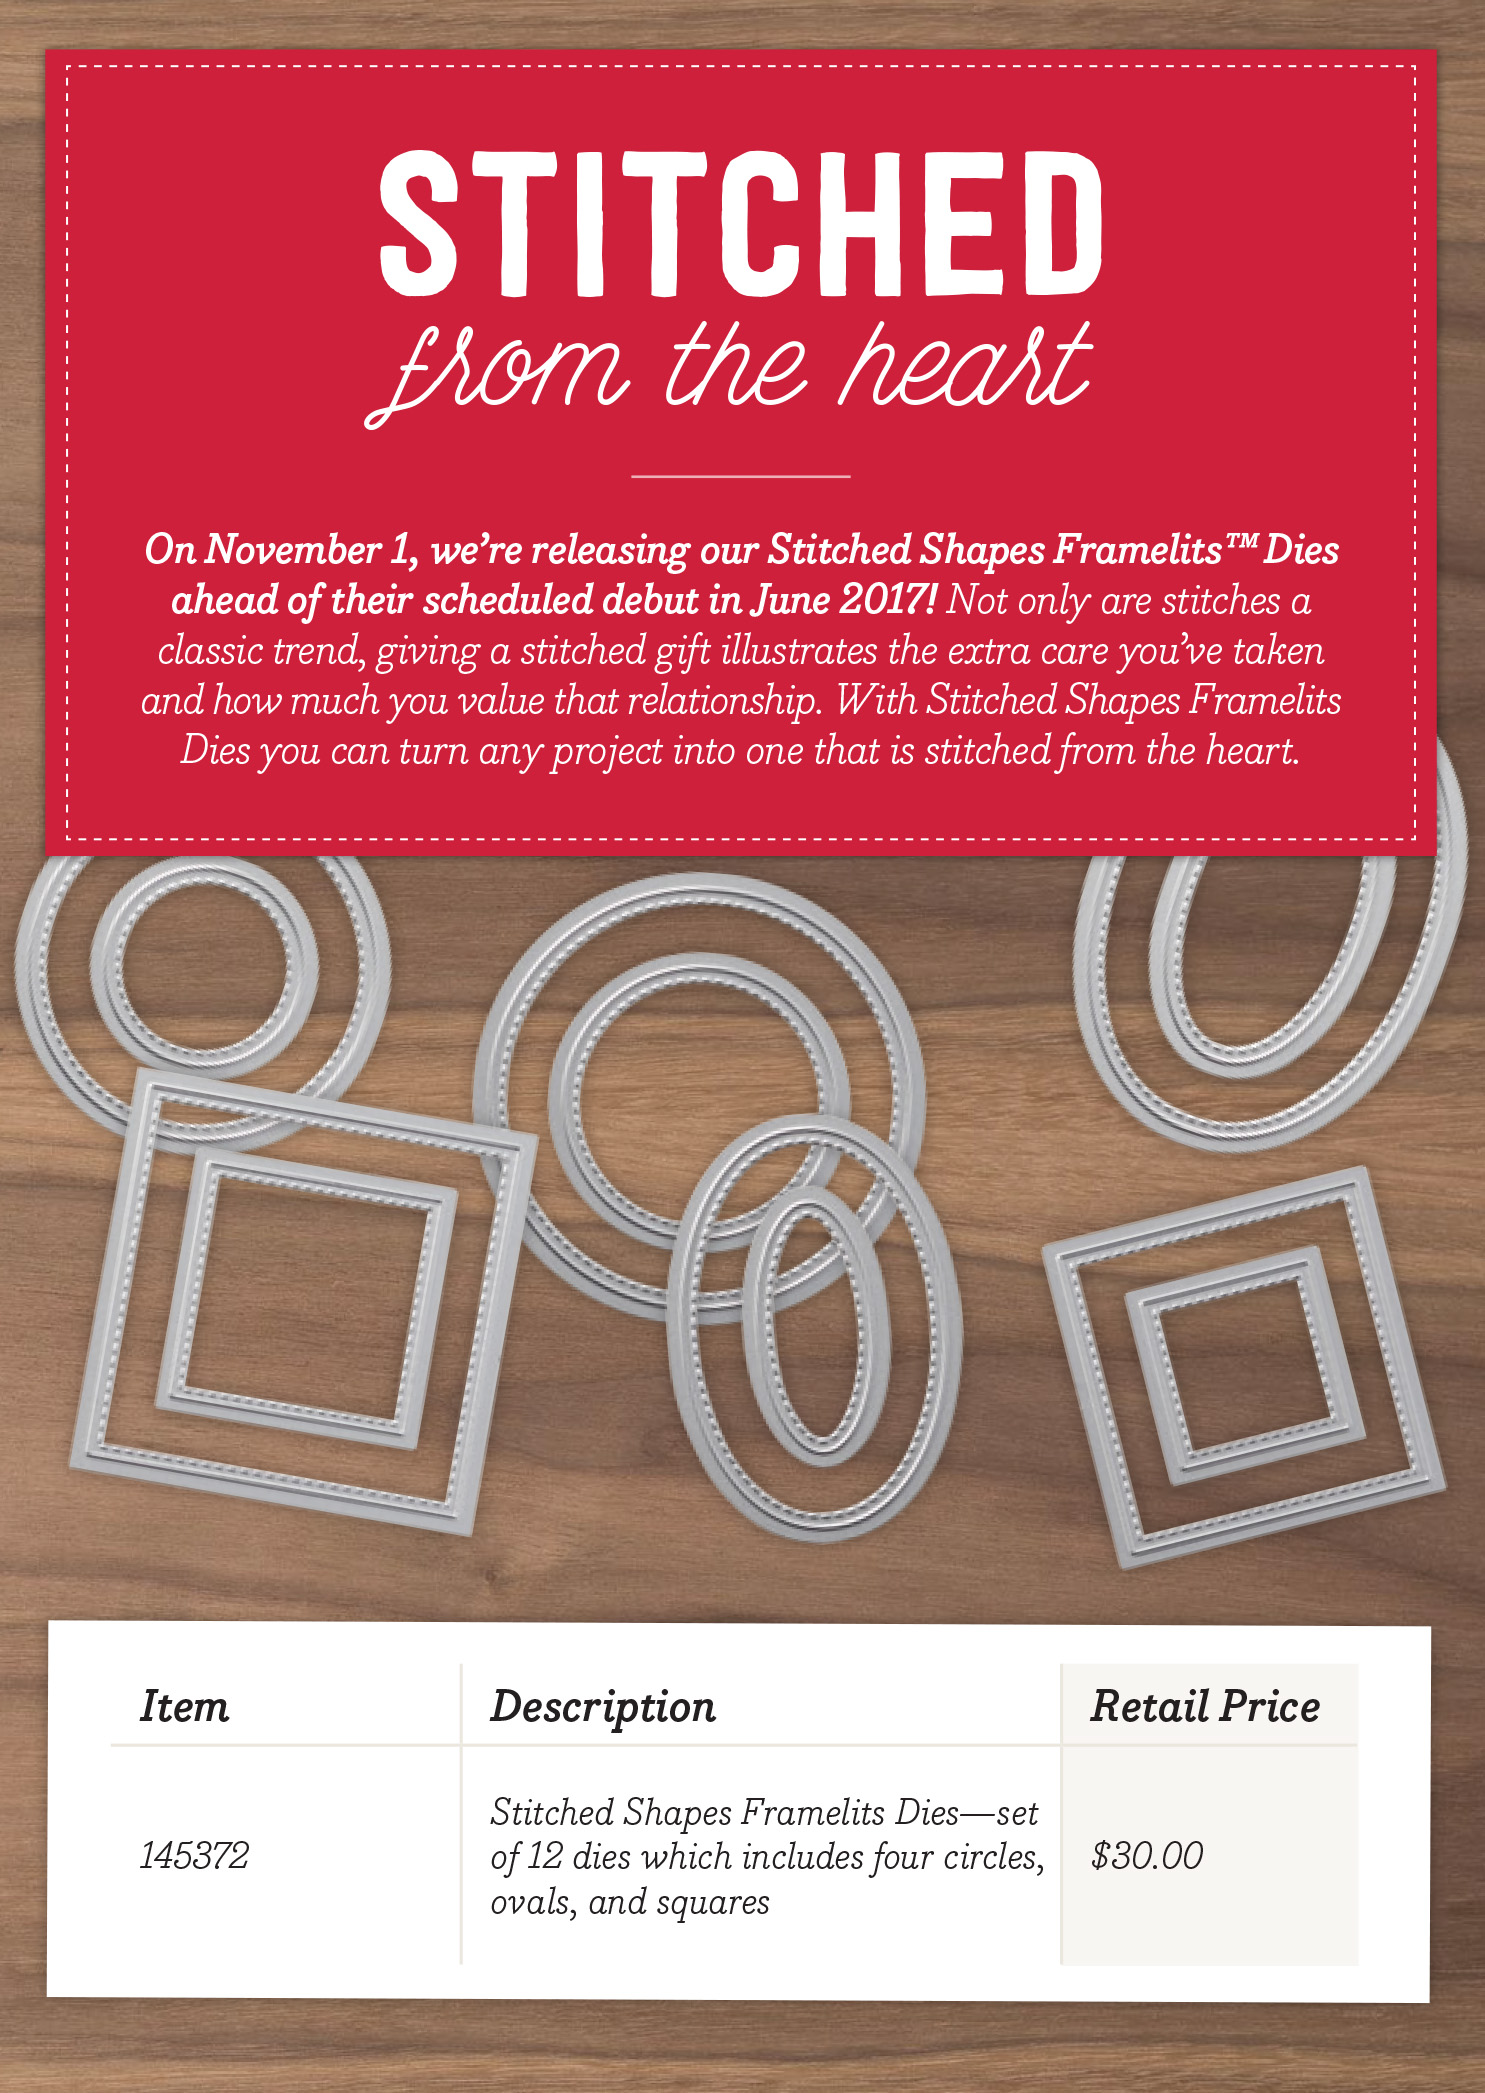
By the way, this is Flirty Flamingo with Emerald Envy and Real Red – two traditional Christmas colors, and a fun addtion!  The greeting is from “Suite Seasons”.  And check out the new stitched edge on the circle – isn’t that a nice finishing touch?  Our Stitched Shapes Framelitsare available now for $30. stitchframelit_flyer2_usw  Have a great day!

>

Chris_buckeye_signature_rose_final

Splitcoast Guest Author

I am honored that Splitcoaststampers asked me to create a tutorial for their site.  After so many years of getting inspiration from the Splitcoast site, I am thrilled to give back!  Today is the day…I am the guest author of today’s Wednesday Tutorial at splitcoaststampers.com.

My project is a Mini File Box for handmade tags, made with the envelope punch board.  I created this as a “Christmas in July” project for my clubs this summer (here), and I remade the project for this tutorial using current products.

I used the Candy Cane Lane suite of products, and a favorite stamp set,  “Cookie Cutter Christmas”.  You can use products in any colors and themes.

minifileboxfinishedw

The box is made from a 6″ square of Early Espresso cardstock, and the directions to create this box are in the video below.

minifileboxtagsw

Here’s a look at the tags – the bases measured 2″ x 4 1/4″ before punching with the Scallop Tag Topper Punch.

dsc_0173w

I also made a Real Red version, with more coordinating tags.

dsc_0175w

I made up a bunch of these to give out at OnStage this past weekend.  They were super-cute packaged up in a cello bag with a bit of coordinating ribbon.

dsc_0191w

 You can find illustrated step-by-step directions and a video for the Mini File Box at splitcoaststampers.com.  I am also linking the video here.  Thank you for checking out my project!

Chris_buckeye_signature_rose_final

OnStage Atlanta

dsc_0177w

This is the swap card I made for this weekend’s OnStage event.  OnStage is a Stampin’ Up! event that brings together Demonstrators from around the world.  I attended in Atlanta, and of course, one of the favorite activities at such events is swapping.

To make the background, I used a size D block to pick up Soft Sky ink, and then I pressed it to the Whisper White cardstock.  In a similar manner, I used smaller blocks to add ink to stamped snowflakes before I punched them out.  I left white space on each snowflake, and I mounted them on the background mat matching white space to white space.

dsc_0177w3

I also added Wink of Stella to the snowflakes…which is always hard to see in the pictures, but adds so much in real life!

dsc_0178w

This shot shows how the card opens – the Soft Sky portion of this card folds.  The Basic Gray base measures 4 1/4″ x 5 1/2″.  The Soft Sky cardstock is 4″ x 10 1/2″, scored at 5 1/4″.  The Whisper White mats for the front and inside are 3 3/4″ x 5″.

I also have a few pictures to share from OnStage…

Processed with MOLDIV

Processed with MOLDIV

The top row of pictures is from dinner on Friday night – I am with my upline Mindy Gray.  The second row is from the event on Saturday.  Mindy and I were on stage with Candy Michael for a recognition walk.

So what else went on besides swapping, eating and celebrating?  Presentations, stamping, oohing and ahhing at new product (we got to see the fabulous upcoming Occasions and Sale-a-bration Catalogs!!)  But there is always so much more to these events…meeting new friends, catching up with old friends, and just getting lost in all of the great ideas!

I will show you the gifts I made for OnStage on Wednesday – as part of a special post in conjunction with my first tutorial release on Splitcoaststampers.com.

Have a great Monday!

Chris_buckeye_signature_rose_final

Candy Cane Lane Sampler

dsc_0169crop1

Here’s a sneak peek of the Christmas sampler I will be making in classes with my local customers.  The finished sampler is 8″ x 10″, and it can be framed in a shadow box frame or above the glass in any picture frame.  It is a great item to make for gifts or craft shows.

I used the Candy Cane Lane suite of products in my design along with “Cookie Cutter Christmas” and “Holly Jolly Layers”.  I have complete instructions available in a Class Planner pdf.  The Planner includes illustrated directions, with product list, cutting instructions and detailed assembly instructions.  The cost is $7, and it can be purchased using the Paypal button below.


Buy Now Button

Planners will be emailed within 24 hours.

Chris_buckeye_signature_rose_final

Candy Cane Lane

ccmc431

I knew this one was going to include gingerbread houses and gingerbread men, and I had fun playing with pieces until I came up with a lane of houses.

dsc_0157w

The smaller houses are cut from the Candy Cane Lane designer paper.  The larger house in the foreground is from the “Sweet Home” bundle.  I used the straight, striped stamp to make the roofline, and I also forced a curve in the same stamp to stamp the arch around the door.

dsc_0158w

Love how the door pieces cut by the framelits are hinged!

This is my last post as a member of the Create with Connie and Mary Challenge Team.  I have very much enjoyed participating each week with these ladies – they are all so creative and fabulous!  I thank Connie and Mary for the opportunity.  Please visit Create with Connie and Mary to see the awesome cards created by my teammates this week, and the entries as they come in.  Hope you’ll be inspired to play along!

Chris_buckeye_signature_rose_final

Rose Wonder Sympathy

dsc_0166w

My favorite thing about “Rose Wonder” is not the beautiful flowers and leaves, but rather the greetings.  Our new oval embossing folder (Pretty Paisleys) frames this bible verse beautifully.  Add a few flowers cut with the Botanical Builder Framelits and a few trims, and you have a simple and elegant card.

dsc_0167w

Here’s a look at the whole stamp set – I think you’ll agree that the sentiments are lovely.  Have a great day!

Chris_buckeye_signature_rose_final

Stitched Shapes Framelits and Stamp Sale

Something very special is happening in November…Stampin’ Up! is releasing Stitched Shapes Framelits and offering sale prices on coordinating stamp sets.  Check out the video below to see this wonderful new product.

Here’s a better look at the pieces included…

stitchframelit_flyer2_usw

Stampin’ Up! is also offering sale prices on the following stamp sets, which coordinate beautifully with these new dies.

stitchframelit_flyer_us

Chris_buckeye_signature_rose_final

Gingerbread Window Sheet Card

dsc_0160w

dsc_0159w

This is similar to the Window Sheet cards I posted last Monday.  Click here for last Monday’s post.  I received some questions, so I now have video directions for you.  I am also making this my “Featured Project” for the next few weeks, meaning that I will send you one when you place an order of $35 or more with the Hostess Code.  (See Featured Project details at top right column of this site.)

dsc_0164w

dsc_0165w

Here are the directions…

Have a great Monday!

Chris_buckeye_signature_rose_final

Vintage Leaves

dsc_0137w2

We made this project in club this month to practice a watercoloring technique.  See how the leaves look translucent?  The stamped images have been brushed over with an Aquapainter to create this watercolored look.

The leaves were stamped first on watercolor paper.  Some were stamped directly with the ink from the pad, and some were stamped lighter.  (To get lighter leaves, pick up ink from the pad, stamp once on scrap paper, and then stamp on the watercolor paper – this is called “stamping off”.)

The leaves were then “watercolored” with an Aquapainter.  We simply used the brush on the Aquapainter to spread the ink, being careful to only brush up to the edge of each leaf.  The crisp, outer edge of each leaf was preserved because we did not brush over it.

Have a great weekend!

Chris_buckeye_signature_rose_final
WordPress theme: Kippis 1.15