Clear Card Fronts

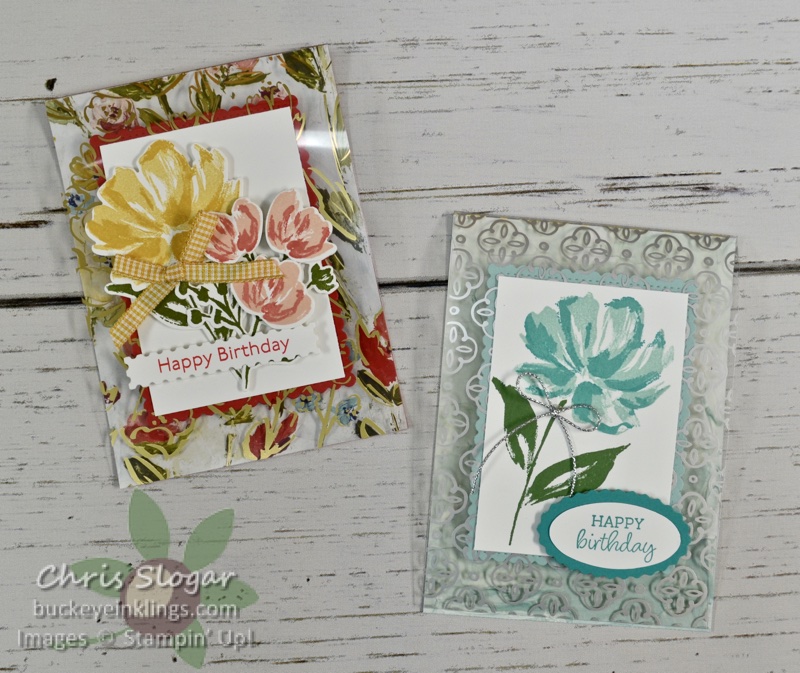
Last night on Facebook Live, I showed how to make these cards using the Golden Garden Designer Specialty Acetate. It’s a great card type to make with clear Window Sheets as well.

I am presenting the pictures and dimensions are here for easy reference, but you may need to see the video for complete instructions. Please click here to see the video – and please join the Buckeye Inklings Stampers Group on Facebook to get notifications of all of my live videos.
I also mentioned the Last-Chance Products list in my Live – please click here for the list. There are many items on sale, but only while supplies last!

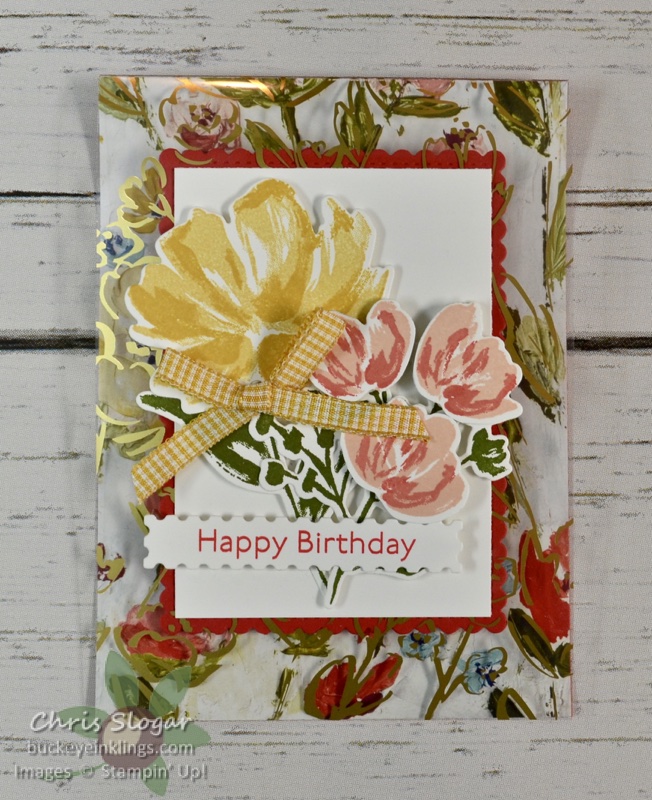
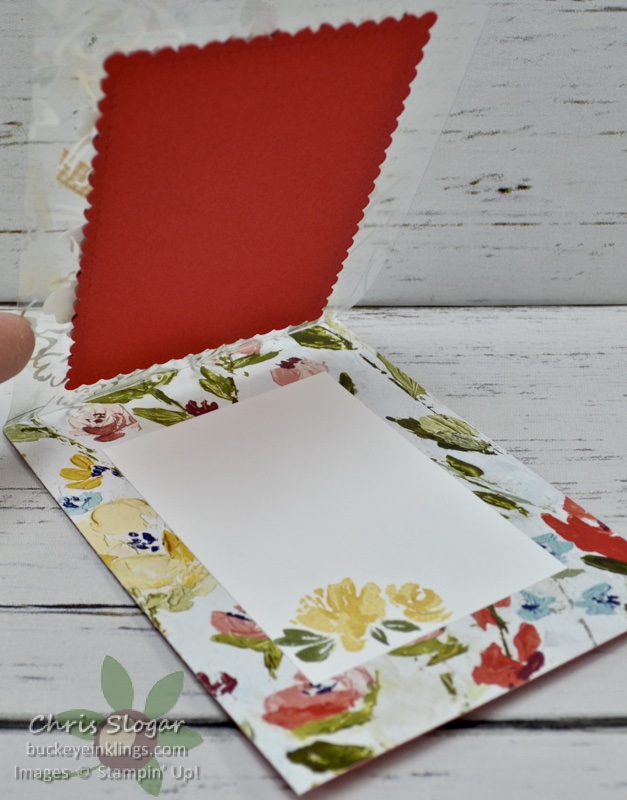
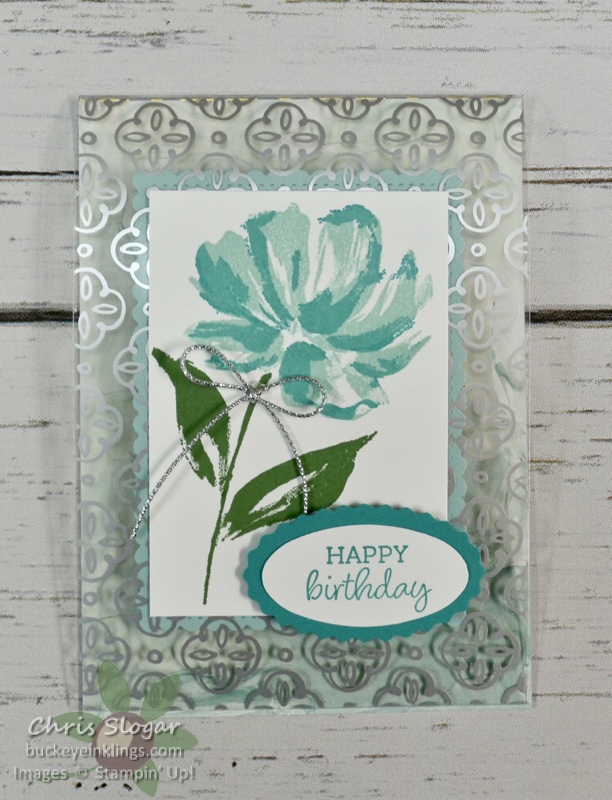
On this one, I used an acetate sheet that coordinates with a sheet of the Fine Art Floral designer paper. In order to hide the adhesive, the Poppy Parade scalloped stitched rectangle is attached to the back of the acetate, and the Basic White mat is attached to the front.

A 1/2″ width of acetate is sandwiched between the designer paper and a Poppy Parade cardstock backing to create the card base. Dimensions are as follows…

  • Poppy Parade and designer paper 4″ x 5 1/2″
  • Acetate Sheet 4″ x 6″, scored at 1/2″ (at top of pattern)
  • Basic White (2) 2 5/8″ x 3 3/4″
  • Poppy Parade Stitched Scalloped Rectangle

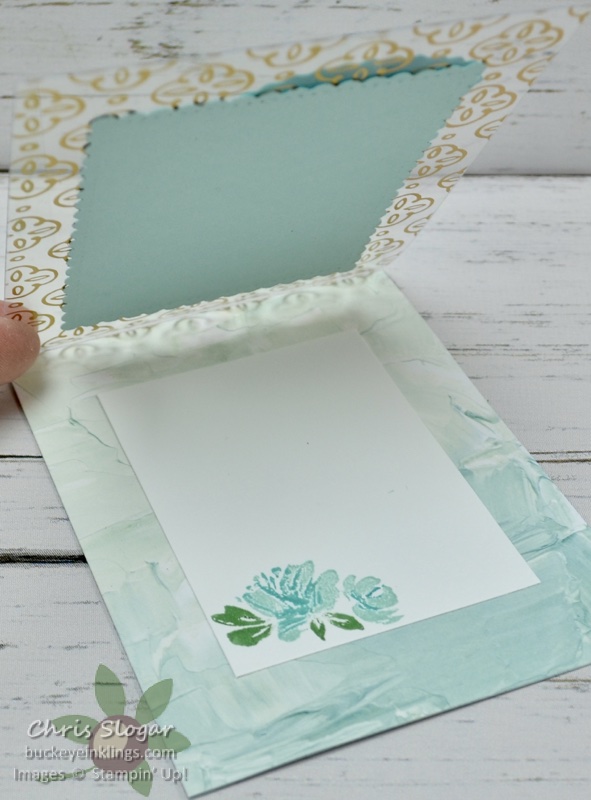
This one is made the same way with a different choice of acetate and designer paper.

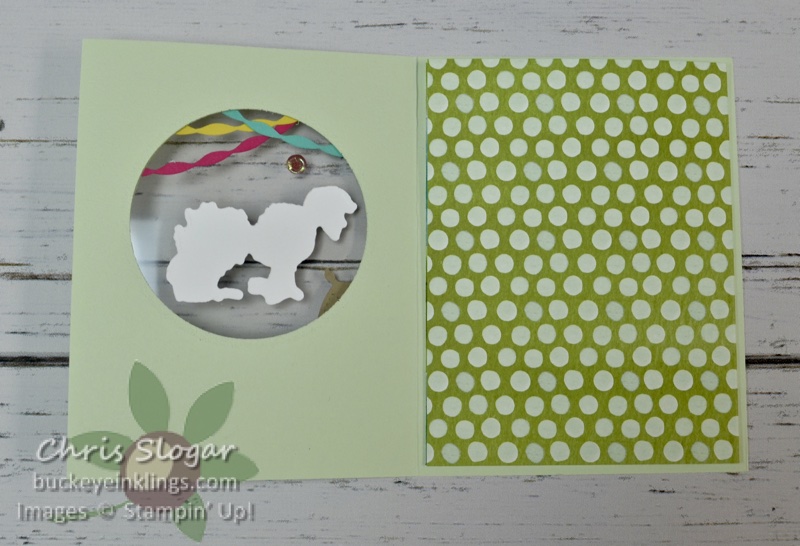
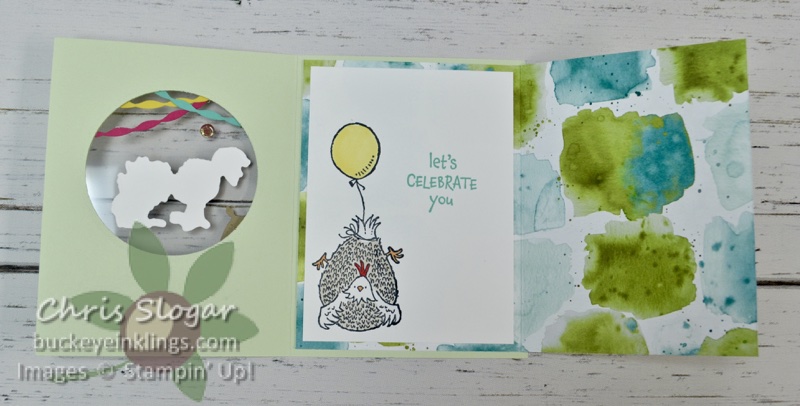
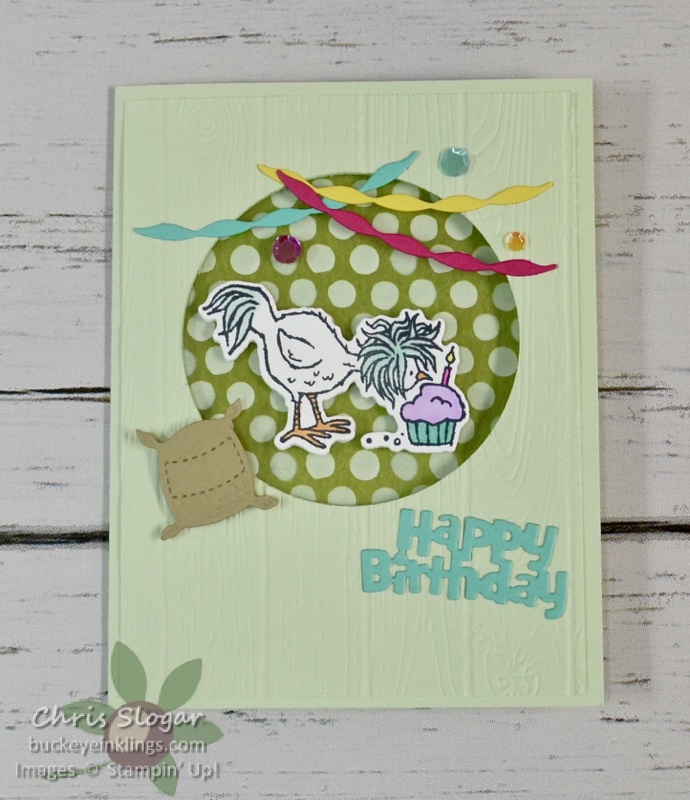
My second Window Sheet idea from last night’s Live is this fun Hey Birthday Chick card…

This is a great way to spotlight any image, and it appears to float over the designer paper in the background.

Isn’t that fun?! Just think of the different images and papers that would work in this layout! Dimensions are as follows…

  • Soft Seafoam base 5 1/2″ x 8 1/2″, scored at 4 1/4″ and mat 4″ x 5 1/4″
  • Designer paper 5 1/4″ x 8″, scored at 4″
  • Basic White 3 3/4″ x 5″
  • Window Sheet 3 1/2″ x 3 1/2″ (or size to match your die shape)

Thank you for checking out my projects today! If you need any of our fabulous products, please click here for the online store, or use the carousel below to go directly to a product used today.

Place a $35 order with Host Code QCZZJEGD in April, and I will send you a package of Pearl Basic Jewels and a handmade card. This is my way of sharing the Stampin’ Rewards with you – I appreciate your business!!

Chris_buckeye_signature_rose_final

Patchwork Patterns

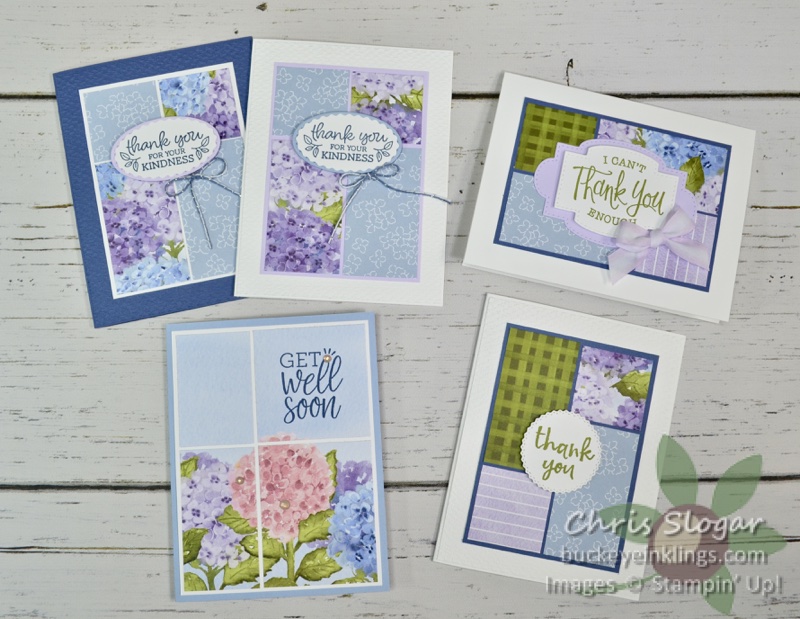
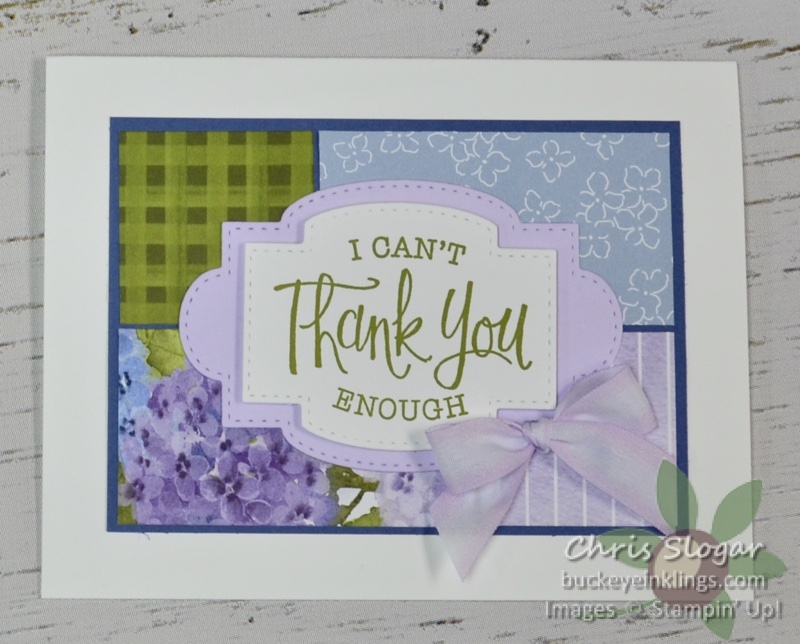
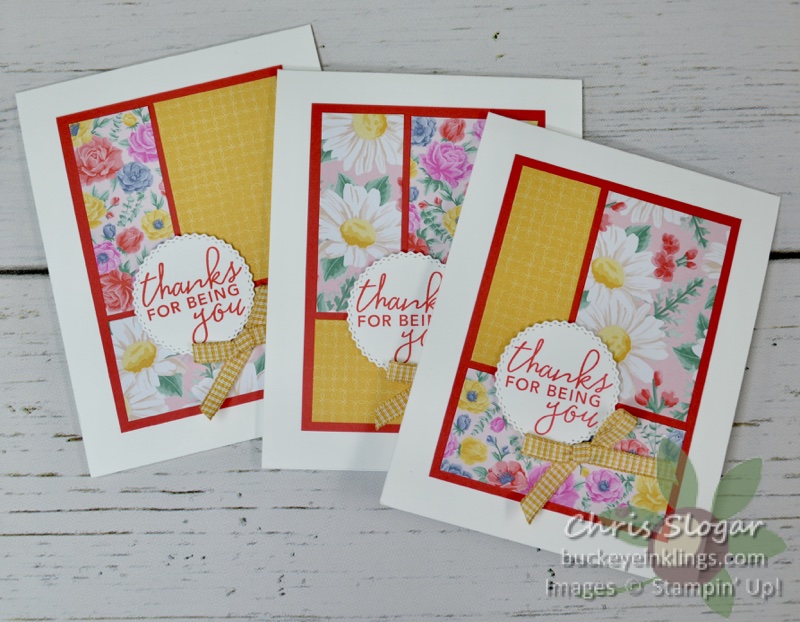
On this week’s Facebook Live, I made a few simple patchwork patterns to use as card backgrounds. Our coordinating designer papers are so great for this! These samples use the Hydrangea Hill collection.

I am presenting the pictures and dimensions are here for easy reference, but you may need to see the video for complete instructions. Please click here to see the video – and please join the Buckeye Inklings Stampers Group on Facebook to get notifications of all of my live videos.

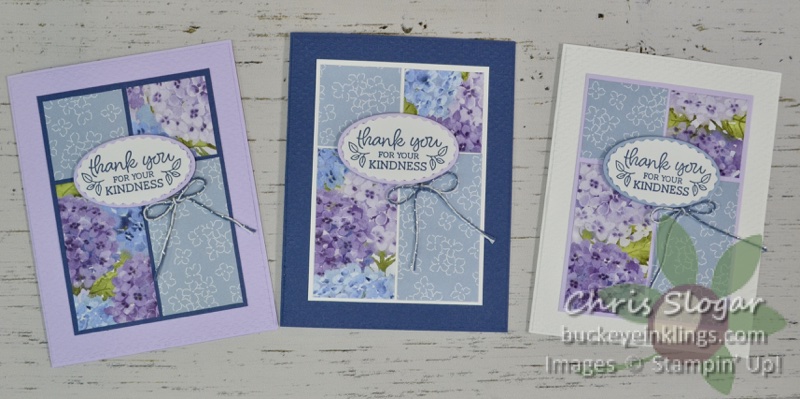
While I am showing three base colors here, these two-pattern backgrounds are easiest to make in pairs. The greetings are from the Oval Occasions Bundle.

I started with two patterns of the paper, each measuring 3″ x 4 1/4″. I lined them up together on my trimmer and cut them in half vertically (at 1 1/2″), and then I cut 1 1/2″ from the top in the other direction. The eight pieces created were then arranged on two mats, each measuring 3 1/4″ x 4 1/2″.

The next group of backgrounds were made from designer paper pieces of the same dimensions – except this time, I cut four patterns of the paper at the same time and arranged them differently. Cutting four papers provides the pieces for four backgrounds.

These backgrounds lend themselves to quick sets of cards, and the paper makes them so beautiful! The greeting and dies used here are from So Sentimental Bundle.

You can alter the mat and paper size as you please. I took the same concept, and I cut up a piece of the Hydrangea Hill paper that has a large all-over pattern. The Basic White mat measures 4″ x 5 1/4″, and the designer paper started as a 3 3/4″ x 5″ piece. The designer paper piece is cut at 1 1/2″ from the left edge, and at 2 1/4″ from the top.

The greeting here is from Healing Hugs.

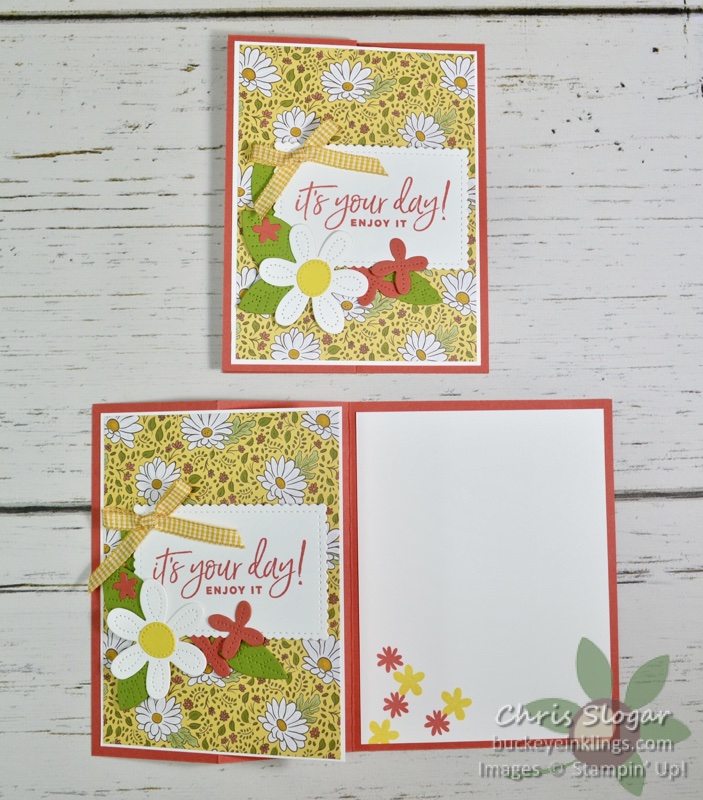
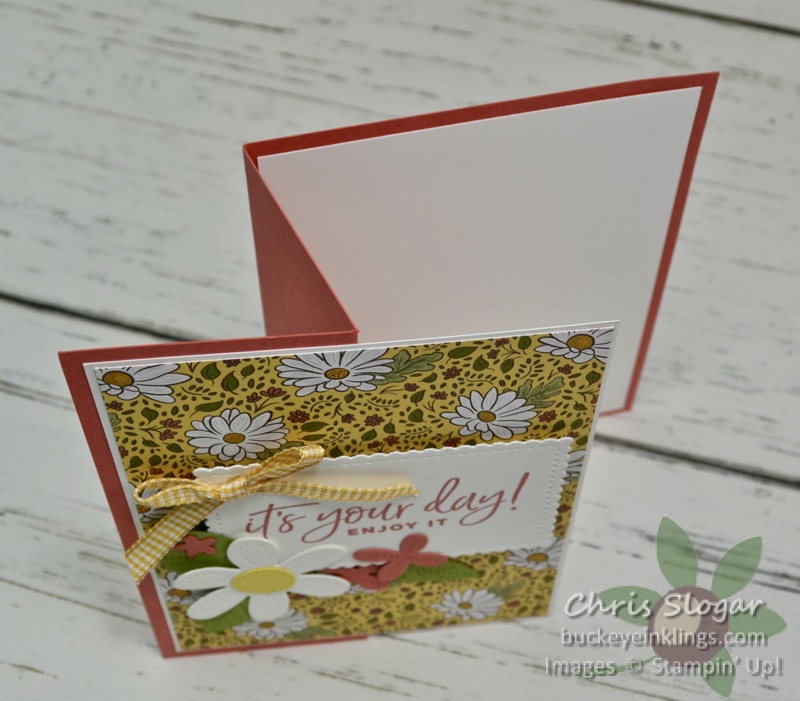
I showed another great use of designer paper on this card. I love a card front that is covered in a pretty pattern, but the z-fold of this card base makes it a little more interesting. I love how it stands for display! I CASEd this card from Paula Reid of Yellow Bear Stamping.

The Terracotta Tile base measures 5 1/2″ x 8 1/2″, scored at 2 1/8″ and 4 1/4″. The Basic White mats measure 4″ x 5 1/4″, and the Ornate Garden paper measures 3 7/8″ x 5 1/8″.

The greeting here is from Happiest of Birthdays, and the stitched scalloped rectangle is from the Stitched So Sweetly dies.

Thank you for checking out my projects today! If you need any of our fabulous products, please click here for the online store, or use the carousel below to go directly to a product used today.

Place a $35 order with Host Code QCZZJEGD in April, and I will send you a package of Pearl Basic Jewels and a handmade card. This is my way of sharing the Stampin’ Rewards with you – I appreciate your business!!
Chris_buckeye_signature_rose_final

Four Season Floral

Inspired by the list of sale items on the Last-Chance list, I pulled out my Flowers for Every Season designer paper. I made a simple patchwork of pieces on a 3 1/4″ x 4 1/2″ Poppy Parade mat. The designer paper pieces measure 1 1/8″ x 2 3/4″, 1 3/4″ x 2 3/4″ and 3″ x 1 3/8″.

The greeting is from the Simply Citrus Kit.

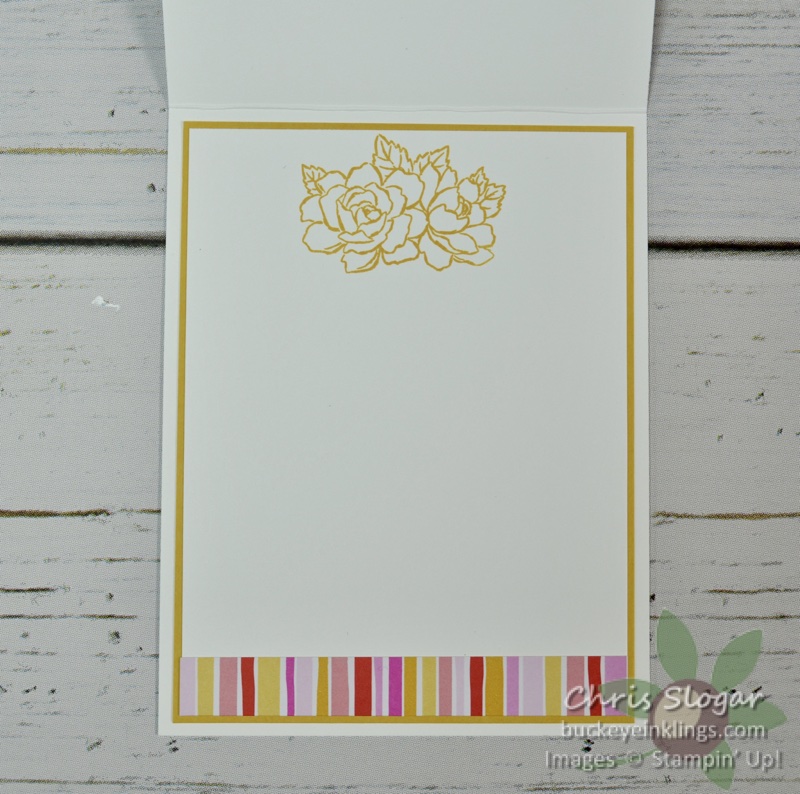
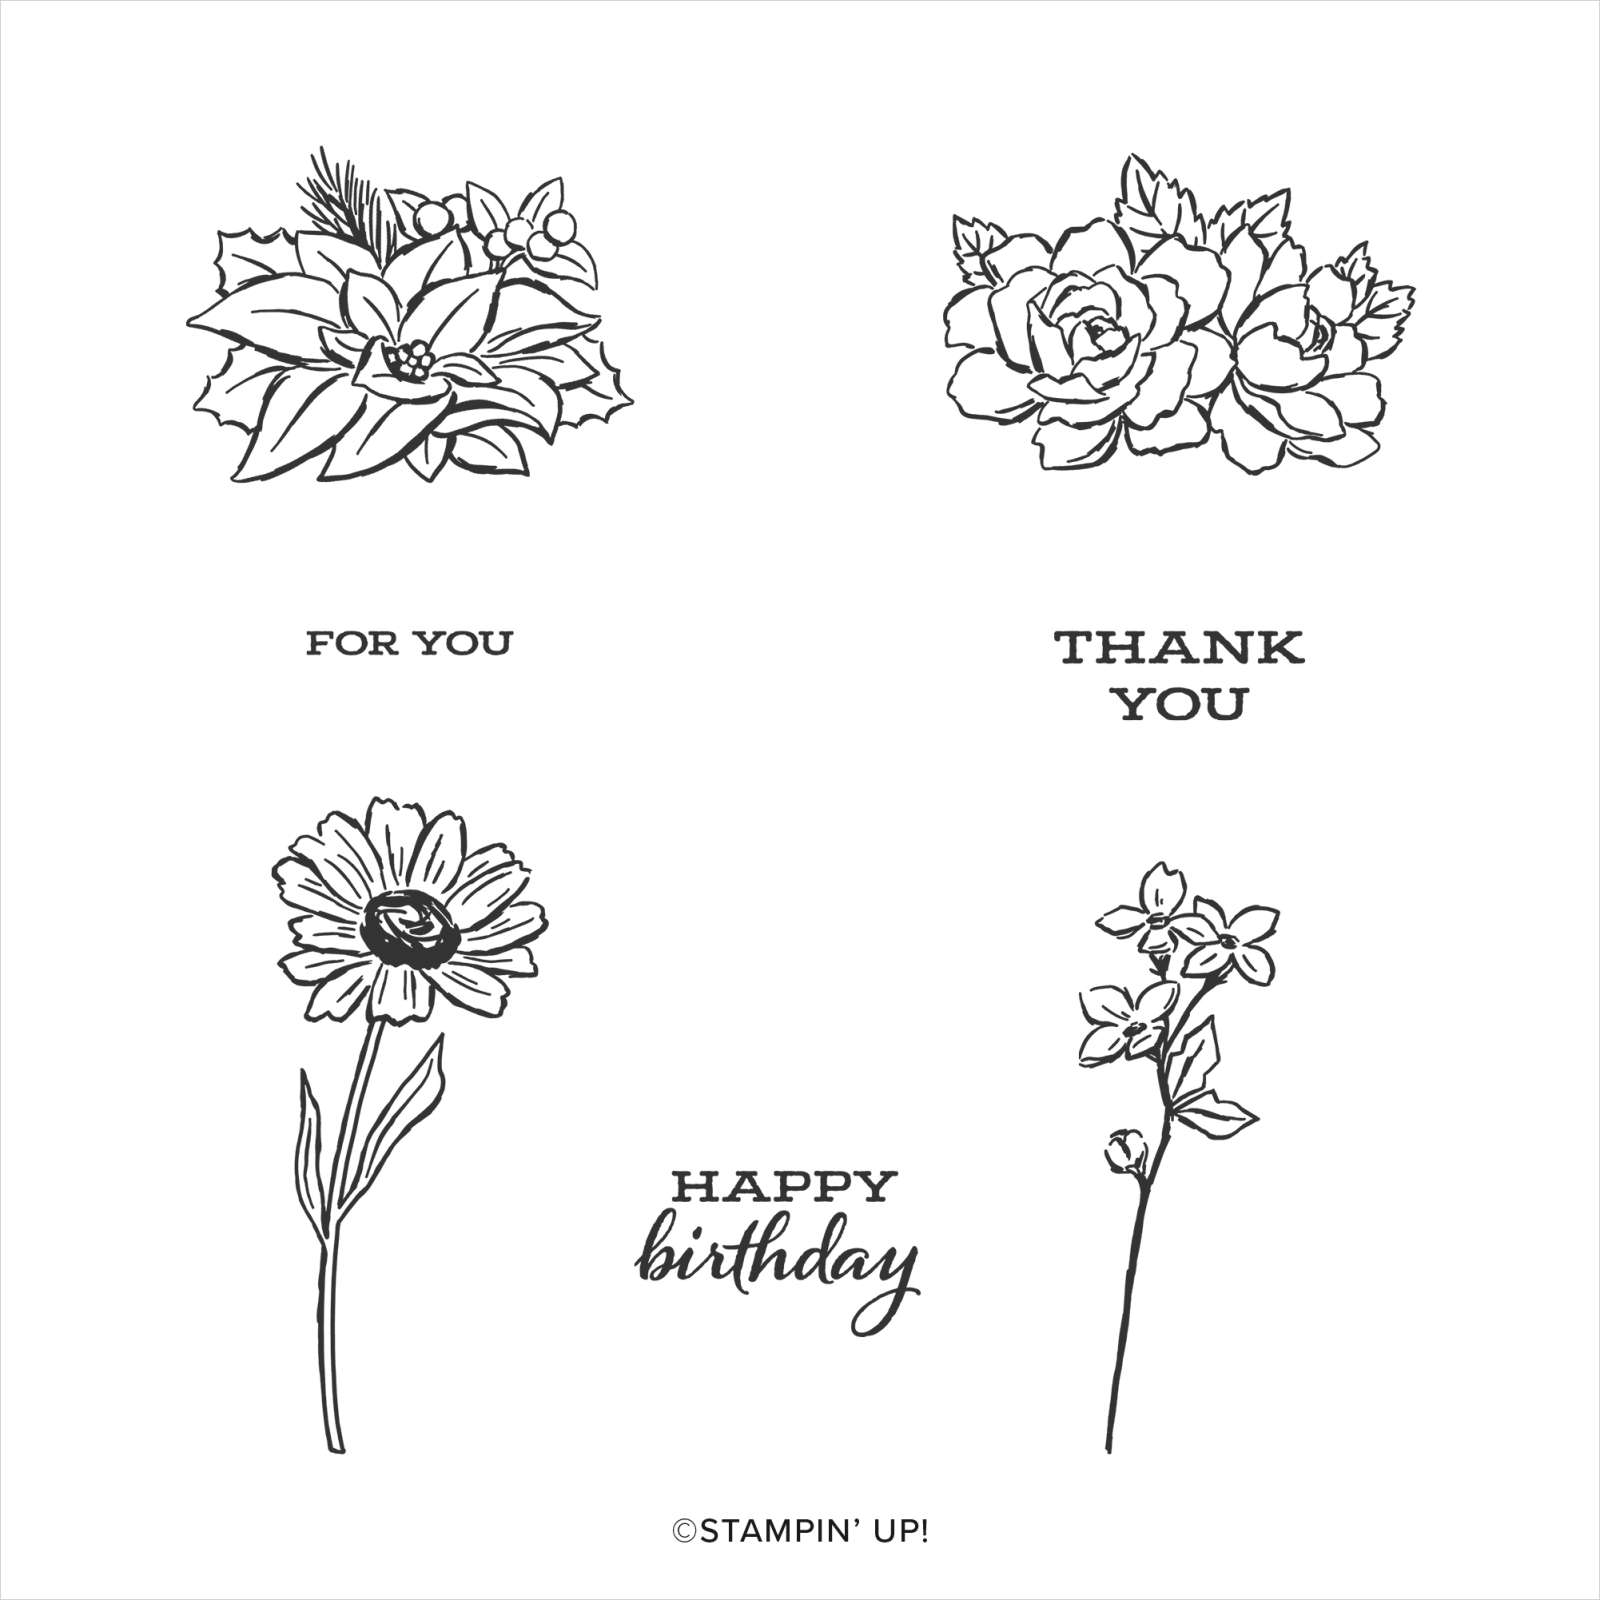
I love to use the scrappy strips on the insides of my cards, too. This 48-sheet pack of paper is on sale for $6.90, and did you notice the stamped flower? The coordinating stamp set has an image for each season, and it is also on sale – for only $5.60!

FOUR SEASON FLORAL PHOTOPOLYMER STAMP SET (EN)

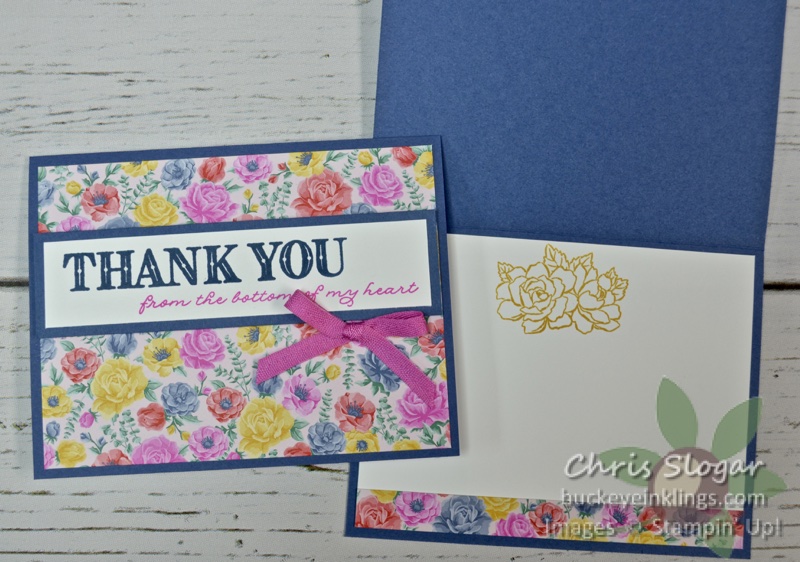
I CASEd Terri Meehan for this card, and it uses another of the beautiful patterns in this designer paper pack. The greeting is from Ornate Thanks.

Click here to see the complete Last-Chance List

Thank you for checking out my card today! If you need any of our fabulous products, please click here for the online store, or use the carousel below to go directly to a product used today.

Place a $35 order with Host Code CSUHK4AJ in March, and I will send you a spool of Polka Dot Tulle Ribbon and a handmade card. This is my way of sharing the Stampin’ Rewards with you – I appreciate your business!!
Chris_buckeye_signature_rose_final

Last-Chance Products Sale

It happens every year – the time comes to say goodbye to some great products from our Annual Catalog! If you think it feels early this year, you are right. The 2021-2022 Annual Catalog goes live on May 4 this year, not in June.

Check out the list using the links below, and keep these things in mind…

  • Only select items in the 2020–2021 Annual Catalog will be discounted.
  • Sale applies to all order types except host items (see Last-Chance Products List for items on sale).
  • No minimum purchase is required.
  • Retiring items are available while supplies last.
  • Items and discounts may vary by market (depending on inventory levels).
  • Exclusions apply: Carryover items and some retiring items will not be discounted.
  • Deadline May 3, 2021, 11:59PM (MT)

Shop early for best selection!

Click here for the list in pdf form

Click here for the list in excel form

Chris_buckeye_signature_rose_final

Arrange a Wreath for Easter

Welcome to the Trip Achievers Blog Hop for March! You may just be starting the blog hop here at my blog (Chris Slogar) or may have come from the person previous to me in the list. If you get off track at any time, the full lineup below will help you move along through all of the projects.

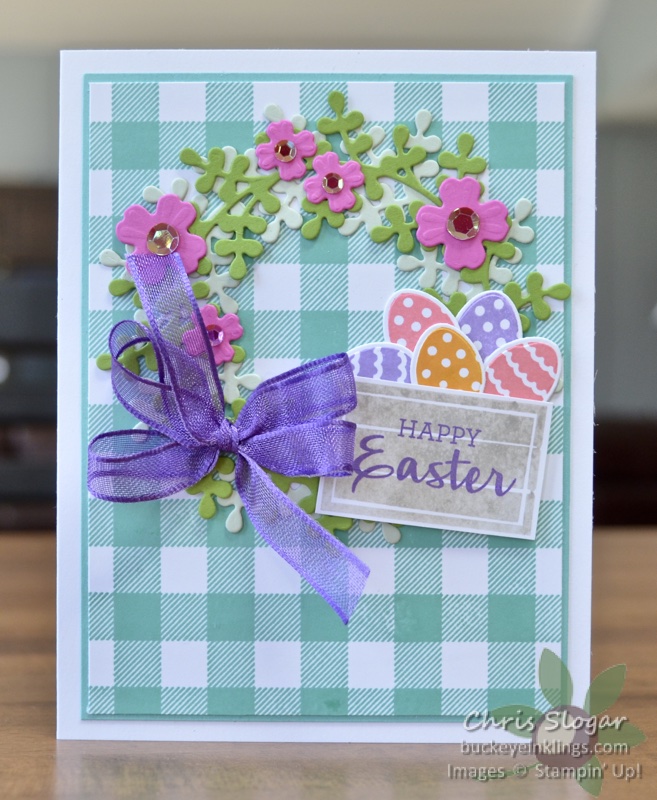
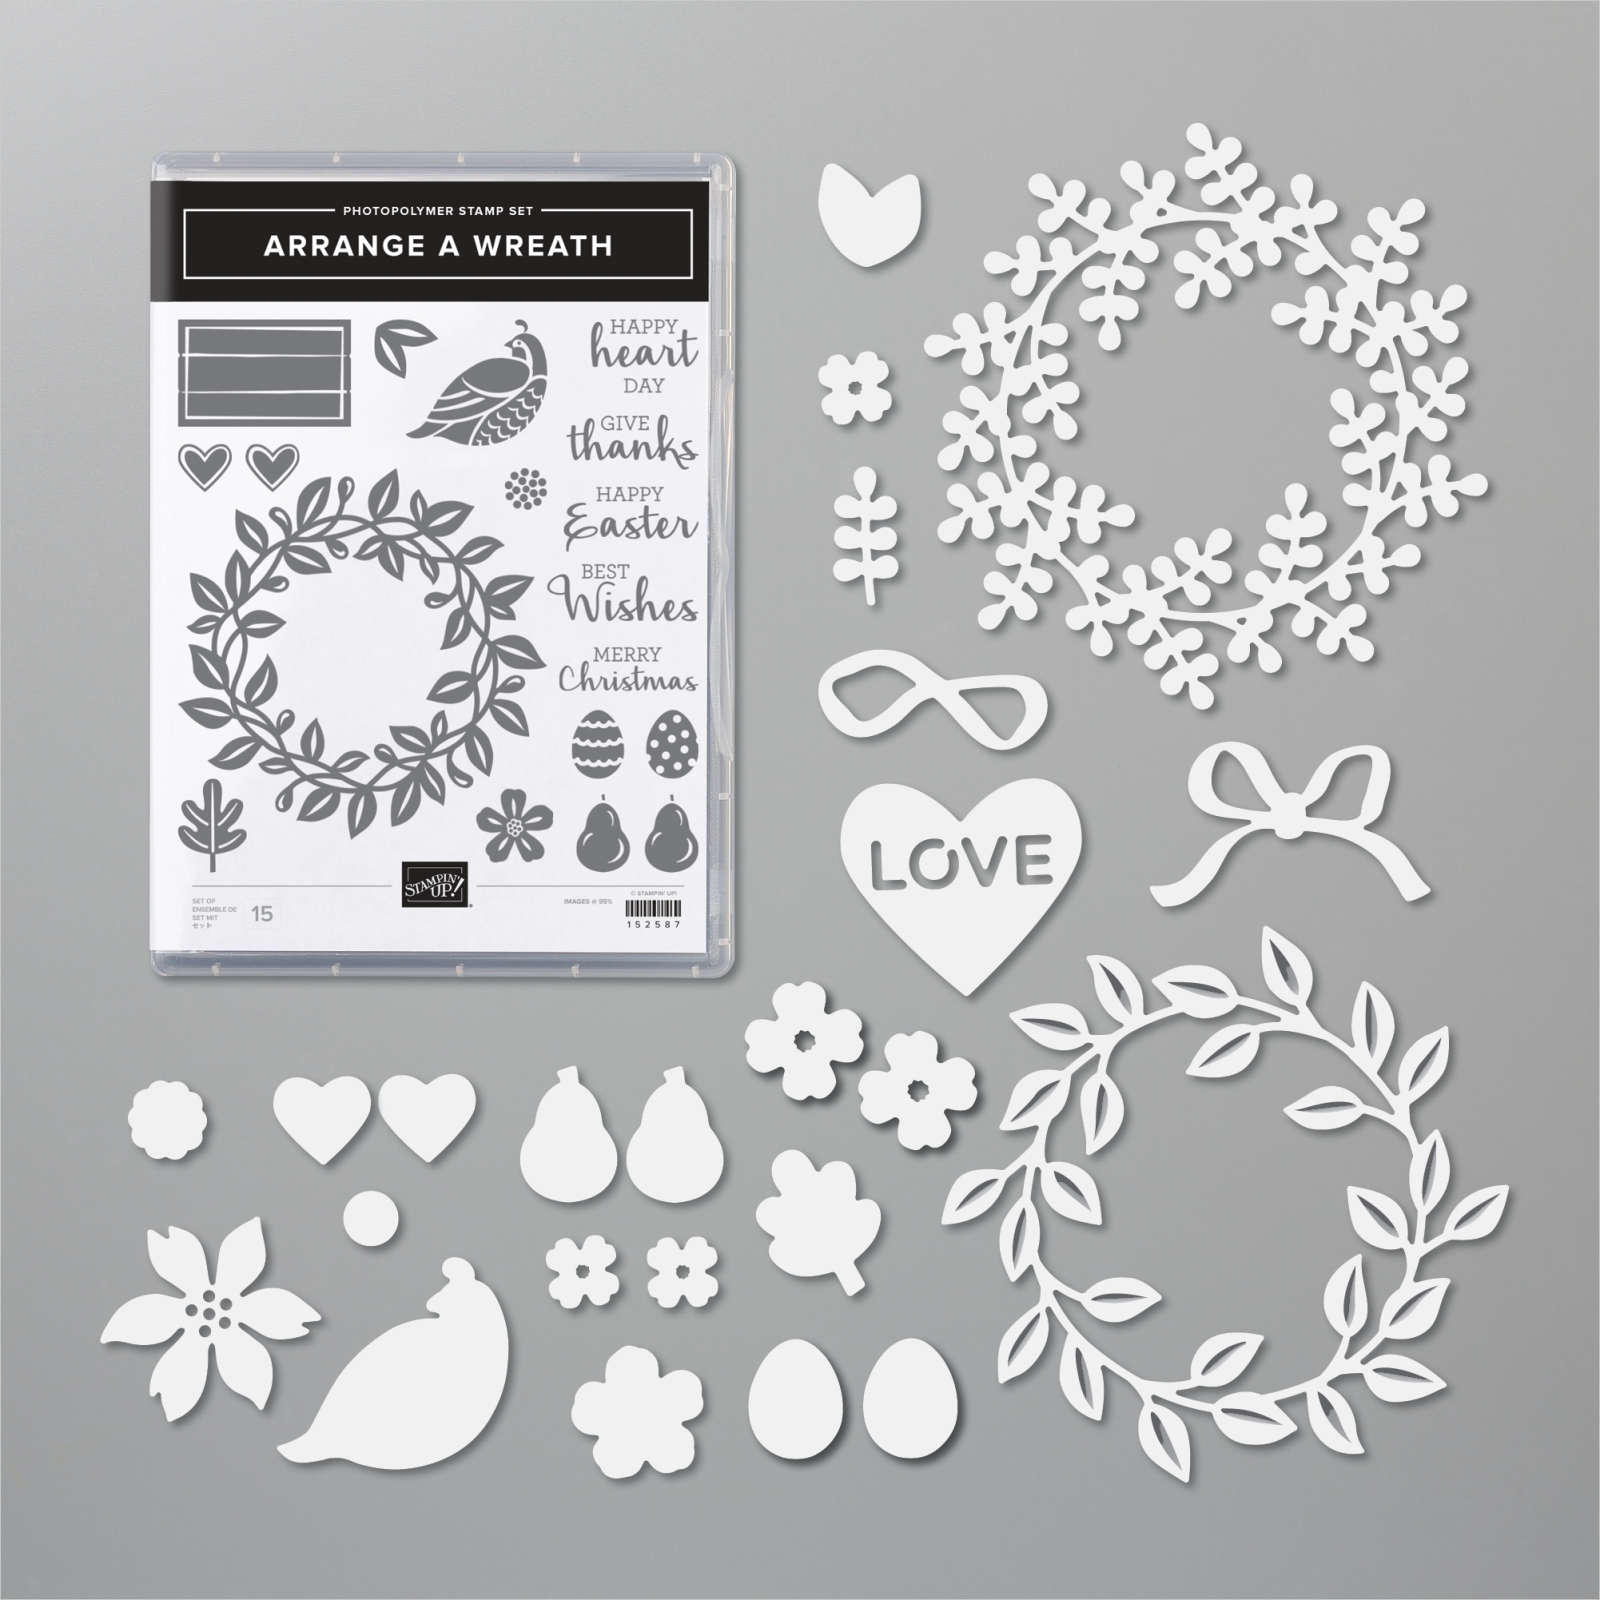
I chose to highlight a bundle that makes me happy in every season – the Arrange A Wreath bundle. For spring, I used the bundle to make an Easter wreath over a Coastal Cabana Buffalo Check background – there are so many happy brights here!!

The great thing about this bundle is its year-round appeal. You can make it to look different for any holiday or season. The stamps and dies are shown below.

ARRANGE A WREATH BUNDLE (ENGLISH)

Thank you for visiting my site. Please use the list below to continue to the next blog on the hop!


Chris_buckeye_signature_rose_final

Sand & Sea Birthday

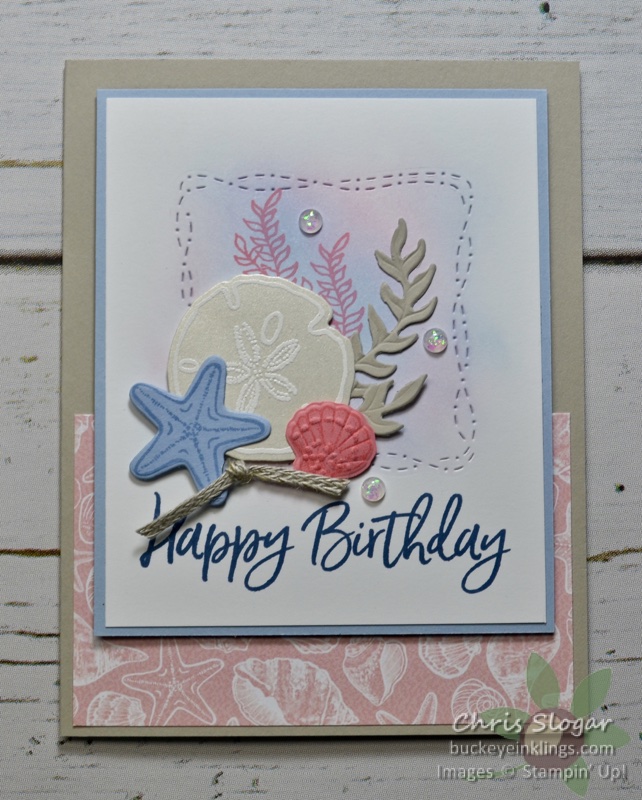
I just love the papers and elements from the Sand & Sea Suite – they are so fun to create with and arrange! The birthday greeting here is from “Sweet Ice Cream” and the stitched frame is from the Stitched With Whimsy collection.

Dimensions are as follows…

  • Sahara Sand 5 1/2″ x 8 1/2″, scored at 4 1/4″
  • Designer Paper 2 1/2″ x 4″
  • Seaside Spray 3 3/4″ x 4 1/2″”
  • Basic White 3 1/2″ x 4 1/4″

Thank you for checking out my card today! If you need any of our fabulous products, please click here for the online store, or use the carousel below to go directly to a product used today.

Place a $35 order with Host Code CSUHK4AJ in March, and I will send you a spool of Polka Dot Tulle Ribbon and a handmade card. This is my way of sharing the Stampin’ Rewards with you – I appreciate your business!!
Chris_buckeye_signature_rose_final

Hey Girlfriend

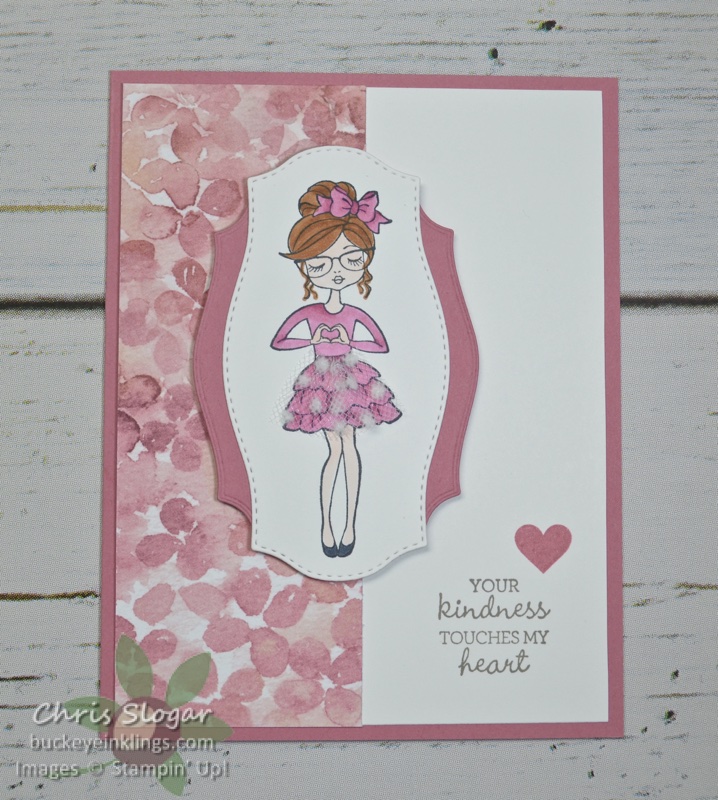
The Polka Dot Tulle on this girlfiend’s skirt is an idea that I got from a recent team swap. Debbie from my team used the tulle on her swap, over a different girlfriend’s Daffodil Delight skirt. So, thank you Debbie – I think this is adorable!

My gal is colored with Rococo Rose Blends. After coloring, I simply added a small piece of Tear and Tape at her waist and pressed two short lengths of tulle to it, pinching the ends together to gather the “skirt” at her waist. The tape itself is barely noticeable under the tulle.

Don’t forget to place your order by 11:59 pm MT today to take advantage of the free shipping for orders of $50 or more! Please click here for the online store, or use the carousel below to go directly to a product used today.

Place a $35 order with Host Code CSUHK4AJ in March, and I will send you a spool of Polka Dot Tulle Ribbon and a handmade card. This is my way of sharing the Stampin’ Rewards with you – I appreciate your business!!
Chris_buckeye_signature_rose_final

FREE Shipping – March 17!!

Please use my monthly Host Code CSUHK4AJ orders under $150, and I will send you a spool of Polka Dot Tulle and a handmade card. Orders over $150, take your own Stampin’ Rewards, and you will also receive my gift. I appreciate your business!

Chris_buckeye_signature_rose_final

Triple Flap Cards

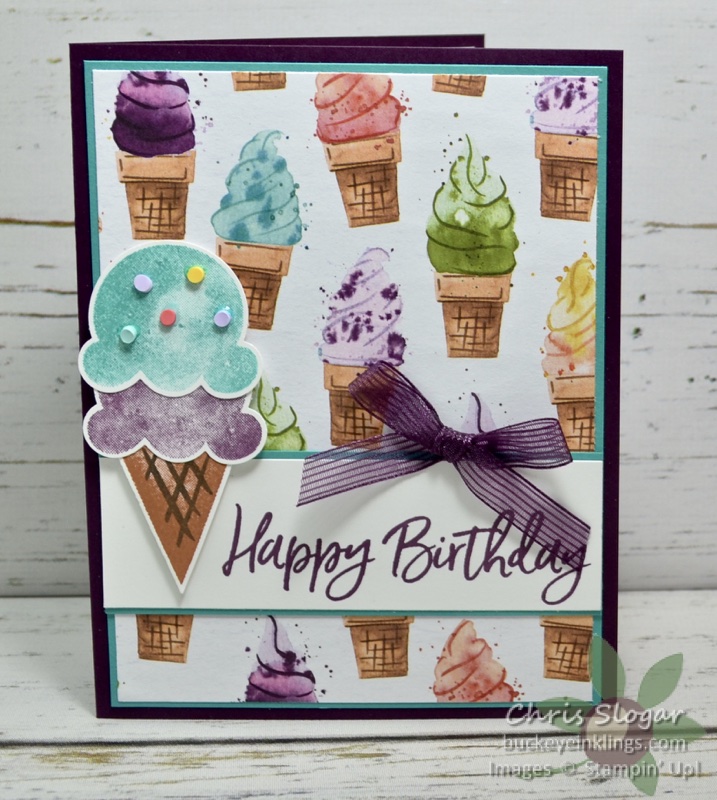
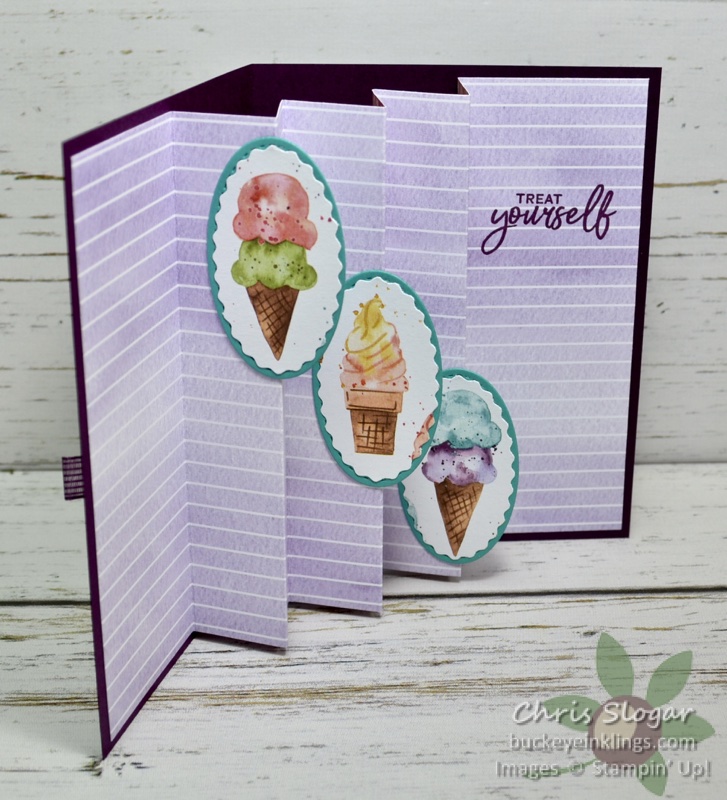
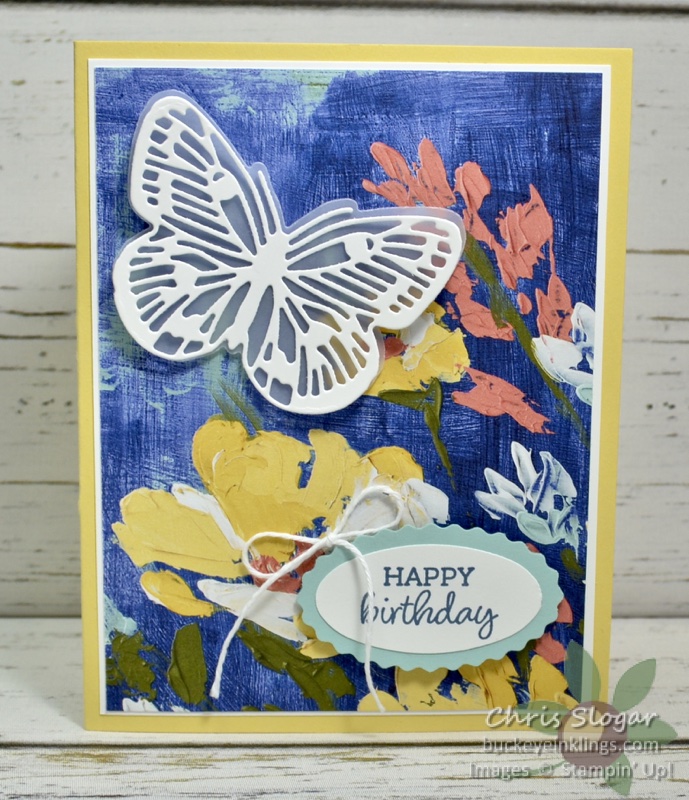
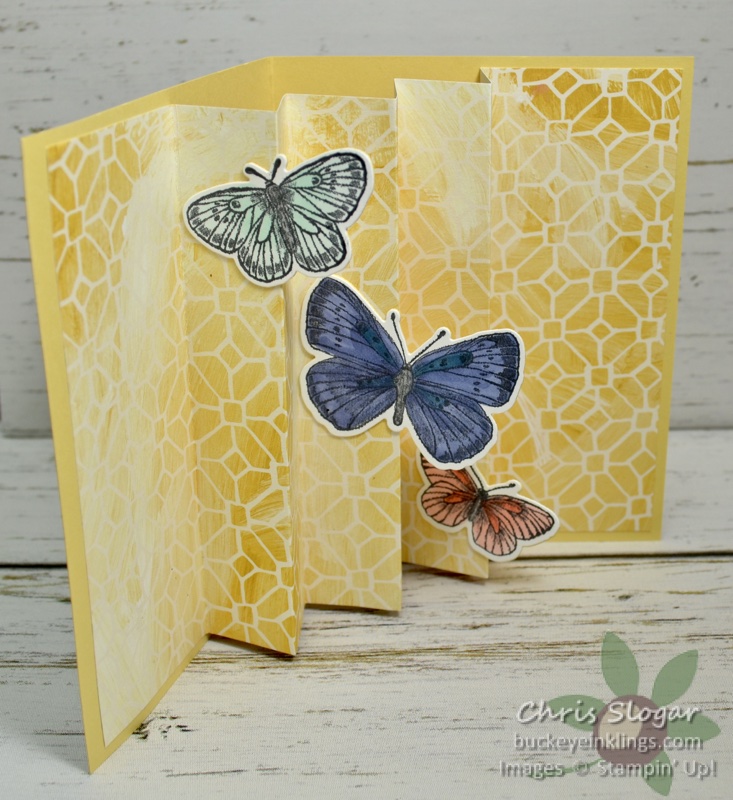
I used our beautiful new Butterfly Bouquet Suite on this fun fold. It is a CASE of a card by Kathrin Fuchs of Stempelfux, and it is beautiful in so many themes! We made it in our weekly team meeting, and I also showed it in this week’s Facebook Live.

The card opens in three directions. Complete instructions are in the video below. If you are receiving this post in an email, please click here for the video.

Dimensions are as follows…

  • Cardstock base 8″ x 8 1/2″
  • Cardstock mats (4) 2 7/8″ x 2″ and (2) 2 3/8″ x 4 1/8″
  • Designer paper (4) 2 3/4″ x 1 7/8″ and (2) 2 1/4″ x 4″
  • Basic White 4″ x 5 1/4″

The Butterfly Bouquet products are available now, as an early release from our upcoming 2021-2022 Annual Catalog.

***Edited to add base diagram (pictured above) 3/13/21***

I like to use my trimmer to make the cuts on my base piece, and that is the method I show in the video. However, if you prefer to cut this with scissors, or by your own methods, the resulting base piece is shown above. Start with cardstock that measures 8″ x 8 1/2″, and score and cut as shown.

******************************

A few more examples…

Sand & Sea Suite with Happy Thoughts stamp set

Ice Cream Corner Suite

Thank you for checking out my projects, and thanks for any support you can give me in likes, follows, and shares on my social media.

If you need any of our fabulous products, please click here for the online store, or use the carousel below to go directly to a product used today. (I am excluding cardstock and ink from the carousel today due to the number and variety of projects.)

Place a $35 order with Host Code CSUHK4AJ in March, and I will send you a spool of Polka Dot Tulle and a handmade card. This is my way of sharing the Stampin’ Rewards with you – I appreciate your business!!
Chris_buckeye_signature_rose_final

In Bloom

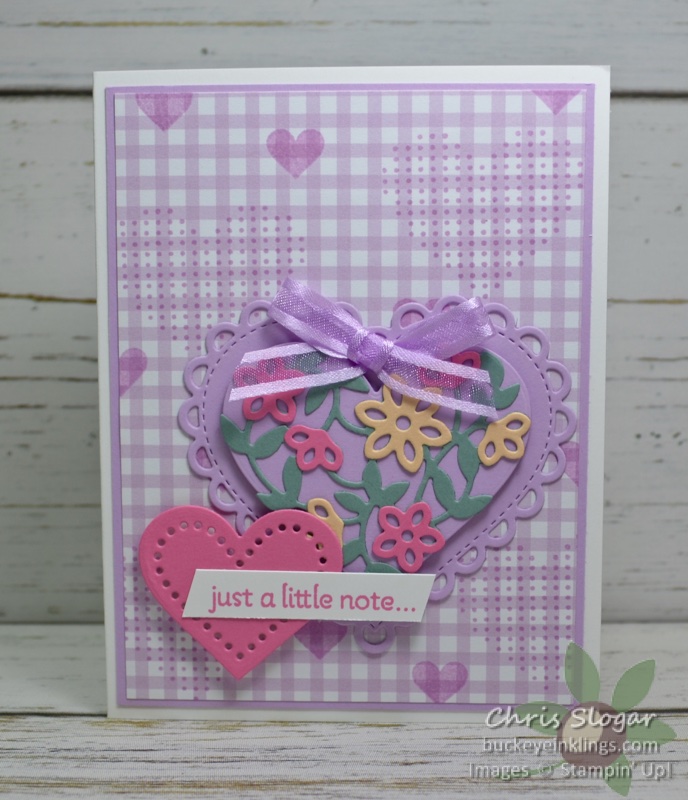
This is a quick and easy card, thanks to the number of dies (25) included with the In Bloom bundle. It only took a couple of passes to cut all of these flowers and leaves – I simply loaded up the platform each time, and I even have some die cuts left over!

I used designer paper patterns from our upcoming catalog – they will be available in May. This layout would be great for use with Memories & More Cards as well. Dimensions are as follows…

  • Just Jade 4 1/4″ x 8 3/4″, scored at 5 1/2″
  • Designer Paper (2) 3″ x 4″
  • Magenta Madness 3 1/4″ x 4 1/4″
  • Basic White 4″ x 5 1/4″

I love that the stamped insert peeks out and compliments the die cuts so perfectly!

Thank you for checking out my card today! If you need any of our fabulous products, please click here for the online store, or use the carousel below to go directly to a product used today.

Place a $35 order with Host Code CSUHK4AJ in March, and I will send you a spool of Polka Dot Tulle Ribbon and a handmade card. This is my way of sharing the Stampin’ Rewards with you – I appreciate your business!!
Chris_buckeye_signature_rose_final
WordPress theme: Kippis 1.15