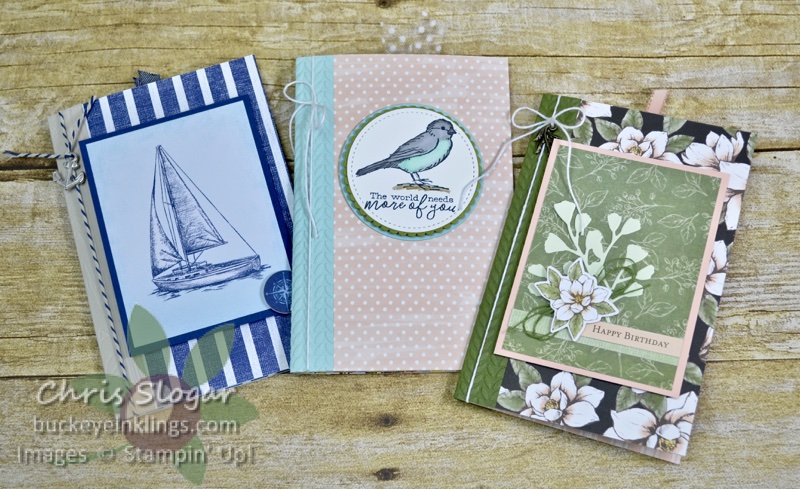
Fun Folds in Fun Colors

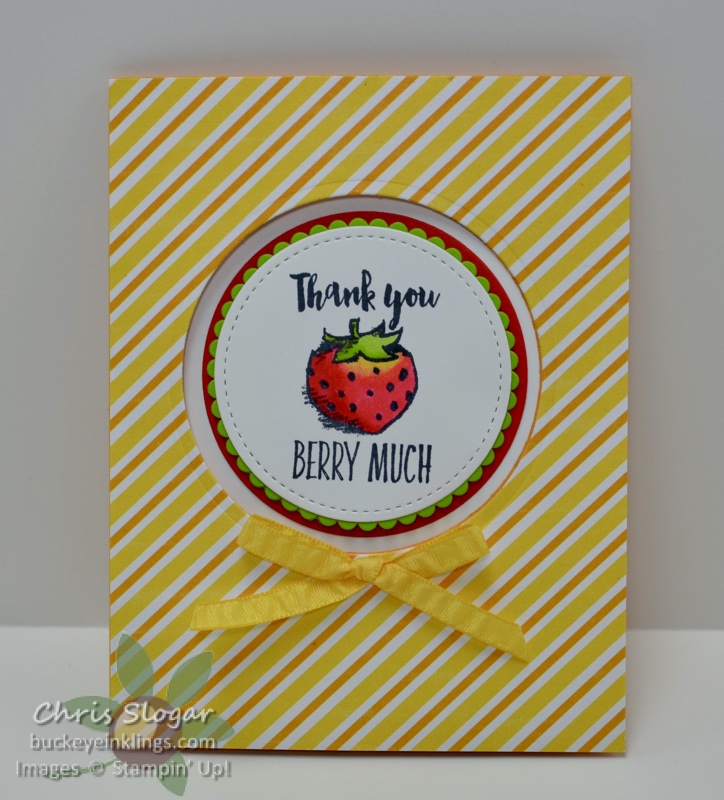
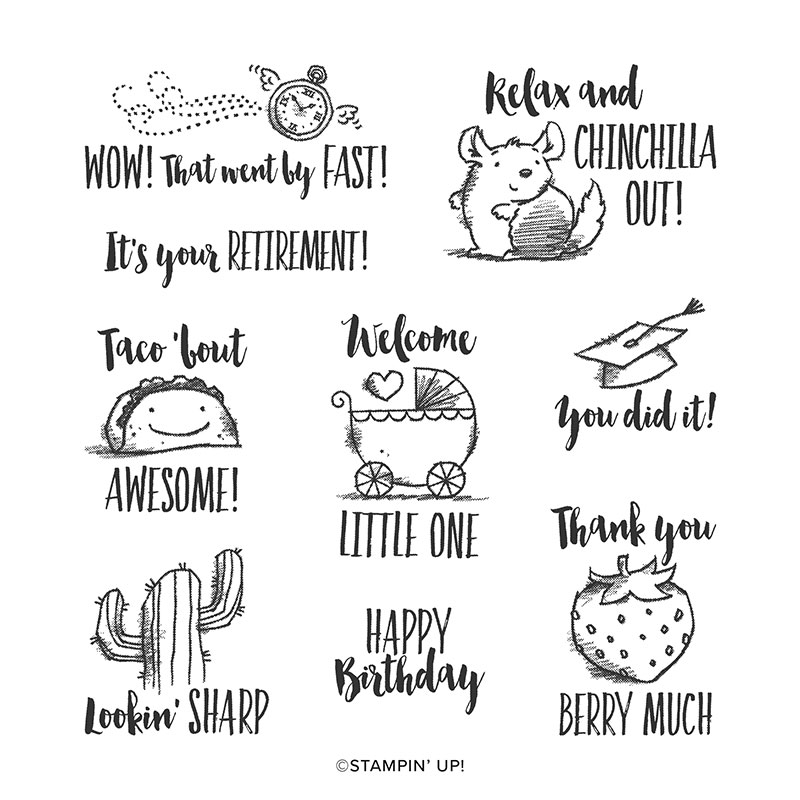
This Peekaboo Window card is one of the card types I showed on Facebook Live last night. It is a great layout to highlight a small image. I used one of my favorites from “Witty-cisms” (shown below). This stamp set will be retiring this month, and I am going to miss it!

These are great images to color, and I used my Blends on the strawberry – Dark and Light Poppy Parade, Dark and Light Granny Apple Green, Dark Daffodil Delight, and Dark Basic Black.

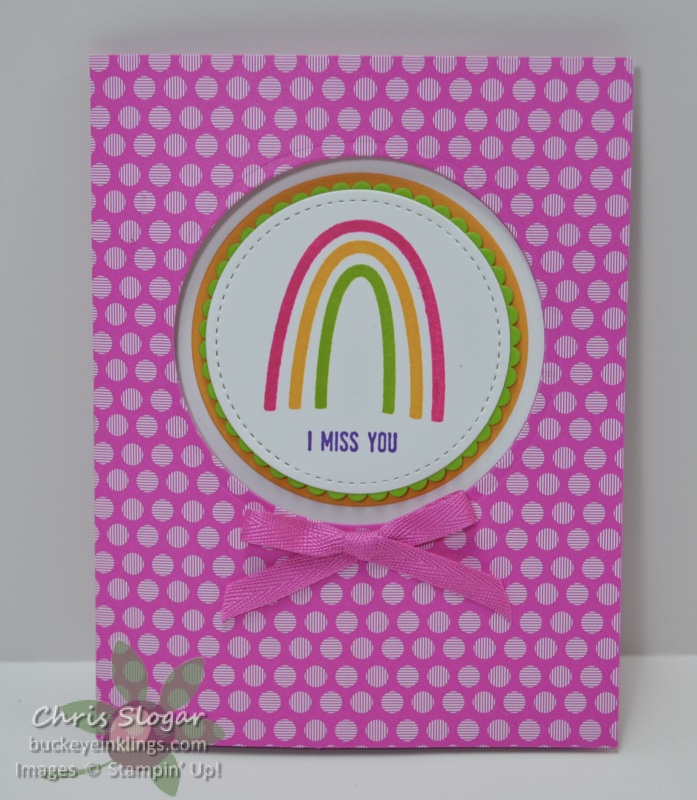
Here’s where the color gets even more fun! I made the same layout as shown above in one of our new In Colors, Magenta Madness. I used the multi-step rainbow stamps from this month’s Paper Pumpkin and a greeting from “Itty Bitty Greetings”. The ink colors are Melon Mambo, Mango Melody, Granny Apple Green, and Gorgeous Grape.

The card opens as shown above. The Magenta Madness card base measures 5 1/2″ x 8 1/2″, scored at 4 1/4″. The Whisper White insert measures 5 1/4″ x 8″, scored at 4″. I cut a circle in the front of the card with the largest of the Stitched Circles dies, and I layered additional circles on the insert.

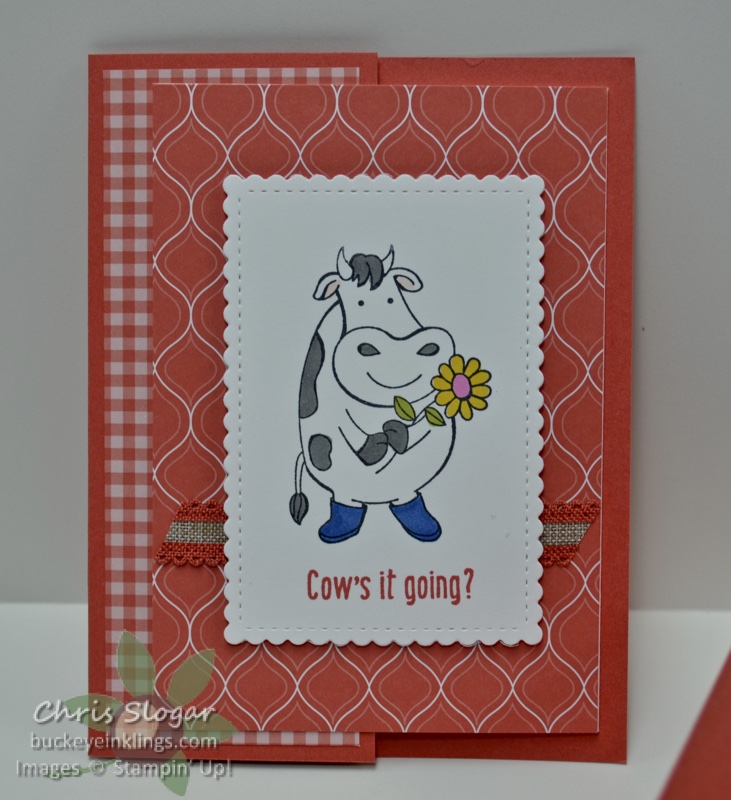
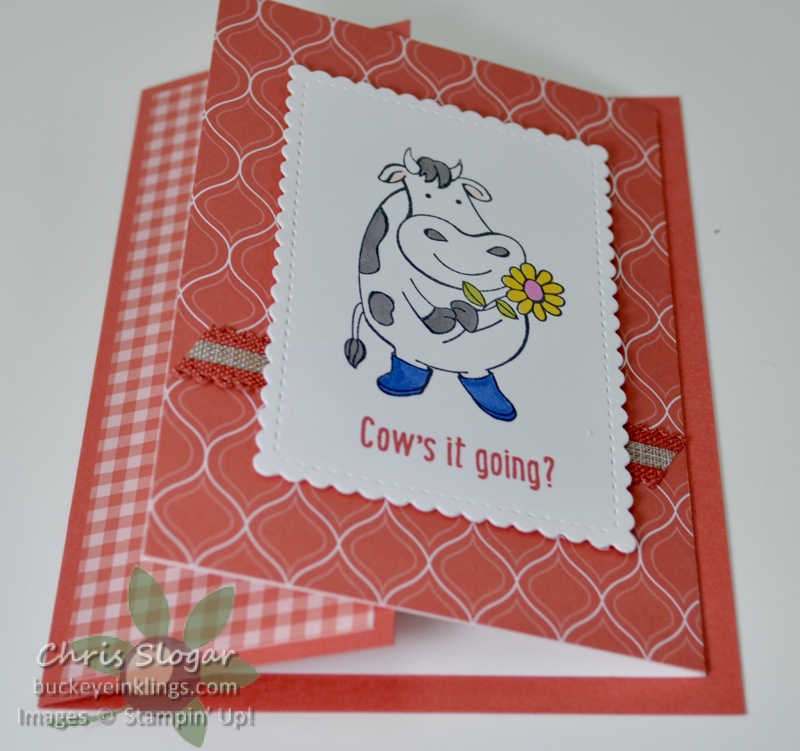
The Peekaboo cards remind me of the Joy Fold layout, which also has a flap that opens in each direction. I made this card type with another of my favorite retiring stamp sets, “Over the Moon”.

The card base is not full-width on the front, and it is overlapped by the folded insert piece. In this case, the Terracotta Tile measures 5 1/2″ x 6 1/2″, scored at 4 1/4″. I used a precut and scored Whisper White note card which is 5″ x 7″, scored at 3 1/2″. The designer paper pieces measure 2″ x 5 1/4″ and 3 1/2″ x 5″.

The insert piece can be made any size, and the card can also be made in the landscape orientation. This is a fun card type to modify to your needs – and of course, to show off coordinating designer paper.

I found a picture of one of my earliest class samples, from 2011! What a fun throwback! It is a Joy Fold with a much smaller insert piece. Does anyone else remember this cute stamp set?!

Thank you so much for checking out my cards! This post is meant as a supplement to last night’s Facebook Live, which you can see here. Please join the Buckeye Inklings Stampers group on Facebook to get all of my posts and notices of live videos. Thank you for your support!

Chris_buckeye_signature_rose_final

Birds & Branches Sneak Peek

Image may contain: text

Welcome to the Trip Achievers Blog Hop for May! You may just be starting the blog hop here at my blog (Chris Slogar) or may have come from the person previous to me in the list. If you get off track at any time, the full lineup below will help you move along through all of the projects.

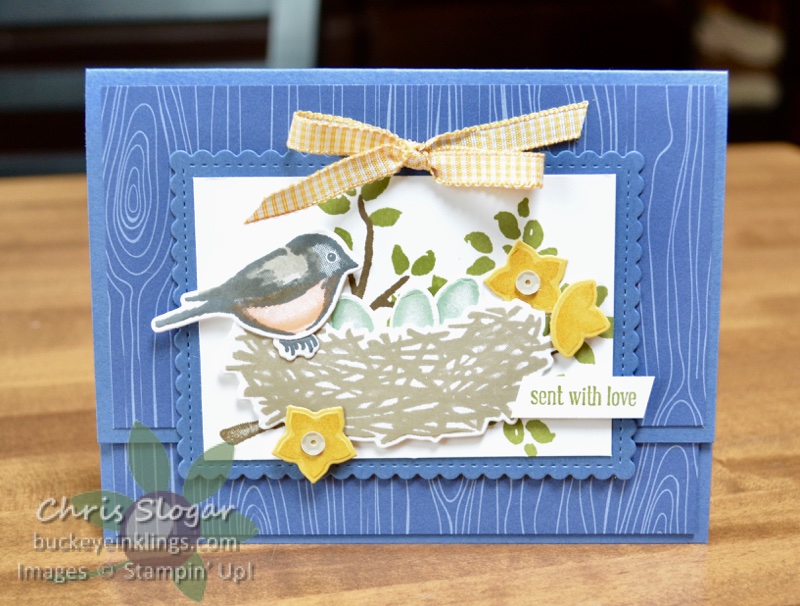
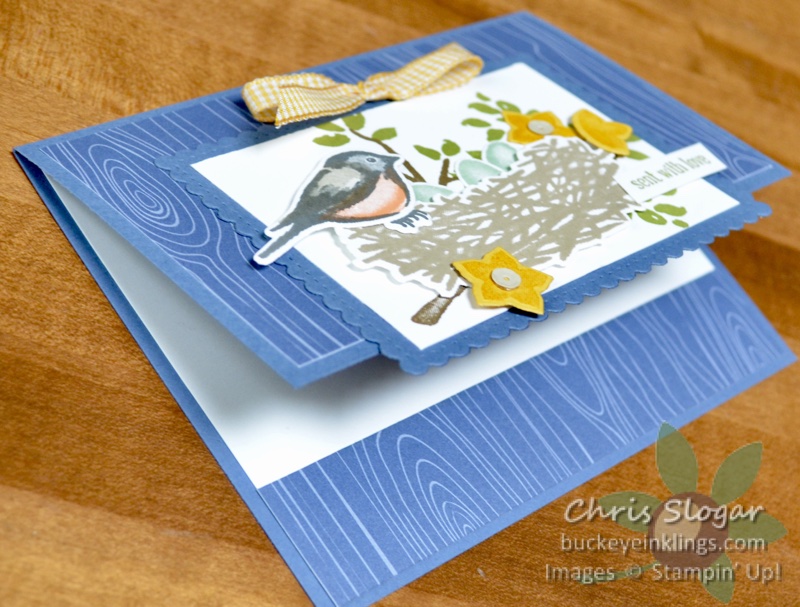
I chose to highlight the Birds & Branches bundle from our upcoming 2020-2021 Annual Catalog, and I created this cute little scene. This card also shows off two of our new In Colors – Misty Moonlight and Bumblebee. I adore the new Bumblebee gingham ribbon!

The card itself is a very simple fun fold. I have cut off 1″ of a standard 4 1/4″ x 5 1/2″ card front. The designer paper pieces measure 3″ x 5 1/4″ and 1″ x 5 1/4″. The scalloped stitched rectangle die is from the Stitched So Sweetly collection.

Thanks so much for checking out my card today! Please use the list below to travel to all of the other participants’ sites.

Chris_buckeye_signature_rose_final

Magnolia Lane Memories & More

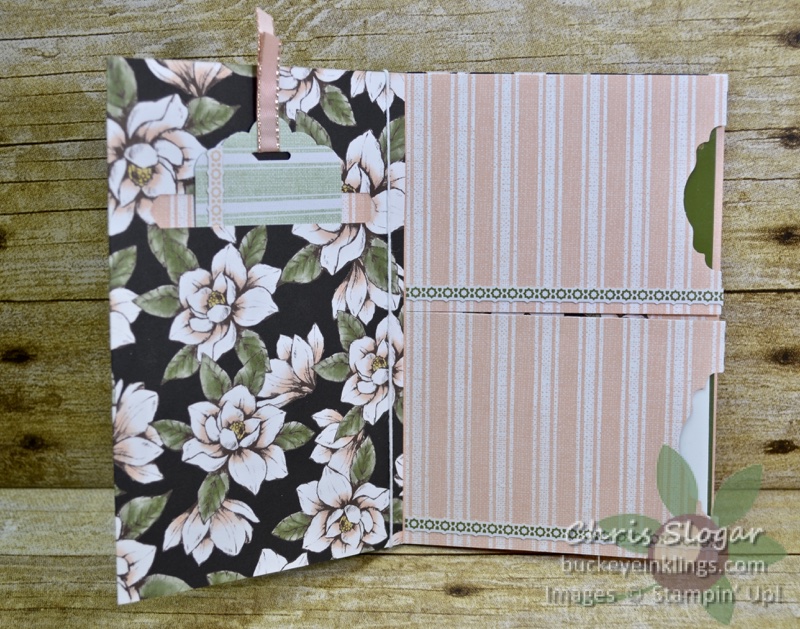
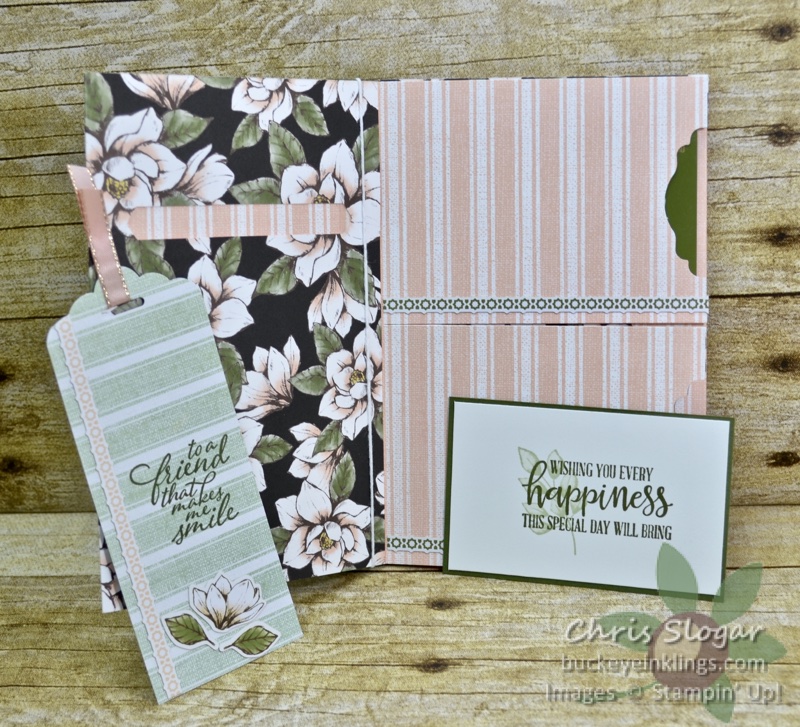
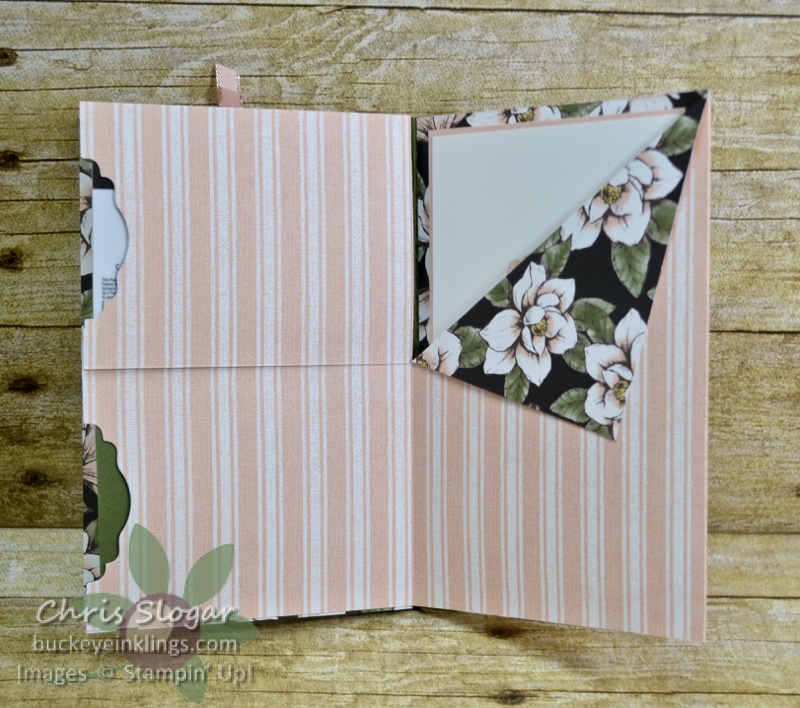
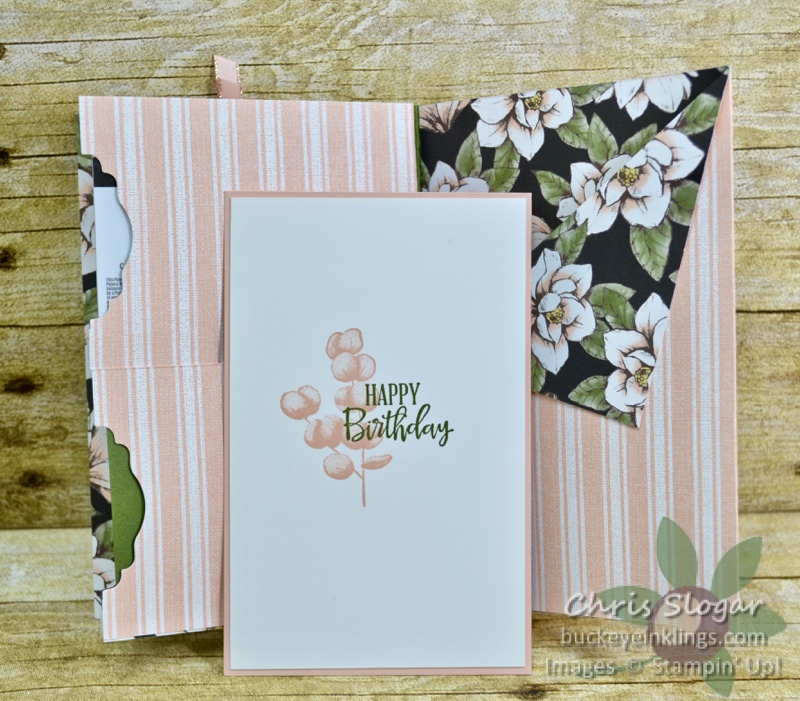
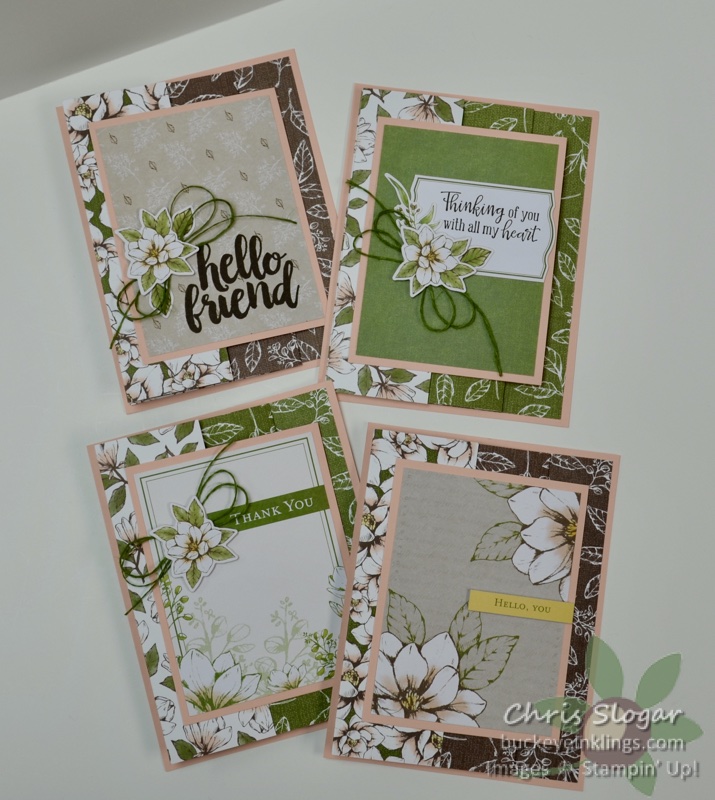
These cards follow the same layout I presented on Facebook Live a few weeks ago (click here for details). The designer paper is a long piece that is accordion-folded, and the focal points are primarily cards and stickers from the Memories & More card packs. This is a great layout for any of our papers, so make sure to check out the original post for more details.

The greetings I have added are from Seriously the Best (hello friend) and Peaceful Moments (Thinking of you with all my heart).

Chris_buckeye_signature_rose_final

Impossible Boxes

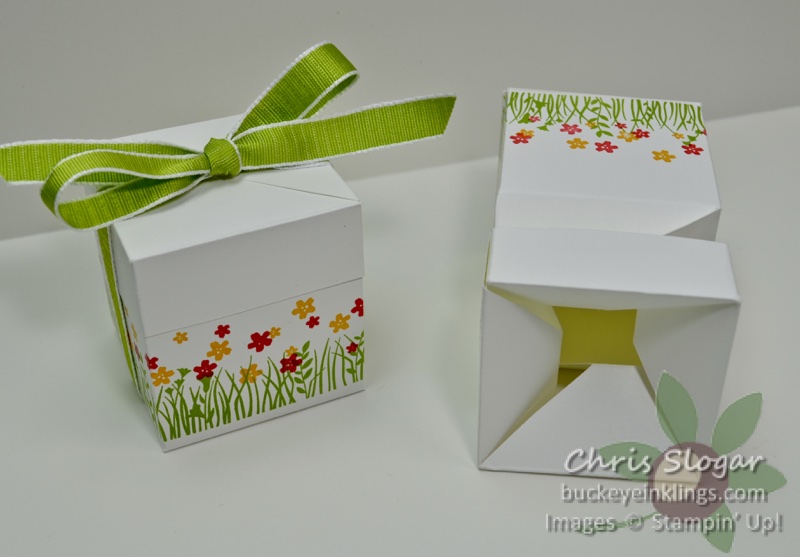
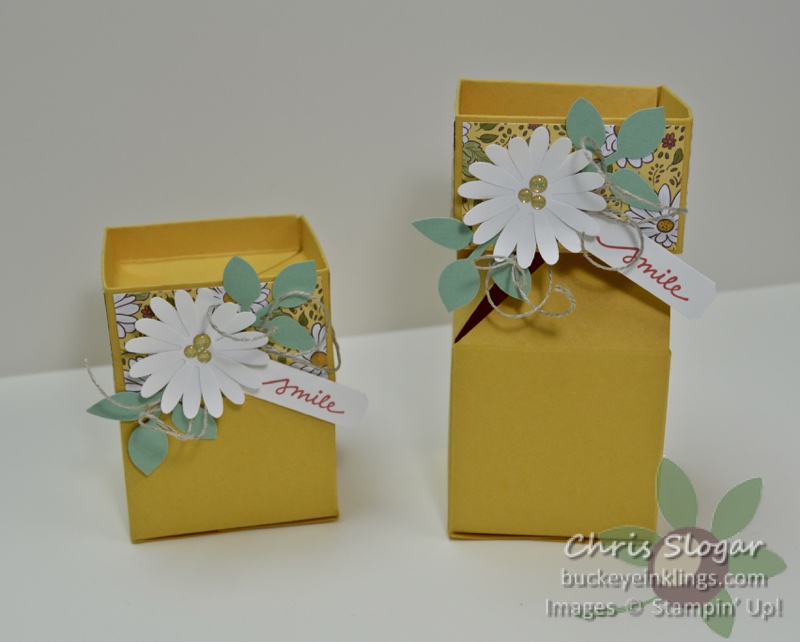
I made Impossible Boxes last night on Facebook Live. These boxes are made from one piece of cardstock that pulls apart to reveal an opening at the center of the top surface.

My first version is the simpler of the two. It is made on Whisper White cardstock, and I stamped the cardstock with stamps from the Field of Flowers stamp set that will be available in the upcoming 2020-2021 Annual Catalog. It has a flat top, and it is tied with coordinating ribbon.

Cardstock dimensions – Whisper White 7 1/2″ x 10 1/2″, scored at 2 1/2″, 5″, 7 1/2″ and 10″ on the 10 1/2″ side and at 1″, 2 1/4″, 3 1/2″ and 6″ on the 7 1/2″ side.

My second version has an extra ridge around the top edge. I also made it with a wider cuff piece to showcase a pattern from our lovely Ornate Garden designer paper. The greeting is from another upcoming stamp set, Lovely You.

Cardstock dimensions – Bumblebee 8 1/2″ x 10 1/2″, scored at 2 1/2″, 5″, 7 1/2″ and 10″ on the 10 1/2″ side and at 1 1/2″, 2″, 3 1/4″, 4 1/2″ and 7″ on the 8 1/2″ side; Designer Paper pieces 1 3/8″ x 2 3/8″.

This post is meant as a supplement to last night’s Facebook Live, which you can see here. I have also made a YouTube video (below) for the Bumblebee version. If you are receiving this post in an email, please click here for the YouTube video.

I can’t include a carousel of all of these products, as some won’t be available until June 3. However, in the meantime, you can check out the Last Chance Products in my online store. Use Host Code JZJSR3X6 on a $35 or more order in May, and I will send you a package of Rhinestone Basic Jewels and a handmade card.

Chris_buckeye_signature_rose_final

Jar of Flowers Sneak Peek

The 2020-2021 Annual Catalog is on its way! If you would like a copy, please email me at stampyourworld@gmail.com with your address – I will be sending these out later this week! If you are a current customer (ordered in the past six months), you will automatically receive one, no need to request one.

The sales period for this catalog starts June 3, but Demonstrators get to order early. You can also choose products from this new catalog if you join as a Demonstrator during May. Please don’t hesitate to contact me if you would like to discuss this opportunity.

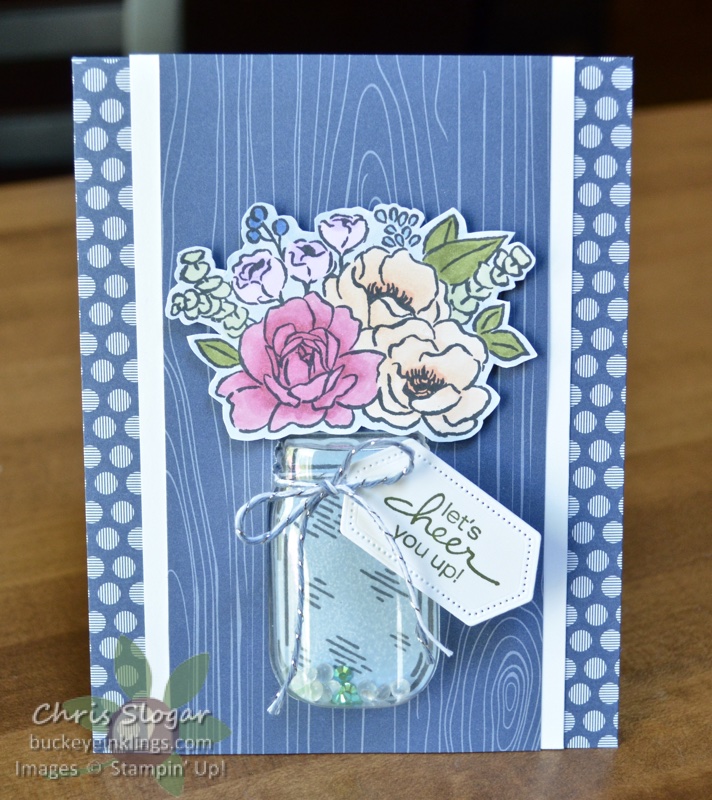
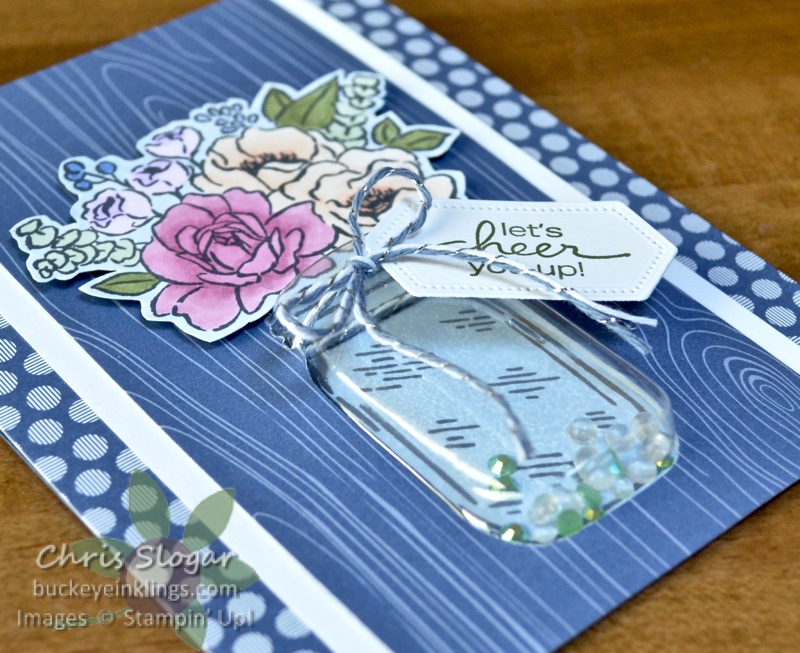
The first project I made from my preorder products uses the beautiful new Jar of Flowers Bundle. I made, well…a jar of flowers…

The bundle includes a punch to make the jar shape, and we will also have Mason Jar Shaker Domes to fit the punched opening and create a 3D element. The flowers are colored with our Stampin’ Blends.

I have also highlighted one of our beautiful new In Colors, Misty Moonlight, with this card. The greeting is from the upcoming set, Lovely You.

I can’t include a carousel of these products, as they won’t be available until June 3. However, in the meantime, you can check out the Last Chance Products in my online store. Use Host Code JZJSR3X6 on a $35 or more order in May, and I will send you a package of Rhinestone Basic Jewels and a handmade card.

Have a great Monday!

Chris_buckeye_signature_rose_final

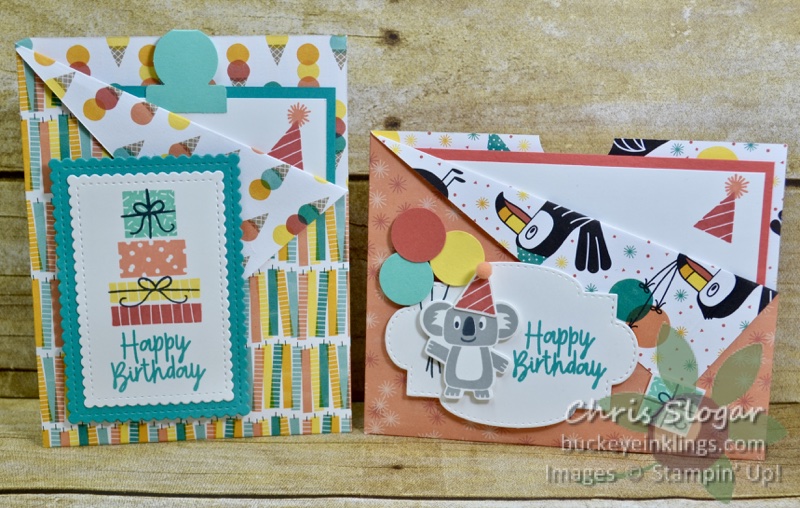
Slash Pocket Cards

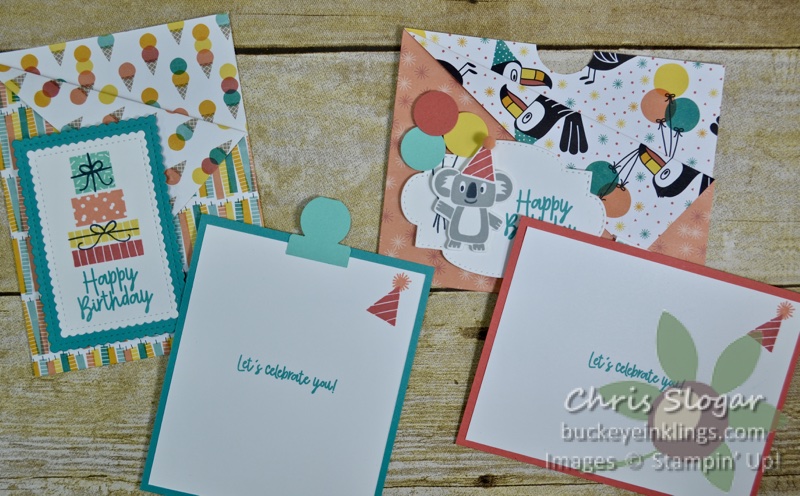
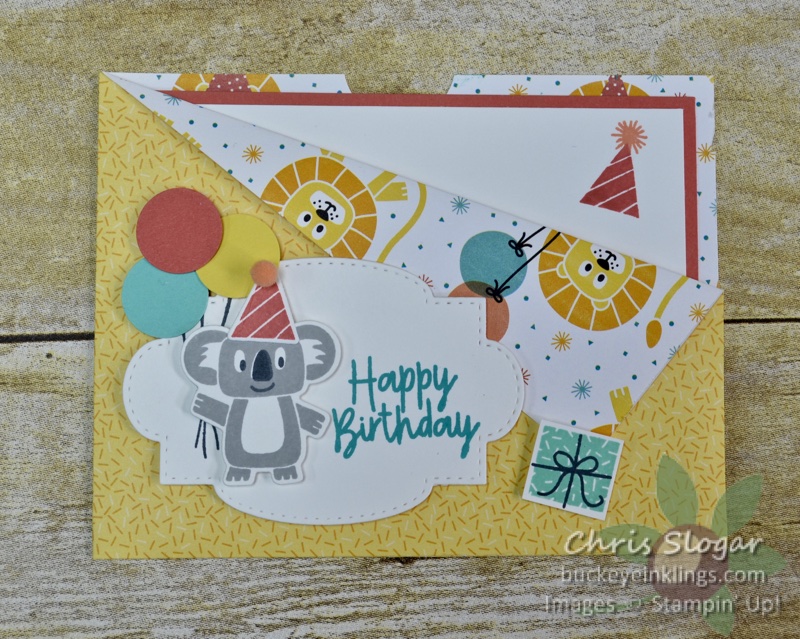
These pocket cards have a turned-down corner that reminds me of a “slash pocket” and I think that term is a good way to distinguish them from other pocket cards. These were the subject of this week’s Facebook Live.

Please join the Buckeye Inklings Stampers Group on facebook so that you won’t miss any of these live sessions – I need your support there!

You know how I love a project that shows off both sides of the designer paper! Even better if the project is appropriate for any theme, as this one is.

I also love the fact that this particular suite includes standard birthday images (like presents, candles, and balloons) along with the option of juvenile images. The papers, stamps, and dies are from the Birthday Bonanza Suite – and they are all retiring!

The dimensions are as follows:

Designer Paper (presents version) 6″ x 9″, scored at 1/2″ and 4 3/4″. Also score at 1/2″ from the bottom edge.

Bermuda Bay 4″ x 4 3/4″, Whisper White 3 3/4″ x 4 1/2″

Designer Paper (koala version) 4 3/4″ x 11 1/2″, scored at 1/2″ and 6″. Also score at 1/2″ from the bottom edge.

Terracotta Tile 4″ x 5 1/4″, Whisper White 3 3/4″ x 5″

Please refer the the video below for complete instructions. If you are receiving this post in an email, please click here for the video.
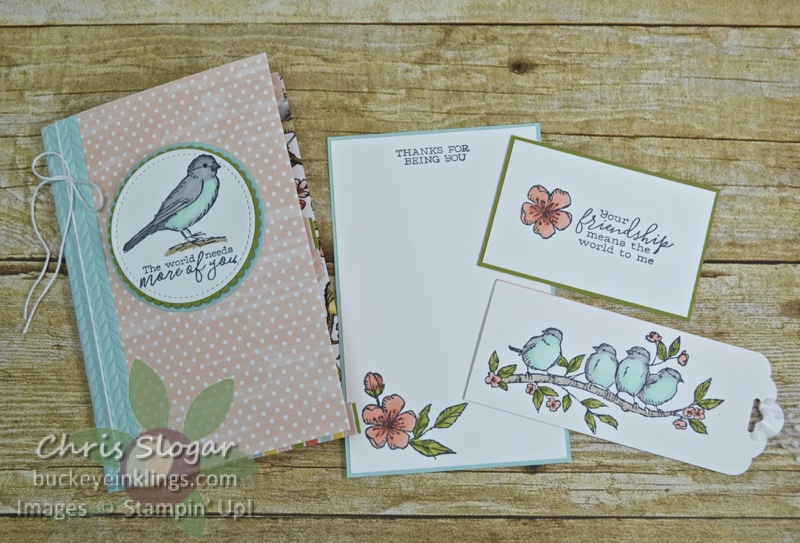
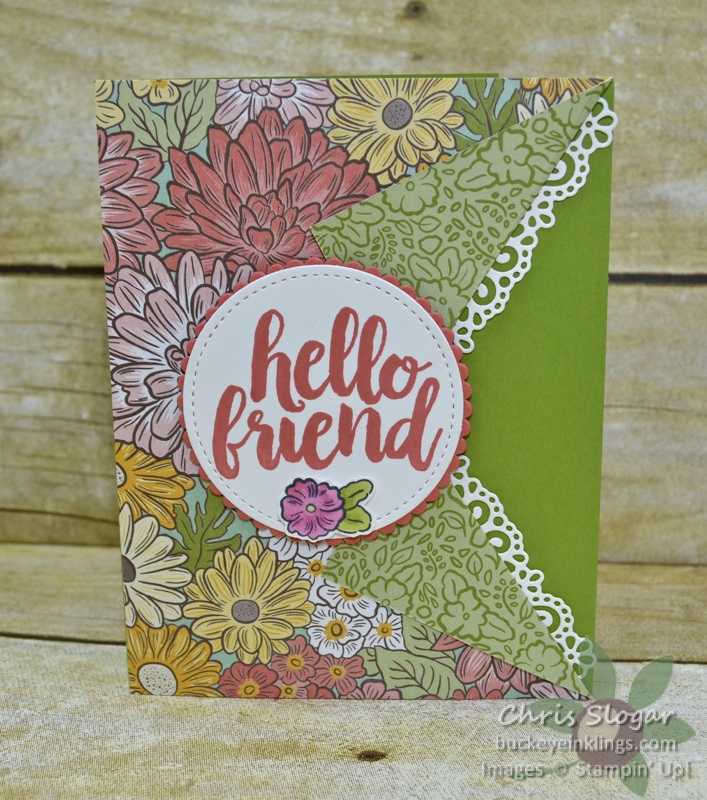
I also showed this Collar Fold card on my Facebook Live. The diagonal folds I was making for the pocket cards reminded me so much of this layout. It’s an oldie, but a goodie – and it looks so fabulous with our new Ornate Garden products!

The designer paper piece on this measures 4 1/4″ x 5 1/2″. I simply cut a line at mid-height from the right edge to a point 1 3/4″ from the edge, and I folded from the corners to that point. The video below gives complete instructions. If you are receiving this post in an email, click here for the video.

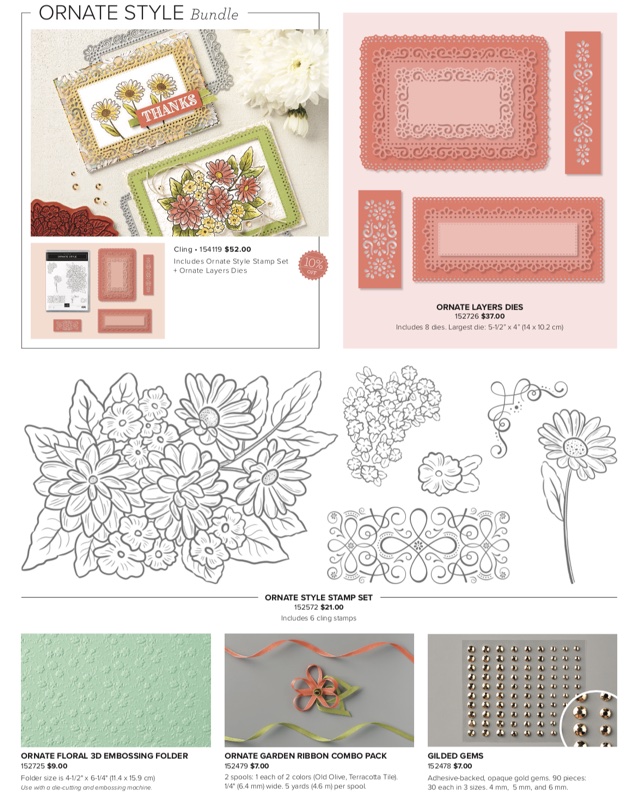
Don’t forget that you can get products from this gorgeous Ornate Garden Suite early! This suite will be featured in our upcoming catalog, but see the flyer below for the early-release products!

Thank you so much for checking out my projects! If you would like to purchase products, I would greatly appreciate your business in my online store. You can also use the carousel below to be directed to a product used in today’s projects.
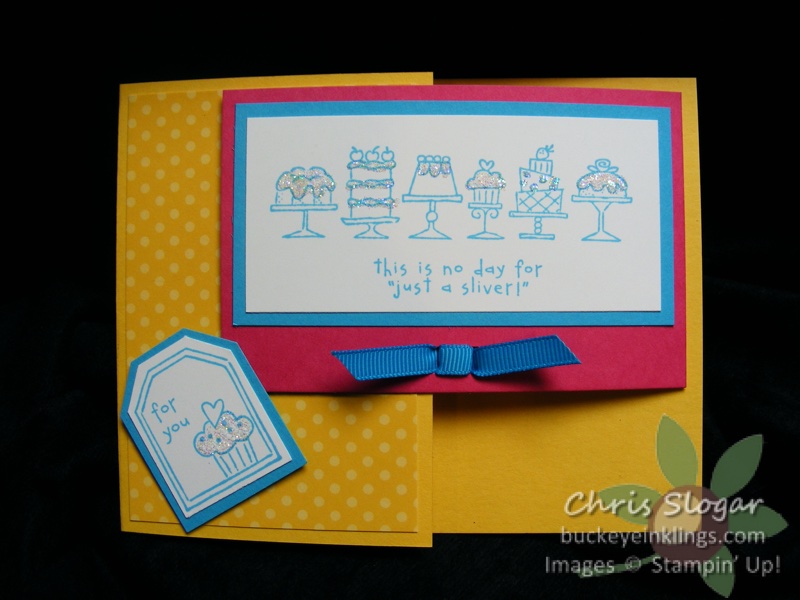
Use this month’s Host Code JZJSR3X6 on an order of $35 or more, and I will send you a package of Rhinestone Basic Jewels and a handmade card. This is my way of sharing the order benefits with you. I appreciate your orders!

Chris_buckeye_signature_rose_final

Designer Paper Cards

This is the first of two layouts I made on this week’s Facebook Live. These cards are a telescoping fold of designer paper, mounted on a 4 1/4″ x 5 1/2″ piece of cardstock.

My upline Mindy Gray shared this layout with me. It looks absolutely fabulous with any of our designer papers. It shows off both sides of the paper, and it is great for directional prints.

To make all of my cards really easy today, I chose papers from suites that also offer Memories and More card packs. I used cards and stickers from the card packs as my focal points.

The front panel is a 3″ x 4″ Memories and More card matted on a 3 1/4″ x 4 1/4″ piece of Lovely Lipstick cardstock.

The designer paper measures 5 1/4″ x 11 3/4″, scored at 4″, 7″ and 10″. I also used a Memories and More card for the inside panel.

My second card is done the same way – only in “landscape” orientation.

Not all of our designer papers have coordinating Memories and More Card Packs, but you could easily stamp and decorate 3″ x 4″ panels to coordinate with the paper – or use other sizes, shapes, and die cuts as panels on the card.

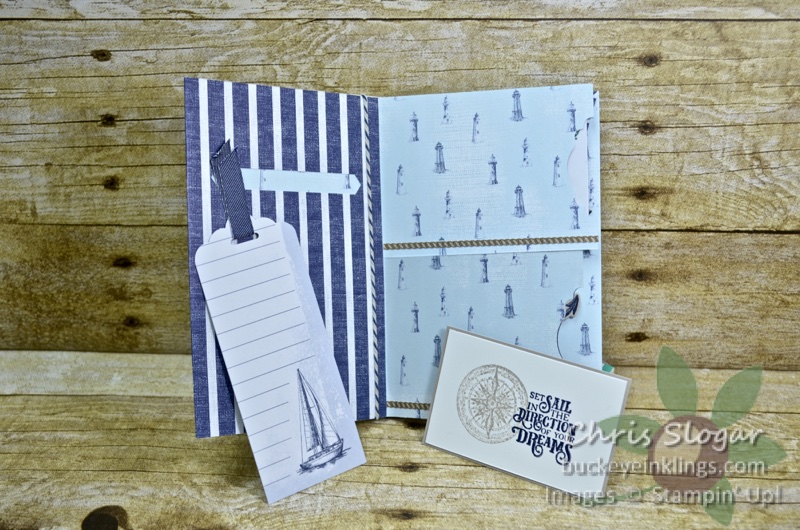
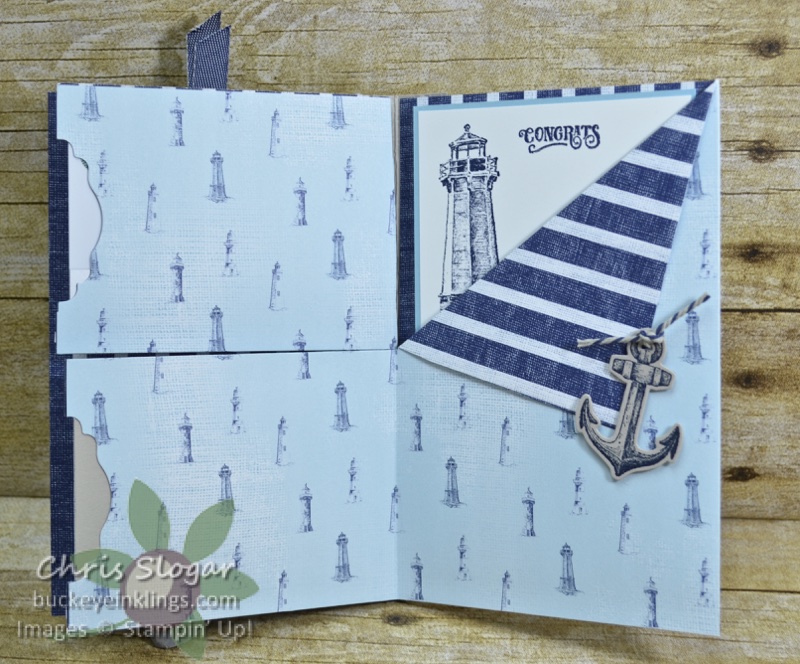
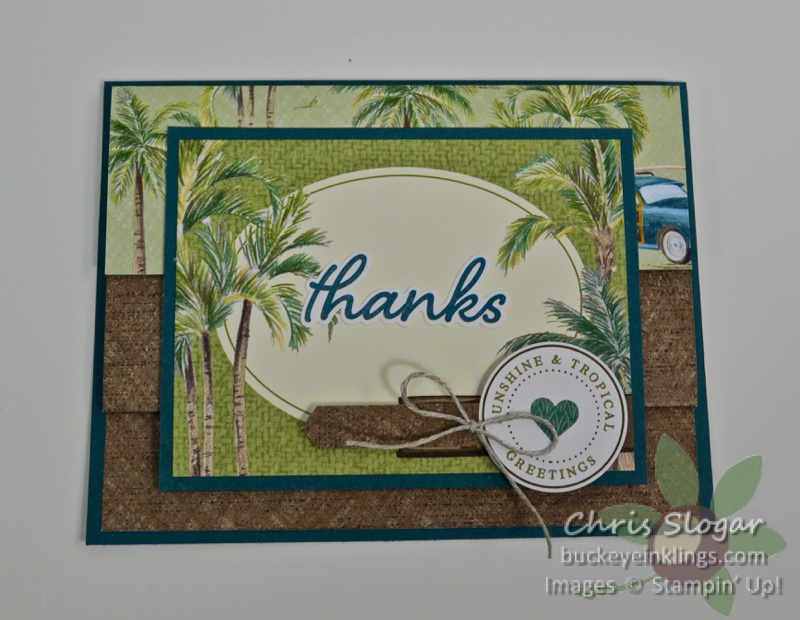
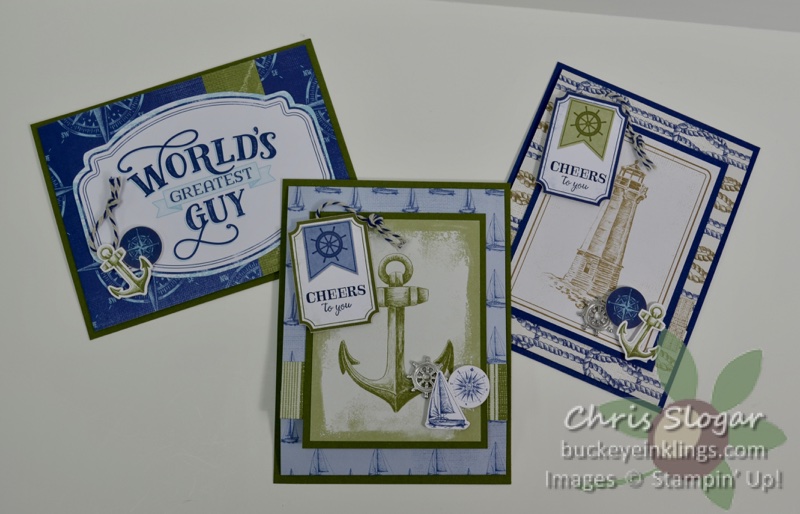
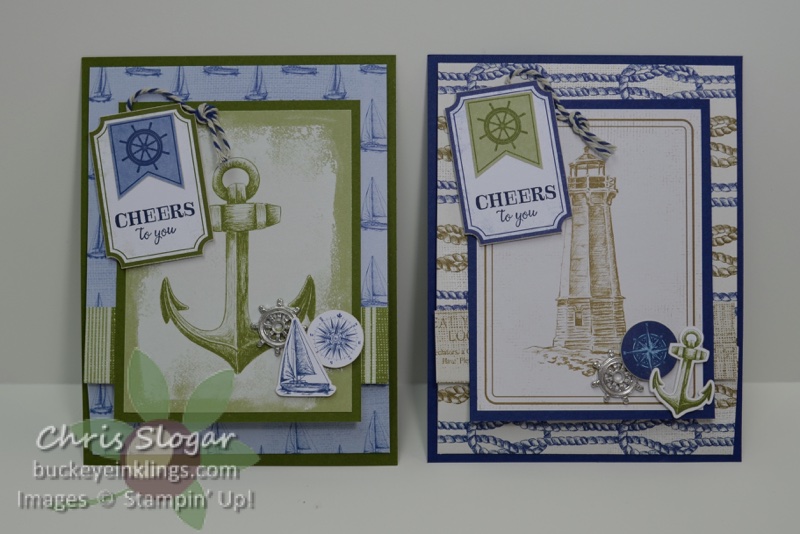
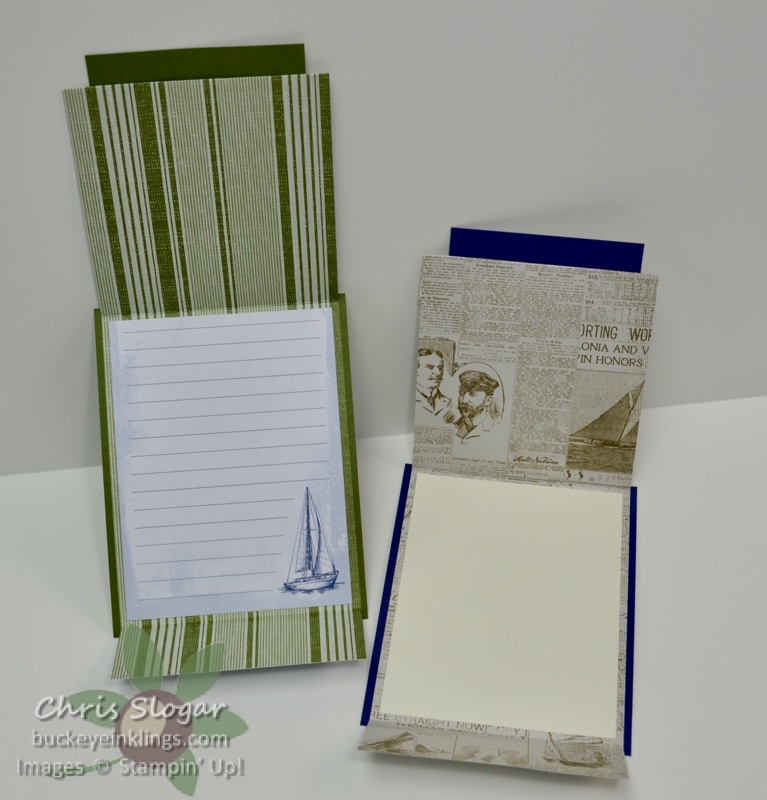
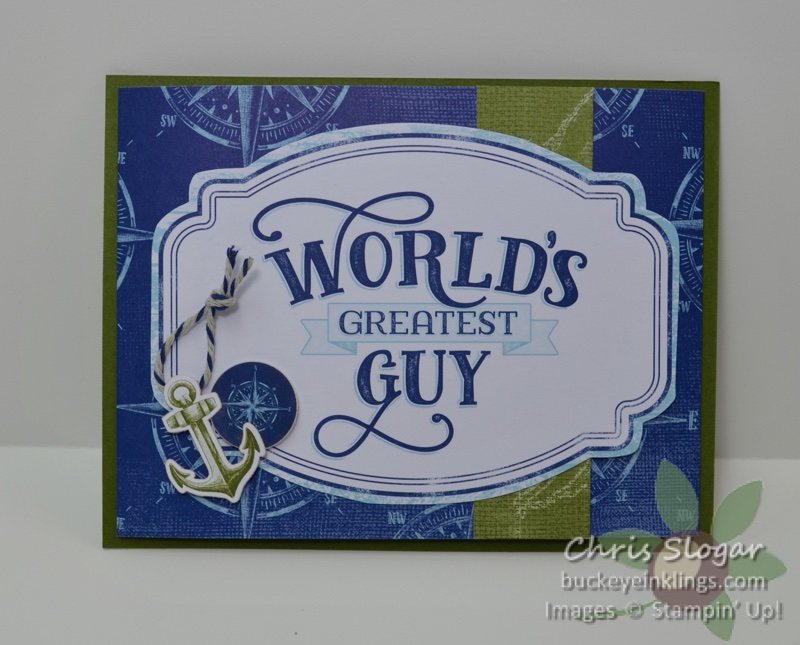
I used the Come Sail Away Suite for my second layout. This layout also uses a long fold of designer paper mounted on a 4 1/4″ x 5 1/2″ piece of cardstock – but in this case, the designer paper is a 4″ x 12″ piece.

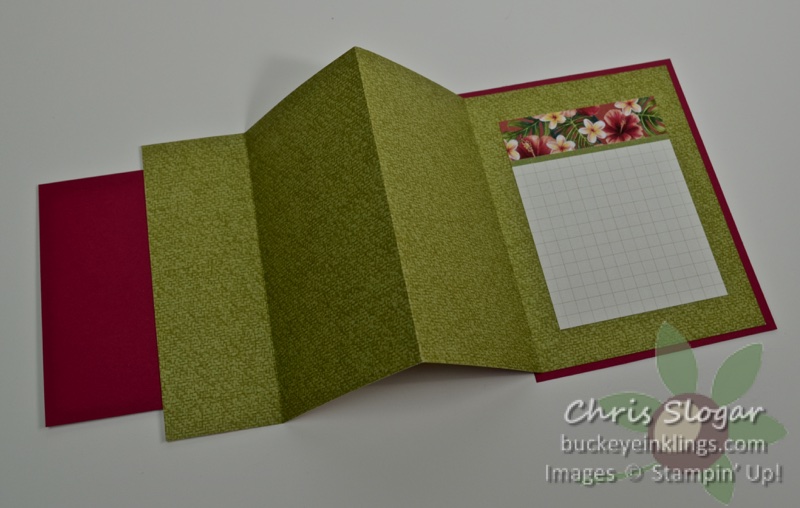
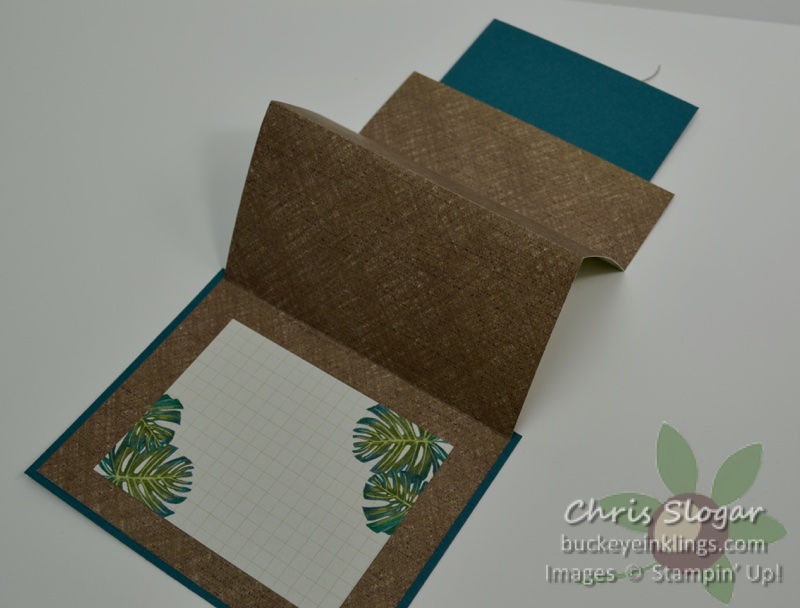
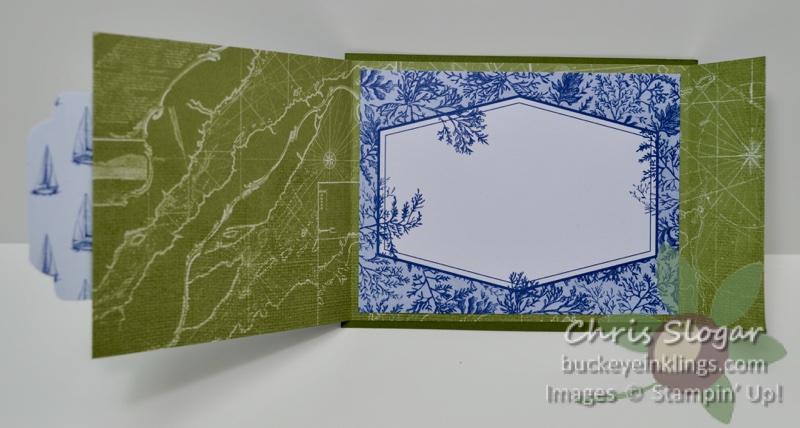
These are gate fold cards, and they come together near the bottom of the Memories and More Cards. The trim strip at the edge of the gate fold is simply a 1″ width of the designer paper folded back on itself.

The designer paper is scored at 1 1/2″, 6 3/4″ and 11″. If you have directional paper, plan carefully. You may want the pattern to be in the proper orientation on the front of the card (as on the Mossy Meadow anchor card) or on the inside of the card (as on the Soft Suede lighthouse card).

This uses the same layout in “landscape” orientation. The greeting is fussy-cut from one of the 4″ x 6″ Memories and More Cards.

Where I have used a Memories and More Card on the inside, it is cut to 3 3/4″ x 5″.

I forgot to mention on my Facebook Live – you could also secure the 1 1/2″ fold to the card base at the edges only, to make a pocket for a gift card.

I also forgot to mention on Facebook Live, I sent out the Stamp Case Gift Set Kits yesterday to those who ordered. I made a couple extra, and had a couple unpaid, so I have two Poppy sets and three Ornate Garden sets still available. They are $35 each + $8 shipping – if interested, click here for details.

This post is meant as a supplement to my Facebook Live video – click here for the video. Please join the Buckeye Inklings Stampers Group on Facebook to get notifications of my posts.

If you need any of our awesome products, I would very much appreciate your support in my online store! Please shop with me if you would like me to continue my work here!

Chris_buckeye_signature_rose_final

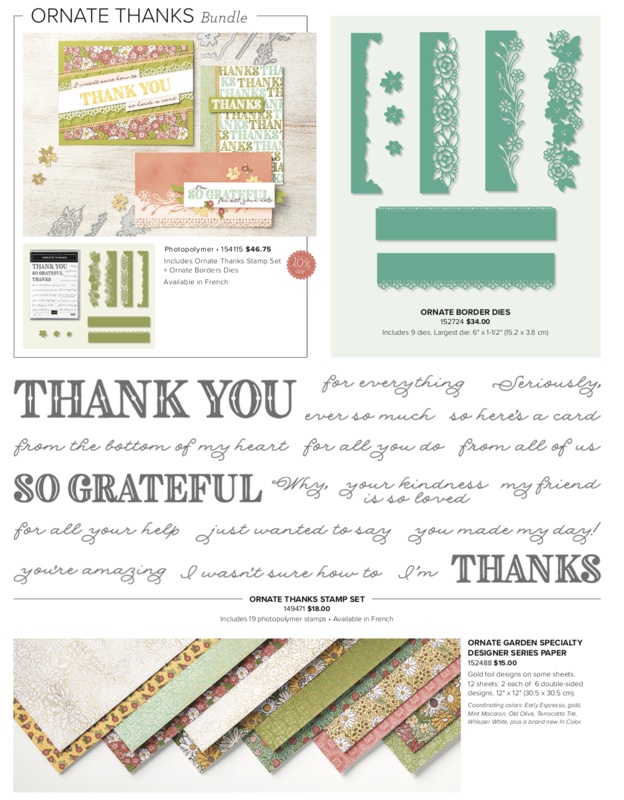
Ornate Garden Designer Paper

I can’t get enough of the beautiful paper in the Ornate Garden Suite! The suite will be featured in our upcoming 2020-2021 Annual Catalog, but items from the suite are available now! See the flyer below for a complete list.

Also, if you have been waiting for the So Sentimental bundle (stamp and die used on this greeting)…it is back in stock!!

Thanks for checking out my card today! If you need any of our wonderful products, please click here for the online store, or use the carousel below to be directed to a product used on today’s project. Spend $35 with Host Code RQ3FX7DN for this month’s gift, a package of Gilded Gems.

Chris_buckeye_signature_rose_final

Inking Techniques

I made five cards with two different inking techniques on this week’s Facebook Live. This card uses the baby wipe technique with stamps from “Floral Essence”. I CASEd this card from a card I saw on Pinterest by Mindy Eggen.

I used Blueberry Bushel and Coastal Cabana for the flowers, and I used Granny Apple Green and Pineapple Punch for the leaves.

I also used a baby wipe “pad” to ink my stamp when making this ombre card. I used rubber bands to secure a “pad” of wipes to an acrylic block. I could pick up the “pad” to apply the ink to the large greeting on my Stamparatus, and proceed to stamp the greeting three times using the Hinge Step.

The stamps are from “Seriously the Best”, and the ink colors are Coastal Cabana, Granny Apple Green, and Pineapple Punch.

This birthday cake here was also stamped from ink on a baby wipe. The stamp is from “Wish for It All”, and the colors are Gorgeous Grape, Highland Heather, Flirty Flamingo, and Pineapple Punch.

“Inspiring Iris” is a multi-step stamp set. The black outline and green foliage are separate stamps, and the flowers are a separate stamp. I inked the flower colors (Daffodil Delight and Highland Heather) by adding the two colors to the flower stamp with sponge daubers.

And finally, I used two ink colors on the tulip stamps for this card as well. I tapped each stamp first in Grapefruit Grove, and then I added Poppy Parade around the edges with a sponge dauber.

This post is meant as a supplement to last night’s Facebook Live video. Please join the Buckeye Inklings Stampers Group on facebook to get notifications of my videos and posts. Click here for last night’s video.

If you need any of our awesome products, I would very much appreciate your support in my online store! Make sure to check out the Last-Chance List while you are there – there are some great sale items. Spend $35 with Host Code RQ3FX7DN in April and I will send you a package of Gilded Gems as a thank you!

Chris_buckeye_signature_rose_final
WordPress theme: Kippis 1.15