Christmastime Is Here

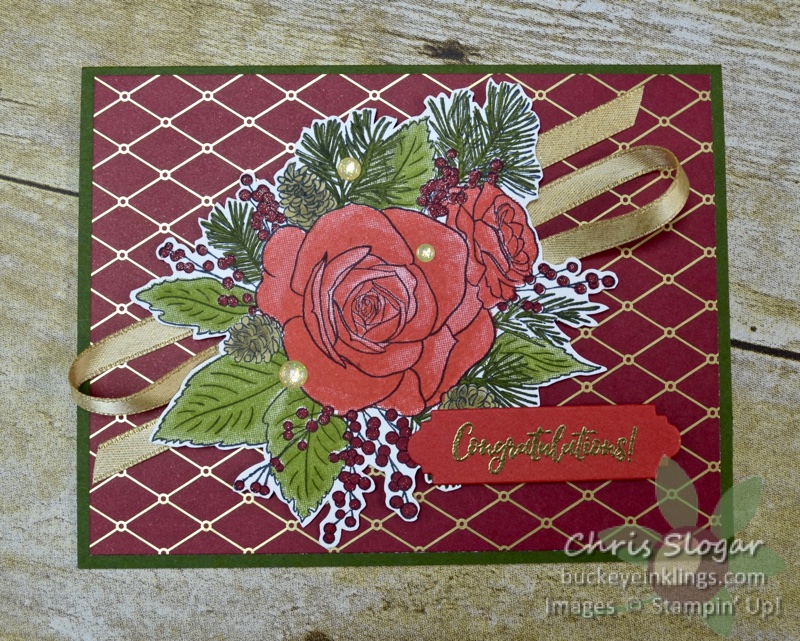
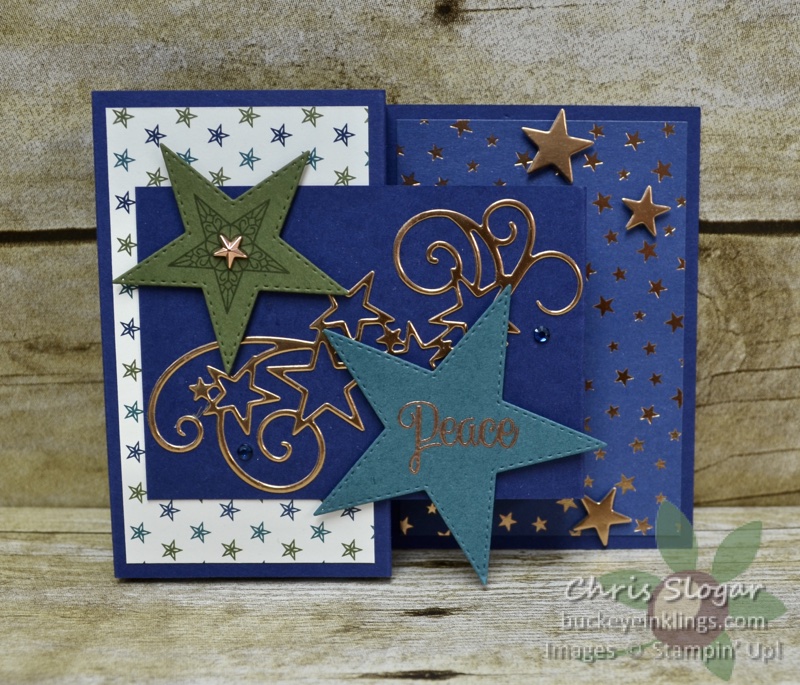
Just like in stores on the day after Halloween, Stampin’ Up! is offering some bright and shiny new Christmas items!  Starting today, “Christmastime Is Here” products are available.  See the flyer below for details.

Download (PDF, 1.58MB)

My favorites from the suite are the papers and trims, though I must say that the stamp set makes a gorgeous bouquet!

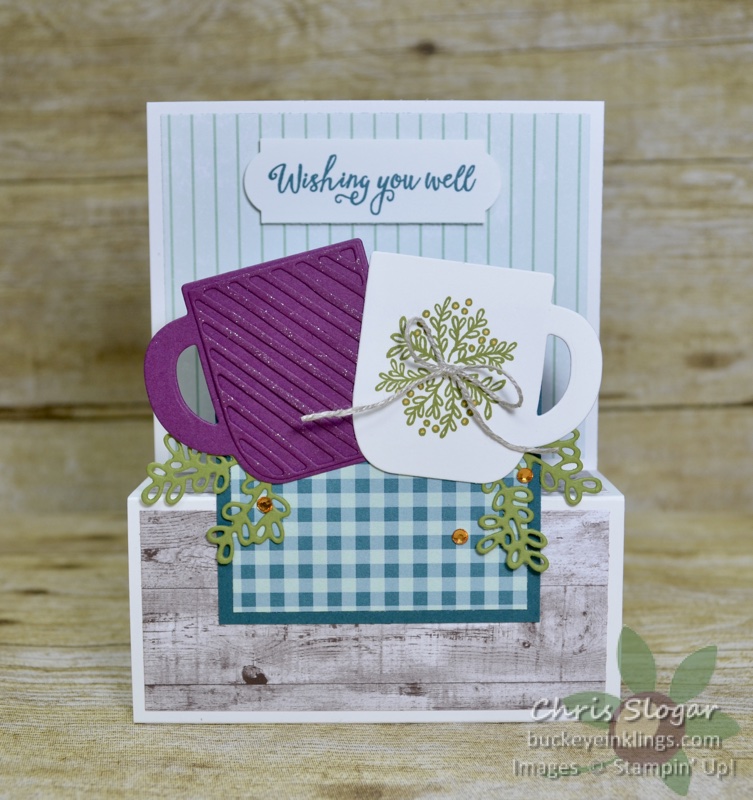
Thank you for checking out my card!  If you need any of our fabulous products, I would very much appreciate your business.  Please click here for the online store, or use the carousel to be directed to a product used in today’s project.

Place a minimum $35 order with this month’s Host Code, and I will send you a pack of Snowflake Sequins.  This is my way of sharing the Stampin’ Rewards with you.


Chris_buckeye_signature_rose_final

Tailgate Bag and PocketBac Box

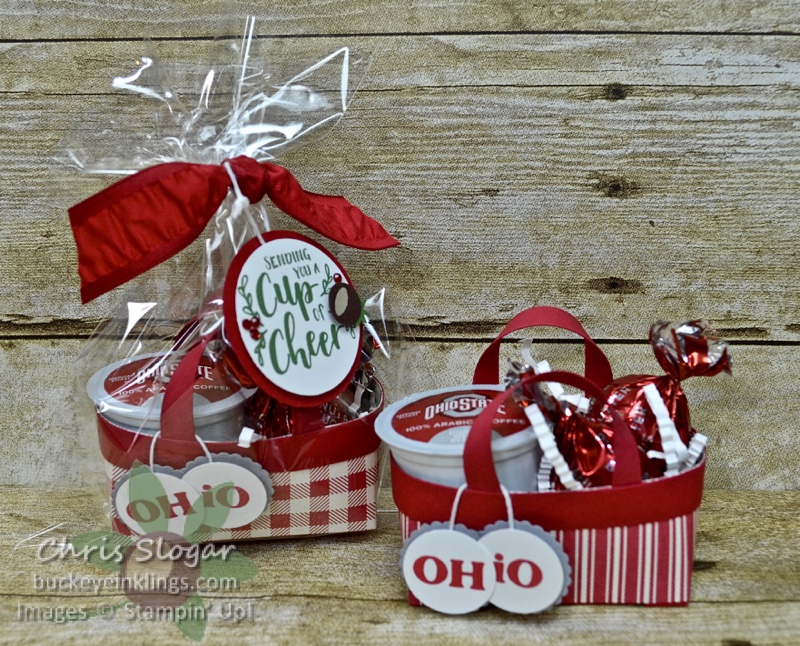
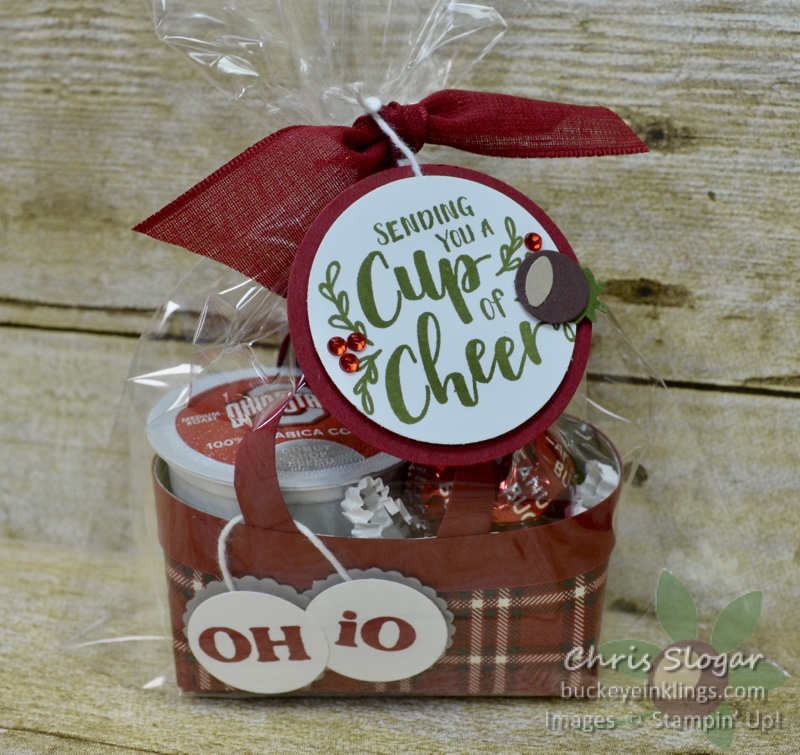
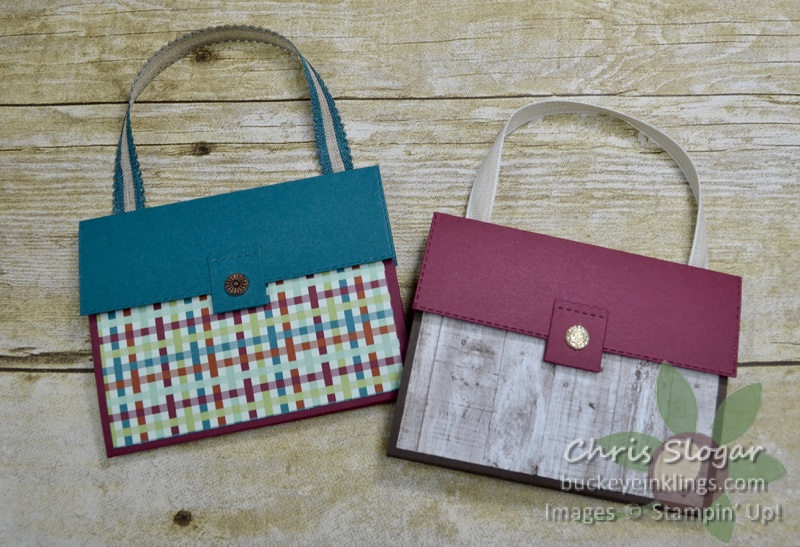
Last night on Facebook Live, I shared two of the projects I am making for craft shows this year.  The first is this Tailgate Bag – in Buckeye colors of course!  I sized it to fit a K-cup and some candy, and I made it to look like a Thirty-One tote.

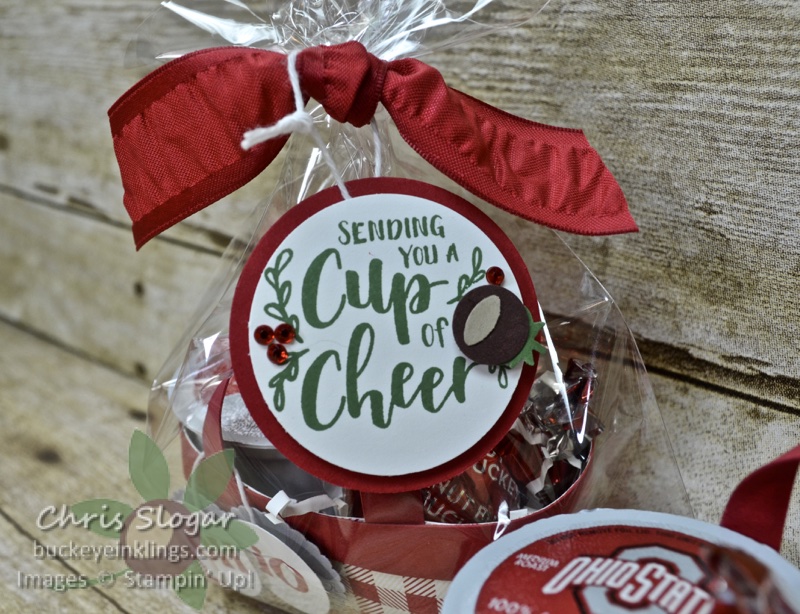
This stamp is from this year’s “Cup of Christmas” stamp set.  It is so appropriate for gift card holders and K-cup favors.  I am lucky that red is one of my team’s colors because I have some nice choices of paper and trims in the Holiday Catalog.  This designer paper is from the Toile Tidings collection.

My punch art buckeye is made with a 1/2″ circle punch and two retired punches – the strawberry from the Itty Bitty Fruit Punch Pack and the oval from the Bitty Blooms Punch Pack.  I guess I am lucky with my team’s mascot too – it’s pretty easy to make a punch art buckeye.  I am glad I don’t have to come up with a Cornhusker or a Spartan.

Last year’s Farmhouse Christmas paper is also great for this project.  I am packaging these Tailgate Bags in our 6″ x 8″ cello bags.

The video below gives complete instructions for this project.  If you are receiving this post in an email, click here for the video.

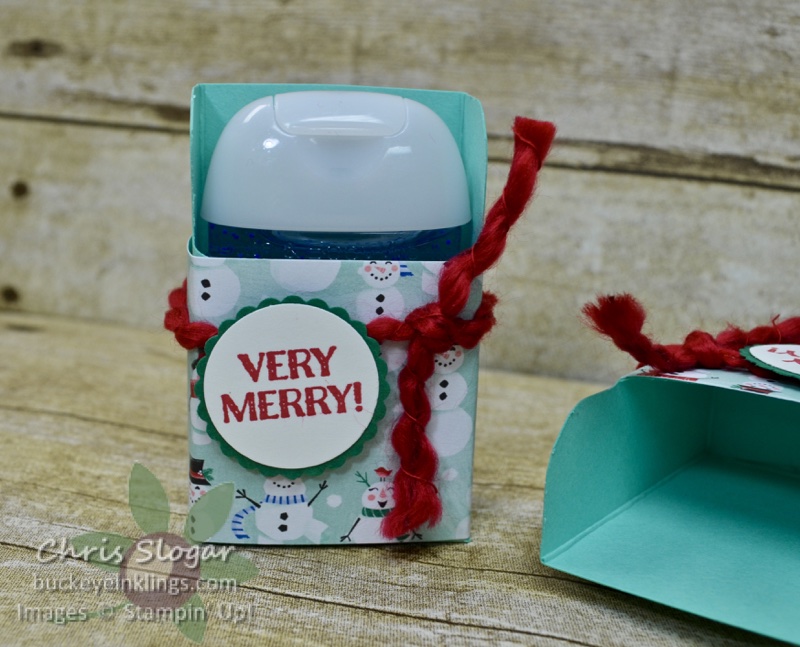
My second project is this PocketBac Box.  PocketBac is a hand sanitizer from Bath & Body Works.  I also made a video of this project (below) – or click here if you are receiving this post in an email.

Thanks so much for checking out my projects!  I would love to continue to bring you ideas for free on my site, but I need your help.  Please click here to shop, or use the carousel below to be directed to a specific project used today.  I appreciate your business!

Place a minimum $35 order with this month’s Host Code, and I will send you a gift – today is the last day for a pack of Toile Tidings Glitter Enamel Dots, and in November the gift will be Snowflake Sequins.  This is my way of sharing the Stampin’ Rewards with you.
Chris_buckeye_signature_rose_final

Tea Bag Favor

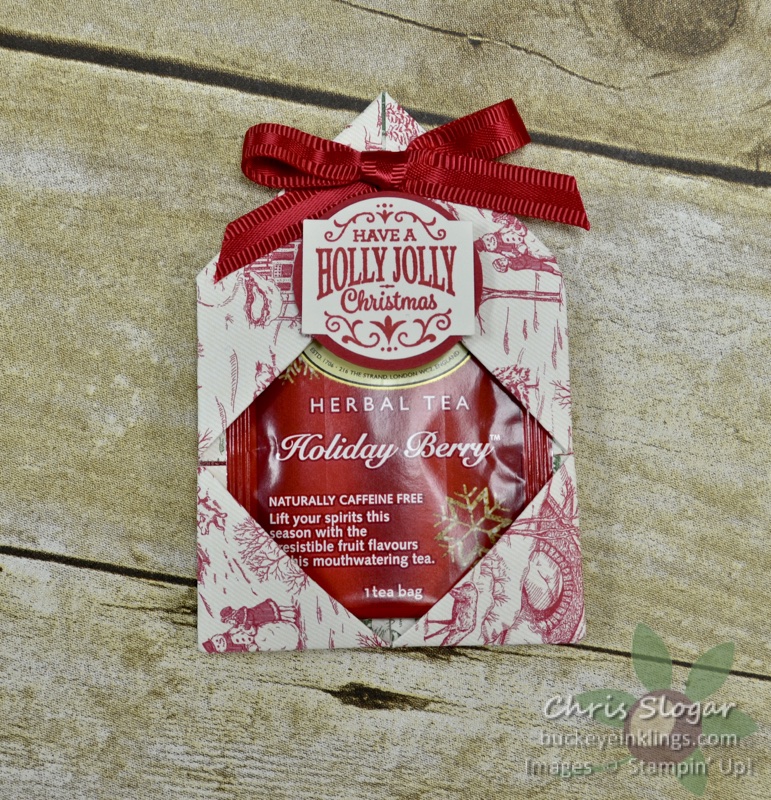
This tea bag favor project was part of a Facebook Live recently – just wanted to add a video for this project.  The video is long because I added some alternate ways to create the diagonal scores – the first six minutes actually show the entire project.  Love the simplicity of this! If you are receiving this post in an email, please click here for the video.

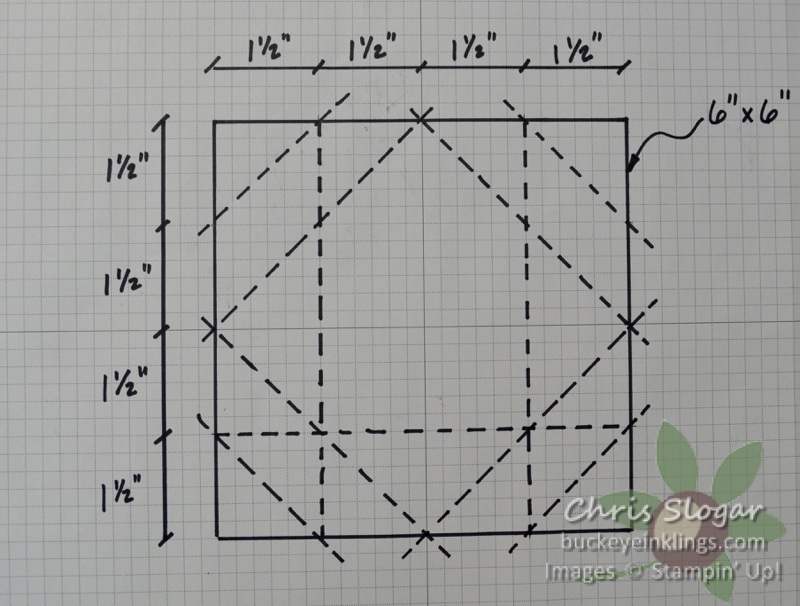
Below is a shot of the pattern I used in the video.  Remember to extend those score lines beyond the limit of the 6″ square so that you can find them easily when you overlay a piece of designer paper.

I added the dimensions in the next picture.

The vertical score lines are at 1 1/2″ from each side edge, and the horizontal is 1 1/2″ from the bottom edge.  The diagonals go through each midpoint at 3″ and also 1 1/2″ from each corner.

Chris_buckeye_signature_rose_final

Patchwork Christmas Cards


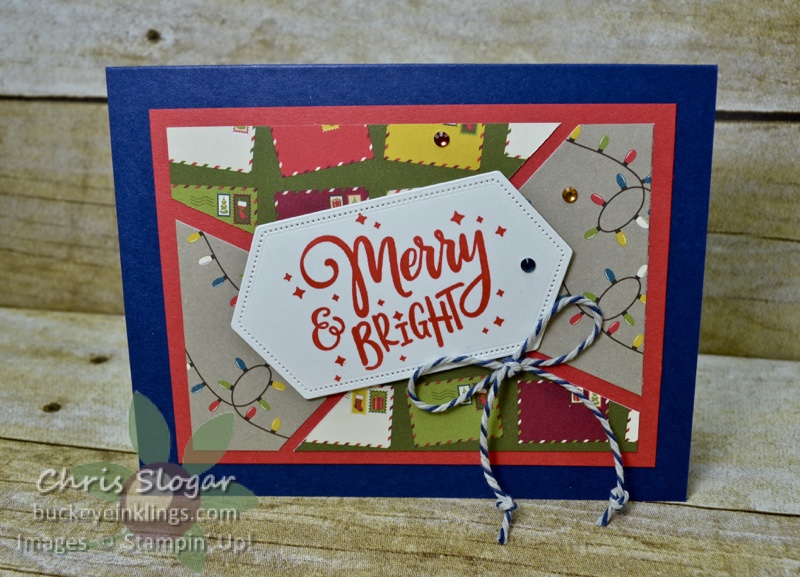
I made a series of patchwork cards last night on Facebook Live.  I mentioned that I had made this card type before – it was in 2014!  You can see that post here.

You may want to refer to last night’s Facebook Live video (click here) for tips on cutting and pasting, but I will list dimensions in this post so you don’t have to try to find them all in the video.

The first two cards used 3″ squares of designer paper, cut and attached to 3 3/8″ squares of cardstock.  The designer paper is from the Night Before Christmas collection.  This is a fabulous mix of traditional and non-traditional colors and images, some with a retro look.

This rectangular patchwork uses 3″ x 4 1/4″ pieces of designer paper, cut and attached to a mat of 3 1/2″ x 4 3/4″ Poppy Parade.

To fill a larger area, this version uses 3 1/2″ x 4 3/4″ pieces of designer paper, cut and attached to a mat of 4″ x 5 1/4″ Poppy Parade.

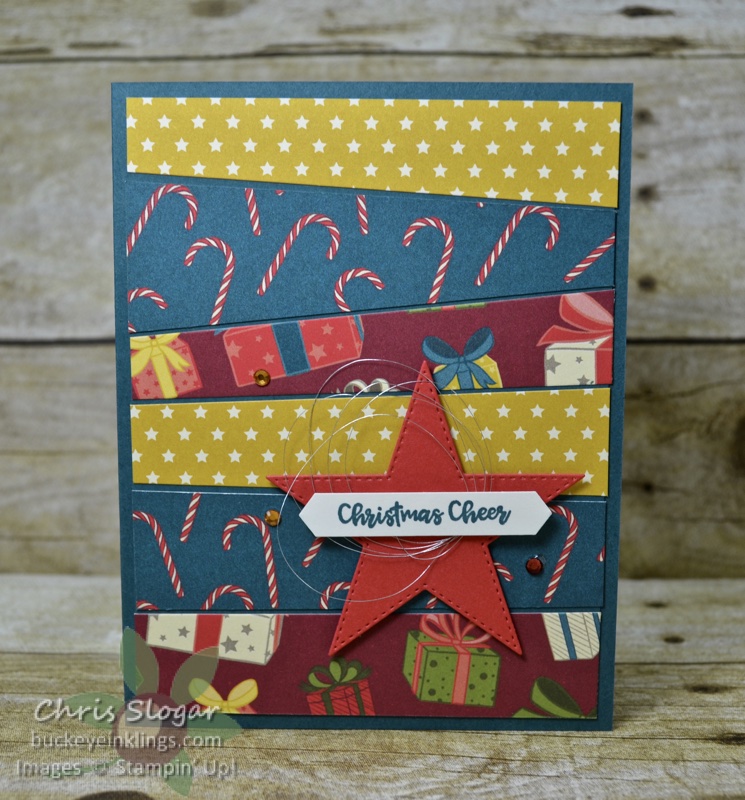
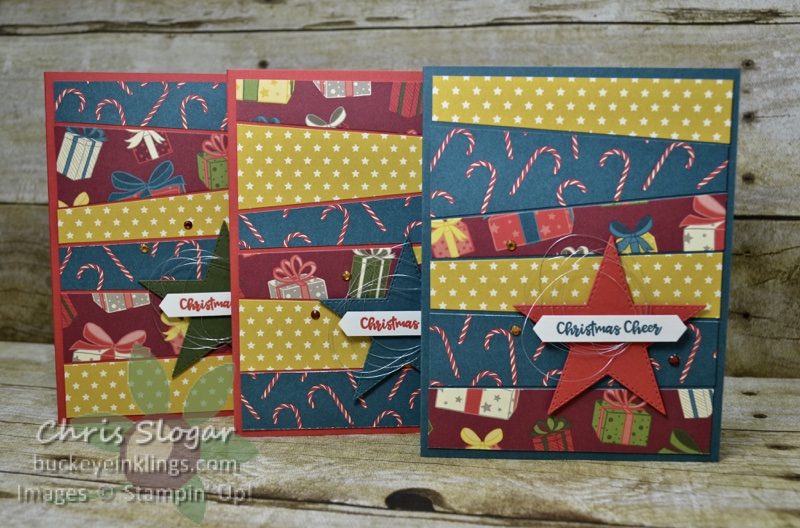
Each of the previous examples uses two patterns of designer paper, and each would be made in complementary pairs to use all of the pieces.  On this version that pieces together strips, there are three patterns, so the cut pieces will create three cards.

These cards used 4″ x 5″ pieces of designer paper, cut and attached to 4″ x 5 1/4″ mats.

This post is meant as a supplement to last night’s Facebook Live video.  Please join the Buckeye Inklings Stampers Group to see the live videos.

Thanks so much for checking out my projects.  I would love to keep bringing you projects for free on my site, but I need your help!  Please click here to shop, or use the carousel below to be directed to a specific project used today.  I appreciate your business!

Place a minimum $35 order with this month’s Host Code, and I will send you a pack of Toile Tidings Glitter Enamel Dots.  This is my way of sharing the Stampin’ Rewards with you.
 

Chris_buckeye_signature_rose_final

From Our House To Yours

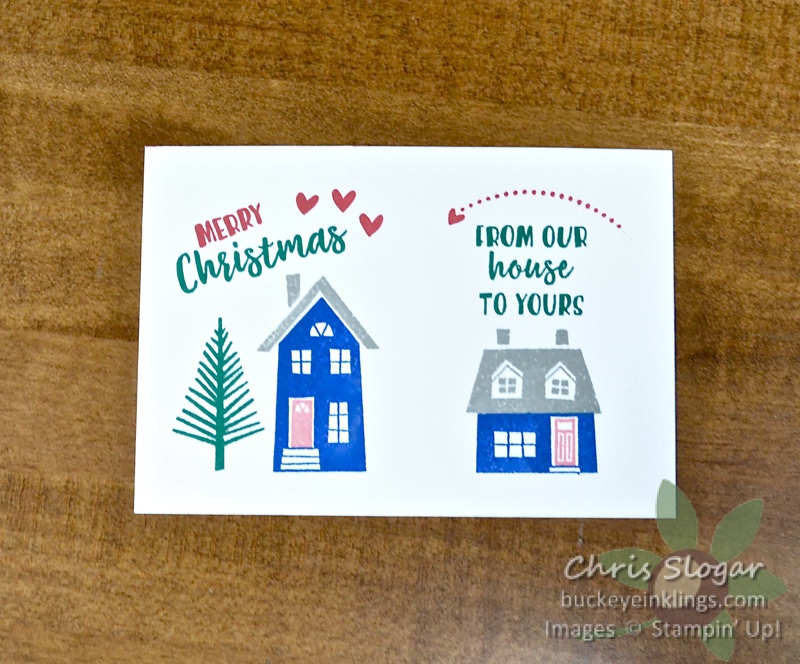
I hope you don’t mind another card using the set “From Our House To Yours”.  I am really enjoying this set.  I like it for all of its fun pieces and for its versatility – it can be holiday or everyday.  This particular card could really be either.

At first glance, this stamping looks so fussy – it uses 15 stamps in 4 colors.  With blocks, it would definitely be a job for a meticulous stamper.  On the Stamparatus, it is a different story!

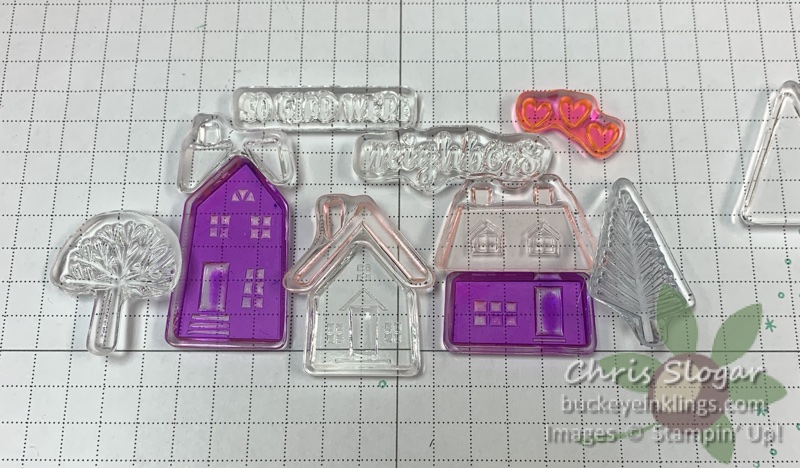
I started by laying out my stamps on paper.  From this, I could see how big my Whisper White piece should be.  The Whisper White on this card measures 2 1/4″ x 4 1/4″.

Then I started transferring pieces to the Stamparatus, choosing bigger stamps of the same color first – in this case, I laid out the Night of Navy house and roof.   To locate them, I put a blank piece of Whisper White in place, and I put the two stamps face down on it where I thought they should be (according to my original layout.)  Then I picked up the stamps with one side of one plate.  I started with just two stamps, but built quickly from there.

After each addition of stamps, I stamped those images in their proper color to help place the next stamps.  Keep in mind that you want to group the stamps on the plates by color.  In this design with four colors, I used both sides of both plates on my Stamparatus.

It takes a bit of tweaking, but in the end, you have a scene that is very easy to stamp –  whether you are making multiples or setting up for a group of stampers.  Twenty people stamped this scene at my Team Meeting with very little trouble or waste.  What could have been a chaotic mix of blocks and colors was very manageable on the Stamparatus.

Thank you for checking out my card!  If you need any of our fabulous products, I would very much appreciate your business.  Please click here for the online store, or use the carousel to be directed to a product used in today’s project.

Place a minimum $35 order with this month’s Host Code, and I will send you a pack of Toile Tidings Glitter Enamel Dots.  This is my way of sharing the Stampin’ Rewards with you.
Chris_buckeye_signature_rose_final

Sliding Window Card

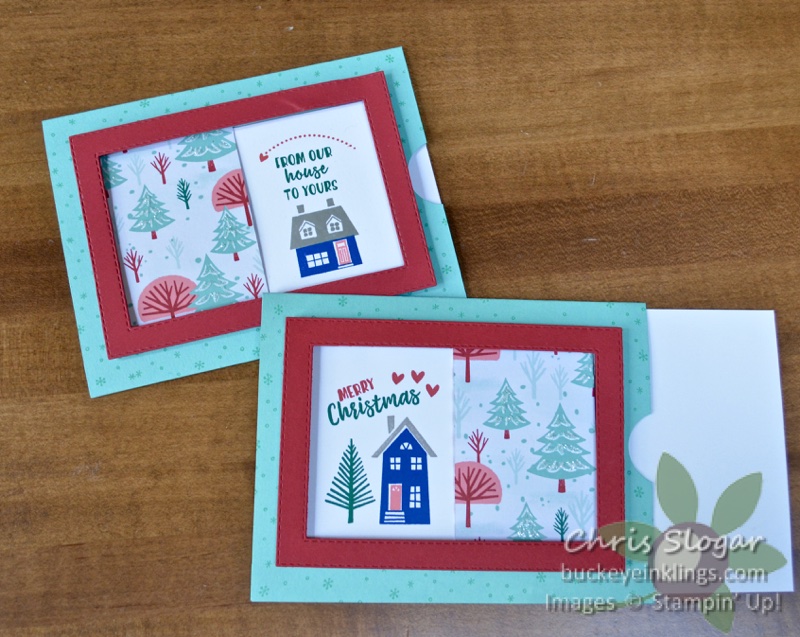
I have a really fun card to share today – it’s an interactive sliding window card.  I learned this method from Jennifer McGuire Ink, and you will be surprised at how easy it is to make.  Our “From Our House To Yours” stamps are perfect for it, and I have used a piece of designer paper from the Let It Snow collection as my shutter piece.

The panel behind the shutter piece is stamped with both messages and the images as shown.  If you are making a bunch of these, I recommend setting these stamps up on your Stamparatus as I have in the video.

Complete instructions are in the video.  If you are receiving this post in an email, click here for the video.

Thanks so much for checking out my project.  I would love to keep bringing you projects for free on my site, but I need your help!  Please click here to shop, or use the carousel below to be directed to a specific project used today.  I appreciate your business!

Place a minimum $35 order with this month’s Host Code, and I will send you a pack of Toile Tidings Glitter Enamel Dots.  This is my way of sharing the Stampin’ Rewards with you.
Chris_buckeye_signature_rose_final

Acetate Card Box Projects

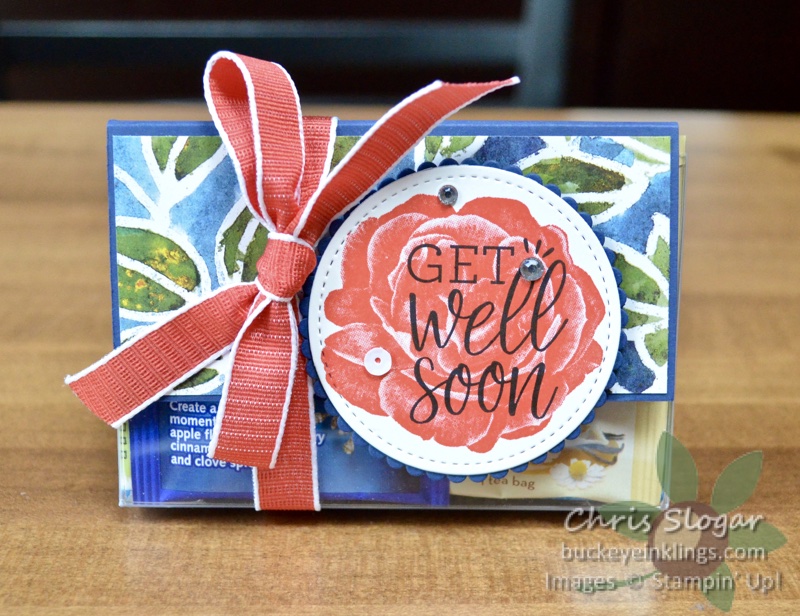
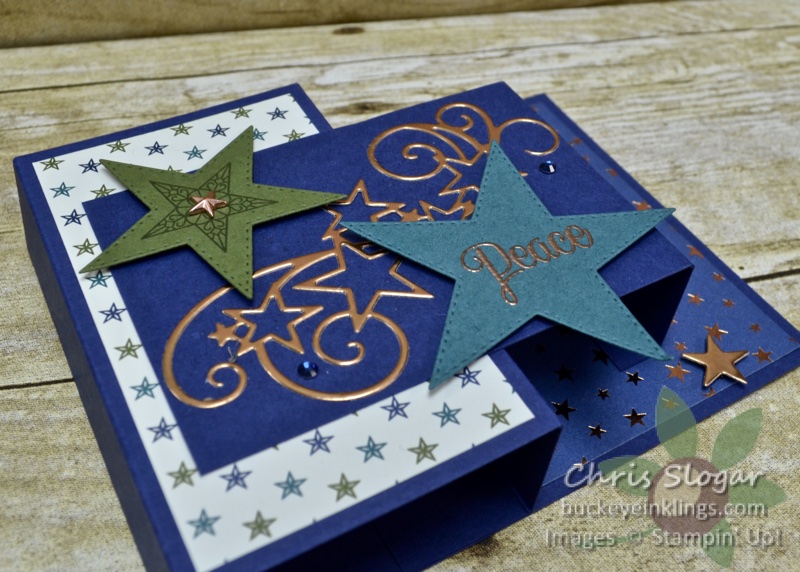
I have a couple of different looks for our Acetate Card Boxes to share today.  The boxes are intended to fit a group of 4 1/4″ x 5 1/2″ cards with envelopes, but they are great for other projects too!  First, this little Get Well care package.  The base is half of a card box.  I cut these boxes in half with scissors or my guillotine paper cutter.

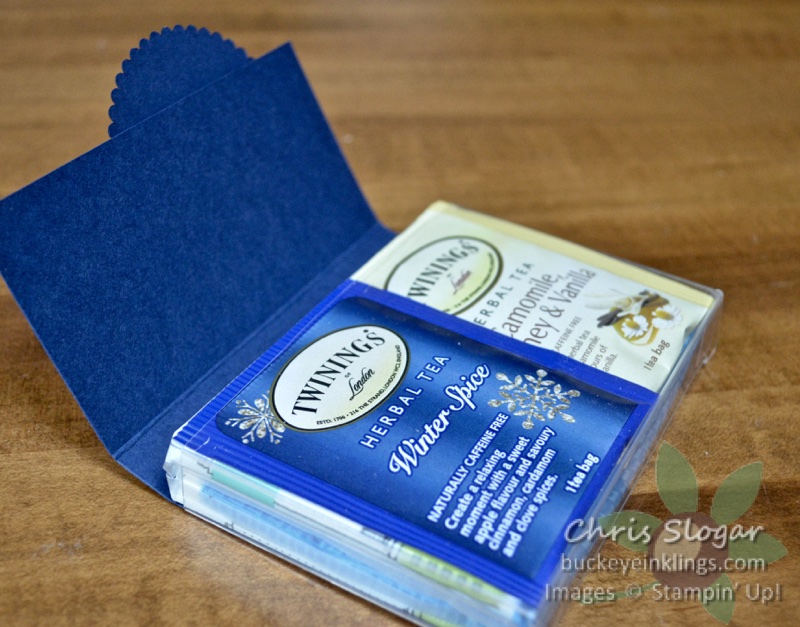
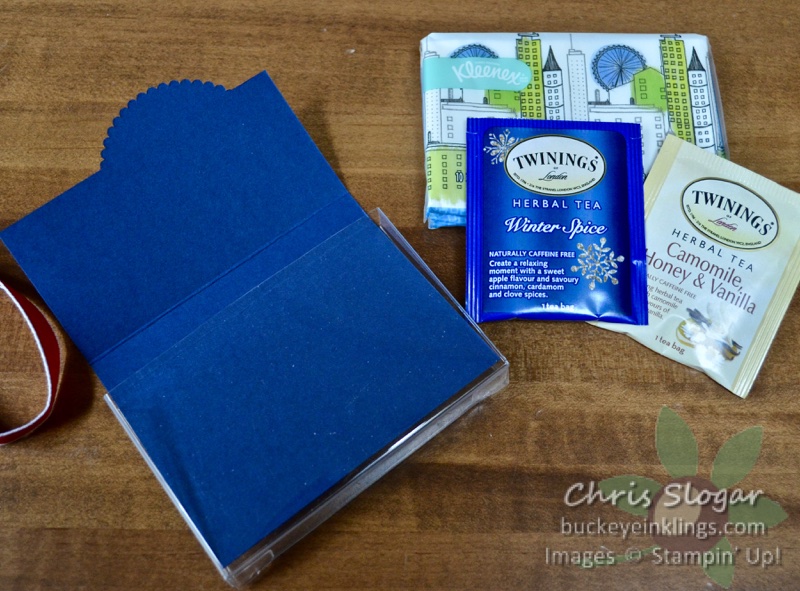
The Night of Navy cardstock fits into the open end of the box (where the cut was made), and it is scored to create a box top and flap to enclose a tissue pack and two tea bags.

The Night of Navy measures 4 3/8″ x 5 3/4″, scored at 3″ and 3 5/8″.  The designer paper for the front flap measures 2″ x 4 1/4″.  The full list of products used can be found in the carousel below.

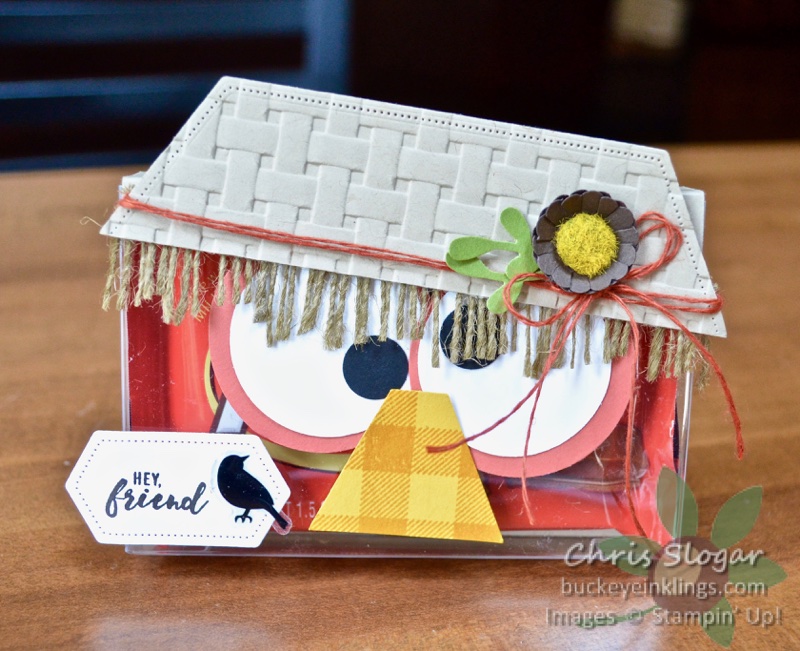
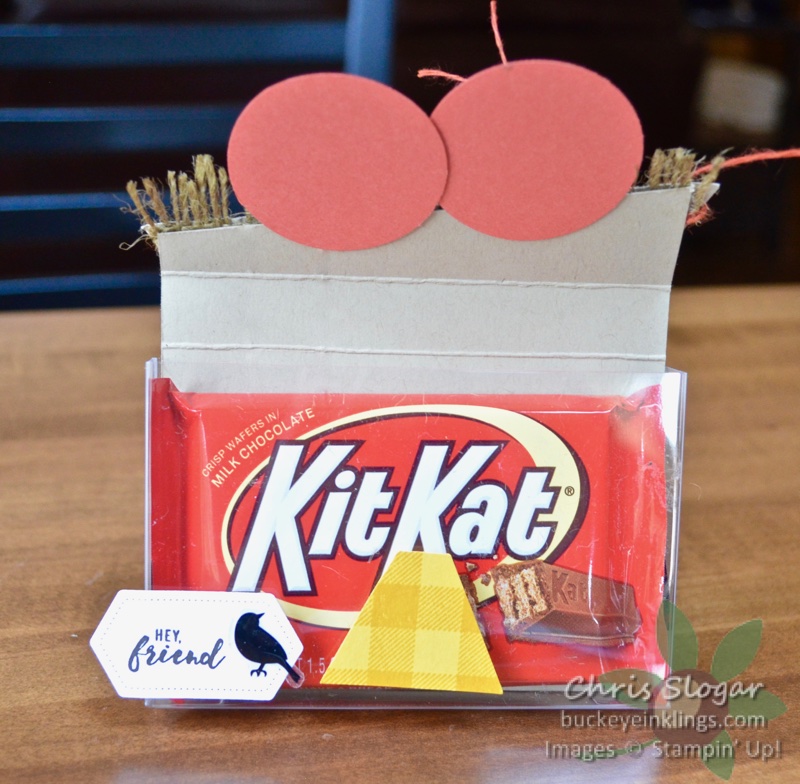
My scarecrow version is inspired by a box I saw on Pinterest by Laura Mellinger.  It is also made with a piece of cardstock that lines the back of the box and creates a top and flap.  I cut this flap at an angle, and attached the hat and eyes to it.  The eyes tuck under the nose, and this arrangement holds the flap in place.

The Crumb Cake cardstock measures 4 3/8″ x 4 3/4″, scored at 3″ and 3 5/8″.  The longest part of the flap measures 1 1/8″, but I also made a diagonal cut to shorten the left side of the flap to 5/8″.

The nose is half of a punch shape from the Tailored Tag punch, and it is attached to the box with a dimensional.  The full list of current products used can be found in the carousel below.  Besides these current products, I also used the retired 7/8″ Scalloped Circle Punch and a strip of burlap (fringed under the hat.)

Thank you for checking out my projects!  If you need any of our fabulous products, I would very much appreciate your business.  Please click here for the online store, or use the carousel to be directed to a product used in today’s project.

Place a minimum $35 order with this month’s Host Code, and I will send you a pack of Toile Tidings Glitter Enamel Dots.  This is my way of sharing the Stampin’ Rewards with you.

Chris_buckeye_signature_rose_final

Tea and Sweets

I showed two of my craft show projects last night on Facebook Live – the first is this teabag favor, made from a 6″ square of designer paper.  I will add a YouTube video for this soon, but in the meantime, click here for last night’s Facebook Live.

Next, I decorated Sweet Treat Cups.  These are on the Clearance Rack at a price of only $3.40 for 10!  They are easy to wrap with designer paper (pdf pattern below).  I added a dome top and sprinkles to each.  The dome is half of an 80mm clear ornament.

The first one uses products from the Brightly Gleaming Suite and retired sequins.

The next uses “Piece of Cake” and Iridescent Sequins with Dinoroar designer paper.

I have a Buckeye version with beads in the shaker dome and retired designer paper.

And my favorite…this birthday version inspired by the cake decorating sprinkles I found at my local craft store.  I used retired papers and last year’s Sale-a-bration set “Hello Cupcake”.

The template for the Sweet Cup Wrappers is below – print the pdf at full size.  Don’t forget to get these Sweet Cups soon as they may not last much longer on the Clearance Rack.  Click here if you would like to shop.

Download (PDF, 242KB)

Chris_buckeye_signature_rose_final

Holiday Haul

“Holiday Haul” is a multi-step stamp set with a lot of great vehicles and items to haul in the vehicles.  I made a simple card here with just the leaves and the truck.  There are so many possibilities with this set – see the full set below.

I added a bit on my second card, but these cards are both quite simple.  The greetings are from “Well Said”.  I used the baby wipe technique to get the variation in color on the leaves and the squash.  I simply added drops of Crushed Curry, Pumpkin Pie and Cherry Cobbler to a folded wipe, and then I used that wipe as my stamp pad.

This stamp set is a Host set – it is available for purchase with Stampin’ Rewards money earned on orders of $150 or more.

Thank you for checking out my cards!  If you need any of our fabulous products, I would very much appreciate your business.  Please click here for the online store, or use the carousel to be directed to a product used in today’s project.

Place a minimum $35 order with this month’s Host Code, and I will send you a pack of Toile Tidings Glitter Enamel Dots.  This is my way of sharing the Stampin’ Rewards with you.
 

Chris_buckeye_signature_rose_final
WordPress theme: Kippis 1.15