Cup of Christmas

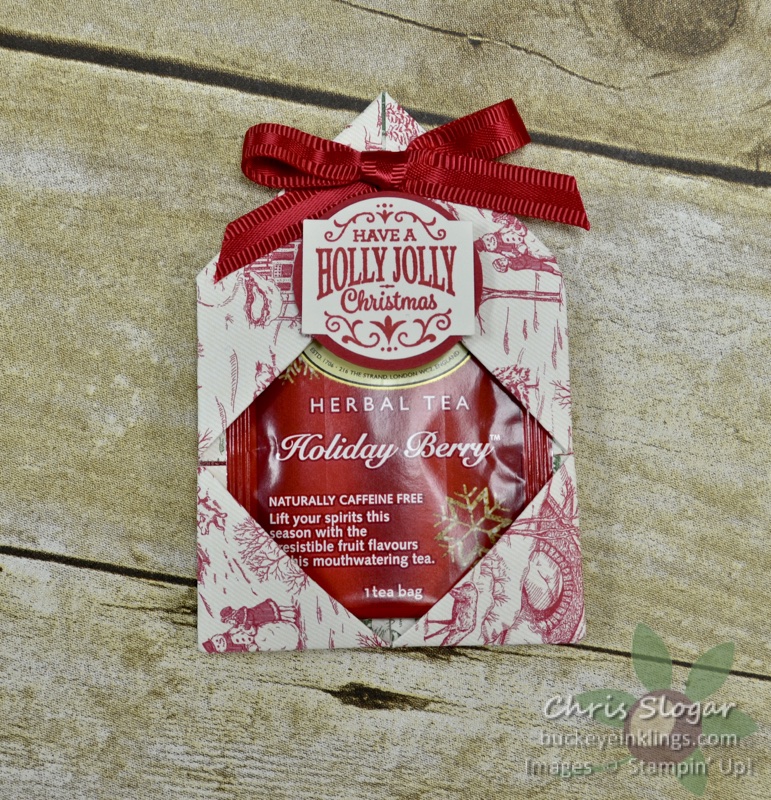
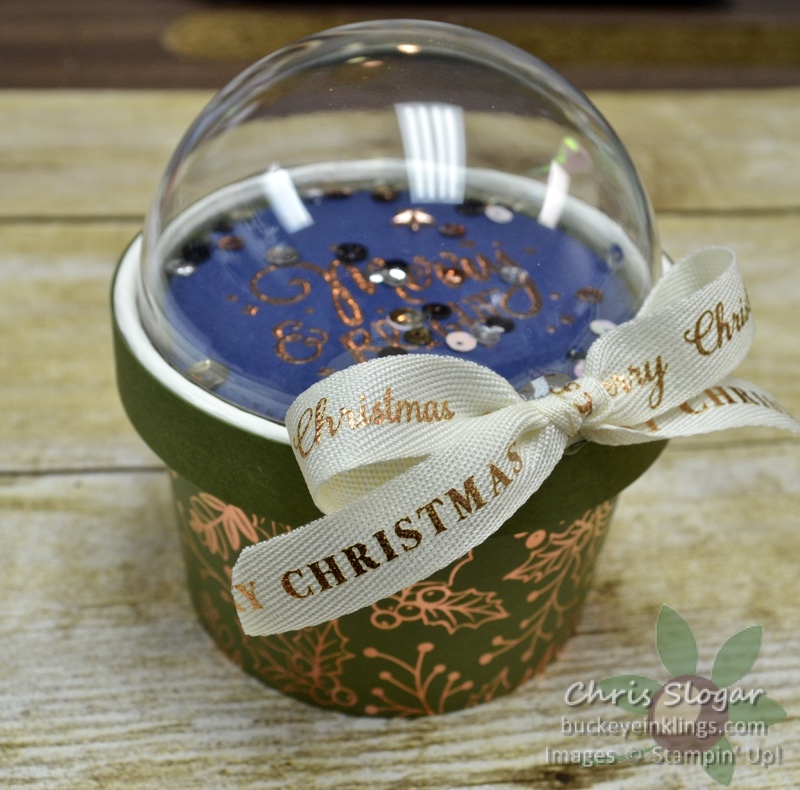
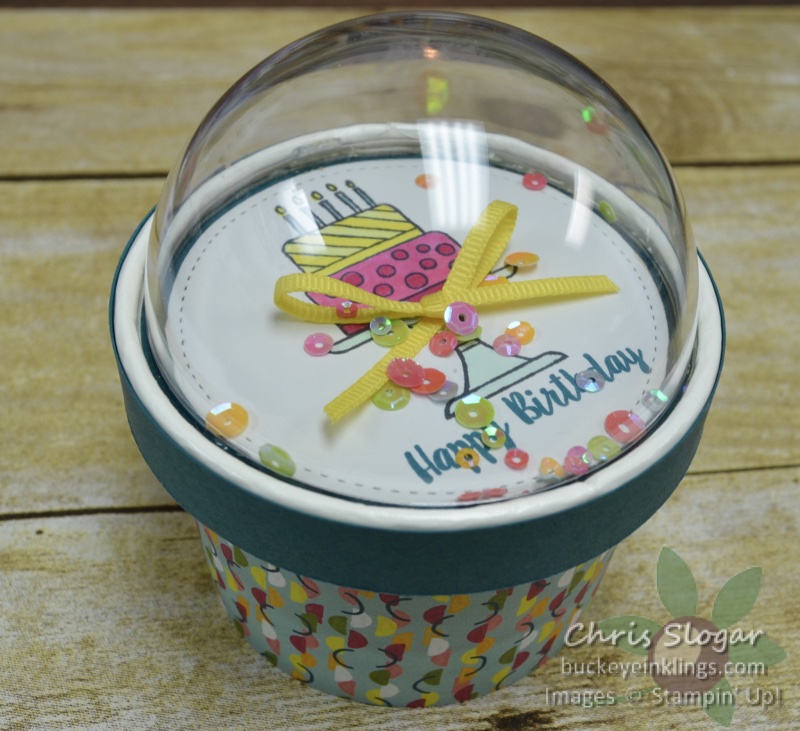
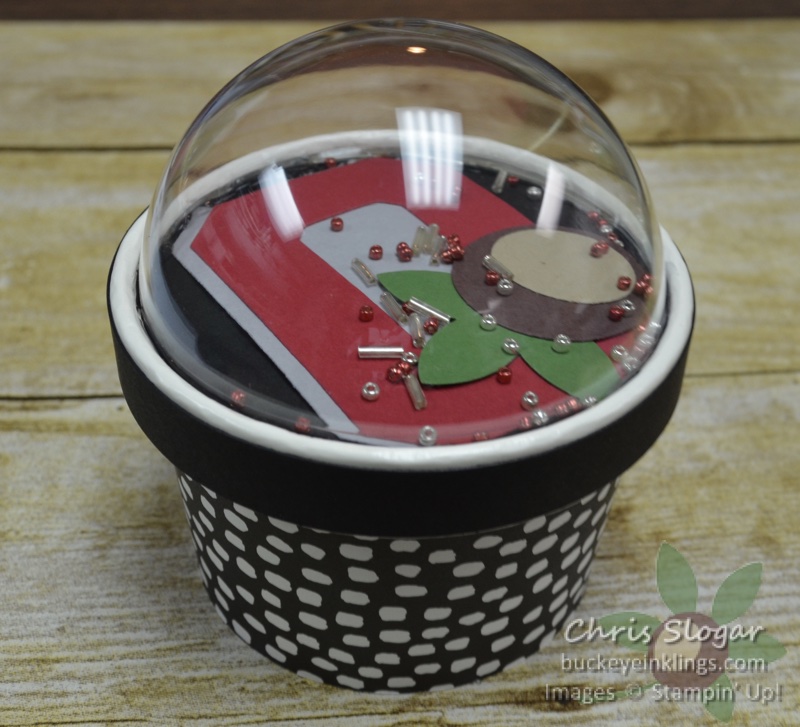
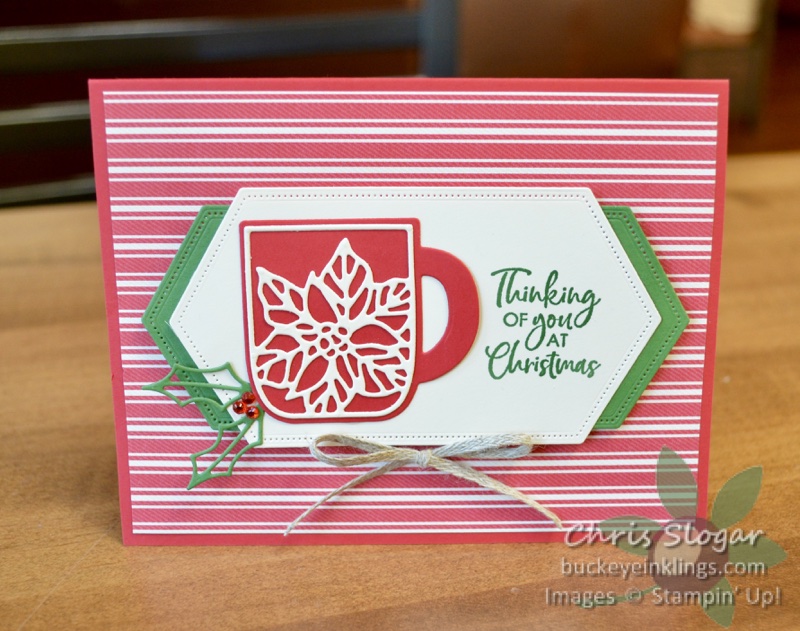
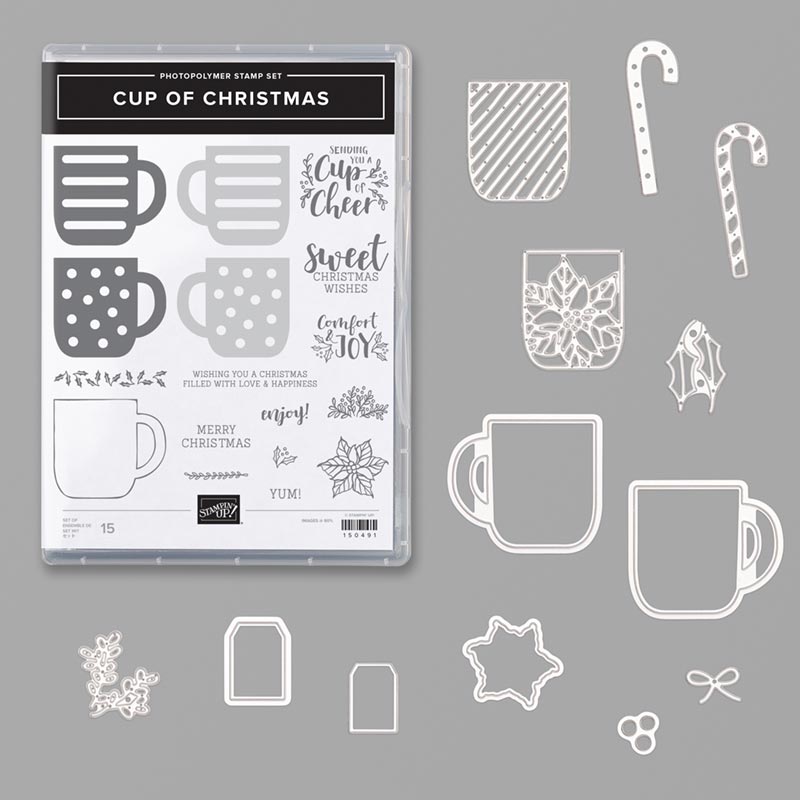
The Cup of Christmas bundle was on my must-have list when I first saw the Holiday Catalog this summer.  I know it will also be a “keeper” in my collection – a bundle that I will keep long after it is retired.  Not only does this bundle include classic mug shapes (in both stamps and dies), but there are some other great classic shapes, like the holly and the two-part candy cane dies.  See the full bundle below.

Thank you for checking out my card!  If you need any of our fabulous products, I would very much appreciate your business.  Please click here for the online store, or use the carousel to be directed to a product used in today’s project.

Place a minimum $35 order with this month’s Host Code, and I will send you a pack of Toile Tidings Glitter Enamel Dots.  This is my way of sharing the Stampin’ Rewards with you.

Chris_buckeye_signature_rose_final

Embellishing Die Cuts

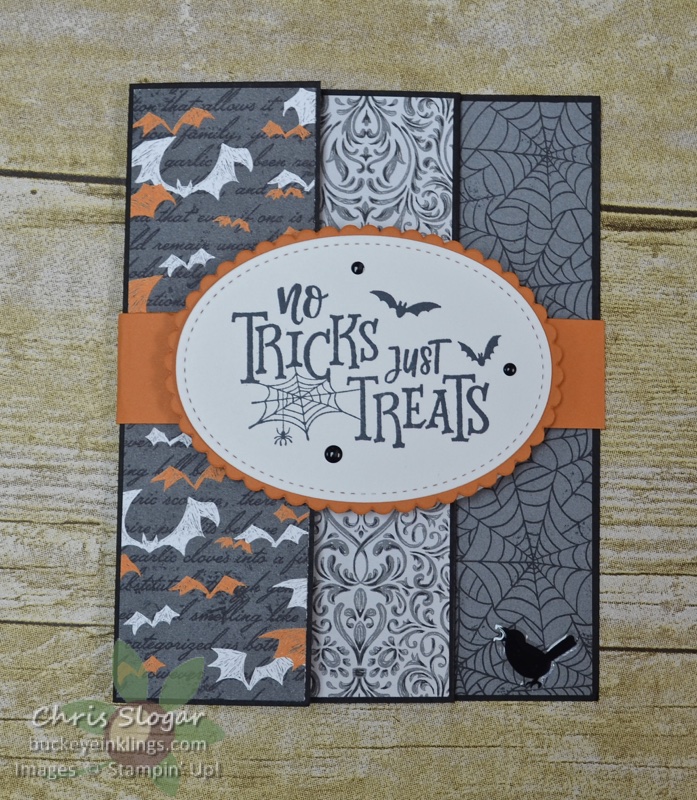
The subject of last night’s Facebook Live was dressing up die cuts.  On my Halloween card, I embossed the die cuts from Word Wishes with Shimmer Black Embossing Powder.  I simply pressed the die cuts to my Versamark pad, sprinkled with powder, and heat embossed.

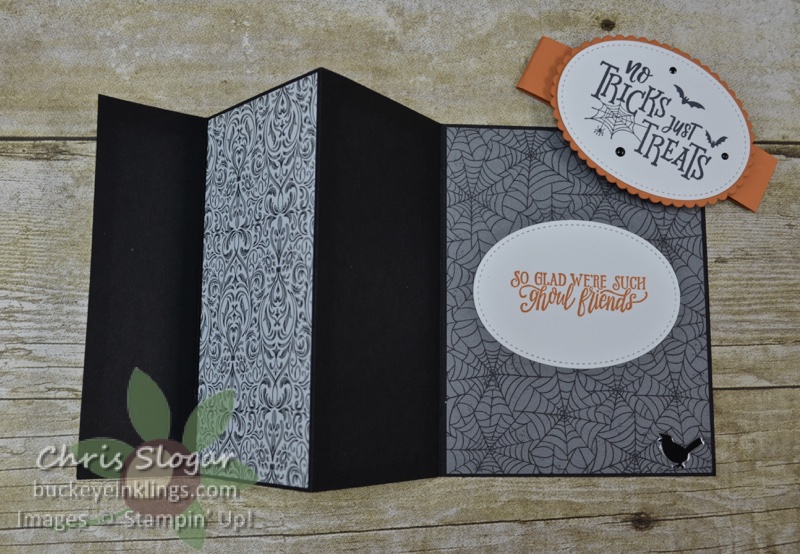
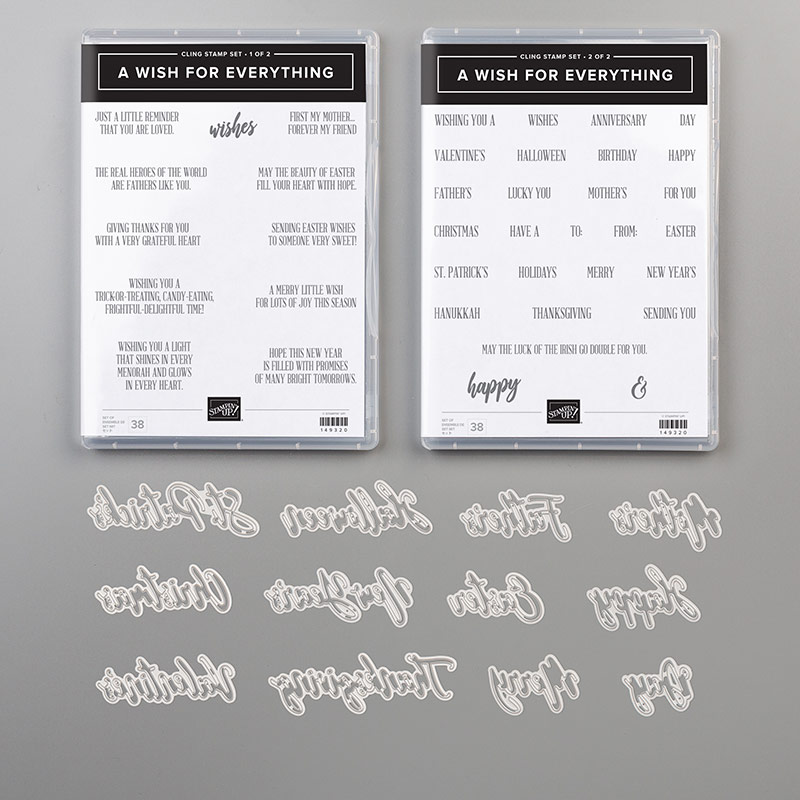
The Word Wishes dies are part of a bundle including the stamp set “A Wish for Everything”.  With greeting for card fronts and inside panels, this bundle is a great basic to have for all holidays.  The front of this card is cut away, and both greetings show on the inside panel.  The Basic Black card base measures 5 1/2″ x 7 1/4″, scored at 4 1/4″, and the designer paper strip measures 1 1/4″ x 5 1/2″.

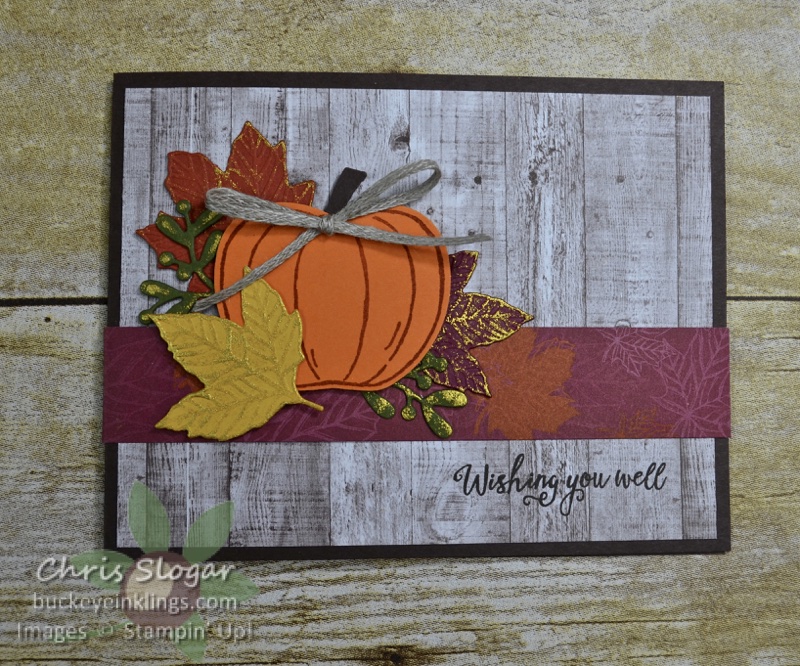
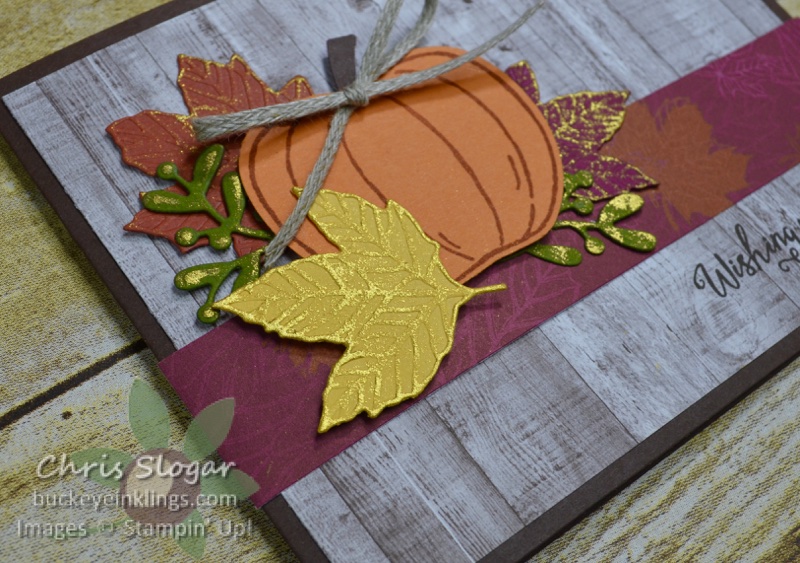
I used products from the Come To Gather Suite along with the Harvest Hellos pumpkin on this card.  The textured leaves are cut with the Gathered Leave dies.  The Mossy Meadow sprigs are from one of the Christmas Layers dies.  I gently pressed the leaves into gold metallic ink to highlight their veins.

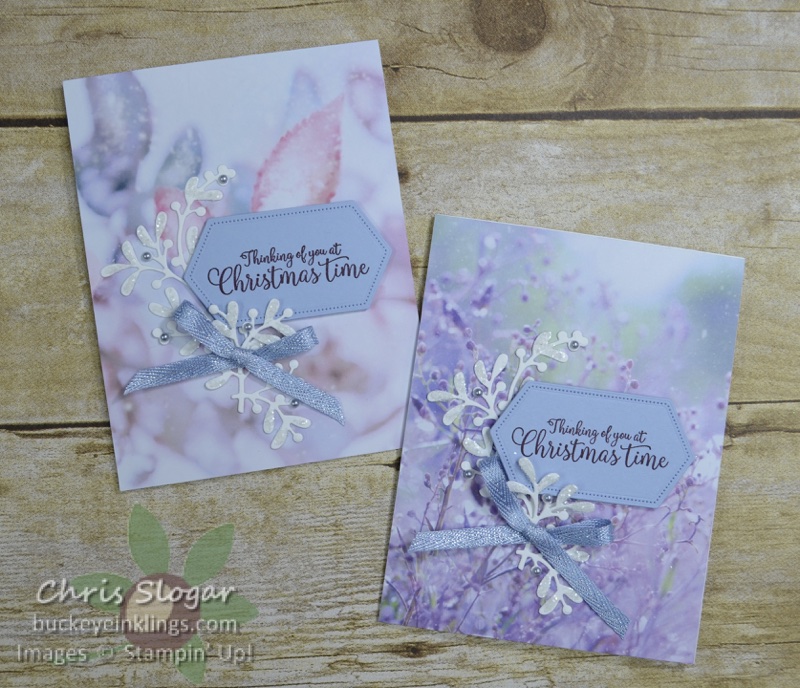
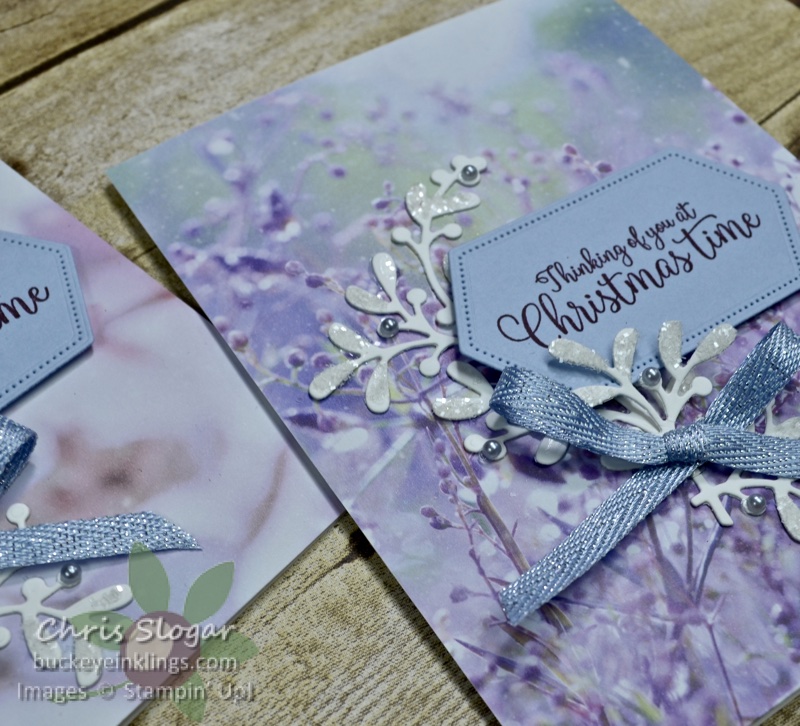
And finally, on my Christmas card, I used patterns from the Feels Like Frost designer paper collection.  The Whisper White sprig is cut from one of the Christmas Layers dies, and I added Shimmery Crystal Effects and Ice Stampin’ Glitter to the leaves.

Thank you for checking out my projects!  If you need any of our fabulous products, I would very much appreciate your business.  Please click here for the online store, or use the carousel to be directed to a product used in today’s projects.

Place a minimum $35 order with this month’s Host Code, and I will send you a pack of Toile Tidings Glitter Enamel Dots.  This is my way of sharing the Stampin’ Rewards with you.

Chris_buckeye_signature_rose_final

Tailored Tag Tree

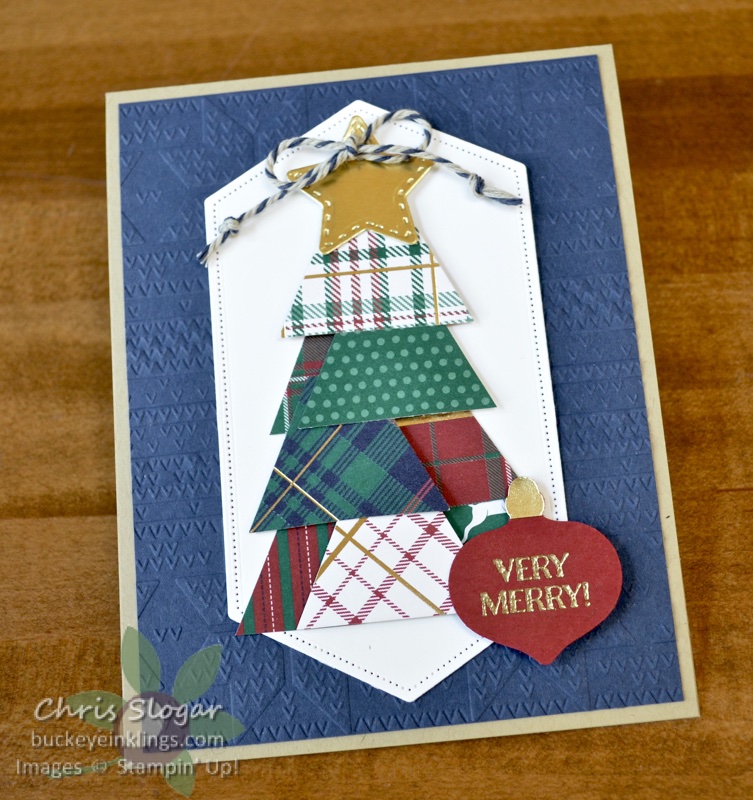
This little tree is made from halves of the shape created by the Tailored Tag Punch.  I punched patterns from the Wrapped in Plaid designer paper collection.  The star is from a die in the Mini Curvy Keepsake Box Dies.

The greeting is from Itty Bitty Christmas, and it is punched with the smaller punch from the Ornament Punch Pack.

Thank you for checking out my card!  If you need any of our fabulous products, I would very much appreciate your business.  Please click here for the online store, or use the carousel to be directed to a product used in today’s project.

Place a minimum $35 order with this month’s Host Code, and I will send you a pack of Toile Tidings Glitter Enamel Dots.  This is my way of sharing the Stampin’ Rewards with you.

Chris_buckeye_signature_rose_final

More Stamping = More Fun

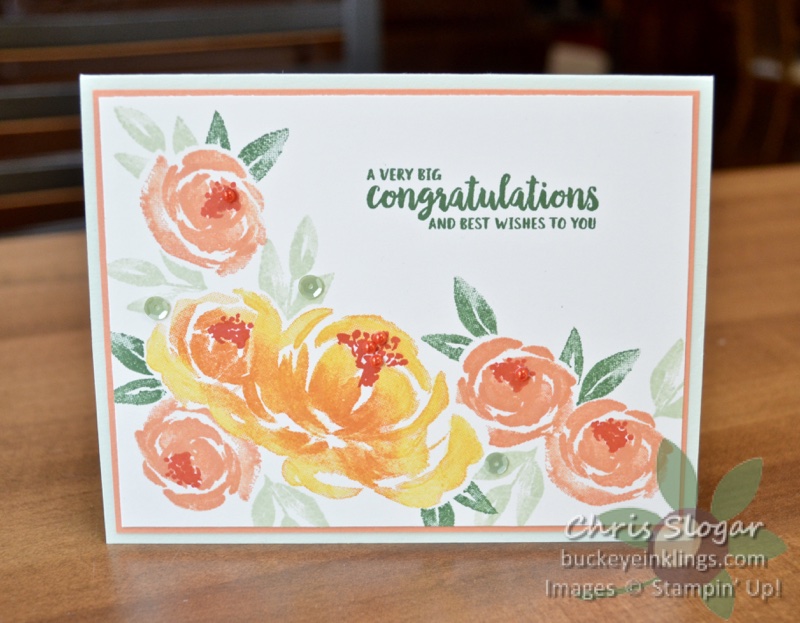
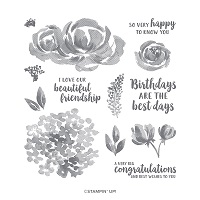
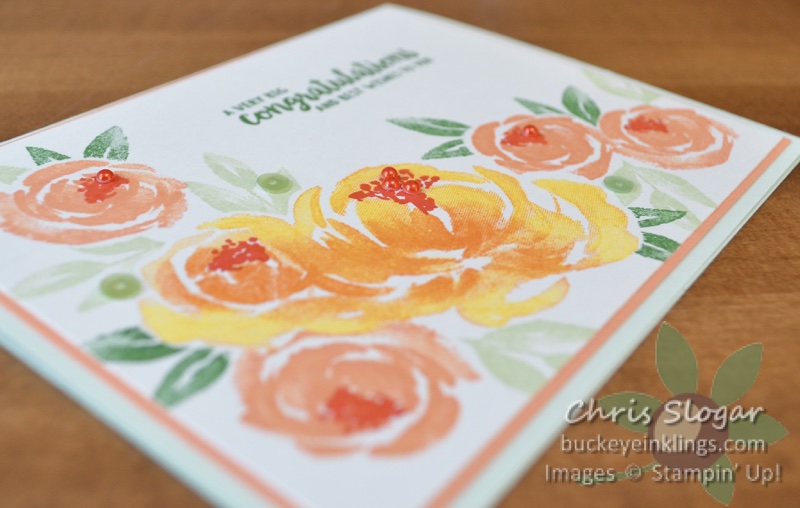
I always say this – cards with more stamping are more fun to make!  That proved true again when I broke out this gorgeous stamp set, “Beautiful Friendship”.  I have only used a few of the stamps here – see the full stamp set below.

I stamped the central cluster of flowers with Mango Melody and Pumpkin Pie.  I first inked the stamp on my Mango Melody pad, and then I added Pumpkin Pie ink on the flower centers with a dauber before stamping.  The other flowers are Grapefruit Grove, and the centers are Poppy Parade.  The leaves are Soft Sea Foam and Garden Green.

I brushed over the flowers with Wink of Stella, though you can’t tell in the picture.  I hope you can make out the pearls on some of the flowers.  They are colored with a Dark Poppy Parade Blend.

Thank you for checking out my card!  If you need any of our fabulous products, I would very much appreciate your business.  Please click here for the online store, or use the carousel to be directed to a product used in today’s project.

Place a minimum $35 order with this month’s Host Code, and I will send you a pack of Toile Tidings Glitter Enamel Dots.  This is my way of sharing the Stampin’ Rewards with you.

Chris_buckeye_signature_rose_final

Night Before Christmas Cards

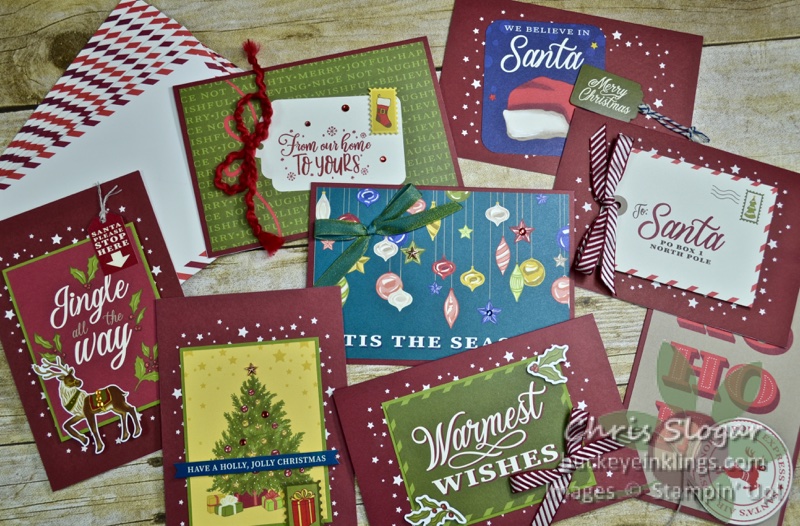
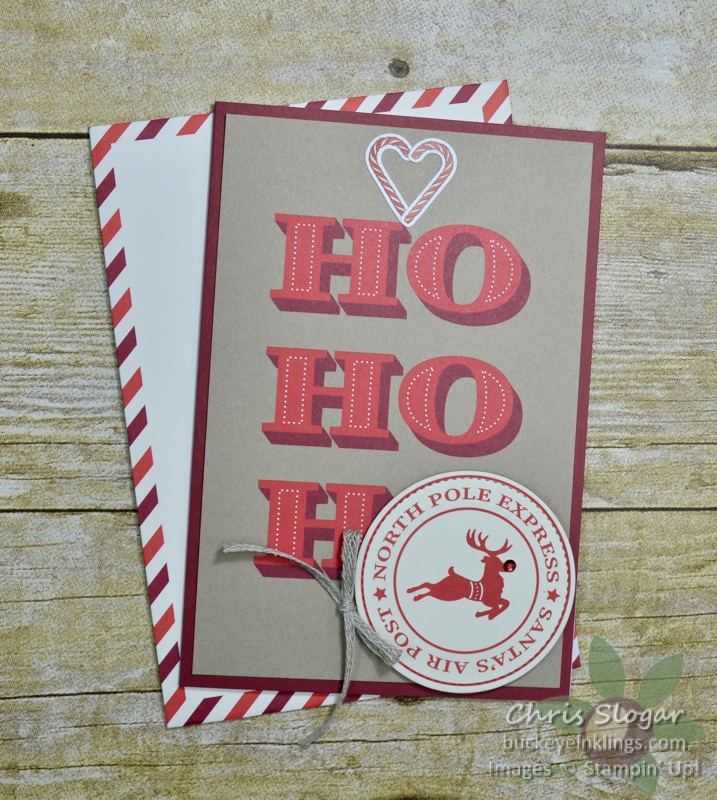
These cards can be made in a very short period of time, thanks to the Night Before Christmas Memories & More Card Pack and coordinating Cards & Envelopes.  To make these eight cards, I used one of each of the designs in the card pack and one sheet of stickers.  (The pack includes six of each design and six sticker sheets).  I added some trims and embellishments, too.
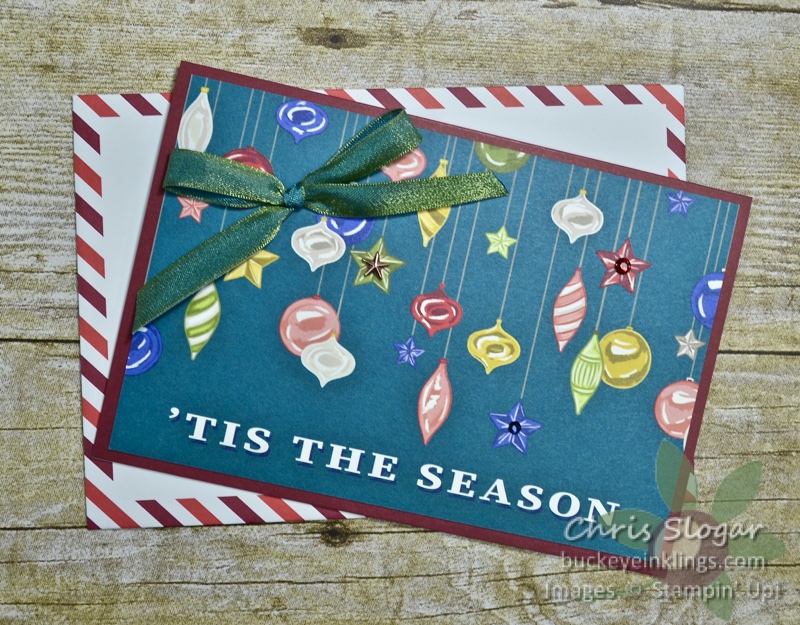
I added an Old Olive/Pretty Peacock Ribbon bow, a copper star from the Star Designer Elements, and some Holiday Rhinestones.
The circle is cut from one of the Memories & More cards with a stitched circle die, and I used the candy cane stickers.  I added a Braided Linen bow and a Holiday Rhinestone.
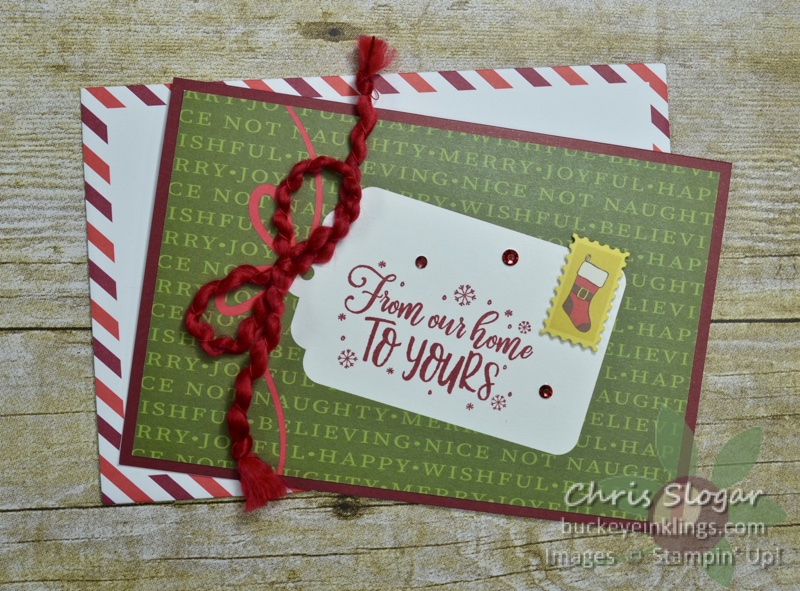
I used a greeting from “Everything Festive” and a sticker from the card pack.  I powdered the back of the sticker with my Embossing Buddy and popped it up on a dimensional.  I also added a Real Red Curly Ribbon and Holiday Rhinestones.
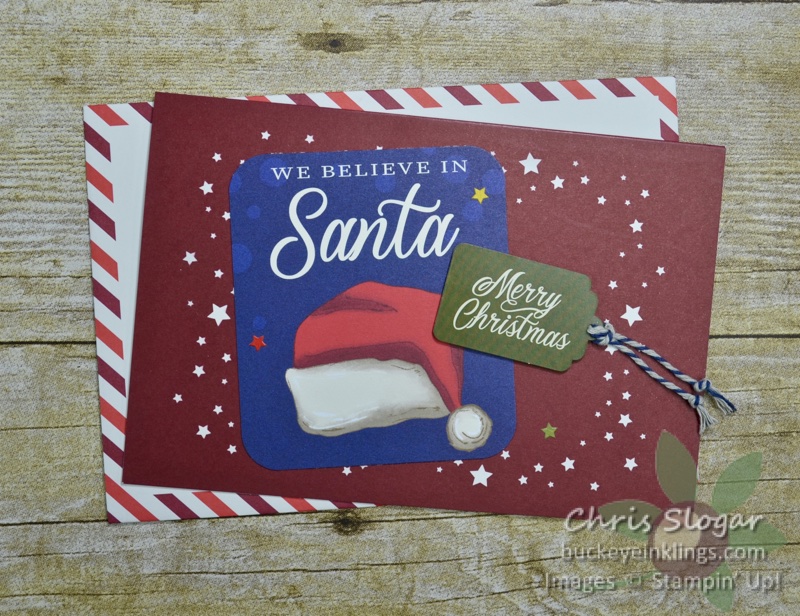
I cut about 3/8″ off the top of the Santa card and 1/8″ off the bottom, and I rounded the corners.  The tag and colored stars are from the sticker sheet, and I added Sahara Sand/Night of Navy Twine.
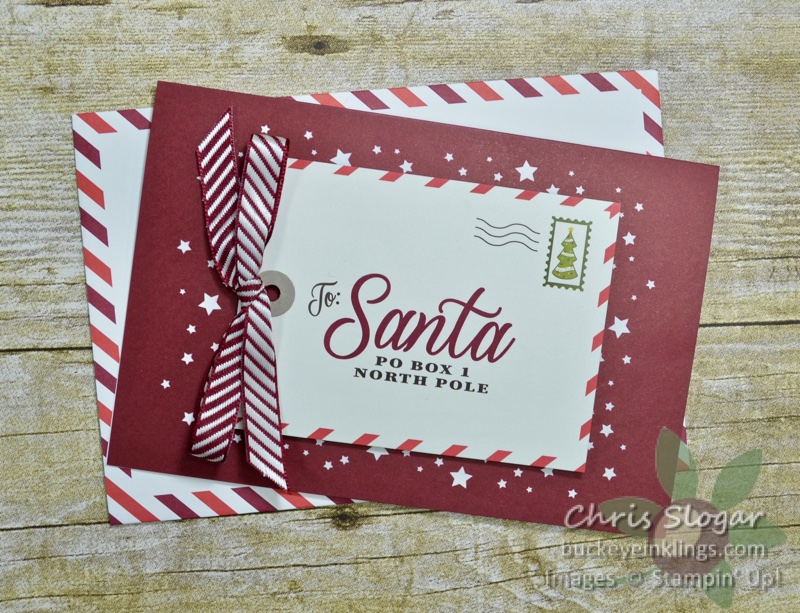
This one is CASEd from the Holiday Catalog.  I used a punched piece of Crumb Cake cardstock and Cherry Cobbler Diagonal Stripe Ribbon.
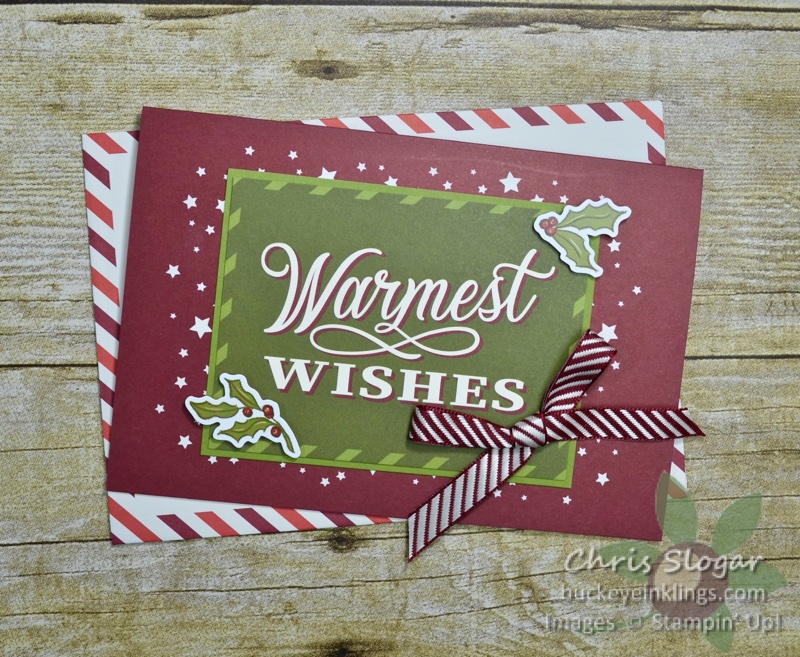
Again, I used that beautiful Cherry Cobbler Stripe Ribbon, and I also added a 3 1/8″ x 4 1/8″ mat of Old Olive cardstock under the Memories & More Card.
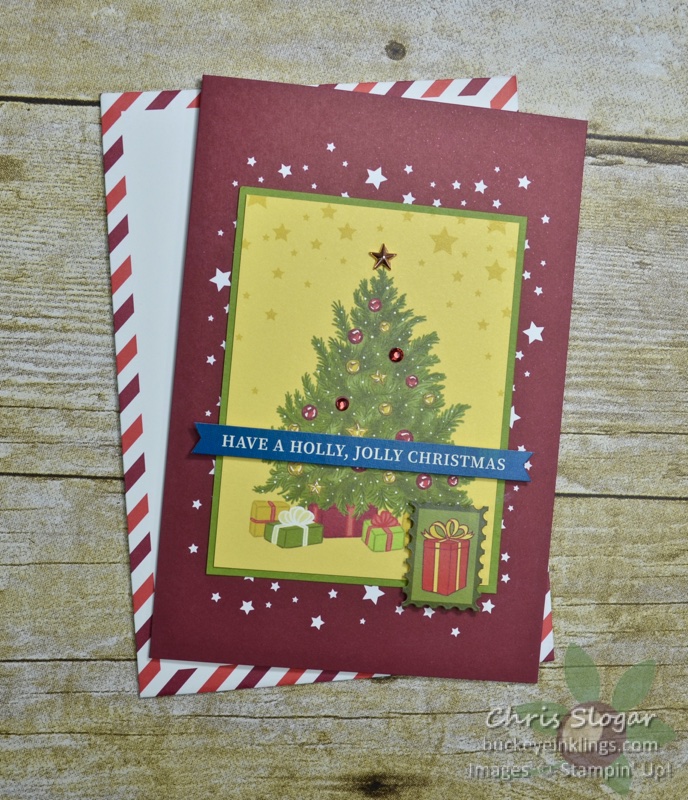
Again, I added a mat of Old Olive under the image.  I used stickers from the sticker sheet, a copper star from the Star Designer Elements, and some Holiday Rhinestones.
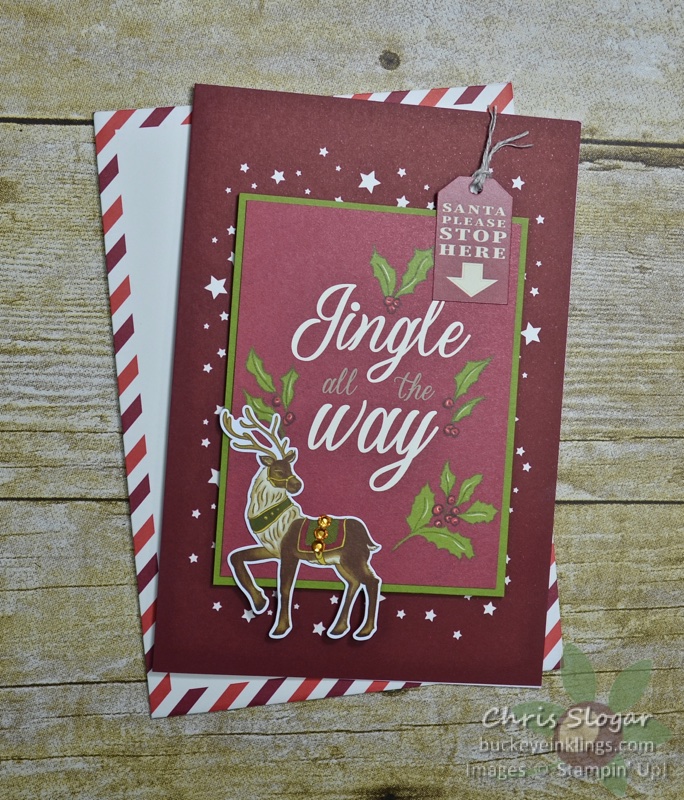
The extras here are the Old Olive mat, Holiday Rhinestones and a bit of Linen Thread.  The reindeer and tag are from the sticker sheet.
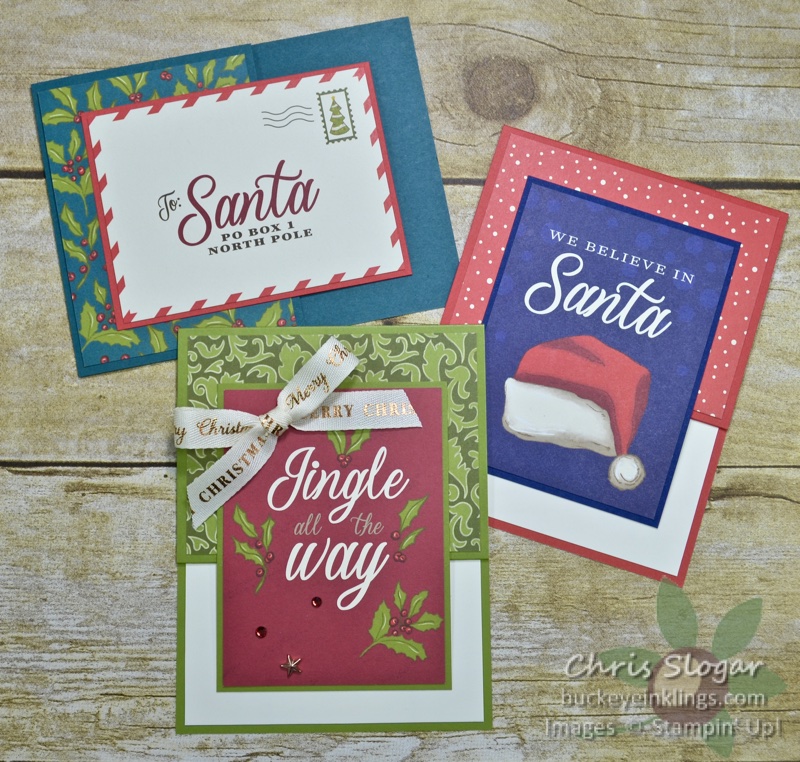
You can also use these beautiful Memories & More cards on your own card bases.  These are a few fun folds made with the cards in the pack.
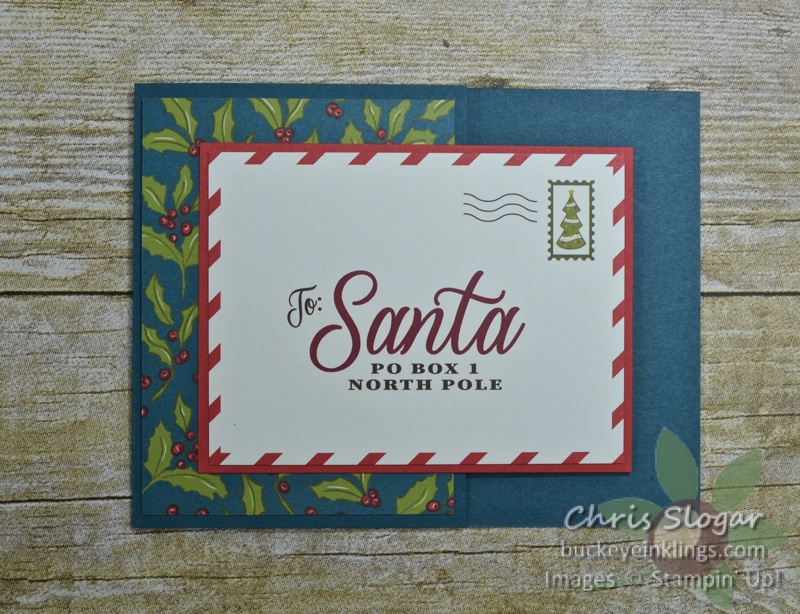
The Pretty Peacock card base measures 4 1/4″ x 8 3/4″, scored at 5 1/2″.  The Poppy Parade mat measures 3 1/8″ x 4 1/8″.  There are three Memories & More cards from the pack on this card (counting the inside panel, shown below).
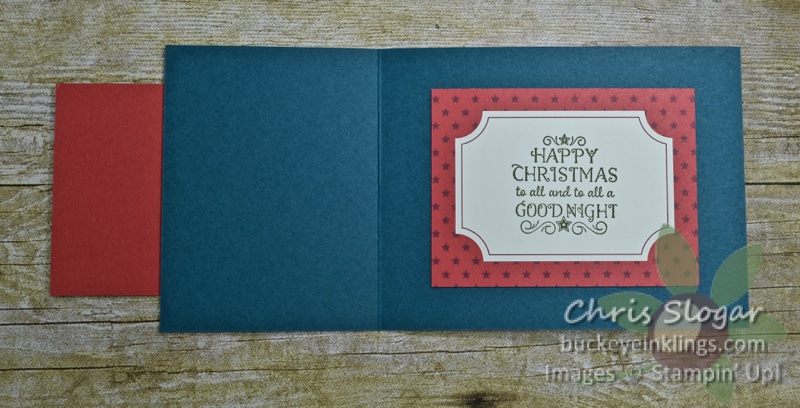
I stamped a greeting from “Greatest Part of Christmas” on the inside panel.
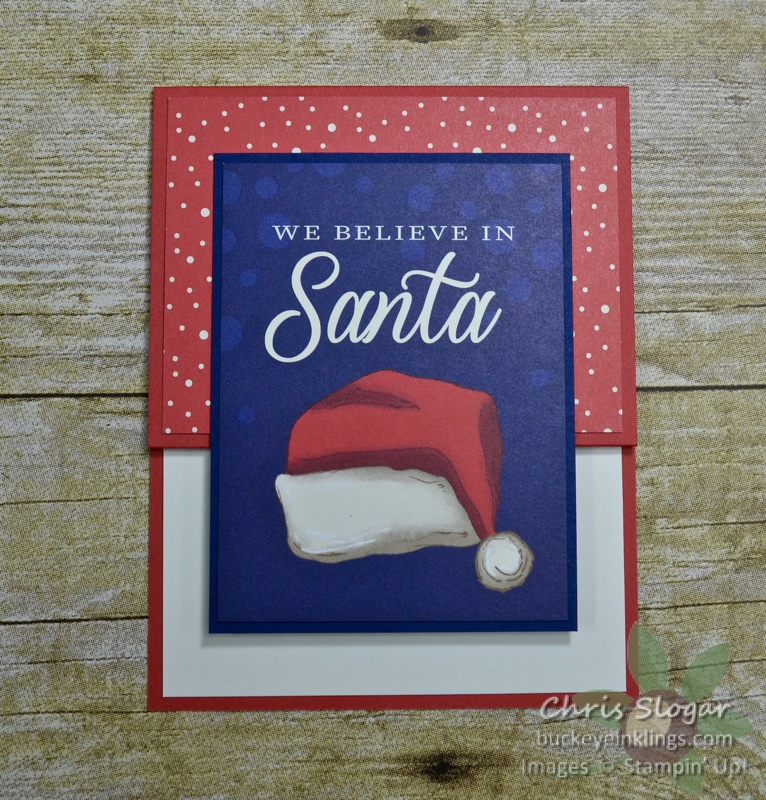
This card is very similar to the previous, except that the card base also folds to make a gift card pocket.
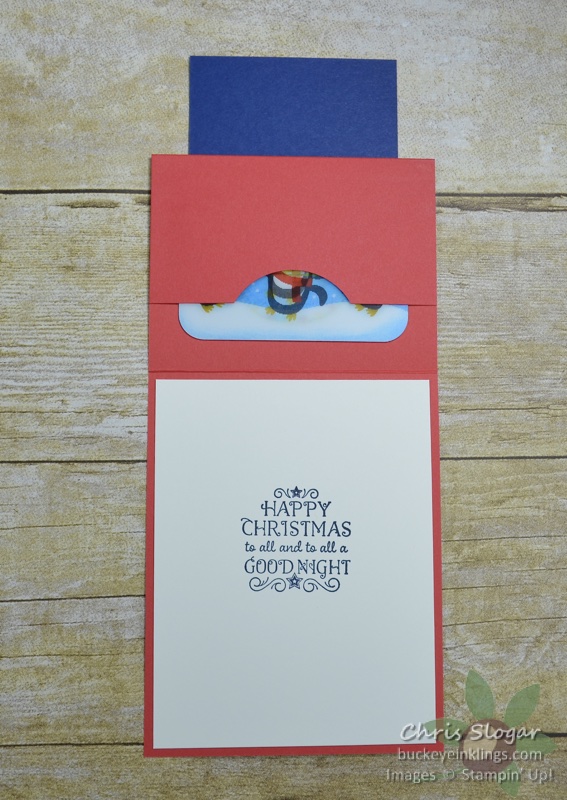
The Poppy Parade measures 4 1/4″ x 11″, scored at 5 1/2″ and 8 3/4″.  The Night of Navy mat measures 3 1/8″ x 4 1/8″.
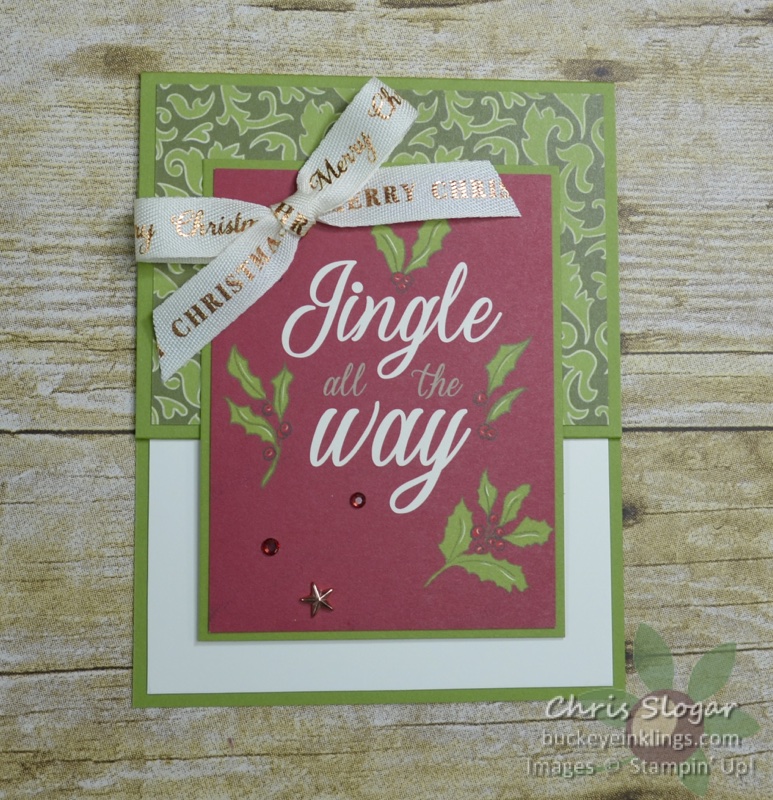
This is made the same as the previous, but I have added a few trims – the Merry Christmas ribbon, copper star and rhinestones.

This post is meant to supplement last night’s Facebook Live.  Click here for the video on Facebook.

Thank you for checking out my projects!  If you need any of our fabulous products, please click here for the online store, or use the carousel to be directed to a product used in today’s project.  Place a minimum $35 order with this month’s Host Code, and I will send you a pack of Toile Tidings Glitter Enamel Dots.  This is my way of sharing the Stampin’ Rewards with you.  I appreciate your orders!

Chris_buckeye_signature_rose_final

Flip Flap Card

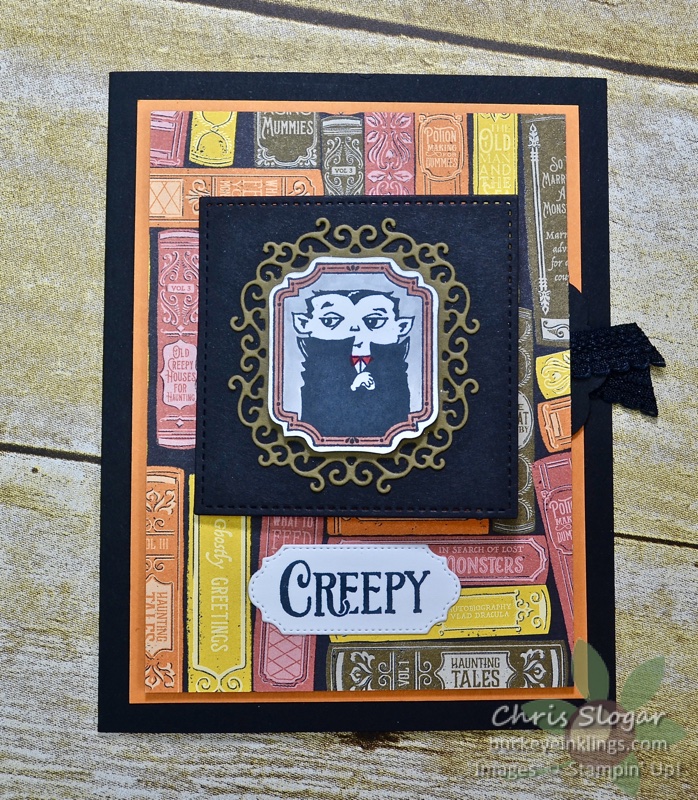
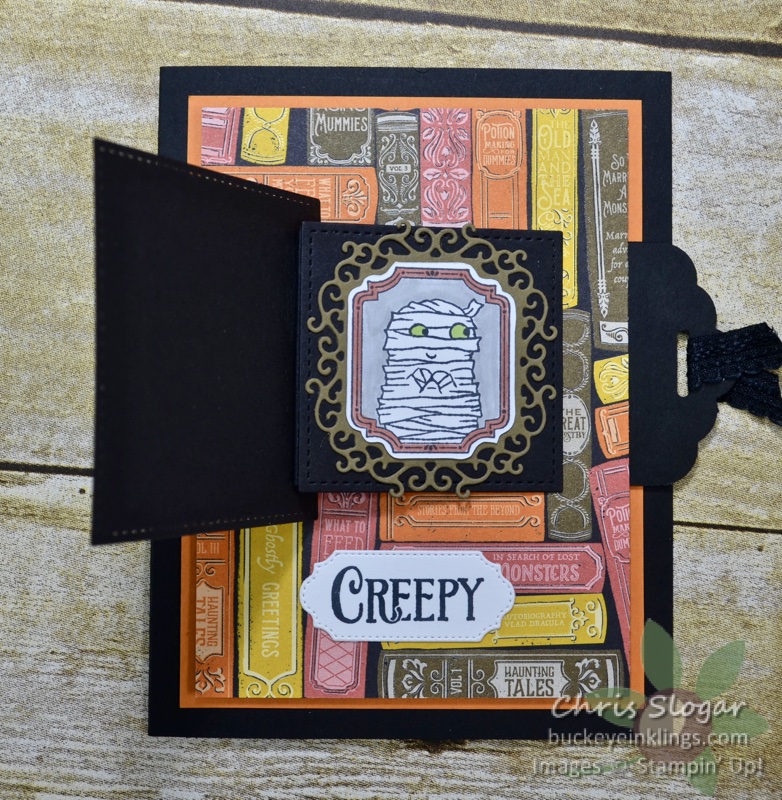
This is a really fun interactive card.  When you pull the ribbon end of the pull piece (at right), the flap opens to reveal another image.

These lovable creepy characters from “Spooktacular Bash” are perfect for this.  You could also stamp messages on the front or inside flaps.  The video below gives complete instructions.  If you are receiving this post in an email, please click here for the video.

Thanks so much for checking out my card!  Today is the last day for my September giveaways…

Use Host Code 37DY7Z6X

with a $35 order to receive a package of Holiday Rhinestones

OR

with a $75 order to receive a Host Set – I will send “Greatest Part of Christmas” unless you email me at stampyourworld@gmail.com to request a different Host Set.

If your order is over $150, please do not use the Host Code.  In this case, take your own Stampin’ Rewards, and I will still send the Host Set afterward.

If you would like to order, please use the carousel below to be directed to a product used today, or click here for the online store.  I appreciate your orders!
Chris_buckeye_signature_rose_final

What the Calendar Says

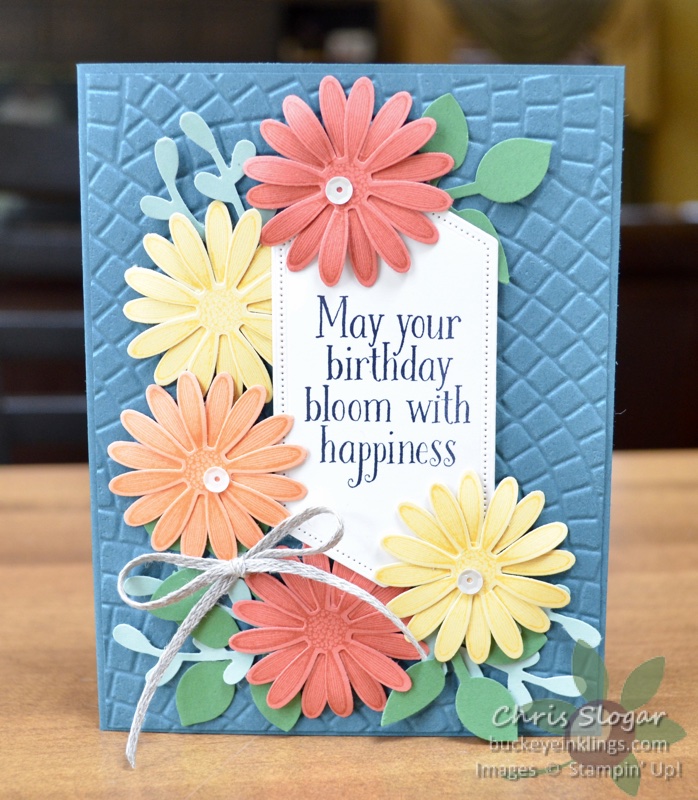
The weather here in Northeast Ohio is not indicating a change of seasons yet, but according to the calendar – fall is here!  So I followed the calendar for this card, using “Daisy Lane” to make flowers in Terracotta Tile, Grapefruit Grove and So Saffron.  They pop beautifully against our new Pretty Peacock.

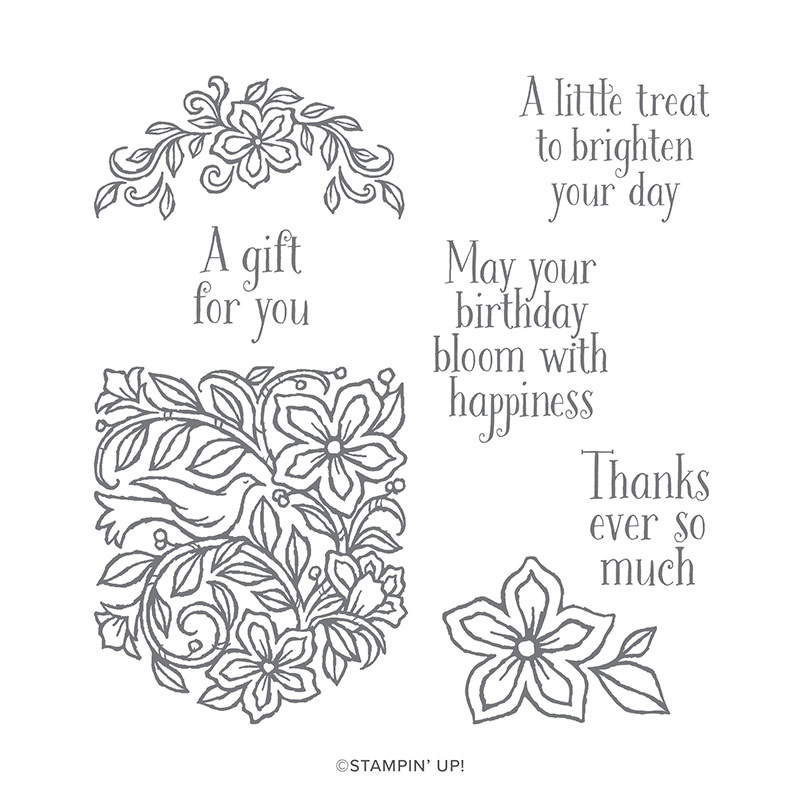
The greeting here is from “Pocketful of Happiness”, one of my favorite hidden treasures in this year’s Annual Catalog.  I especially love it for its cute and simple sentiments that pair well with punches and dies!

Thanks so much for checking out my card!  Just one day left for my September giveaways…

Use Host Code 37DY7Z6X

with a $35 order to receive a package of Holiday Rhinestones

OR

with a $75 order to receive a Host Set – I will send “Greatest Part of Christmas” unless you email me at stampyourworld@gmail.com to request a different Host Set.

If your order is over $150, please do not use the Host Code.  In this case, take your own Stampin’ Rewards, and I will still send the Host Set afterward.

If you would like to order, please use the carousel below to be directed to a product used today, or click here for the online store.  I appreciate your orders!
Chris_buckeye_signature_rose_final

Accordion Fold Cards

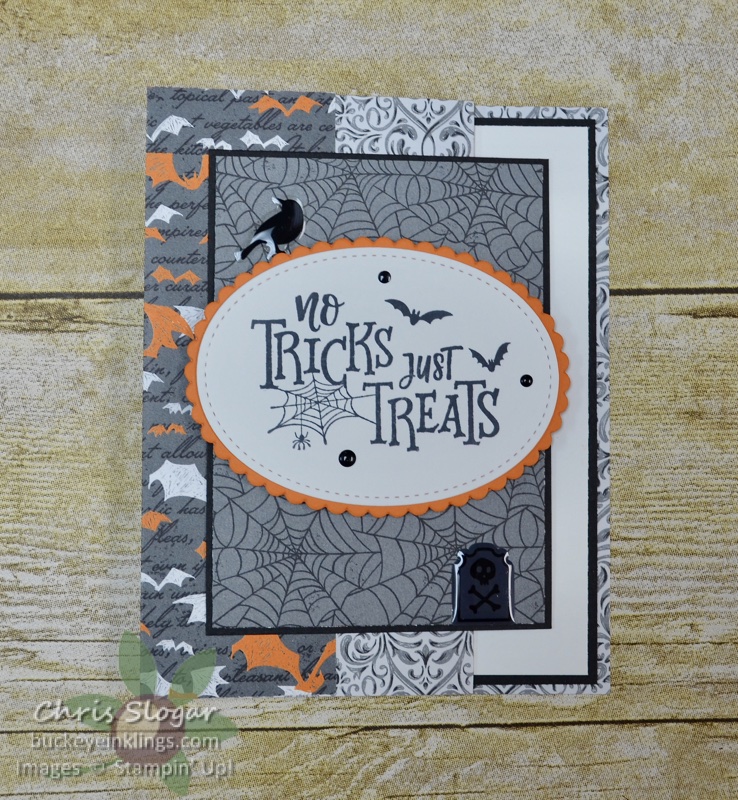
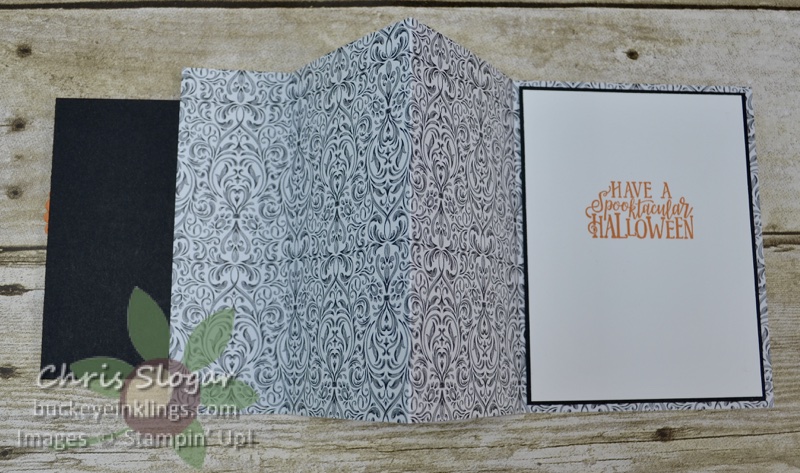
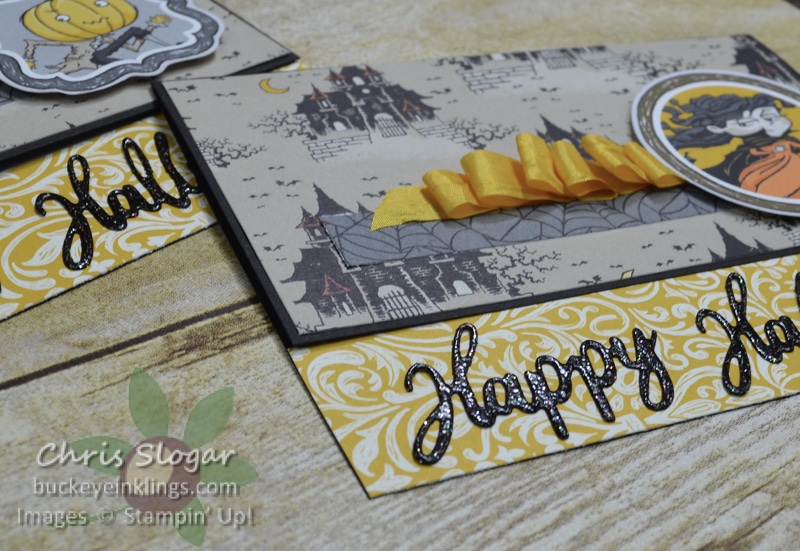
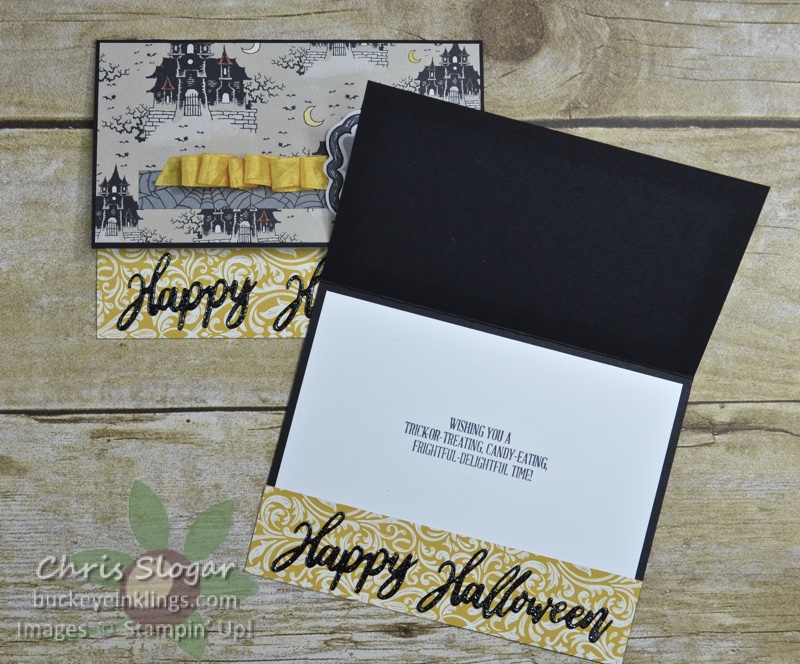
Last night on Facebook Live, I shared two versions of this accordion fold card, in two different themes.  What makes each version different is the type of material used for the card base – cardstock or designer paper.  This one uses Basic Black cardstock, which you can see better when the band is removed and it is opened up…

The base piece measures 5 1/2″ x 12″, scored at 1 3/4″, 4 3/4″ and 7 3/4″.  I CASEd this from Brenda at Stamping As Fast As I Can.  You can see her fall version from 2017 here.

The designer paper pieces to fit this card measure 1 5/8″ x 5 3/8″, 2 7/8″ x 5 3/8″ and 4 1/8″ x 5 3/8″.  The band is 1″ x 10″, scored at 2 3/4″ and 7 1/8″.

The greeting on the band is from “Everything Festive” and the greeting on the inside panel is from “Spooktacular Bash”.

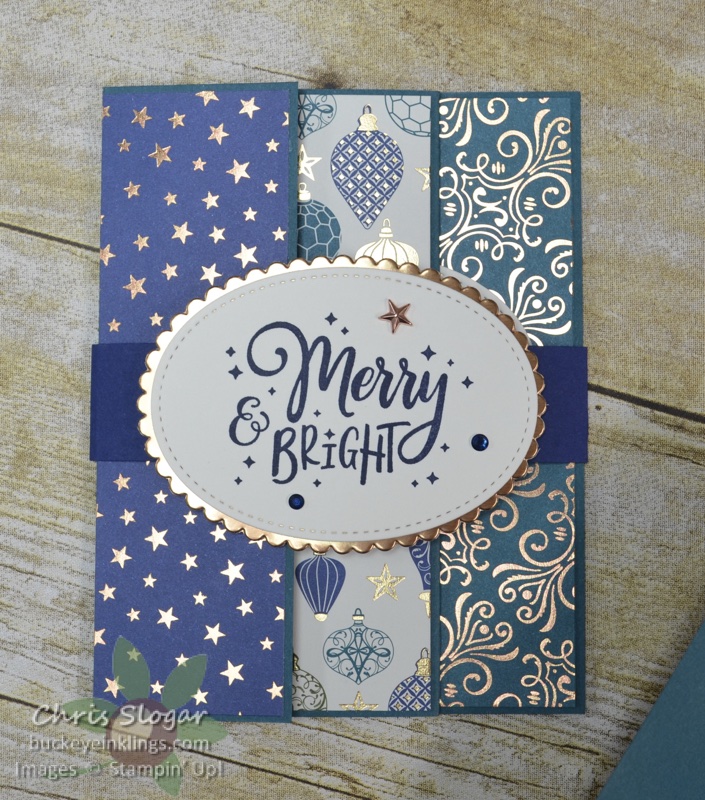
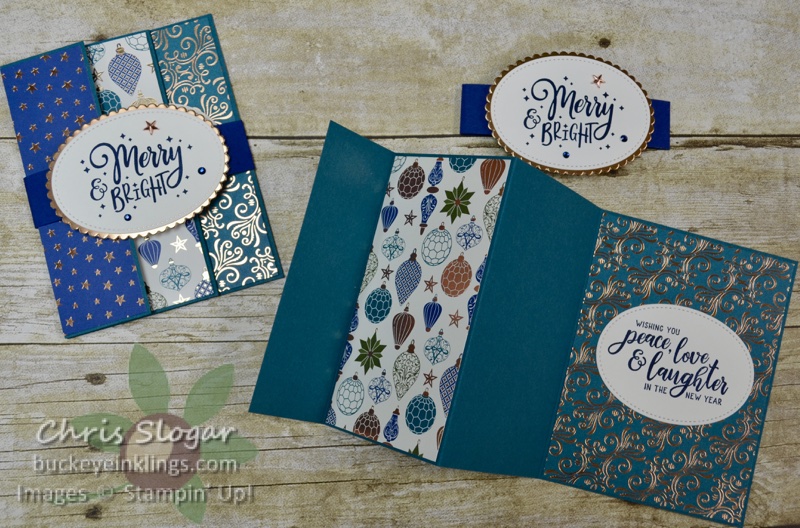
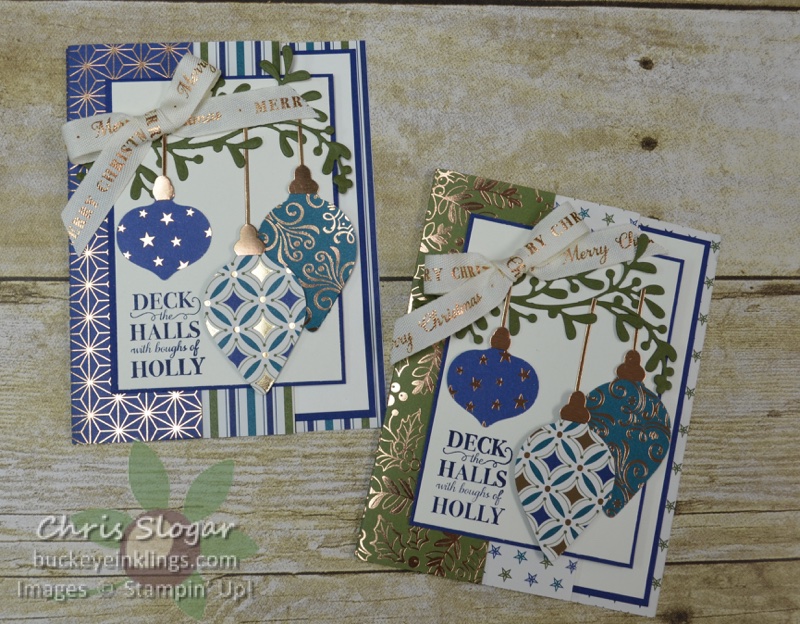
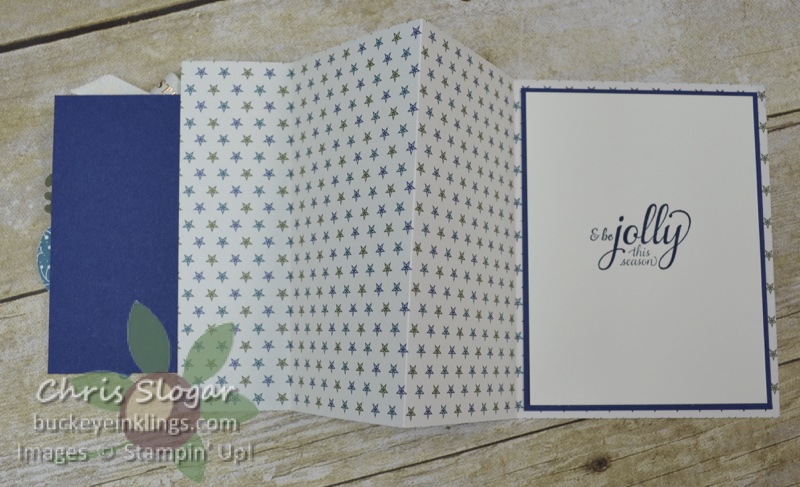
My Christmas version is made on Pretty Peacock cardstock with Brightly Gleaming designer paper.  The greetings on this card are from “Everything Festive”.

In the version that uses designer paper, I added a panel to the front and inside of the card, and I have not used a band.  The designer paper base dimensions are the same as in the cardstock version above (5 1/2″ x 12″, scored at 1 3/4″, 4 3/4″ and 7 3/4″).  Other dimensions are as listed below.

Basic Black 3 1/8″ x 4 3/8″ (front) and 4″ x 5 1/4″ (inside)

Designer Paper 3″ x 4 1/4″ (front)

Whisper White 3 7/8″ x 5 1/8″ (inside)

These are the designer paper version made with the Brightly Gleaming suite.  This suite lives up to its name!  I CASEd a layout that I saw on a card by Rachel Woollard for the panel of ornaments.  The greenery is made with the Christmas Layers dies.

The video below shows construction of one of the Brightly Gleaming cards.  If you are receiving this post in an email, please click here for the video.

I am offering special gifts in September as I make a final push to earn our incentive trip this year.  Use Host Code 37DY7Z6X

with a $35 order to receive a package of Holiday Rhinestones

OR

with a $75 order to receive a Host Set – I will send “Greatest Part of Christmas” unless you email me at stampyourworld@gmail.com to request a different Host Set.

If your order is over $150, please do not use the Host Code.  In this case, take your own Stampin’ Rewards, and I will still send the Host Set afterward.

Thanks so much for checking out my project!  If you would like to order, please use the carousel below to be directed to a product used today, or click here for the online store.  I appreciate your orders!
Chris_buckeye_signature_rose_final

Buffalo Check Pumpkins

It’s fun to make birthday cards seasonal – especially when you have great seasonal products like the Harvest Hellos bundle.  You can punch out pumpkins (and apples) to your heart’s content!

I chose three fall colors – Terracotta Tile, Crushed Curry and Cajun Craze – and used the Buffalo Check stamp to make a background for my pumpkins and leaves.  It’s a simple card with a fun mix of colors and patterns, and the greeting is from the Perennial Birthday set.

Have a great day!

Chris_buckeye_signature_rose_final

Present Card

We made this gift card holder in our team meeting last week using the Let it Snow bundle.  It opens as shown below…

Check out the video for complete instructions.  If you are receiving this post in an email, click here for the video.

I am offering special gifts in September as I make a final push to earn our incentive trip this year.  I am close enough to make it, but I need your help!  Use Host Code 37DY7Z6X

with a $35 order to receive a package of Holiday Rhinestones

OR

with a $75 order to receive a Host Set – I will send “Greatest Part of Christmas” unless you email me at stampyourworld@gmail.com to request a different Host Set.

If your order is over $150, please do not use the Host Code.  In this case, take your own Stampin’ Rewards, and I will still send the Host Set afterward.

Thanks so much for checking out my project!  If you would like to order, please use the carousel below to be directed to a product used today, or click here for the online store.  I appreciate your orders!
Chris_buckeye_signature_rose_final
WordPress theme: Kippis 1.15