Vellum Pocket Cards

Welcome to the Trip Achievers Blog Hop for March!  You may just be starting the blog hop here at my blog (Chris Slogar) or may have come from the person previous to me in the list. If you get off track at any time, the full lineup below will help you move along from blog to blog so you see all of the projects.

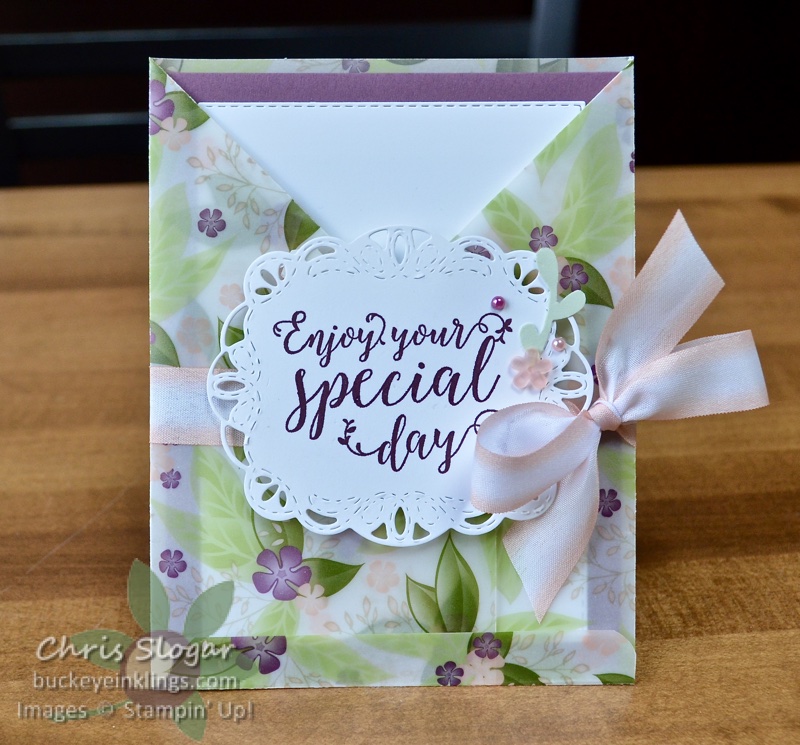
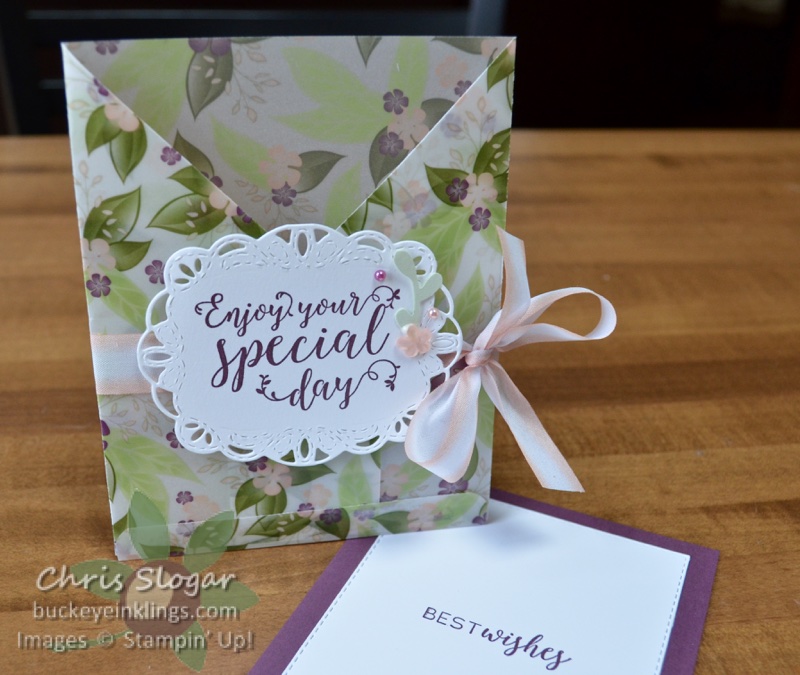
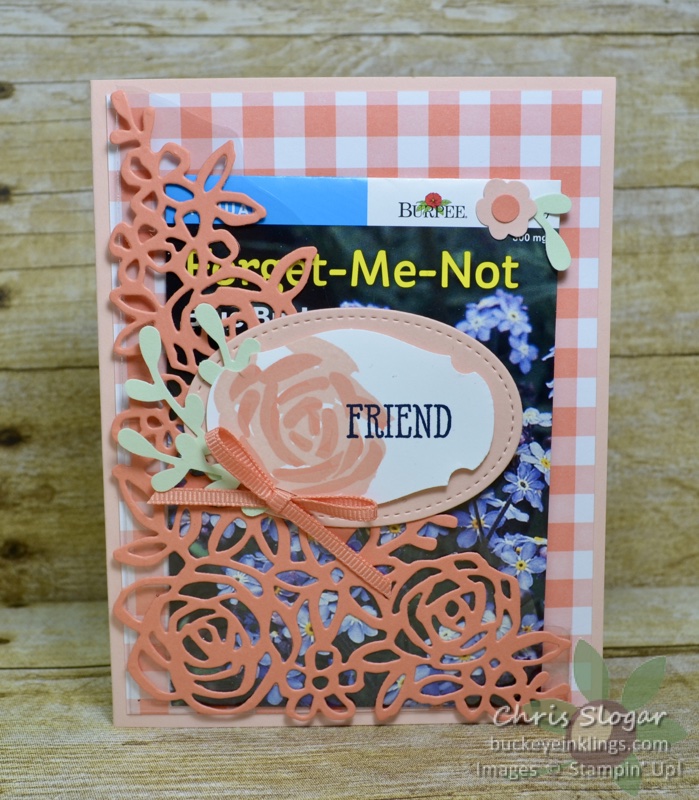
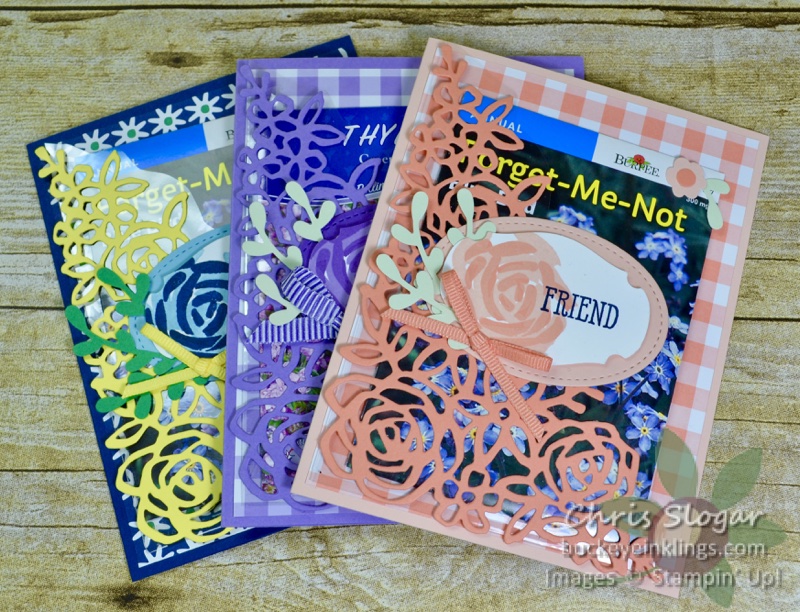
I am showcasing a specialty paper from our Floral Romance collection.  It is a beautiful printed vellum, and I made a pocket card with it.

This is an easy pocket card to make, but it looks showy and special because of the beautiful paper and embellishments.  The greeting is made with the Stitched All Around Bundle, and I have added a Frosted Flower and Artisan Pearls.  The beautiful Petal Pink and White ribbon is perfect for a card – thin and easy to tie!

The inner card is a 4″ x 5 1/4″ piece of Fresh Fig with a Whisper White stitched rectangle.  The video below shows how to make this card.  If you are receiving this post in an email, please click here for the video.

Thank you so much for taking part in our blog hop!  Please use the list below to move to the next blog.

Chris_buckeye_signature_rose_final

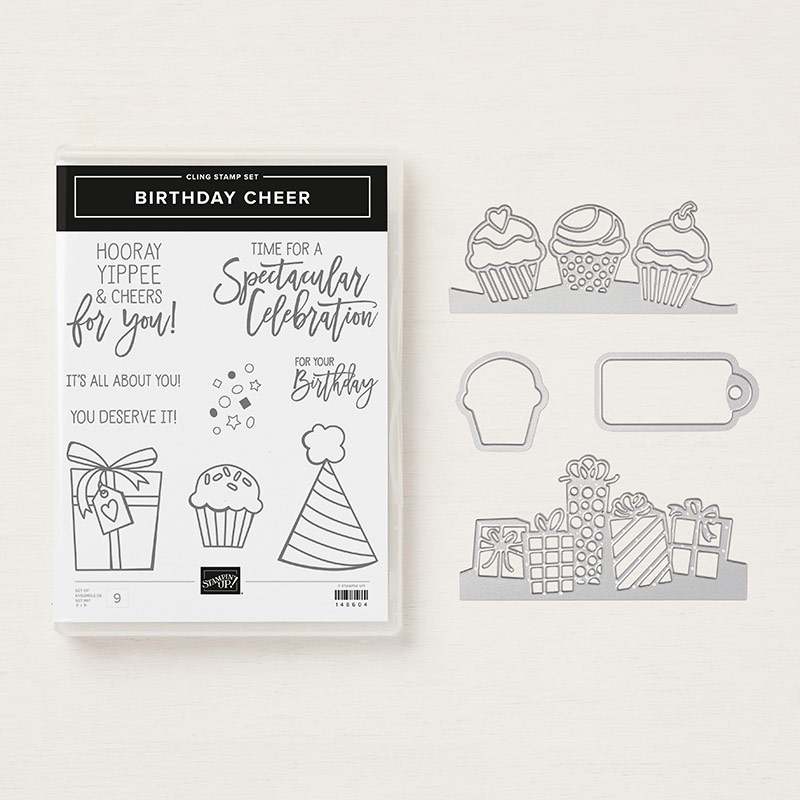
Birthday Cheer

Birthday Cheer is one of my favorite bundles from the 2019 Occasions Catalog.  The big images are fun to color, and the edgelits are a nice change of pace from our typical framelits.

We have been warned that the dies for this bundle will likely sell out soon – well before the end of the catalog period, so please don’t wait if you would like this bundle!

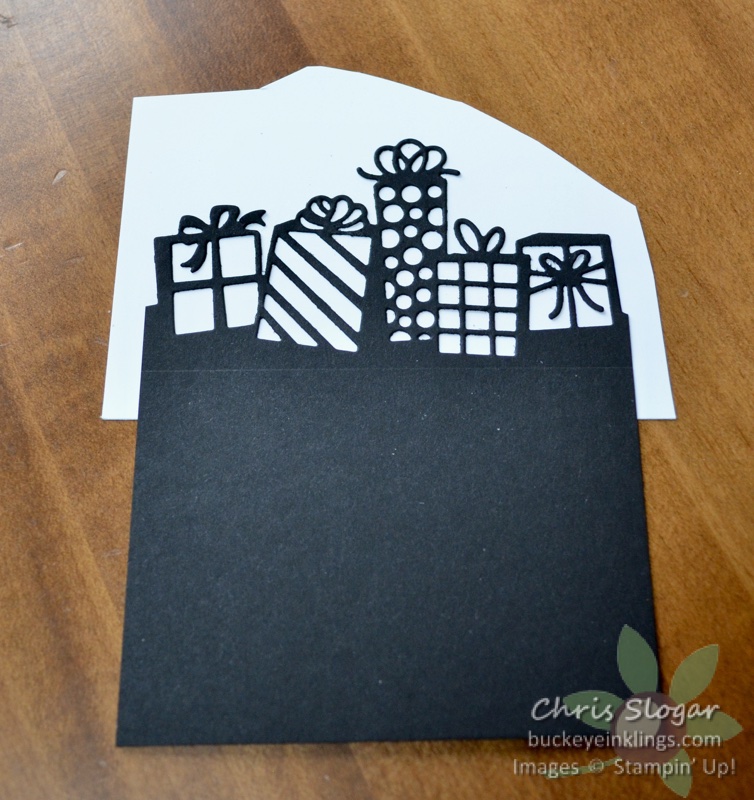
On my card, I used the present edgelit to cut the top of my Basic Black cardstock.  I then attached it to a scrap of Whisper White as shown below.

I colored the presents with Granny Apple Green and Bermuda Bay Stampin’ Blends, and then cut around the presents to remove the excess Whisper White.  The picture below shows the back of this edgelit piece after being colored and cut.

I trimmed this piece to 3 7/8″ wide and added it to my card front.  This would be pretty in so many colors!

Thanks so much for checking out my card!  I would love to keep bringing you ideas for free on my site, but I need your help!  Please click here to shop, or use the carousel below to be directed to an item used on today’s projects.

Place an order over $35 with this month’s Hostess Code and you will receive a Simply Shammy and a handmade card from me as a thank you!  Orders over $50 are also eligible for a free Sale-a-bration item and a Buckeye Point in my Loyalty Rewards Program. I appreciate your orders!

Chris_buckeye_signature_rose_final

Reverse Stamping

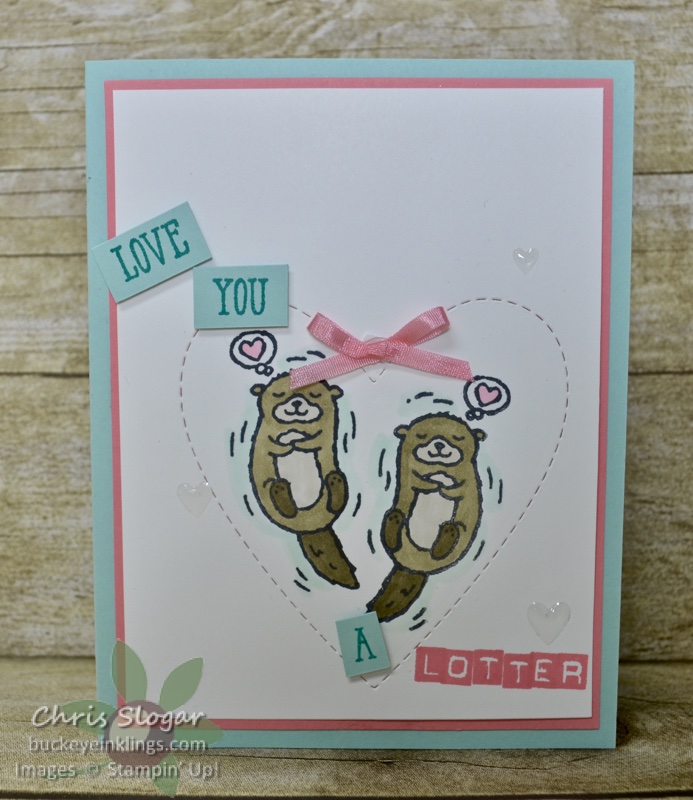
Last night’s Facebook Live was about reverse stamping.  My first example is this otter card.  The stamp set “Hey Love” only includes one otter, but by reversing the otter image, I have two different otter images.

To create the reverse image, I stamped the orignal image on the back of a large photopolymer stamp.  Then I pressed the photopolymer stamp to my project.  The video below shows this process.

The Whisper White mat measures 3 3/4″ x 5″ and the Flirty Flamingo mat measures 3 7/8″ x 5 1/8″.  The stitched heart on the Whisper White mat was created with a framelit from the Be Mine Stitched Framelits collection.

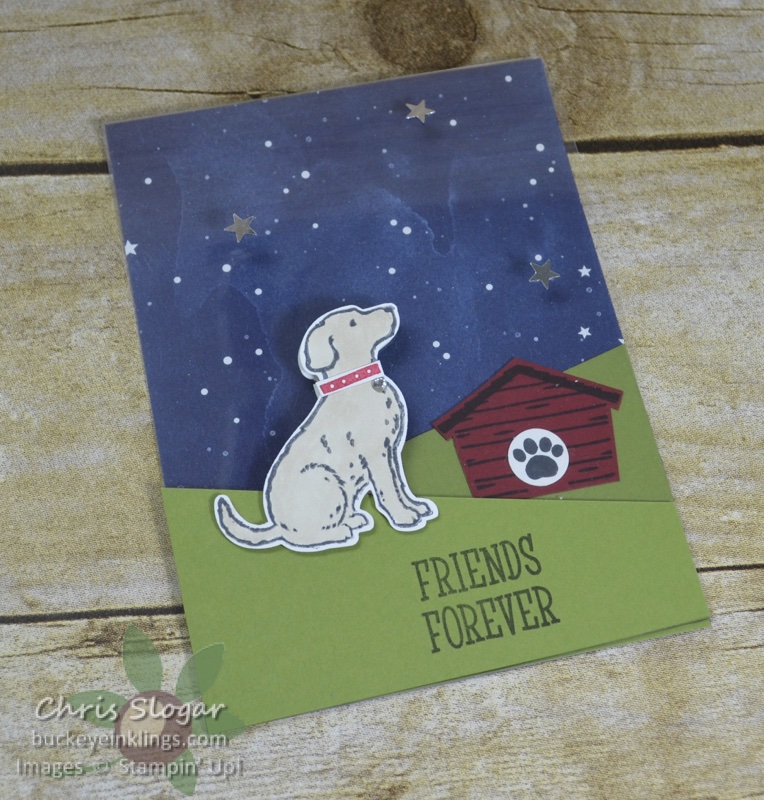
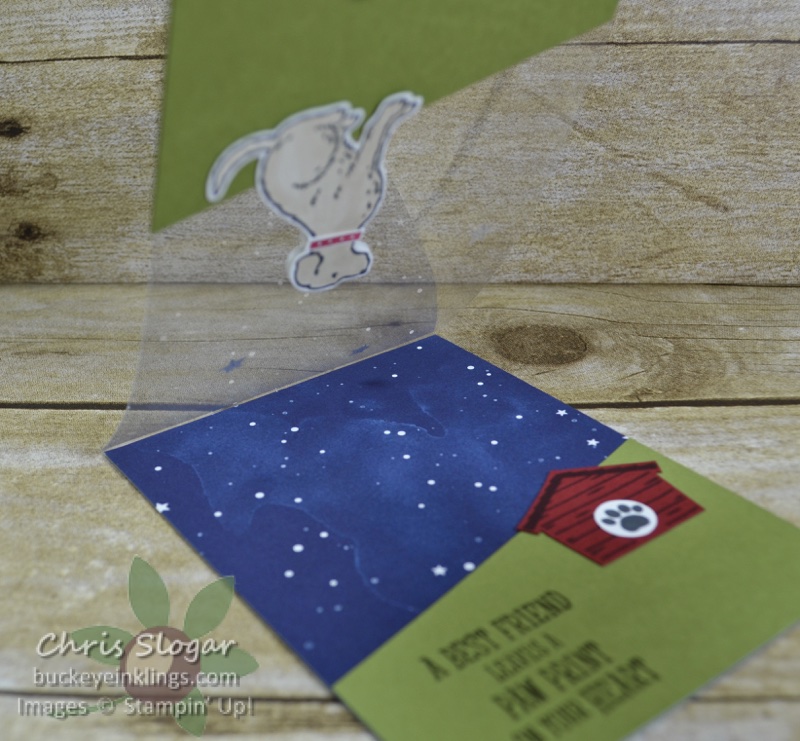
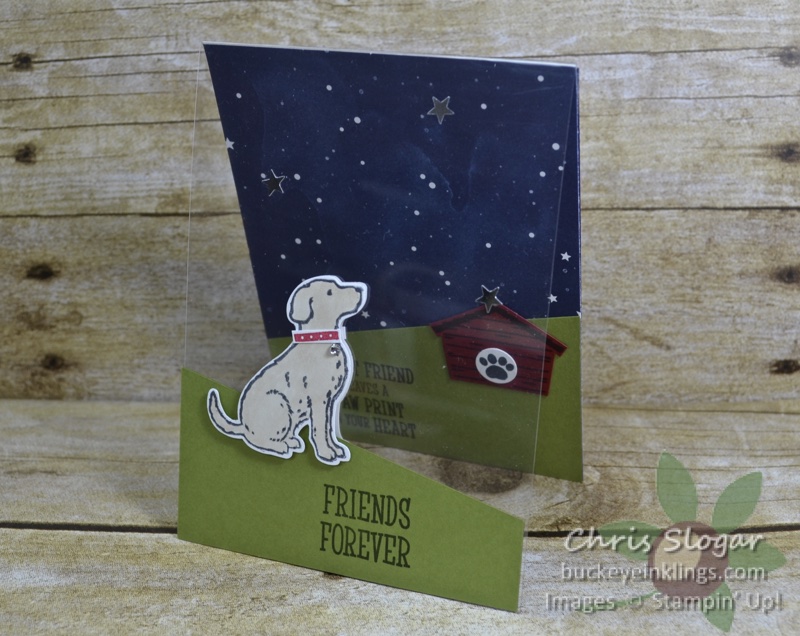
I used the same technique to stamp the dog from “Happy Tails” in this orientation.  This is a window sheet card.

The opposite-facing dog is mounted to the back of the window sheet, giving the impression that you see the other side of the dog as you open the card.

Please check out the video for complete instructions.  The cardstock sizes are listed below.

Night of Navy CS and Twinkle Twinkle Designer Paper 4″ x 5 1/2″

Window Sheet 4″ x 6″, scored at 5 1/2″

(2) Old Olive, 4″ wide ranging from 1″ to 2″ high

(1) Old Olive, 4″ wide ranging from 1 1/2″ to 2 1/2″ high

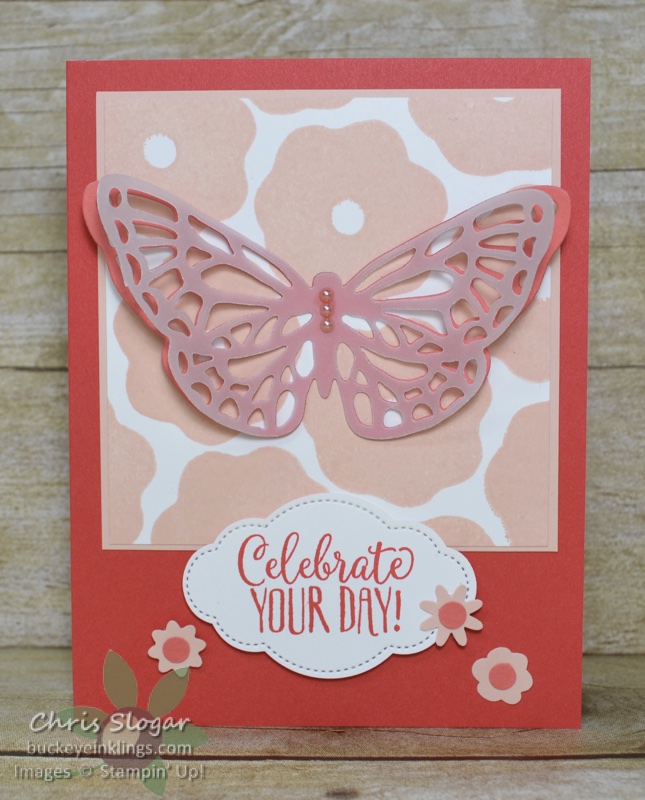
And finally, a reminder that you can also stamp with the backs of your photopolymer stamps.  This Petal Pink background was stamped with the back of one of the “Bloom by Bloom” stamps.

I used the butterfly from the Springtime Impressions Thinlits as my focal point.  I cut one butterfly from Calypso Coral and one from Vellum.  The greeting is from “Hello Cupcake”.

The video below shows the construction of the reverse stamping cards (the otters and the dog).  If you are receiving this post in an email, click here for the video.

Thanks so much for checking out my projects!  Please click here to visit my online store if you need any of the products I have used – I won’t try to list them all here since these projects are so wide-ranging, but I welcome questions at stampyourworld@gmail.com.

Chris_buckeye_signature_rose_final

Lucky Frog

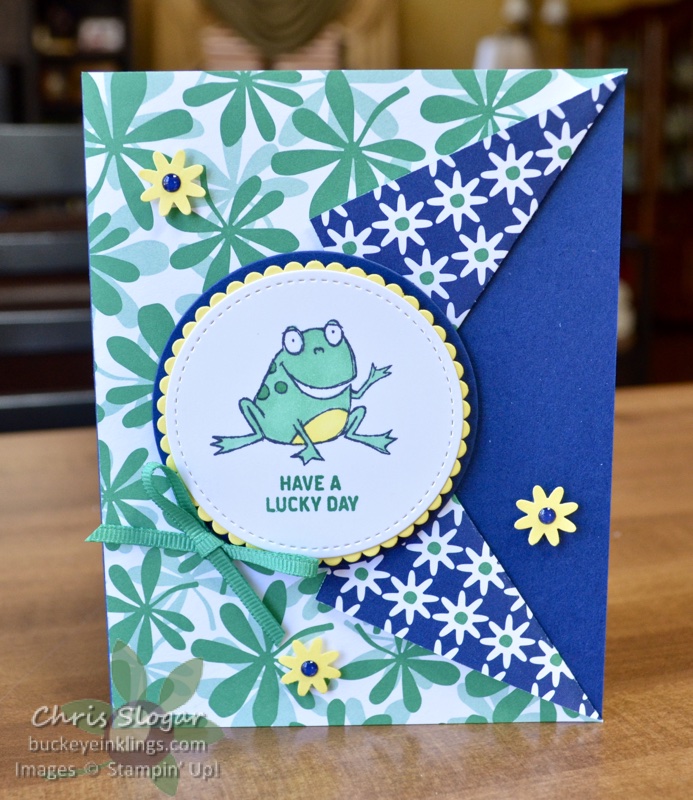
The leaves in this pattern from the Happiness Blooms collection remind me of shamrocks.  I thought they would go nicely with a green frog and a lucky sentiment for St. Patrick’s Day.

This card uses a collar fold.  The designer paper measures 4 1/4″ x 5 1/2″.  I used my trimmer to make a 1 3/4″ long cut at mid-height (2 3/4″ from top edge).  Then I used my scoring tool and a straight edge to score from the top and bottom corners to the endpoint of the cut.  That made it easy to fold back the corners.

Thanks so much for checking out my card!  I would love to keep bringing you ideas for free on my site, but I need your help!  Please click here to shop, or use the carousel below to be directed to an item used on today’s projects.

Place an order over $35 with this month’s Hostess Code and you will receive a Simply Shammy and a handmade card from me as a thank you!  Orders over $50 are also eligible for a free Sale-a-bration item and a Buckeye Point in my Loyalty Rewards Program. I appreciate your orders!

Chris_buckeye_signature_rose_final

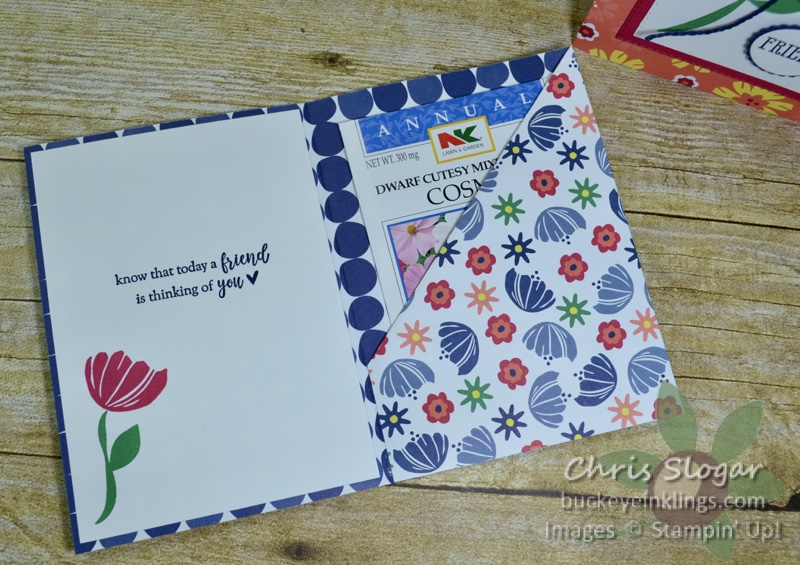
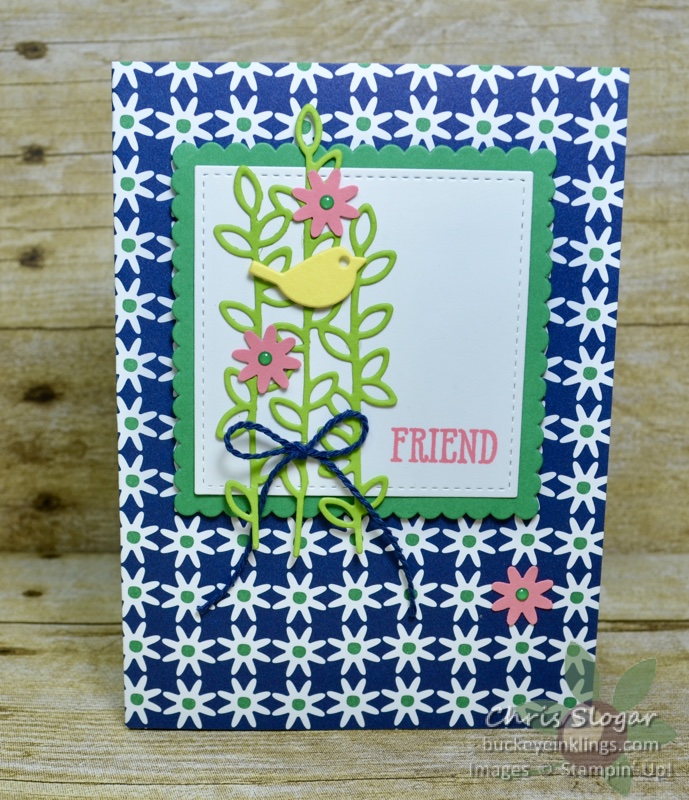
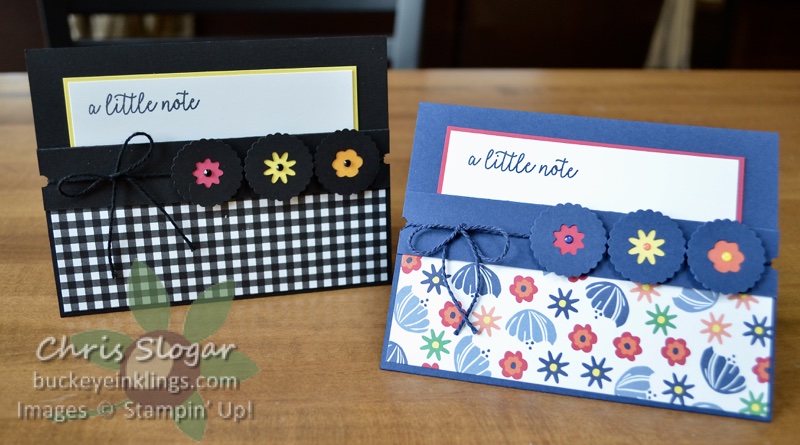
Note Card Pockets

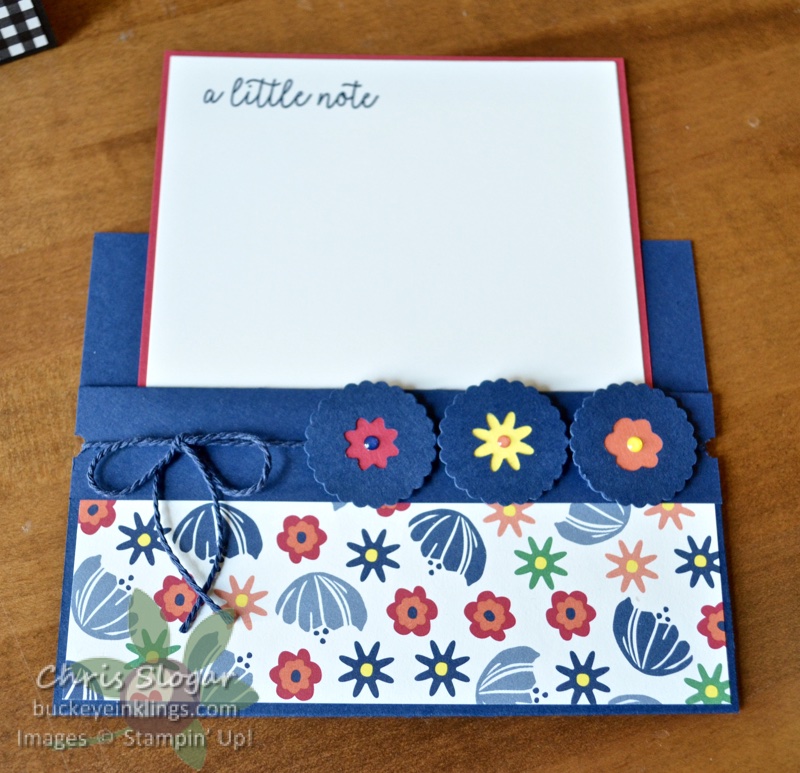
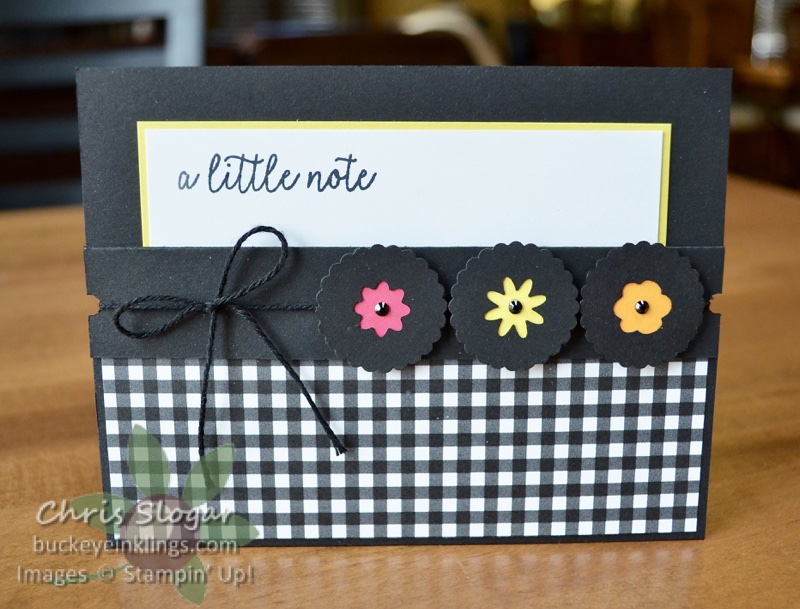
Today I have a sweet way to package a note – just pick your favorite colors and paper!  These are pocket cards, and the note card slides out as shown below.

The note card is a 3 5/8″ x 4 3/8″ piece of Whisper White matted on a 3 3/4″ x 4 1/2″ piece of cardstock.  Each base (Night of Navy or Basic Black) measures 5 1/2″ x 8″, scored at 4 1/4″ and 7″.

This designer paper from the Happiness Blooms collection measures 2″ x 5 3/8″, and it tucks under the 1″ portion of the base piece that holds the punched flower shapes.  Those shapes are created with the Bitty Blooms Punch Pack and the 1 1/8″ Scalloped Circle Punch.  The colored cardstock pieces behind the flower punches are 1″ circles.  The video below gives more complete instructions.  If you are receiving this post in an email, click here for the video.

This version uses paper from the Botanical Butterfly collection and rhinestones that are colored with a Sharpie.

Thanks so much for checking out my cards!  I would love to keep bringing you ideas for free on my site, but I need your help!  Please click here to shop, or use the carousel below to be directed to an item used on today’s projects.

Place an order over $35 with this month’s Hostess Code and you will receive a Simply Shammy and a handmade card from me as a thank you!  Orders over $50 are also eligible for a free Sale-a-bration item and a Buckeye Point in my Loyalty Rewards Program. I appreciate your orders!

Chris_buckeye_signature_rose_final

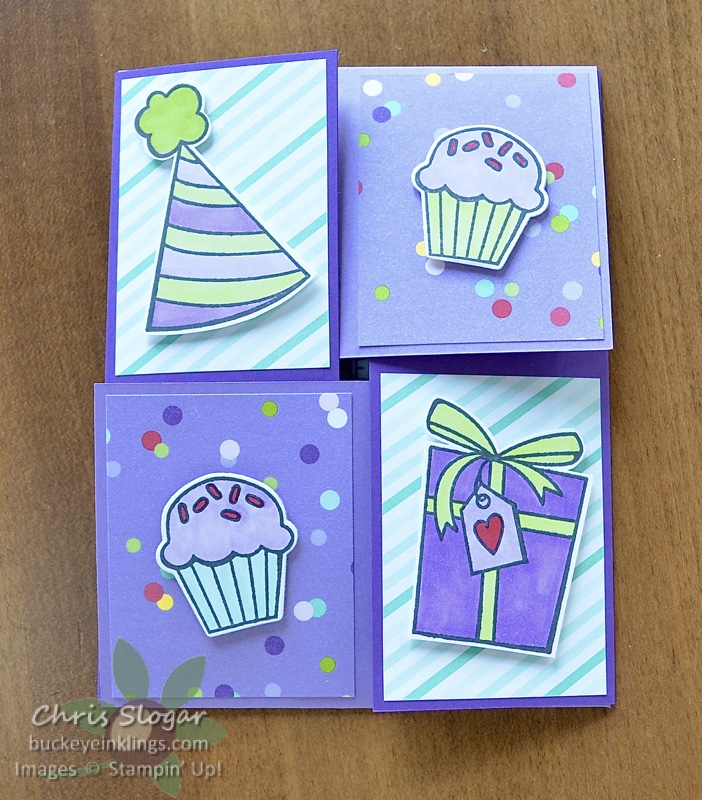
Birthday Cheer

This is a remake of a Quarter Fold card that I posted before, but I just love it with the fun images from “Birthday Cheer”.  They are so fun to color!  I made this one for my daughter’s 23rd birthday – she has always loved purple.  (Sorry for the weird glare on this photo – I didn’t have time to retake it!)

I have my girls home for a few days for a birthday and spring break visit, so I am a bit off my posting schedule.  I do have some fun new ideas coming up this week, though.  In the meantime, I am attaching the instructional video for this card type below.

Chris_buckeye_signature_rose_final

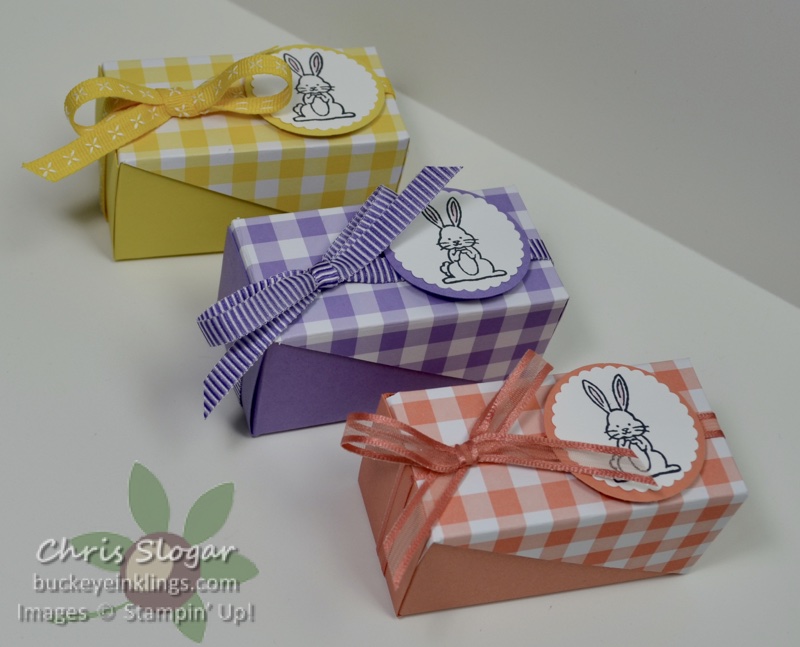
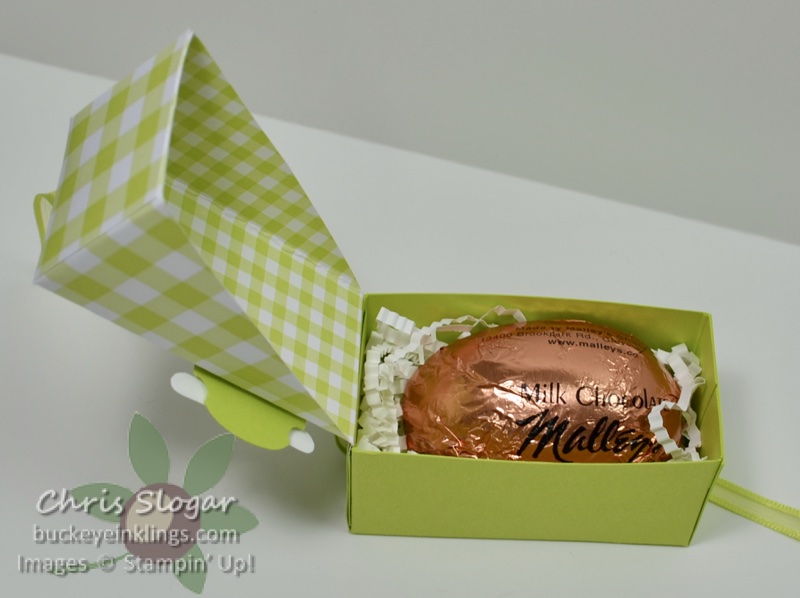
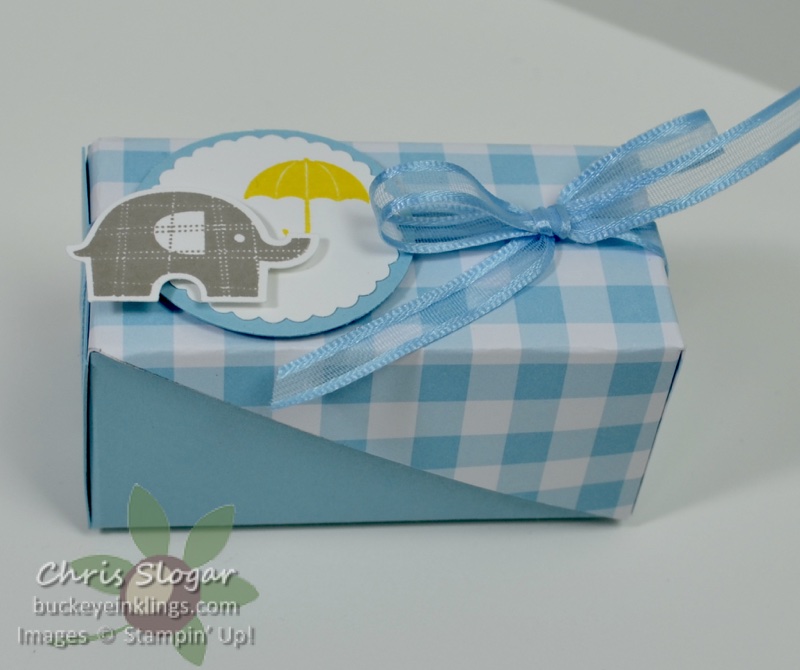
Hinged-Top Favor Boxes

I showed how to make these cute little favor boxes last night on Facebook Live.  It is a project I cased from German Demonstrator Brigitte Keiling – click here to see her beautiful projects using paper from the Needlepoint Nook collection.

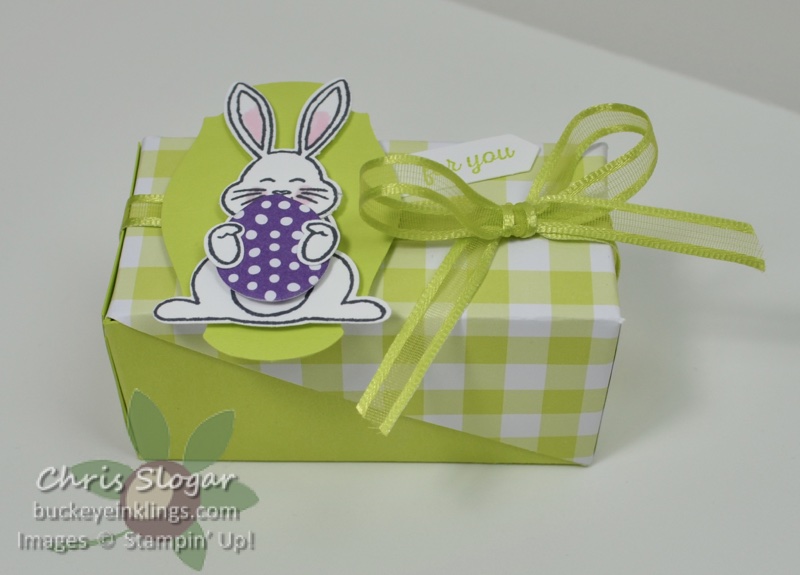
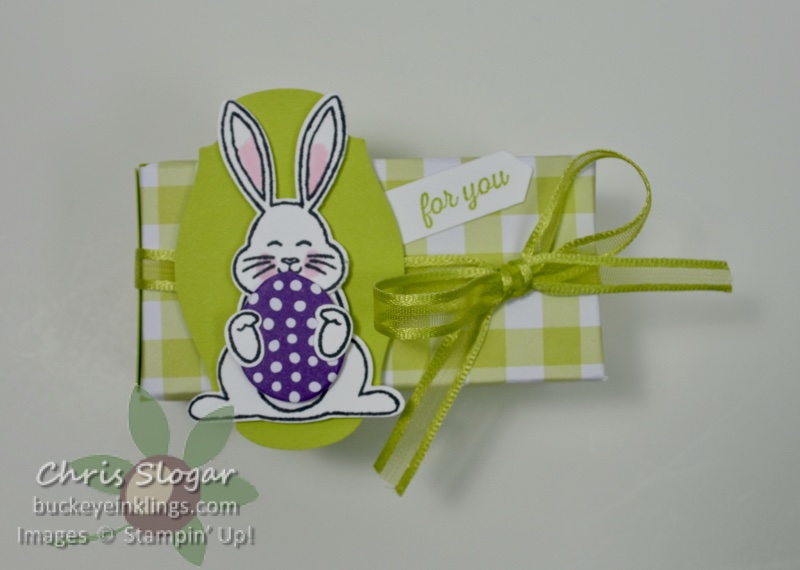
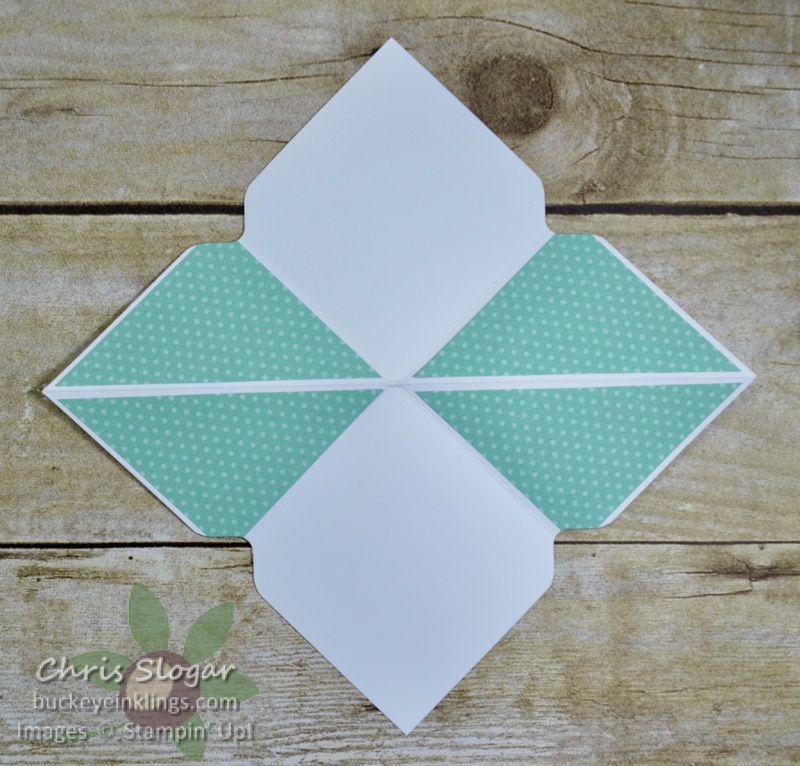
My box dimensions are 1 1/2″ x 3″ x 1 1/2″.  I am using the Gingham Gala designer series paper for my boxes, but this would be a great project for any papers and themes.

My Lemon-Lime Twist version uses the Best Bunny Bundle, Story Label Punch, and a greeting from Itty Bitty Greetings.  The egg was cut with a balloon framelit from the Candles & Confetti set, and I trimmed off the knot of the balloon.

I did notice that the Bunny Builder Punch is still on Low Inventory this morning, so please shop now if you would like to get it.  I don’t know what the wait time will be for the next supply.

Both pieces (cardstock for box bottom and designer paper for box top) start as 4 1/2″ x 6″ pieces, scored 1 1/2″ from each edge.  Please refer to the video below for more instructions.  If you are receiving this post in an email, click here for the video.

The Gingham Gala papers are great for spring, Easter and baby projects – I made my Balmy Blue box into a shower favor.

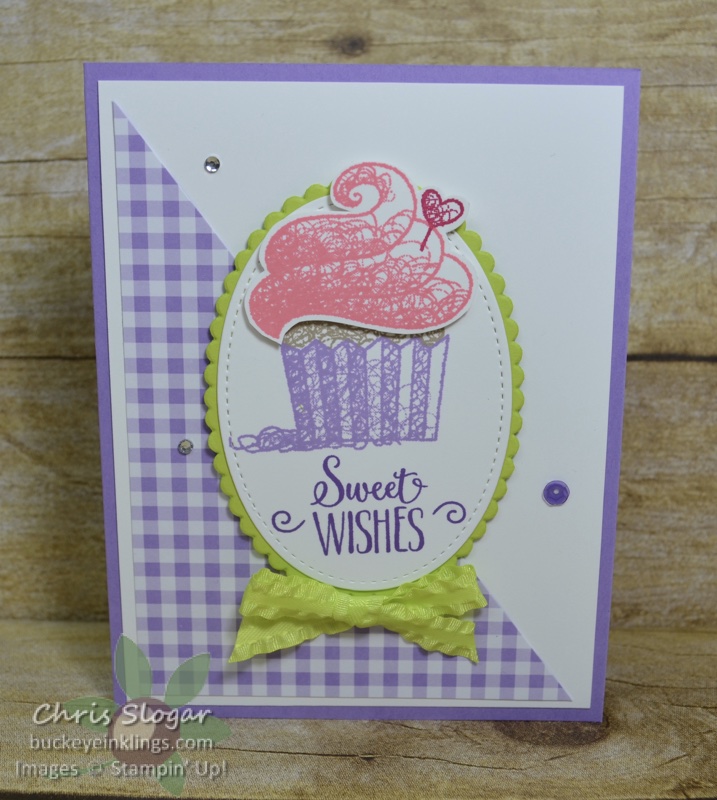
Inspired by the diagonal lines of my 3D box, I also created a card with the Gingham Gala paper.  It is a very simple layout.  The Whisper White mat measures 4″ x 5 1/4″.  The Gingham Gala started as a 3 3/4″ x 5″ rectangle.  I cut it diagonally between two corners to produce two triangular pieces for cards.

Thanks so much for checking out my projects!  I would love to keep bringing you ideas for free on my site, but I need your help!  Please click here to shop, or use the carousel below to be directed to an item used on today’s projects.

Place an order over $35 with this month’s Hostess Code and you will receive a Simply Shammy and a handmade card from me as a thank you!  Orders over $50 are also eligible for a free Sale-a-bration item and a Buckeye Point in my Loyalty Rewards Program. I appreciate your orders!
Chris_buckeye_signature_rose_final

Fable Friends


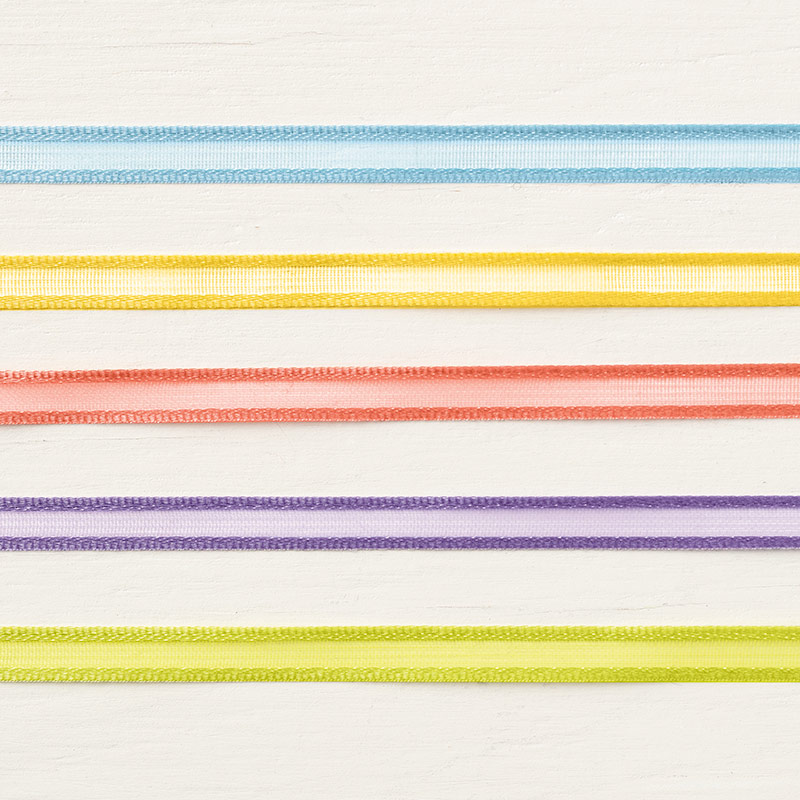
Good news!  The Organdy Ribbon Combo Pack is back in stock – it is one of the Sale-a-bration items that you can choose for free with a $50 order.  It is available only while supplies last (and that may not be long).

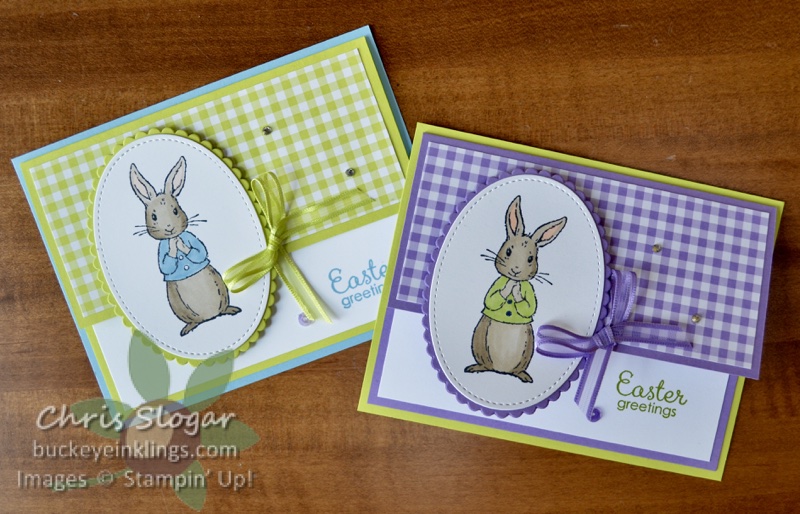
I have a few cards that show off this beautiful ribbon, which coordinates with the also-very-popular Gingham Gala designer paper collection.  The paper was out of stock for a period of time, but I am happy to say that it is also available now.

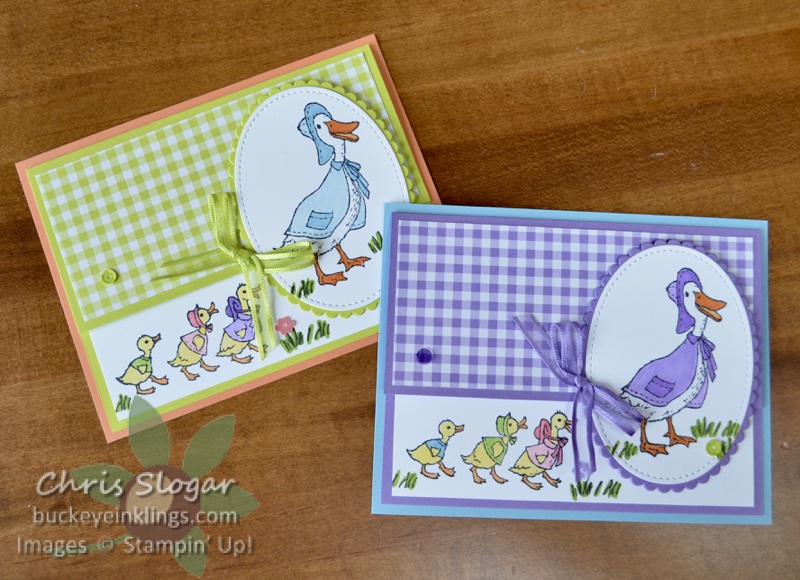
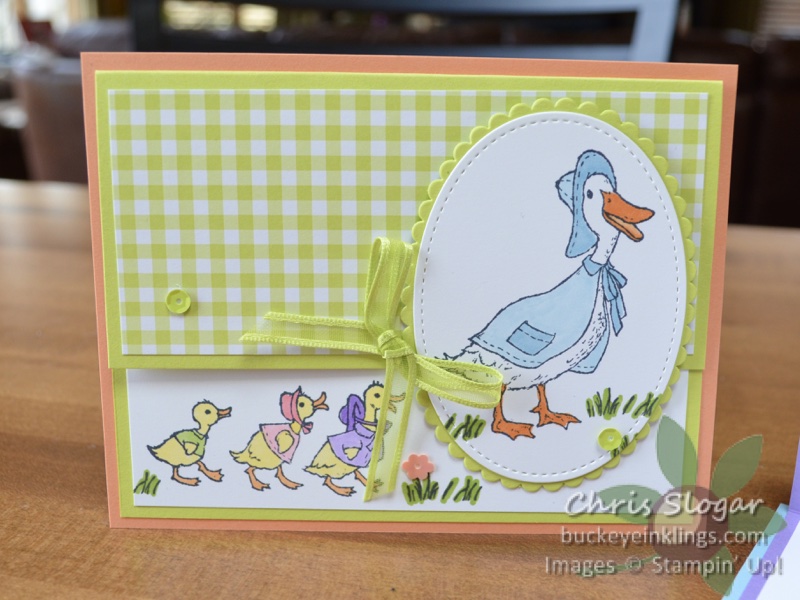
I used these items with “Fable Friends”, a great set for spring, Easter and baby cards.

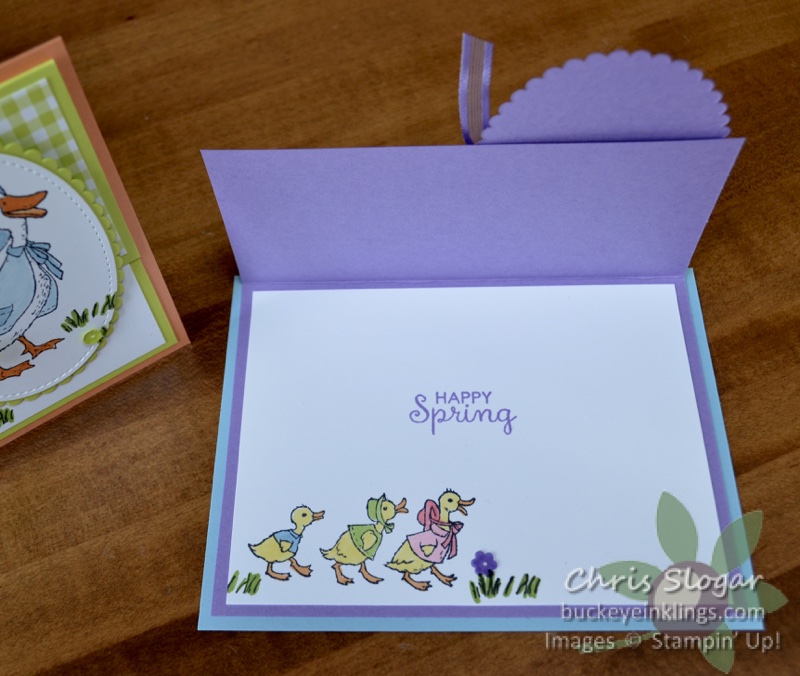
This is a fun fold – the middle layer is the one that folds.  On the duck cards, the folding layers are the Lemon Lime Twist and Highland Heather layers.  Those layers measure 5 1/4″ x 6 1/2″, scored at 4″.  In each case, the folding layer is attached to a 4 1/4″ x 5 1/2″ piece of cardstock.

The designer paper measures 2 1/4″ x 5″.

The Whisper White measures 3 3/4″ x 5″.  These images were all colored with Stampin’ Blends.

Thanks so much for checking out my cards!  I would love to keep bringing you ideas for free on my site, but I need your help!  Please click here to shop, or use the carousel below to be directed to an item used on today’s projects.

Place an order over $35 with this month’s Hostess Code and you will receive a Simply Shammy and a handmade card from me as a thank you!  Orders over $50 are also eligible for a free Sale-a-bration item and a Buckeye Point in my Loyalty Rewards Program. I appreciate your orders!
Chris_buckeye_signature_rose_final

Bloom by Bloom

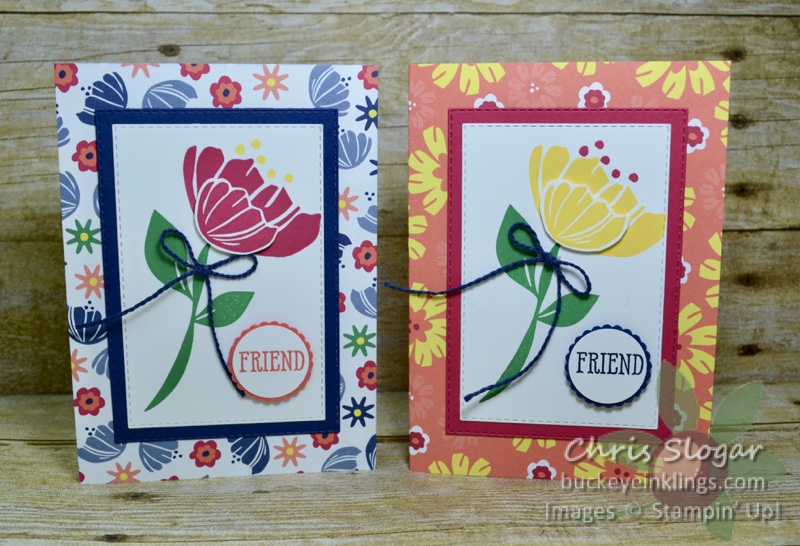
“Bloom by Bloom” is more than a two-step stamp set.  There are 17 stamps in the set, and I use most of them every time I get this set out.  These kinds of sets take me back to the simple elements that got me into stamping – stamps, ink, and paper.

I masked this card front with a post-it note to stamp the dotty pattern on the left.  The greeting is from “Part of My Story”, one of the Sale-a-bration sets you can choose for free with a $50 purchase.

I masked above the dotty lines here to create a border for my flower garden.  I always find that more stamping on a card makes it more fun to create!  Stampin’ Up! is challenging us to create cards that take us back to #simplestamping, and I created these two cards with that in mind.

The card below uses the same layout, but it is stepped-up a bit with some extra shapes, punches and embellishments.

This one matches the color scheme of the Happiness Blooms Suite, and the greeting is from a demonstrator-exclusive set.  I made this card to celebrate promotions this month!

Do you have a preference – the Happiness Blooms colors or the Flirty Flamingo/Coastal Cabana combination?  I love both, and it’s great to get both looks from the same set!

Thanks so much for checking out my projects!  I would love to keep bringing you ideas for free on my site, but I need your help!  Please click here to shop, or use the carousel below to be directed to an item used on today’s projects.

Place an order over $35 with this month’s Hostess Code and you will receive a Simply Shammy and a handmade card from me as a thank you!  Orders over $50 are also eligible for a free Sale-a-bration item and a Buckeye Point in my Loyalty Rewards Program. I appreciate your orders!
Chris_buckeye_signature_rose_final

New Sale-a-bration Items Today!

The items shown above are now available as Level 1 (Free with $50) Sale-a-bration items.  Note that the fabulous Painted Seasons designer paper is now available by itself!

The items shown below are now available for sale.  They coordinate with our Sale-a-bration items, and they are available while supplies last.

If you need any of our fabulous products, I would greatly appreciate your business in my online store.  Please click here to shop.

Place an order over $35 with this month’s Hostess Code and you will receive a Simply Shammy and a handmade card from me as a thank you!  Orders over $50 are also eligible for a free Sale-a-bration item and a Buckeye Point in my Loyalty Rewards Program. I appreciate your orders!
Chris_buckeye_signature_rose_final
WordPress theme: Kippis 1.15