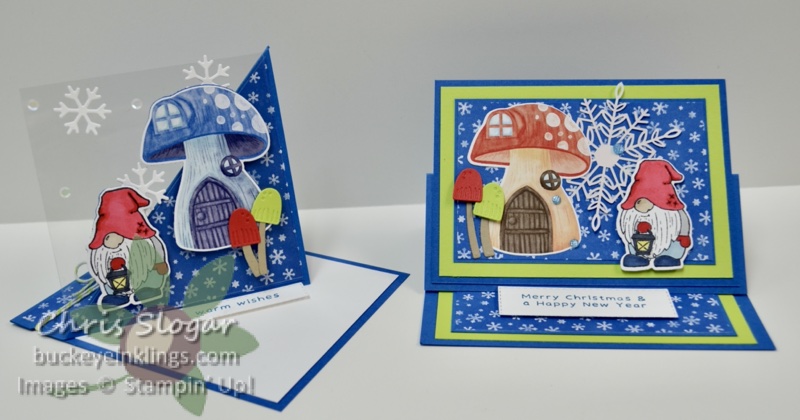
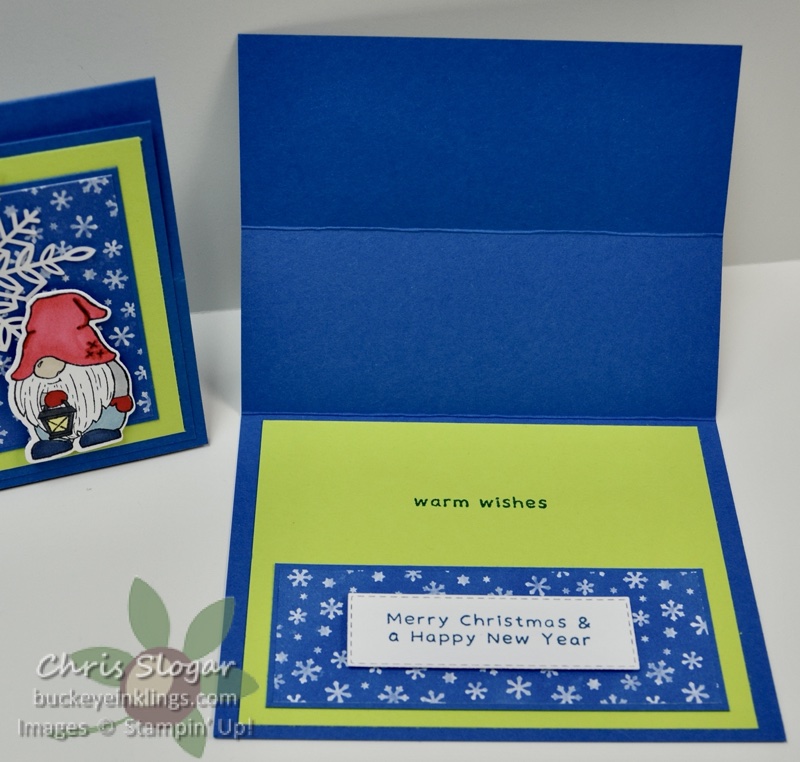
Last night on Facebook Live, I showed how to make these two types of easel cards – a twisted easel and a more traditional easel, using the Kindest Gnomes bundle and coordinating designer paper. I am showing pictures and dimensions here, but click here for full details in the video.
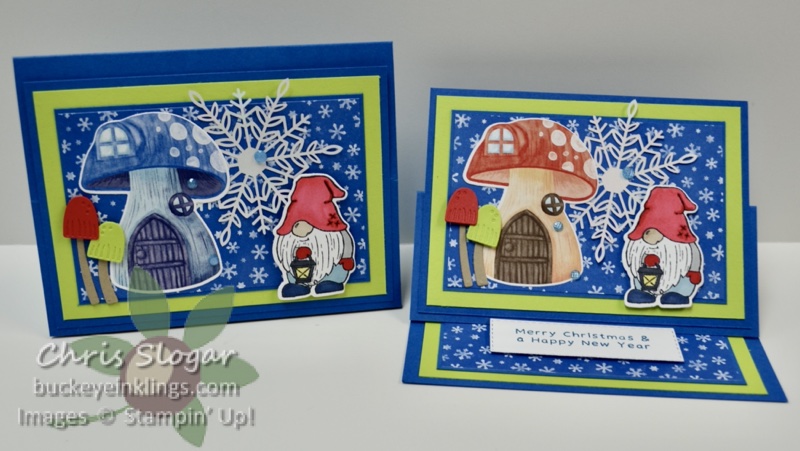
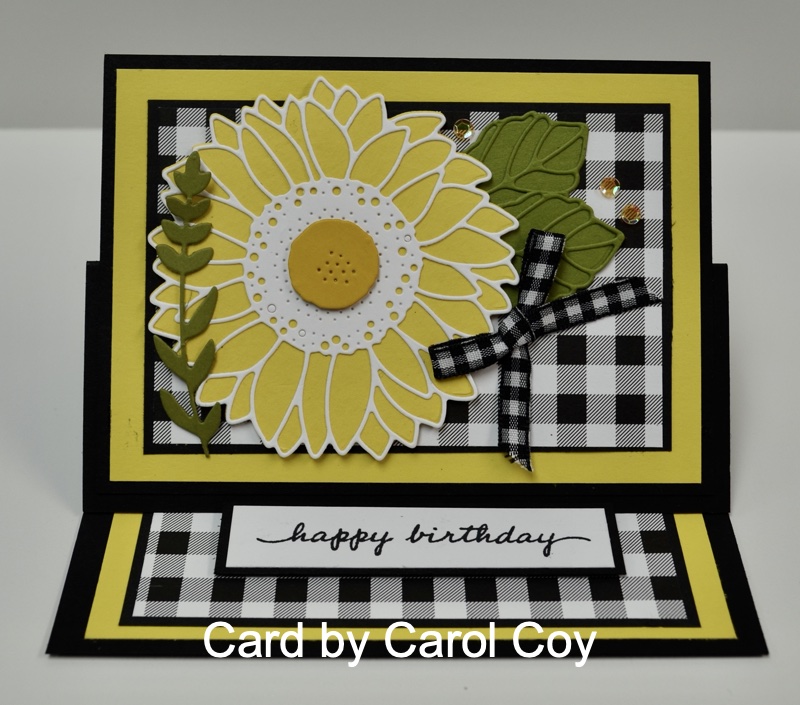
I CASEd the layout of a card I received from Carol Coy to make the first easel, though mine looks quite different made with the Kindest Gnomes. (See Carol’s beautiful sunflower card below.)
Dimensions are as follows…
- Pacific Point card base 5 1/2″ x 8 1/2″, scored at 2 1/8″ and 4 1/4″
- Pacific Point mat 3 3/4″ x 5 1/4″
- Parakeet Party 4″ x 5″ and 3 1/2″ x 5″
- Pacific Point 3″ x 4 1/2″ and 1 3/4″ x 4 1/2″
- Designer Paper 2 7/8″ x 4 3/8″ and 1 5/8″ x 4 3/8″
Note that you could change the size of the Pacific Point mat and focal point pieces to accomodate whatever you would like to prop up on the easel.
I am showing Carol’s gorgeous card below. How different it looks with the sunflowers and plaid, right?! I think it would also be a lovely card in Christmas colors, perhaps with poinsettias. It’s such a lovely card to display!
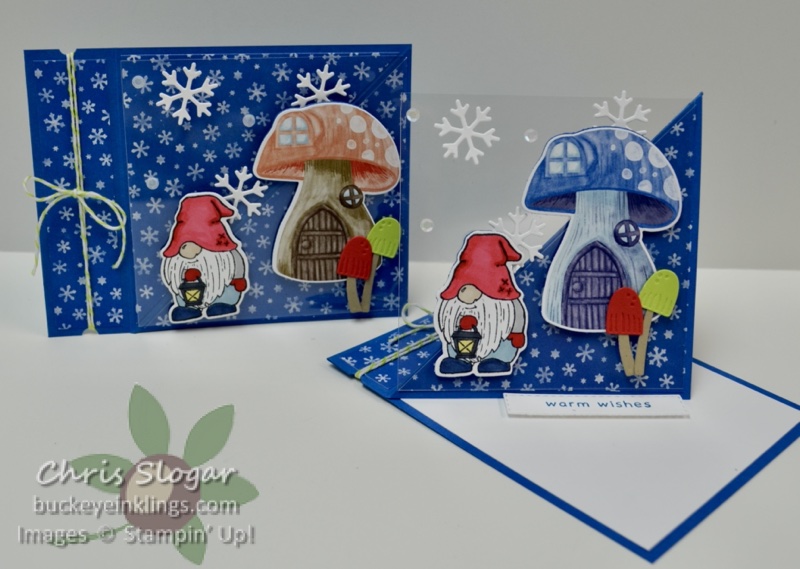
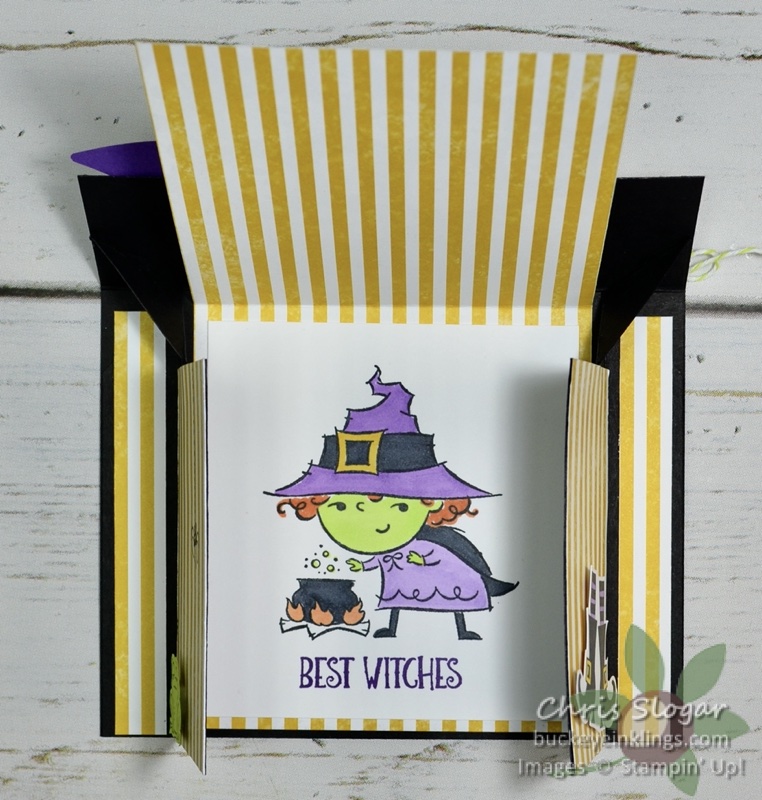
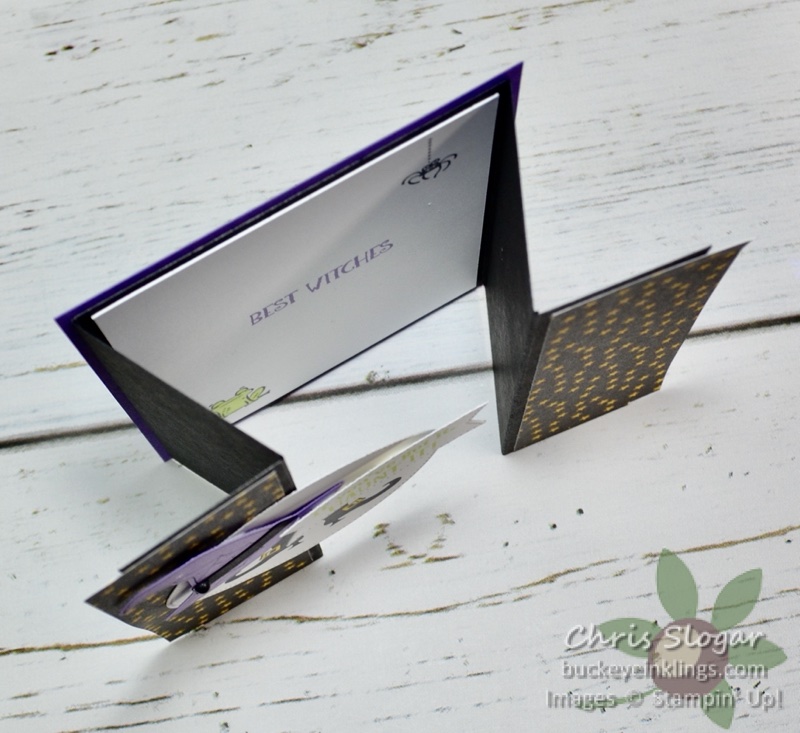
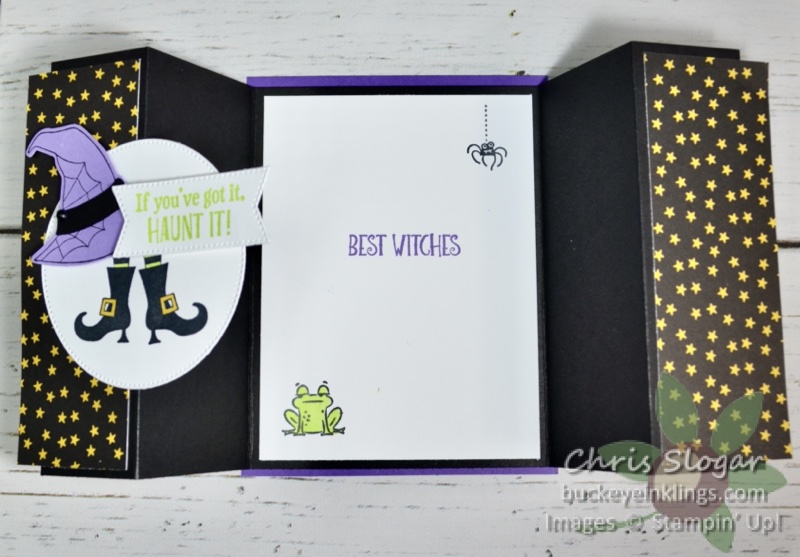
The second card is a twisted easel with a bookbinding edge – I have shown some fun variations of this before (click here), but I used a Window Sheet instead of a cardstock panel for my gnome scene.
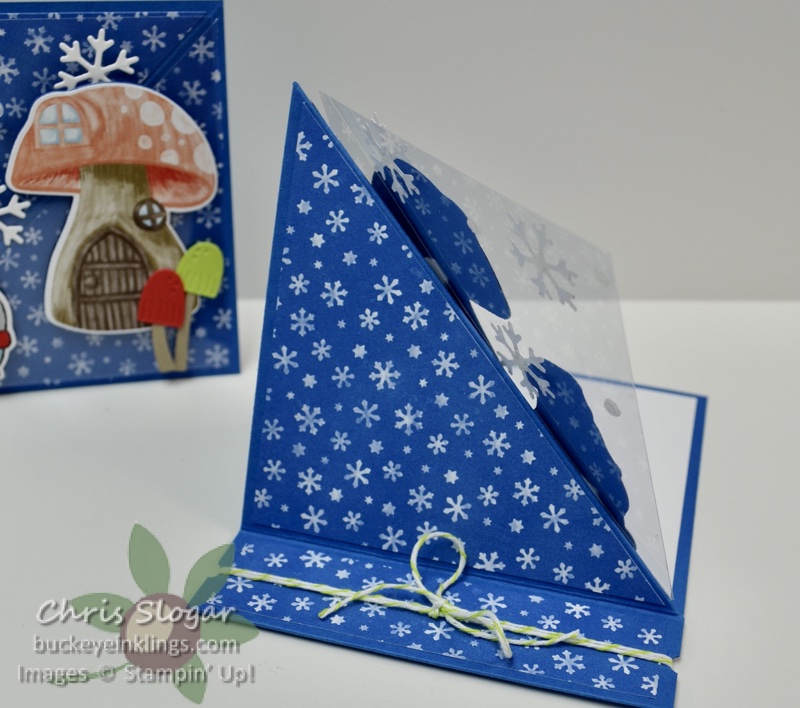

Dimensions are as follows…
- Pacific Point card base 4 1/4″ x 11″, scored at 5 1/2″ and 6 3/4″
- Designer Paper 1″ x 4″ and 4″ x 4″, cut diagonally
- Basic White and Window Sheet 4″ x 4″
These are fun to make, and great for a recipient to display – I hope you will give them a try with your favorite papers and stamps!
If you need any of our fabulous products, I would very much appreciate your business. Please click here for the online store, or use the carousel below to be directed to a specific product used today.
Place a $35 order with Host Code CZ9ECBDM in October and I will send you a package of Adhesive-Backed Stars and a handmade card. This is my way of sharing the Stampin’ Rewards with you – I appreciate your business!!