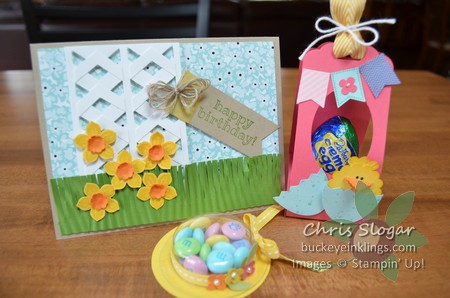
Spring is actually not in the air…that is just wishful thinking. Spring has been in my craft room over the past week, though! With a Team Meeting on Saturday and Club Meetings on Sunday, I have been immersed in spring projects. We made these three projects at our Team Meeting on Saturday.
I will get into details of the projects below, but first let me just say that if you have ever considered joining Stampin’ Up!, now is a good time. The Sale-a-bration special is on through March 31. This special allows you to choose $150 in product for $99 with FREE SHIPPING. I would love to have you on my team! You don’t have to sell; many people join just for the discount on their own orders (and for the Team Meetings? 🙂 )
New demonstrators are also given a 30% discount off their first qualifying order placed within 45 days of joining. If you join in the last days of March, this 45 days will stretch into early May when you can get the new In Colors and other pre-order products using this 30% discount. Please contact me if you would like to discuss this.
Now, the projects…
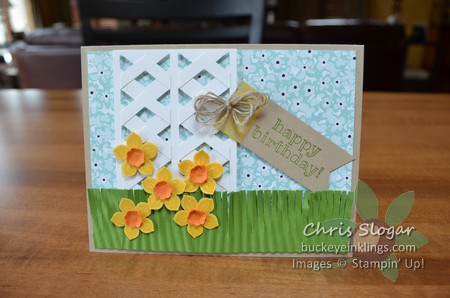
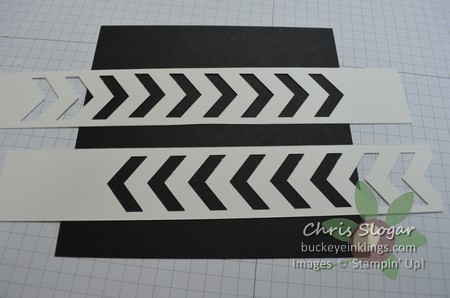
You can make some really great trellises with the Chevron Punch. To make this one, I cut a strip of Whisper White 2 3/8″ wide and punched a line of chevrons from each side.
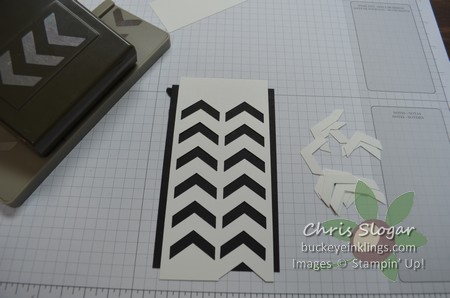
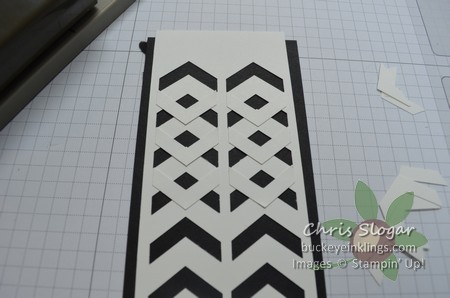
I took the pieces that were punched out and attached them in the opposite direction.
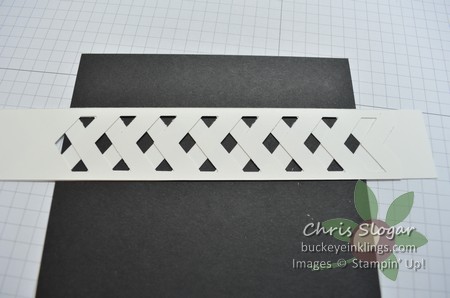
If you would like a “single chevron trellis” (not shown on this card), there is an even easier way to do that. Punch chevrons on 1 1/4″ strips.
Slide one strip over the other and attach.
I crimped and fringed the grass. The greeting is from a set that will be in the upcoming 2014-2015 Annual Catalog, So Very Happy, and I added a little Washi Tape for interest. I used the Petite Petals Bundle and one of the Punch Pack flowers for the daffodils.
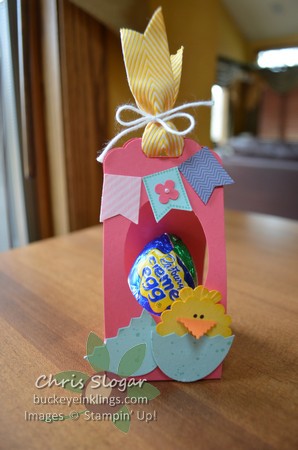
Next, this is a little gem that I CASEd from Connie Stewart. I already talked about this cute chick on last week’s Chick Throwback post, but I also loved Connie’s little egg throne (as she called it). You can get a better idea of its construction from a side view.
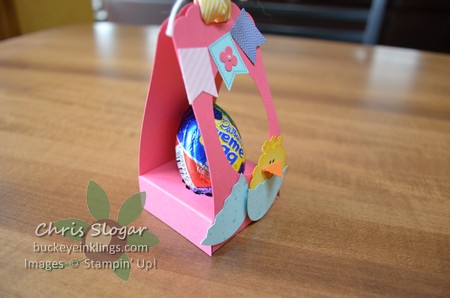
It is basically made from two pieces, a 2″x11″ piece, scored at 4 1/2″ and 6 1/2″ and a 3 1/2″ square, scored at 3/4″ on all sides. I used Strawberry Slush.
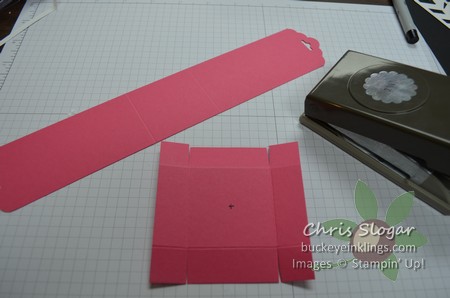
I made a little mark in the center of my throne piece to make it easy to find the center when punching.
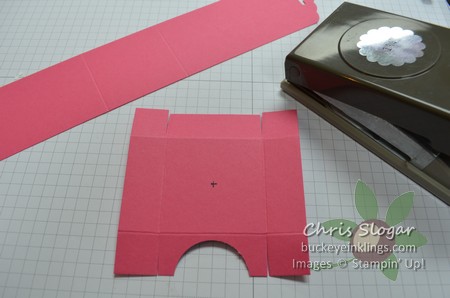
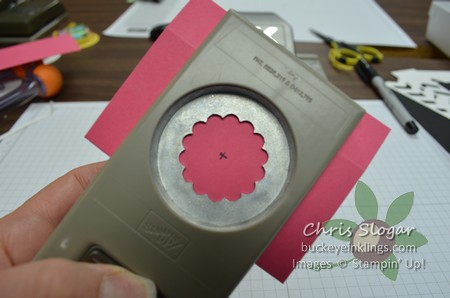
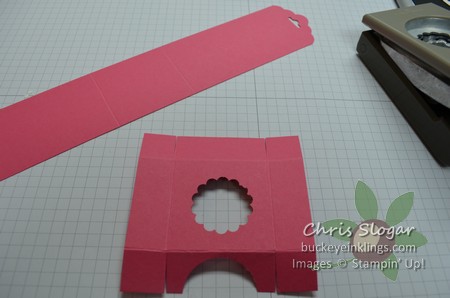
You will want to nip out a semicircle with a circle punch so you don’t end up punching through two layers of cardstock when you make the scalloped circle for the egg. (Punching through two layers of cardstock will damage your punch! I have had this experience! Don’t do it!) This is the 1 1/4″ scallop circle punch.
Connie made a video on this project, and her throne is made in Perfect Plum and decorated with the egg from “Eggstra Spectacular”, also super-cute! Click here to go to her website for more inspiration and a video.
Our final project was this little Easter Bonnet, inspired by Vicky Hayes. So cute, and so easy!!
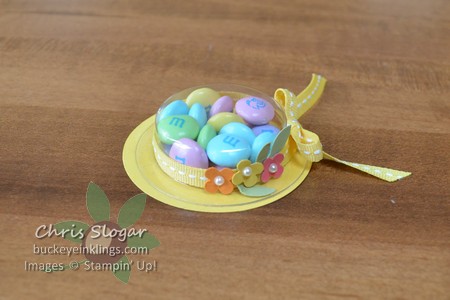
The circle size is 2 1/2″, and once the treat cup with candy is attached, I recommend sticking the ribbon to the front of the treat cup with a glue dot. Then you can tie the bow in the back without having it slip off!
And if you made it to this point, a big thank you for staying with this long post!! Have a great day!
