As a follow-up to yesterday’s Mini Treat Bag favor, I thought it might be helpful to show just the Mini Treat Bag construction in pictures. That way you don’t have to find it in the video if that is what you are tuning in for 🙂 I like this method because the bag is constructed from only two large pieces – a front and a back.
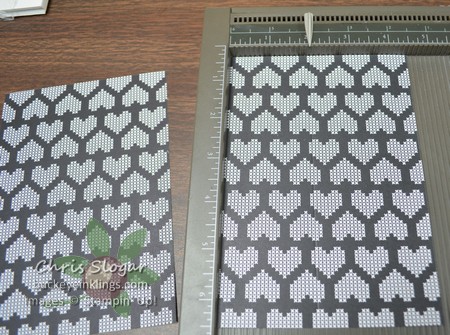
You need two sheets from a Paper Stack. They measure 4 1/2″ x 6 1/2″, and I am using sheets from the Stacked with Love collection. Score one lengthwise at 2″.
Fold and place on the magnetic platform so the fold is on the left, and the smaller width of paper is on the underside.
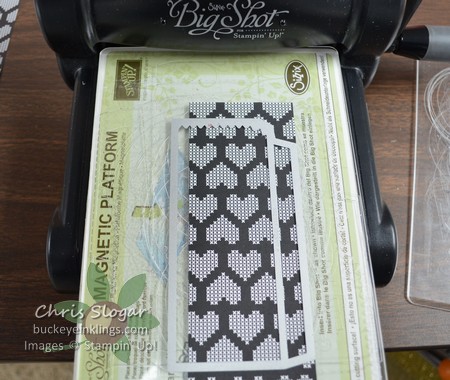
Align the fold with the peak of the second “mountain” at the top. This will be the back piece.
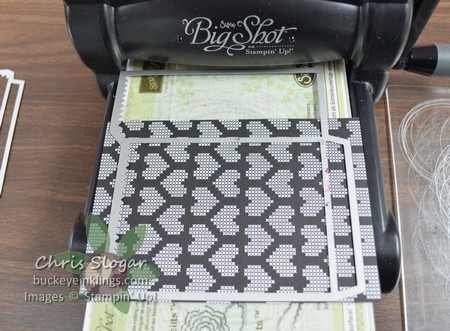
Use the larger thinlit to cut the front of the bag, making sure to cut the entire width of the front.
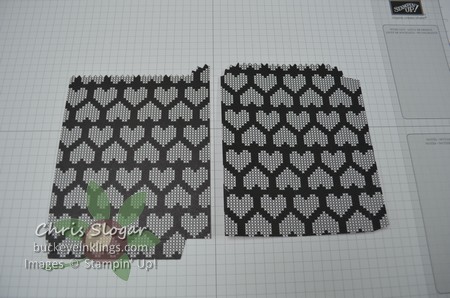
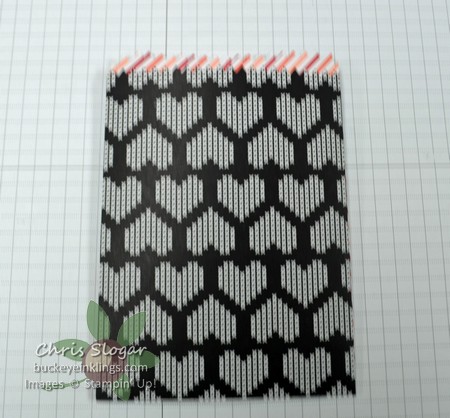
The resulting pieces look like this. The front is on the left.
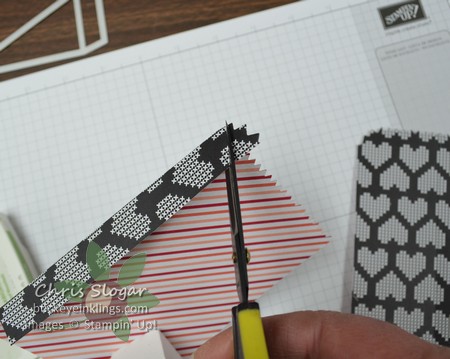
Prepare the front piece by folding on the score, and cutting away the excess at the top of the tab as shown.
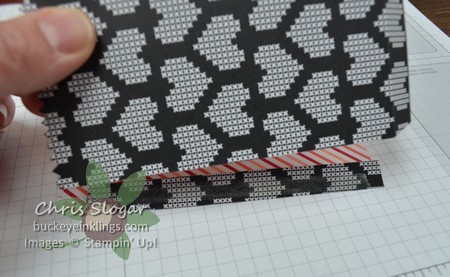
Now prepare the back piece by folding along the score on the back piece to create a tab. Apply sticky strip to the tab on the back piece – it is important that you attach this tab to the front piece first.
Then apply sticky strip to the tab on the front piece, and lay it down onto the back piece. The back piece will be a little too wide. Trim away that excess width with paper snips, and close the bottom of the bag with sticky strip.
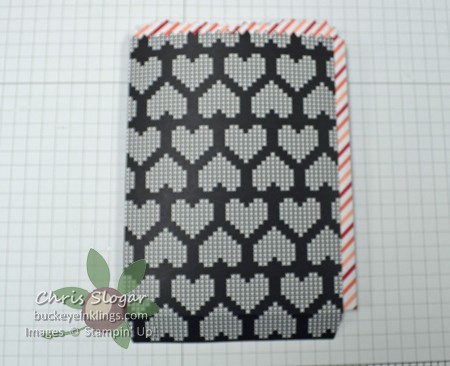
Finished bag.
