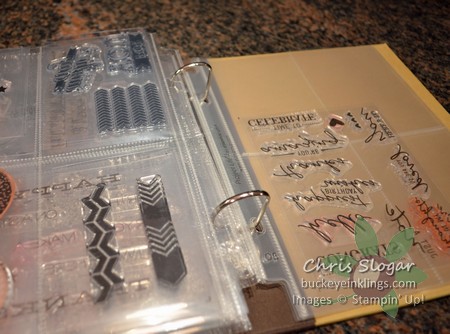
I have been collecting my Paper Pumpkin stamps in our stamp cases, which worked really well when I just had a few. Those cases became packed with stamps…and very uninviting. So of course, I wasn’t opening them anymore, and the stamps were not getting used.
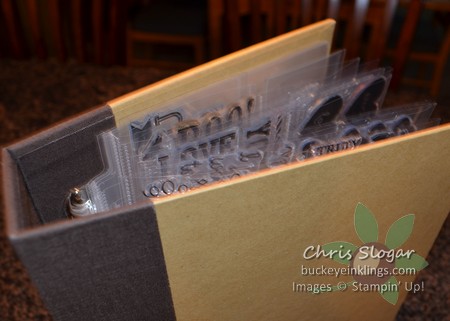
I stumbled upon this storage solution on a facebook page dedicated to Paper Pumpkin. This is our 6″ x 8″ Project Life Album with one Variety Pack of Photo Pocket Pages. This is so inviting!
I have been a Paper Pumpkin subscriber since it started. I was able to organize all of my Paper Pumpkin stamps, and I had pages leftover.
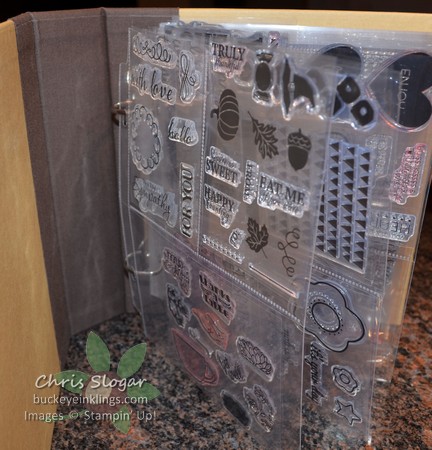
You could organize any clear stamps this way – I added my Watercolor Wishes kit stamps. It’s a very efficient way to store those miscellaneous stamps. Flipping through these pages for inspiration will be so much better than digging through a pile of stamps in a box!
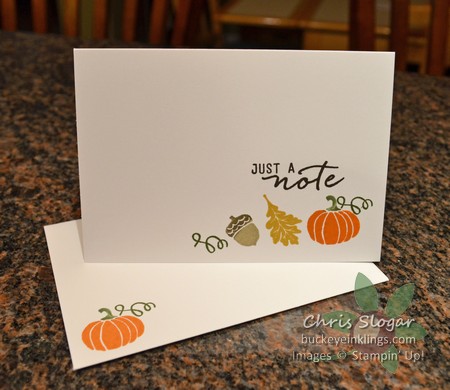
I also have a quick little note card to show today. It uses the September 2015 Paper Pumpkin stamps.
I am a huge fan of our precut and scored note cards that come in a package of 20 with envelopes. How fast could you whip up a set of these when you don’t have to cut anything?
Here’s a tip for stamping with more than one color. Of course you could use markers to color the image on the stamp. In the case of the pumpkin, though, it is 95% Tangelo Twist, and I always find it easier to use a stamp pad. I inked the stamp on my Tangelo Twist stamp pad and wiped away the ink from the stem with a make-up applicator.
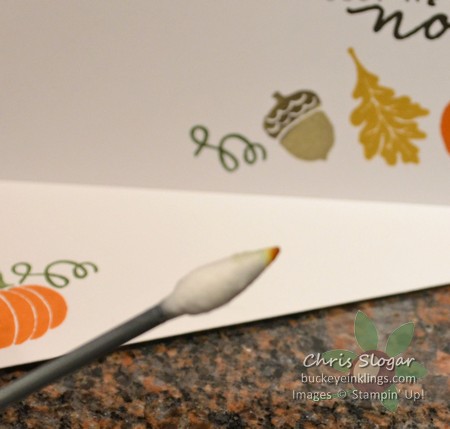
You could also use a Q-tip, but I found these great swabs at Target, and they are pointy at one end. I simply moistened the cotton and squeezed out the excess water to create this great tool.
One more quick tip – to make the pumpkin vine, I inked only a portion of the stamp on the edge of the stamp pad.
Have a great day!
Built for Free Using: My Stampin Blog
