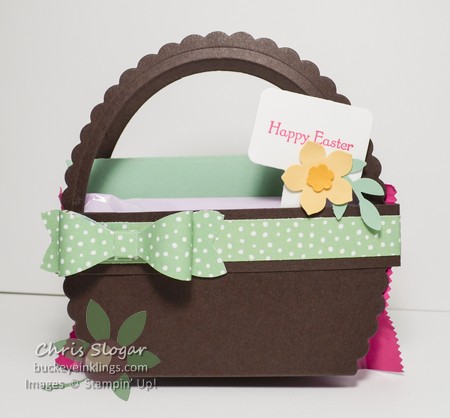
You don’t need to order anything special to make this Easter basket favor. It is made from one of our most basic framelit collections – the ovals.
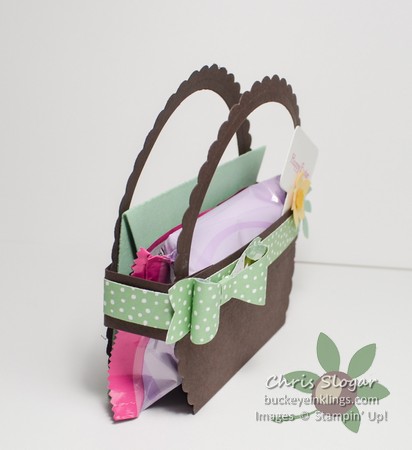
It’s 3D, but open at the sides, so it doesn’t hold small candy. I am using it for a Hershey Marshmallow Egg and a gift card holder.

You could use this as a place card on your table, with a name on each pick (Handpicked Framelits). The series of pictures below shows how to make the basket.

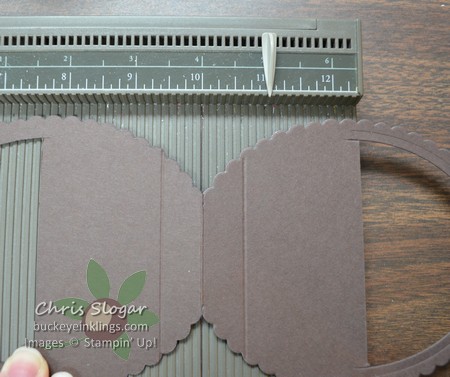
Start with a 4 1/2″ x 11″ piece of cardstock, scored at 5 1/2″ and folded in half. Place the folded piece under the largest oval framelit (the scalloped oval) so that the folded end is not completely cut off. I place the framelit so that 5 scallops extend beyond the fold.

After the scalloped oval is cut, cut the top half of the next-largest oval shape to create the handle. To do this, place the oval framelit as shown, and place the top acrylic plate so that it only covers the top half (approximately) of the basket. When run through the Big Shot, only the portion of the framelit under the acrylic plate will be cut.

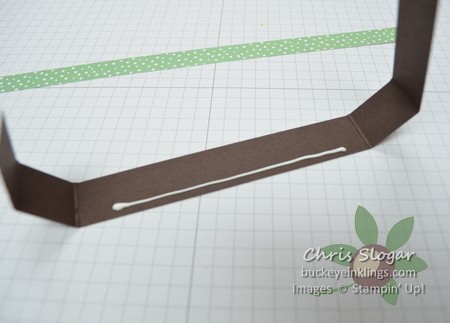
Take the cut shape to your Stampin’ Trimmer and place the fold at 2 1/2″. Use the cutting blade to cut out the handle opening. Chances are, you will not be able to get through both layers at once, so simply turn the piece over and do the same thing on the back. This edge doesn’t have to be neat – it will be covered with a band.
Now to the scoring board…open up the folded piece and make score lines on either side of the original score line, 5/8″ away. (Ignore the marker at 11″ – it was left there from a different project!)

These scores create the basket bottom.
The band piece is 3/4″ x 11″, scored at 4″, 4 7/8″, 9 1/4″, and 10 1/8″. I attach the longest length to the basket first, using Tombow glue.

Simply lay the basket piece down on this band piece with the top edge of the band slightly above the cut edge on the basket piece.

Add glue to the portions of the band that will attach to the front of the basket. I like to use the liquid glue because it allows some time to slide the pieces if necessary as you create the basket shape.
I decorated the band with a 1/2″ strip of designer paper from the Birthday Bouquet collection. The bow is created with the Bow Builder punch; the daffodil is from Petite Petals punch and the Tree Builder punch. The leaves are from the Bird Builder punch and the pick is cut with one of the Handpicked Framelits.
Thanks for checking out my Easter basket project. This was one of the projects we made in stamp club this weekend. There is room in our Sunday evening club if you are local and would like to join us – contact me for details. Have a great Monday!
