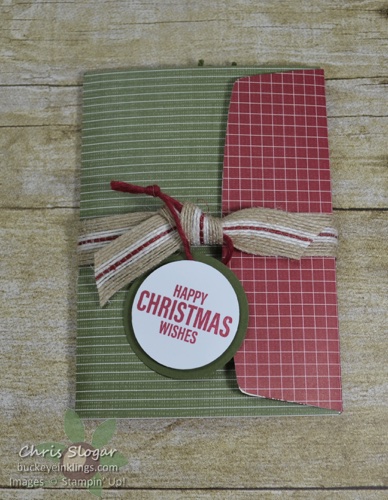
Today I want to share pictures and dimensions from last night’s Facebook Live project – a mini album made from three note card envelopes. It opens up to reveal pockets and spaces for pictures and notes. You could even tuck in some cash or a gift card.
My favorite suggestion of what to include came from my friend Brenda. I love her idea to include a special recipe, perhaps with a picture of the giver or a picture from the past – maybe even a picture of the giver and recipient baking together.
Once you know how to put together the base, you can get creative with your pockets and decorations. As promised, I want to link you to the project I CASEd. I followed Liz Yuille’s version pretty closely, except that I used smaller envelopes and a holiday theme. I am sure you will enjoy her versions, too – and they will show you how versatile this project is. Click here for Liz’s project at Old Stables Crafts.

The video from last night is included below, but I also want to give you pictures and dimensions here.
Designer paper cover pieces 5 3/16″ x 6″ and 5 3/16″ x 3 5/8″
Designer paper for inner flap 2″ x 5 3/16″
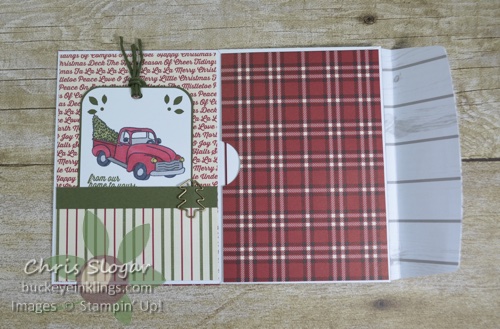
There are four inner “pages”, each requires a cover piece of designer paper. (In this view of “pages” 1 and 2, I am referring to the script and red plaid piece.)
(4) designer paper pieces 3 1/2″ x 5″
Additional pieces needed for each page are listed below.

Page 1
Designer paper for pocket 3 1/2″ x 2″
Mossy Meadow cardstock for trim 3 1/2″ x 1/2″
Mossy Meadow for tag 2 1/2″ x 3 3/4″
Whisper White for tag 2 3/8″ x 3 5/8″
Page 2
Cherry Cobbler for insert 3 3/8″ x 4 7/8″
Whisper White for insert 3 1/4″ x 4 3/4″

Page 3
Whisper White 3 1/2″ x 7″, scored at 5″
(2) Additional designer paper pieces 3 1/2″ x 2″
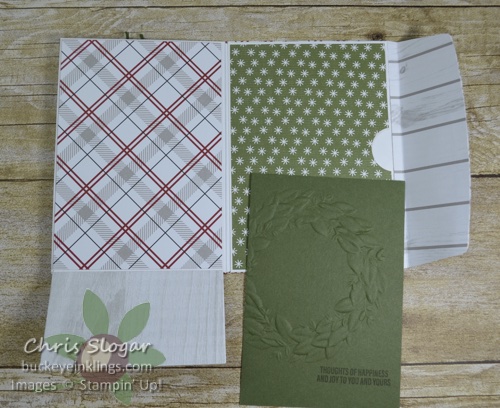
Page 4
Mossy Meadow insert 3 3/8″ x 4 7/8″
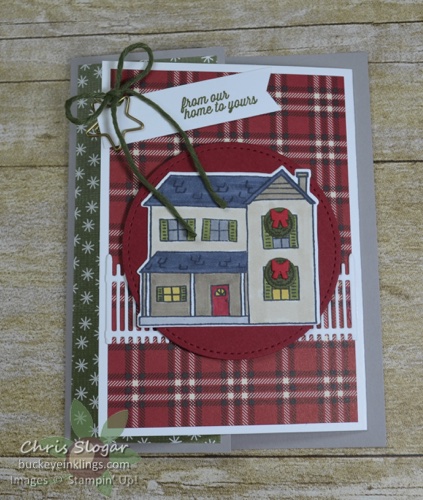
If you make your mini albums with the note card envelopes, you are going to have a lot of note cards left over! I recommend using them on a card like this “joy fold” card. You can decorate it as you like. I colored a farmhouse with my Stampin’ Blends.
A note card is nested with a Gray Granite card base here. The note card fold is on the right, and it opens as shown bleow.
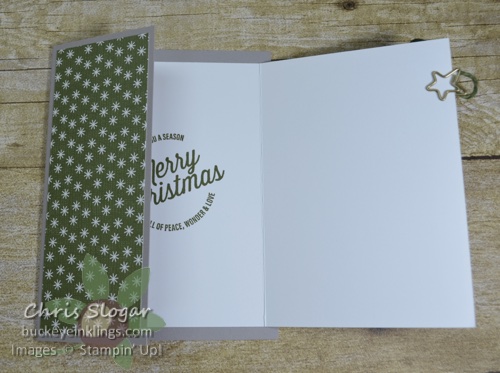
The Gray Granite base measures 5 1/2″ x 6 1/2″, scored at 4 1/4″. The resulting card is 4 1/4″ x 5 1/2″, which fits in our standard medium envelope.

The note card provides an inner panel for a greeting and personal message.
The designer paper pieces on this sample measure 2″ x 5 1/4″ and 3 1/4″ x 4 3/4″. If you would like to have a more efficient use of 6″ or 12″ designer paper, I recommend cutting off a 1/4″ strip from the front panel of the white note card. If you trim it down in this way, you will only need a 3″ width of designer paper.
Thanks so much for checking out my project! The video and product list follow. If you need any Stampin’ Up! products, I would greatly appreciate your support in the online store. Please click here to shop, or use the carousel below to be directed to a product used in today’s project.
Place an order over $35 with this month’s Hostess Code and you will receive a package of Red Rhinestones and a handmade card from me as a thank you! Orders over $50 are also eligible for a Buckeye Point in my Loyalty Rewards Program.
