I showcased our new laser-cut specialty paper on Facebook Live last night. Not only is it new, it is improved in three ways. First, the vanilla side is shimmery, and that makes it really special! Next, the sheet with panels offers different sizes, including 4″ x 5 1/4″ to fit our typical cards. And finally, the all-over pattern page can be cut into really distinct flowers and swags.
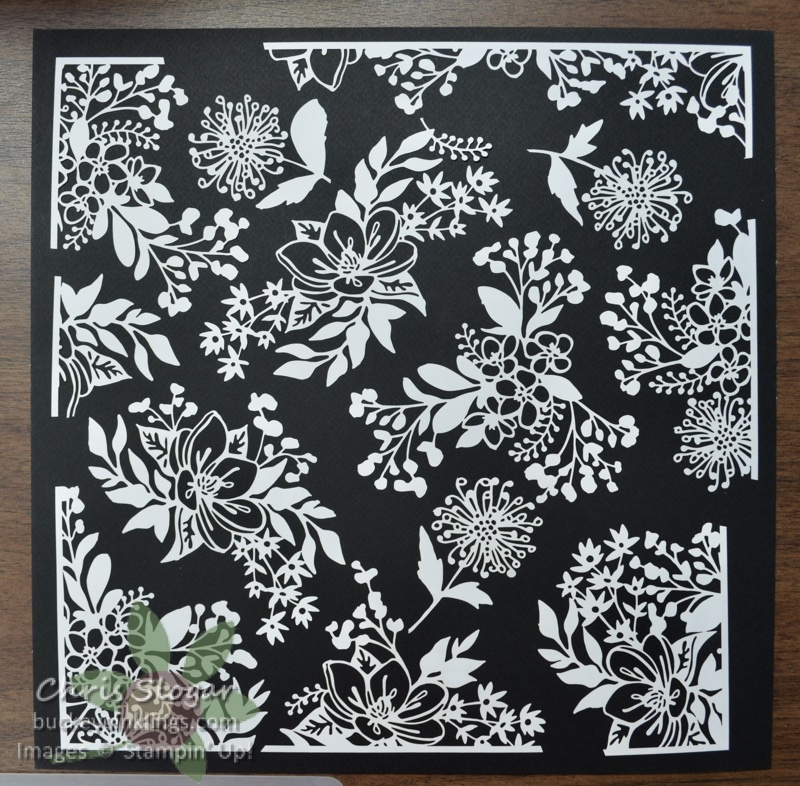
The photo above shows the all-over pattern, cut into individual flowers and bunches. I am finding these bunches easier to work with than the lacy patterns from last year.
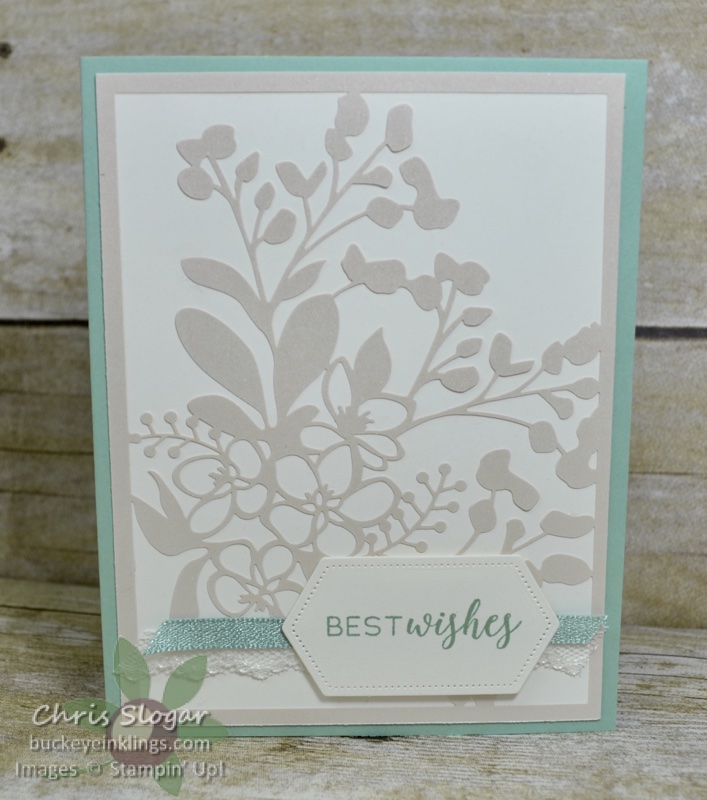
This is one of the shimmery vanilla 4″ x 5 1/4″ panels, mounted on a piece of Very Vanilla cardstock, which also measures 4″ x 5 1/4″ and then on a Mint Macaron card base. The greeting here is from “Stitched All Around”.
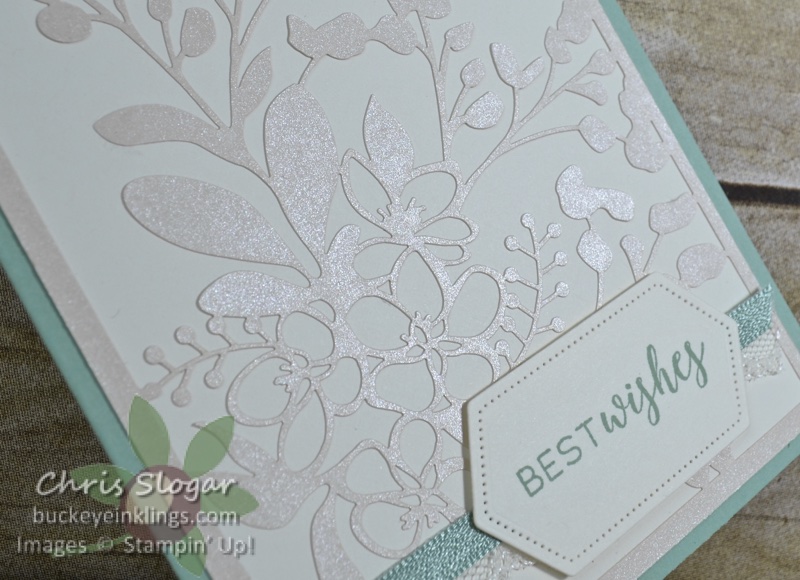
The shimmery detailed laser-cut piece makes this card a simple beauty!
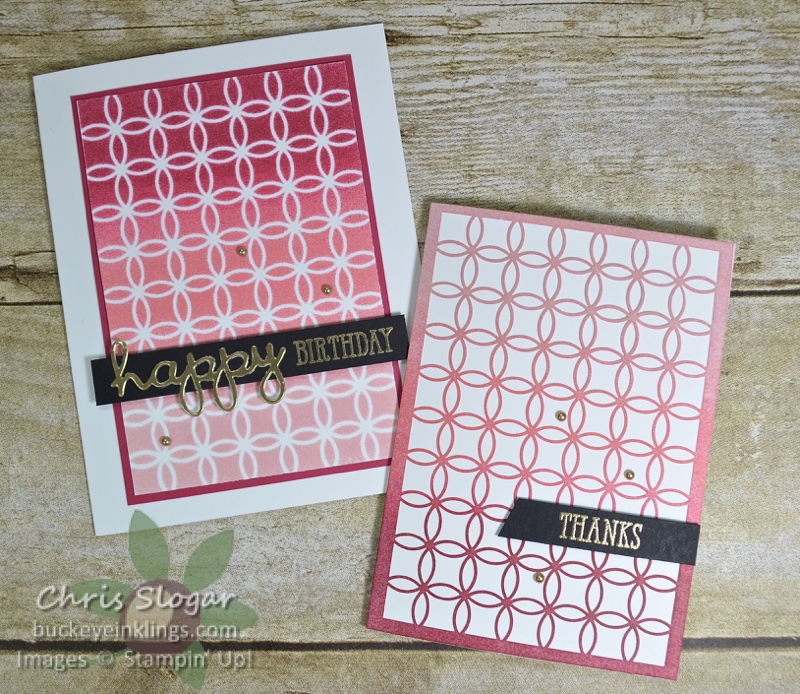
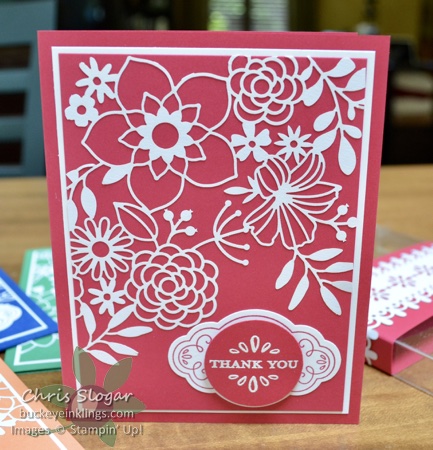
These two cards are made from one of 3 1/2″ x 5″ panels. The laser-cut panel was layered over a piece of Whisper White cardstock, and the colors were rolled on with sponge brayers. The laser-cut piece acts as a stencil. I used Lovely Lipstick, Flirty Flamingo, and Blushing Bride for the ombre effect.
Once separated, I attached the laser-cut piece to a Whisper White note card, and I used the other sponged piece on a regular-sized card.
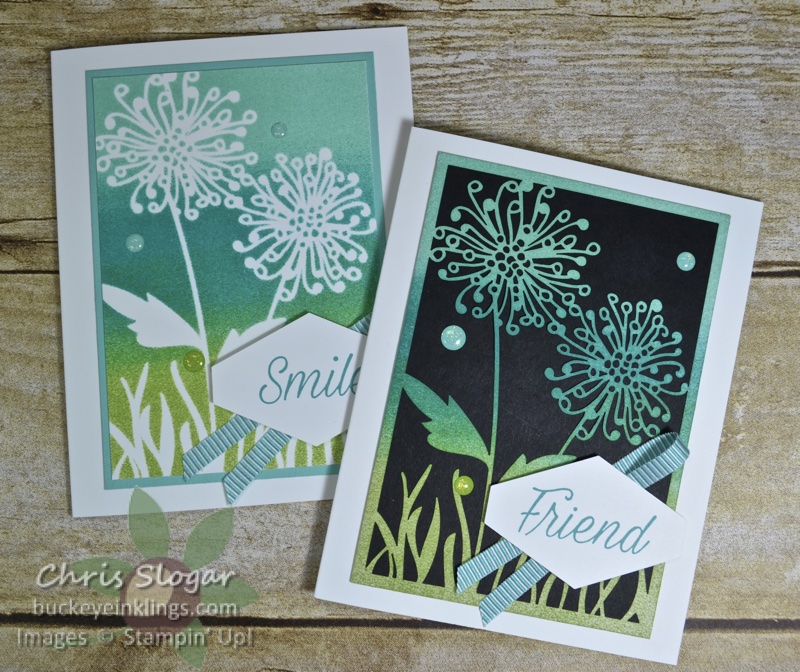
I used the same method to create these from another of the 3 1/2″ x 5″ panels. The colors are Coastal Cabana, Bermuda Bay, and Granny Apple Green. I mounted the laser-cut piece on Basic Black cardstock, and I made both into regular-sized cards.
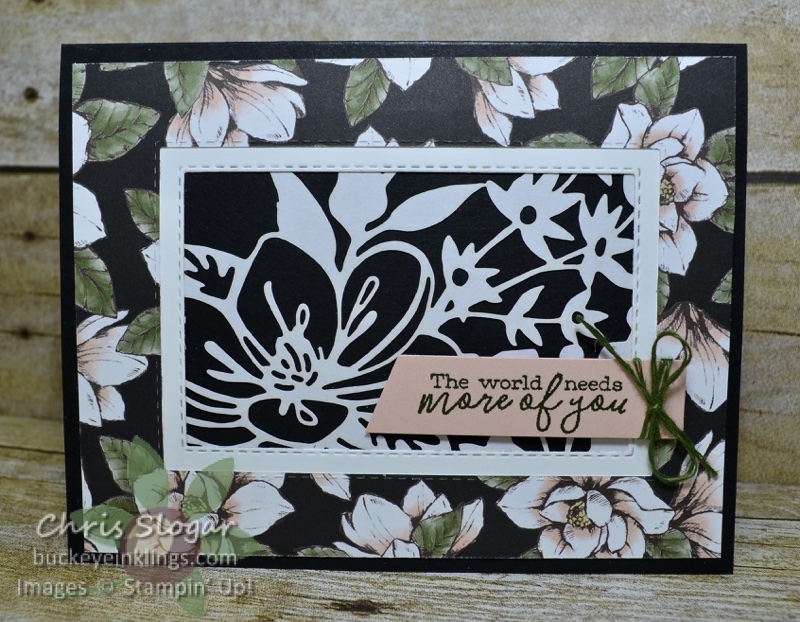
I framed a piece of the all-over pattern on this card. The designer paper is from the Magnolia Lane collection, and the greeting is from “Free As a Bird”.
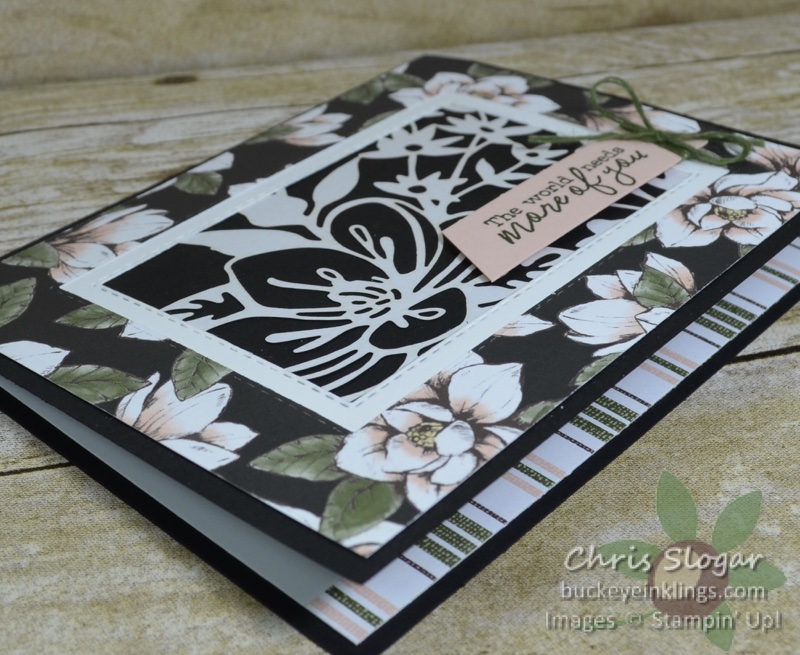
I used the stitched rectangles, but you could create the same type of frame with another shape.
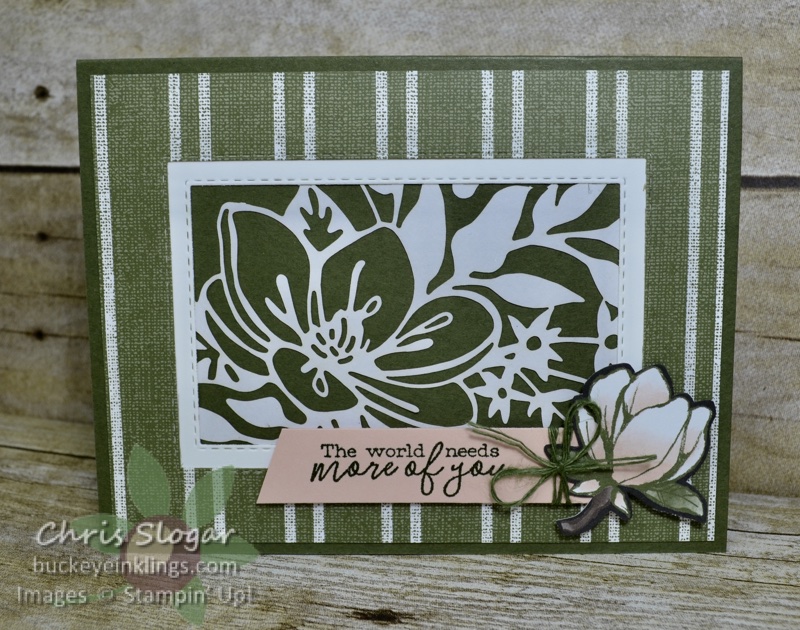
Here’s another version with a different print from the collection.
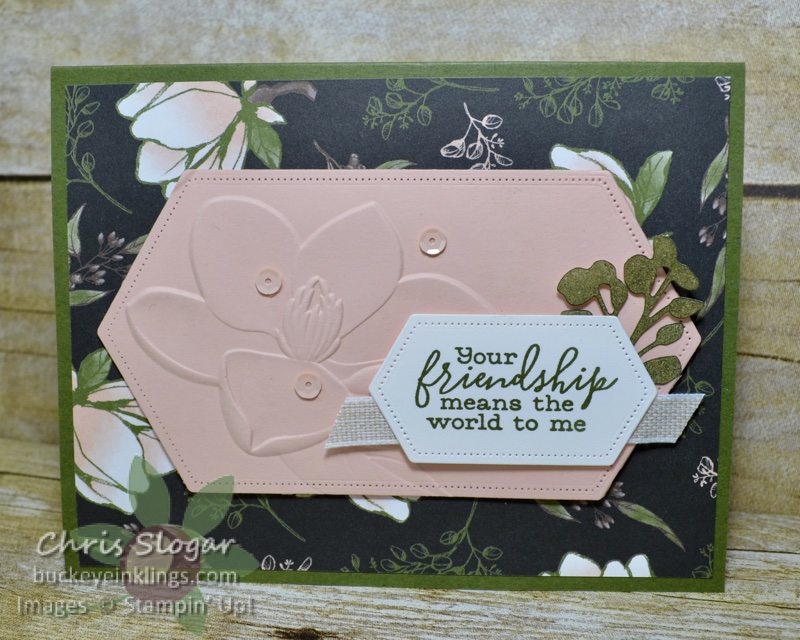
You can use even the smallest sprigs from this laser-cut paper. Here, I sponged the shimmery side of the sprigs with Mossy Meadow, and I tucked them in with my greeting from “Free As a Bird”.
Of course, you don’t have to cut that all-over design into bunches. An example from last year is shown below. I cut the edges of the paper to match the cardstock in this case. If you would like more ideas, click here to see last year’s post.
This post is meant as a supplement to last night’s Facebook Live. Click here to go to the full video.
I hope you know how much I appreciate it when you shop with me! And to those who do, I hope you enjoy the cards and products I share with you. Your support in my online store allows me to continue bringing you fresh ideas for free.
If you need any of our fabulous products, please click here to shop or use the carousel below to be directed to an item used in today’s projects. Place an order over $35 with this month’s Host Code and you will receive a package of Noble Peacock Rhinestones and a handmade card from me as a thank you! Orders over $50 are also eligible for a Buckeye Point in my Loyalty Rewards Program. I appreciate your orders!
