
Last night on Facebook Live, I used the Stamparatus to stamp the greetings for four cards in four different ways. This greeting from “Perennial Birthday” was first. Instead of stamping the greeting repeatedly by moving the plate between hinge locations (hinge step), I moved the Whisper White on the platform. Using the grid on the platform as a guide, I could space each impression 3/4″ from the last.
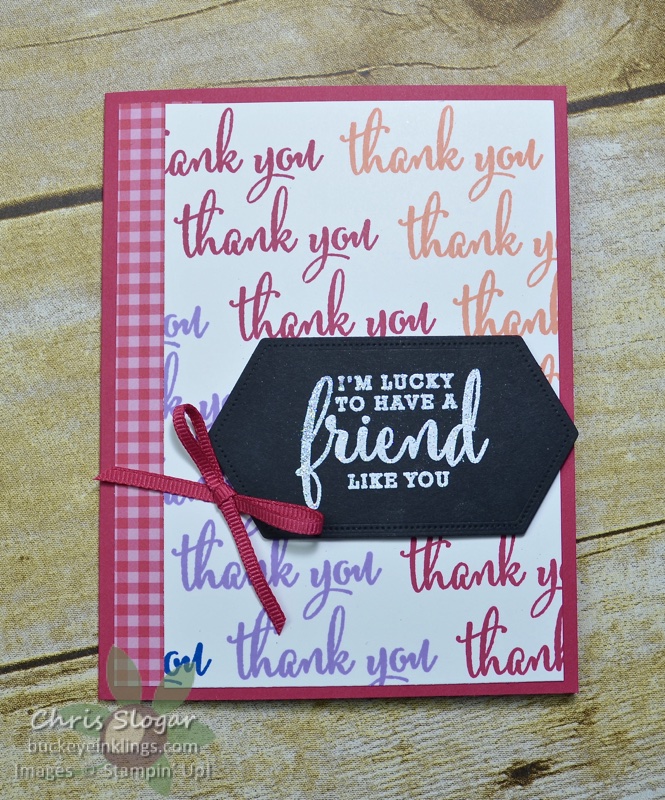
This background was made in a similar way, except that I moved the Whisper White two blocks (1/2″) horizontally and three blocks (3/4″) vertically between impressions. I stamped all of the impressions of one color at a time, starting with Lovely Lipstick, then adding Grapefruit Grove, Highland Heather, and Blueberry Bushel.
I cut the stamped Whisper White panel down to 3 1/2″ x 5 1/4″, and I tucked in a 3/4″ strip of Gingham Gala for this card front. These greetings are from “Love What You Do”.
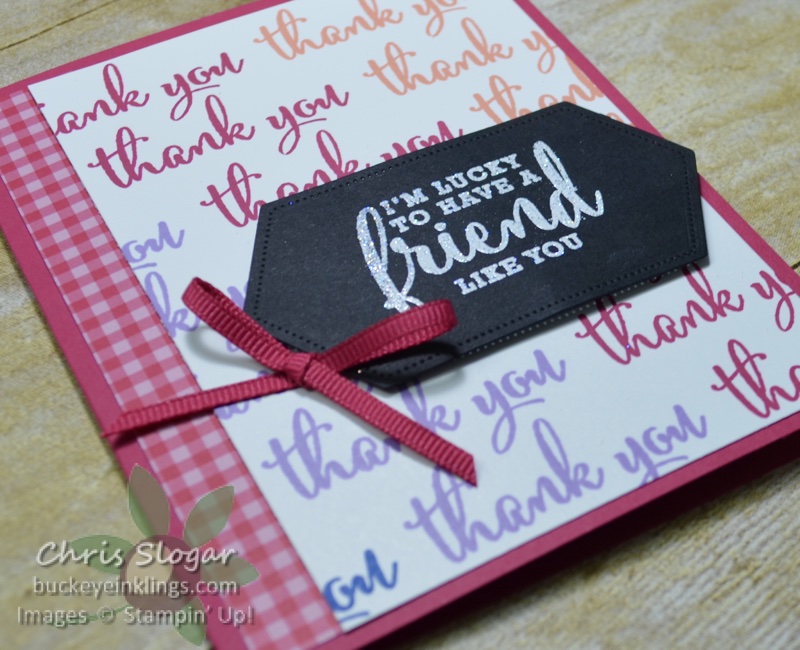
Though it’s hard to make out in the pictures, the embossing powder used on these first two cards is our new Shimmer White embossing powder. This white powder includes iridescent glitter, and it is very sparkly and striking in person!
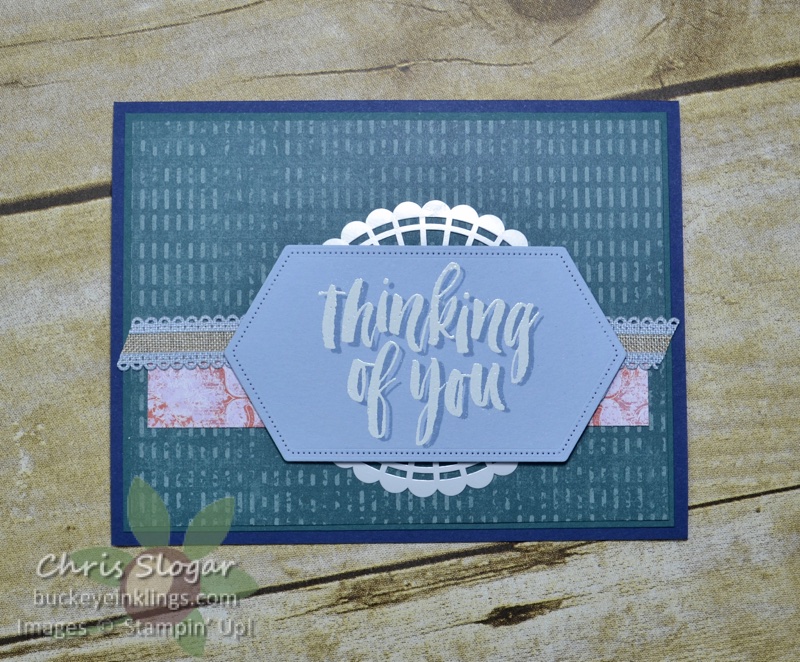
My next greeting is from “Rooted in Nature”. It was easy to create a shadow on the Stamparatus. I stamped the greeting in Seaside Spray on a scrap of Seaside Spray cardstock. I dried the impression with my heat tool and rubbed the image with my embossing buddy. Then, I moved the cardstock slightly down and to the right of its original position on the Stamparatus. After cleaning the stamp, I stamped again with Versamark and heat embossed with white powder before cutting out the greeting with one of the Stitched Nested Label dies.
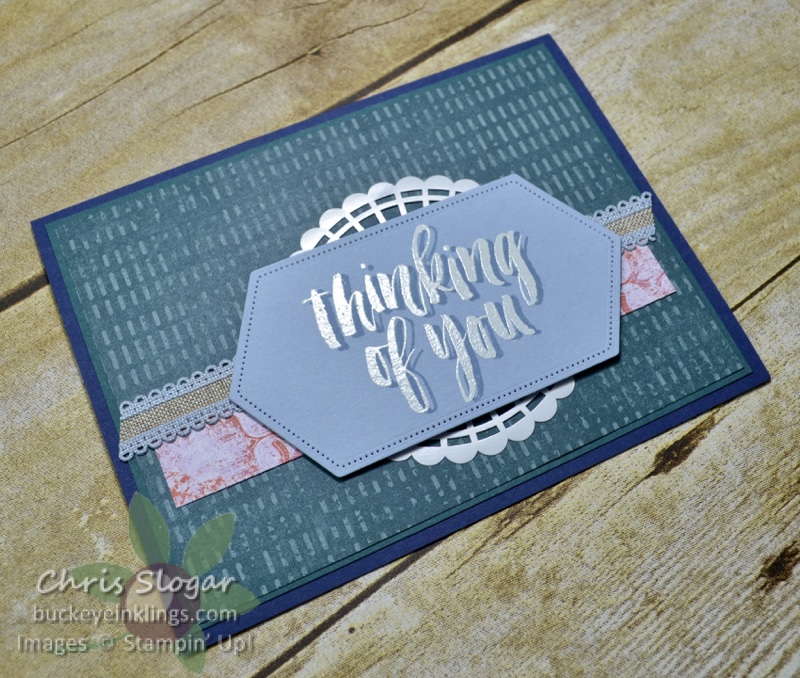
I used designer paper from the Woven Heirloom collecltion and a pearlized doily. The rose strip measures 3/4″ x 4 3/4″. The ribbon is our new Scalloped Linen Ribbon.
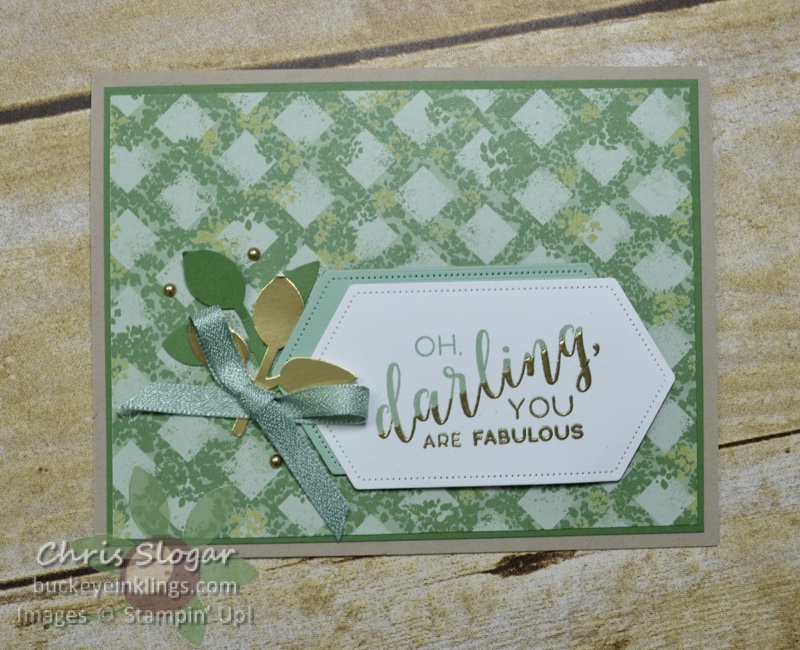
And finally, I stamped this greeting from “Stitched All Around” in two steps on the Stamparatus. I stamped first in Mint Macaron. I dried the impression with my heat tool and rubbed the image with my embossing buddy.
After cleaning the stamp, I used a piece of tape to cover a portion of the stamp. The tape was placed on a diagonal over the portion of the stamp that I wanted to protect from Versamark. Then I applied Versamark and removed the tape, leaving the stamp partially inked. With the paper in its original position, I stamped over the Mint Macaron image and heat embossed in gold.
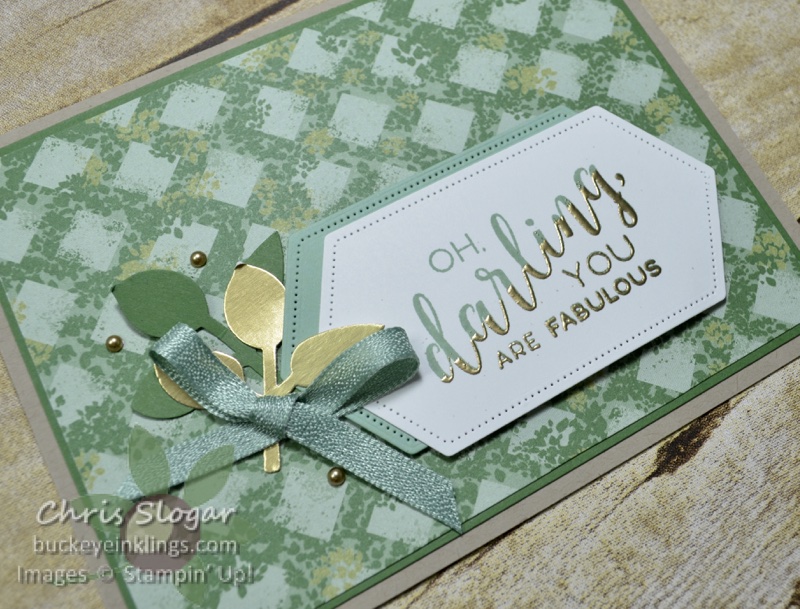
The finished card uses Garden Lane designer paper and coordinating Mint Macaron and gold trims.
This post is meant as a supplement to last night’s Facebook Live. Click here to go to the full video.
I really appreciate it when you shop with me! And to those who do, I hope you enjoy the cards and products I share to thank you! Your support in my online store allows me to continue bringing you fresh ideas for free.
If you need any of our fabulous products, please click here to shop or use the carousel below to be directed to an item used in today’s projects. Place an order over $35 with this month’s Host Code and you will receive a package of Noble Peacock Rhinestones and a handmade card from me as a thank you! Orders over $50 are also eligible for a Buckeye Point in my Loyalty Rewards Program. I appreciate your orders!
