
Last night on Facebook Live, I showed a Diamond Top card and a couple of gift card holders. I made them with the Hand-Penned Suite of products from our new annual catalog, and I also made them as graduation cards (below).
I am presenting the pictures and dimensions are here for easy reference, but you may need to see the video for complete instructions. Please click here to see the video – and please join the Buckeye Inklings Stampers Group on Facebook to get notifications of all of my live videos.
Thank you for any help you can give me in Likes, Shares, and orders in the online store. It is my goal to continue to bring you project ideas for free, and your support helps.
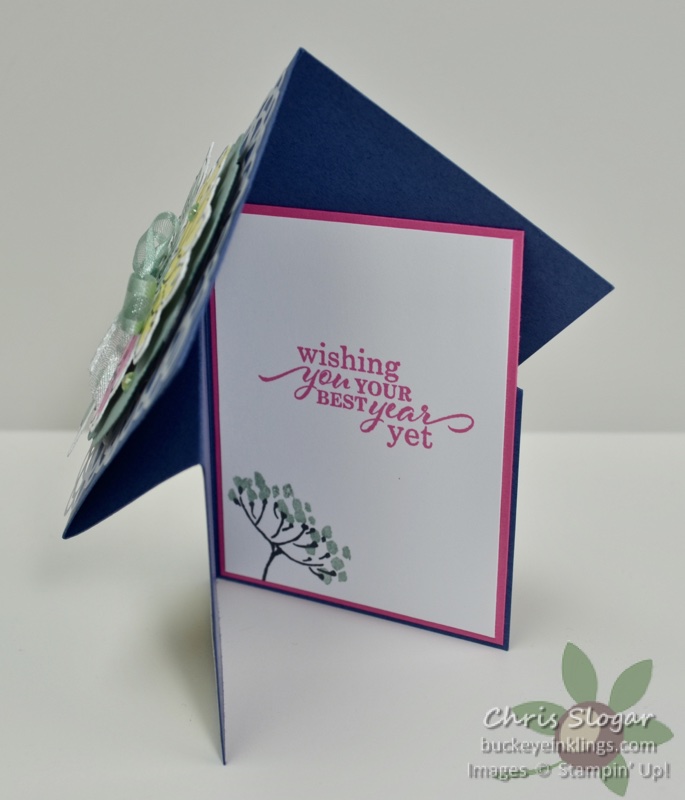
The Diamond Top cards are perfect for display. The diamond panel is a great place to feature any stamp or greeting.

I made this in a size that easily fits in our Medium Envelopes- – it doesn’t exceed our typical 4 1/4″ x 5 1/2″ card.
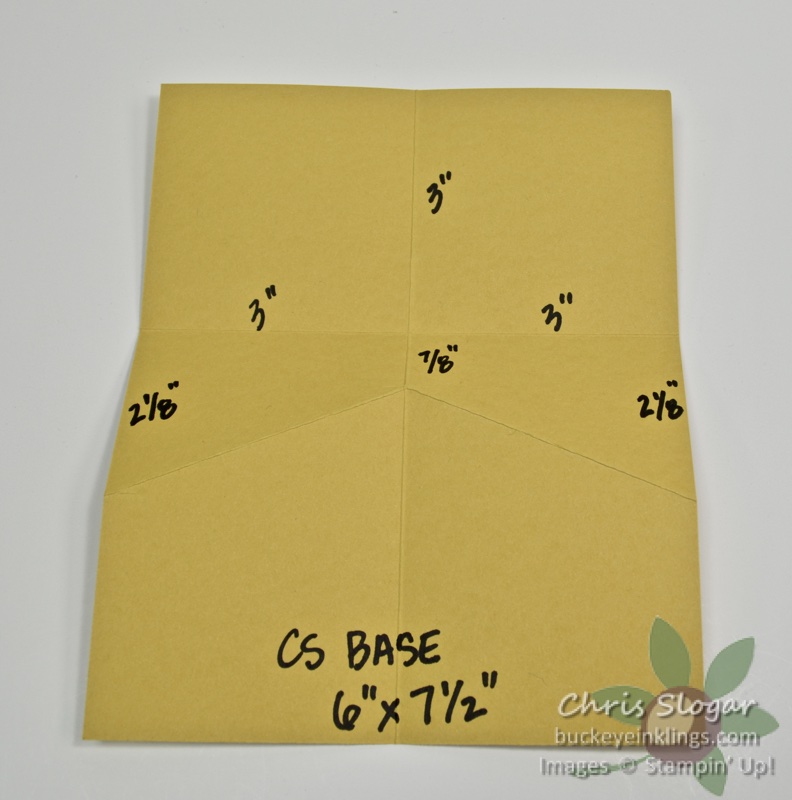
Here’s an easy reference for the scoring. The base is simply a 6″ x 7 1/2″ rectangle, scored first in each direction at 3″. To create the diagonal score lines, simple mark the endpoint locations and then score between them.
The designer paper that fits the card front is 2 3/4″ wide. It is 3 3/8″ tall on the left, and 2 1/4″ tall on the right. The inner panel is Whisper White 2 3/4″ x 3 1/2″ matted on Polished Pink 2 7/8″ x 3 5/8″.

I also showed these gift card holders that coordinate. The simple fold-up cardstock version on the right has a Misty Moonlight base that measures 3 1/4″ x 9 1/2″, scored at 3 1/4″ and 7 3/4″. The designer paper pieces measure 3″ x 3″ and 3″ x 1 1/2″. The Basic White is also 3″ x 3″.

This gift card holder is made from one of our new In Color Ombre bags. The bottom of the bag is folded up 3″, creating a pocket on the front for a gift card. The bag is wrapped with a 2″ x 11″ piece of designer paper. The inner card, which fits in the bag’s opening at the top, is Basic White 3 5/8″ x 4 1/8″ matted on Misty Moonlight 3 3/4″ x 4 1/4″.
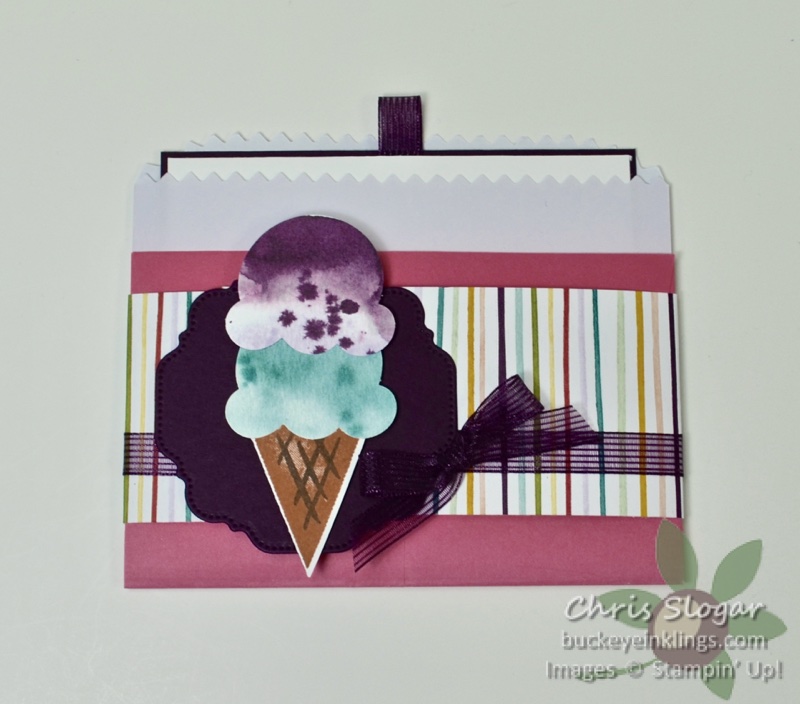
I made this version in the live video. It uses the Polished Pink Ombre bag with products from the Ice Cream Corner Suite.
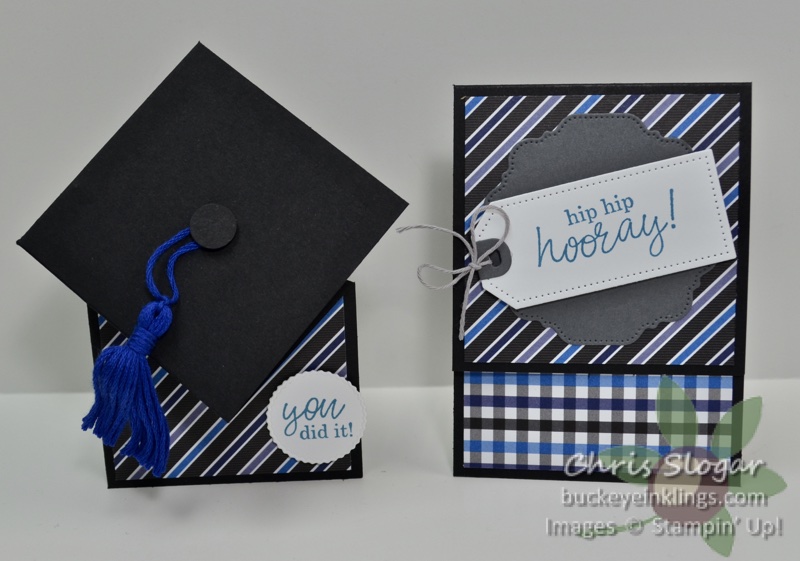
Here are the graduation versions. The greetings are from “Best Year”, and I show how to make the tassel from a skein of embroidery floss in the video.

Thank you for checking out my projects today! If you need any of our fabulous products, please click here for the online store, or use the carousel below to go directly to a product used today. (Due to the variety of projects, I am omitting ink and cardstock from the carousel.)
Place a $35 order with Host Code YSDD7BPR in May, and I will send you a package of 2021-2023 In Color Jewels and a handmade card. This is my way of sharing the Stampin’ Rewards with you – I appreciate your business!!
