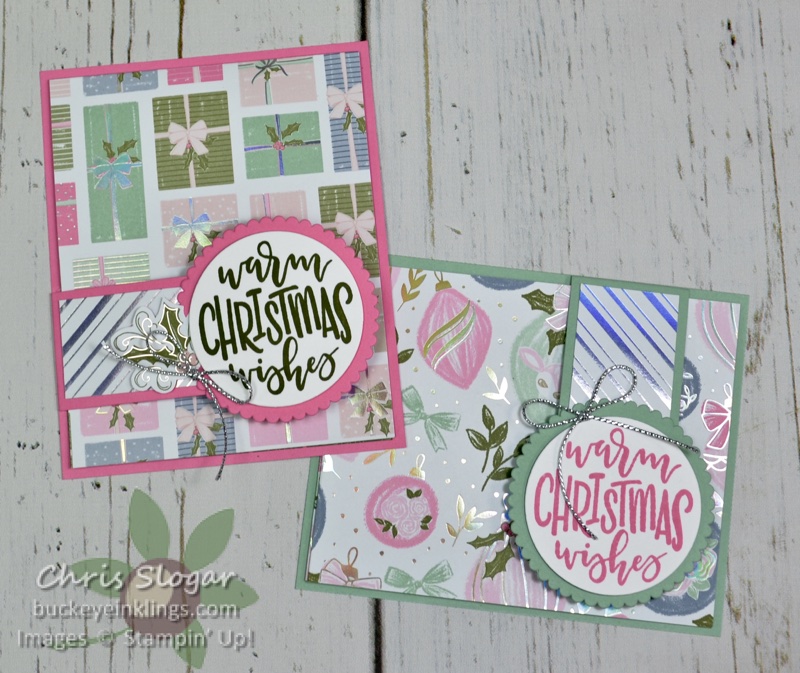
I love, love, LOVE these gift card holders that Terri Meehan showed at our Team Meeting on Monday night. Not only are they super-easy and adaptable to any occasion, but they show off both sides of the designer paper – and they use the paper very efficiently too!
I made them last night on Facebook Live, and also adapted the directions slightly for 6″ designer paper. I am showing pictures and dimensions here for easy reference, but you may need to see the video for complete instructions. Please click here to see the video – and please join the Buckeye Inklings Stampers Group on Facebook to get notifications of all of my live videos.

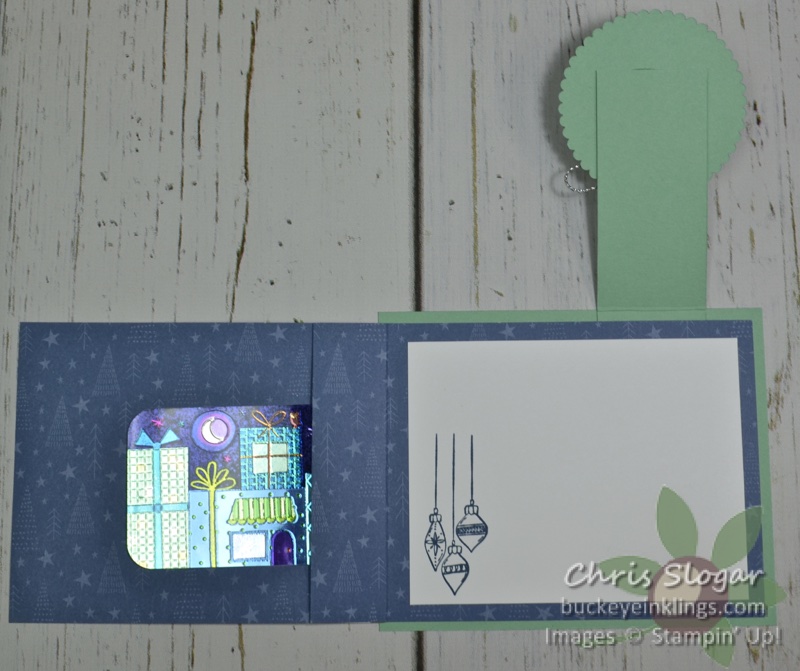
In each of the Whimsy & Wonder versions, a 4″ x 12″ piece of designer paper opens to reveal a pocket with a gift card. In the Polished Pink version, the designer paper is only directional on one side, so the paper does not look like it is upside-down when the front is flipped up and open.
The paper on the Mint Macaron version is directional on both sides, so I cut the 4″ dimension to make the card in the opposite orientation.
Dimensions are as follows…
- Card Base 4 1/4″ x 5 1/4″
- Swing Arm 1 1/2″ x 4 1/4″, scored at 3 1/4″
- Designer Paper 4″ x 12″, scored at 5″, 6″, and 7″
- Designer Paper 1 1/4″ x 3″
- Basic White 3 1/2″ x 4 1/2″
I also made some samples with paper that only comes in a 6″ square. In this case, I had to piece together the papers within the fold. The fold is on the long side, allowing the card base to be our typical size – 4 1/4″ x 5 1/2″.
Dimensions follow, and again, you may need the video to see how this was done. Watch directional patterns carefully when scoring and cutting.
- Card Base 4 1/4″ x 5 1/2″
- Swing Arm 1 1/2″ wide, length as needed
- Designer Paper for front 5 1/4″ x 4 3/4″, scored at 3/4″
- Designer Paper for inside 5 1/4″ x 6″, scored at 4″, 5″
- Basic White 3 1/2″ x 4 3/4″
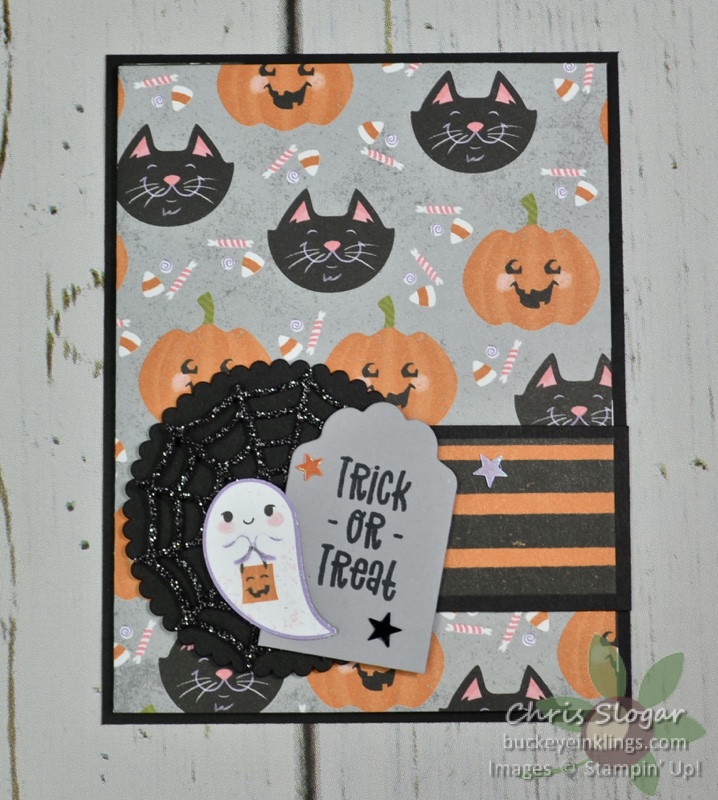
I did finish my Halloween version, too. In this version, I made the swing arm to open exactly opposite the fold in the designer paper.

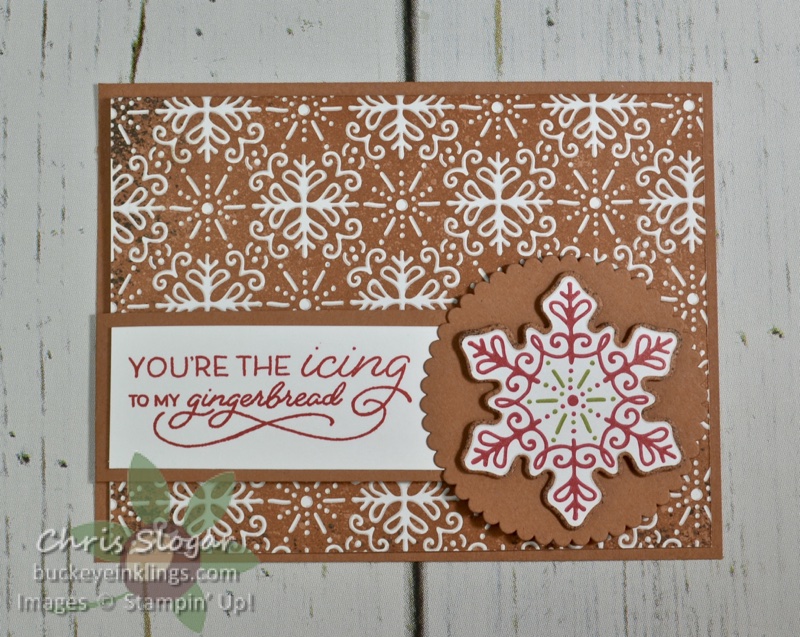
As you can see, a lot of variations are possible with this style of gift card holder – both in theme and layout. I hope you’ll try this with your favorite product suite!
Thank you for your interest in my projects! I would appreciate your support in Likes, Shares, Follows and also purchases in my online store. I need your help to continue to present free project ideas.
Place a $35 order with Host Code D7RXCP69 in September, and I will send you a package of Wonderful Snowflakes and a handmade card. This is my way of sharing the Stampin’ Rewards with you – I appreciate your business!!
