Stepped Up Paper Pumpkin

DSC_0663w

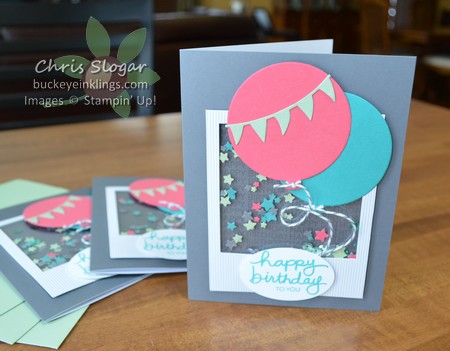
I love the December Paper Pumpkin kit because it gives us the easiest method ever to make Polaroid shaker cards.  Fortunately, subscribers can buy refills for it.  The kit is designed to make 3 birthday, 3 thank you, and 3 hello cards, but I really wanted more birthday cards.  I turned to Pinterest and CASEd Lisa Flemming’s version of the card.  Instead of using the kit’s sticker words on the cards, I used balloons cut with the balloon framelits to make them all birthday cards.  I love those big balloons – they make a great card even better!

Chris_buckeye_signature_rose_final

Greetings a la Carte Choices

Here is the “menu” for next Tuesday’s Greetings a la Carte.  A couple are held over from before the holidays, and if you have another favorite from a recent class, please let me know – I may be able to accommodate you.  If you are already signed up, please let me know your selection(s).

This class is a Stamp-a-Stack where you create cards in groups of eight.  The price varies based on design, and each card comes with a Whisper White or Very Vanilla mat piece for the inside (with the exception of the gift card holder).  Dimensionals and envelopes are included, but please bring all other adhesives.

You can sign up for more than one design, or multiples of designs.  Remember, you are signing up to make groups of eight.  Depending on how many sets you choose, you may not be able to completely assemble them during the class time, but I will make sure you do the steps you need to complete with my supplies.

DSC_1426w

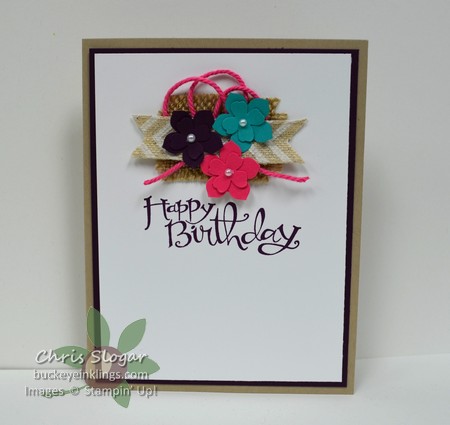
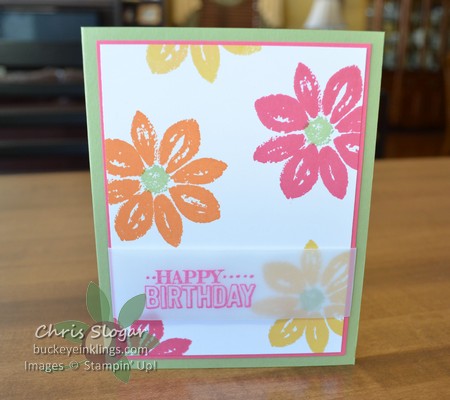
#1  Flowers and Fibers – 8/$12 (with greeting of your choice)

DSC_1427w

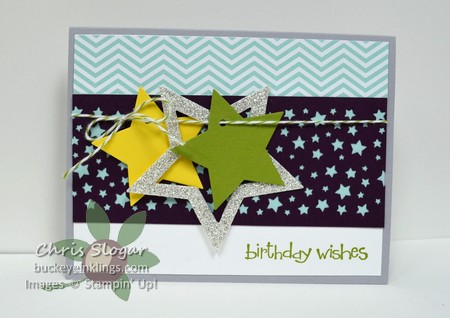
#2  Stars Birthday – 8/$12

DSC_0559w

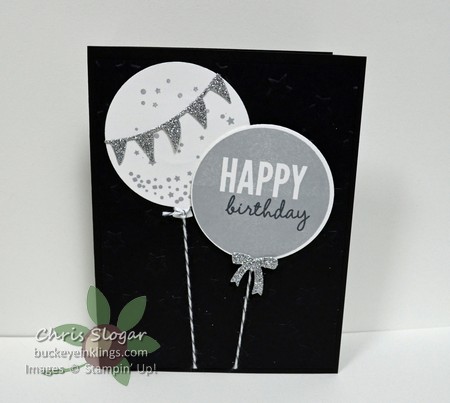
#3  Balloons Birthday – 8/$12

DSC_0658w

#4  Spring Petal Potpourri – 8/$10  (CASE of Susie Wood’s card)

DSC_0660w

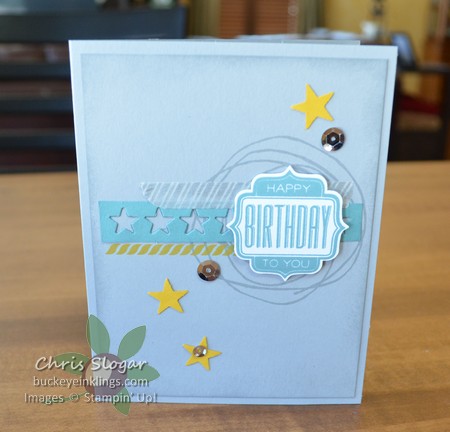
#5  Smoky Slate Birthday – 8/$10  (CASE of Sara Douglass’ card)

DSC_0662w

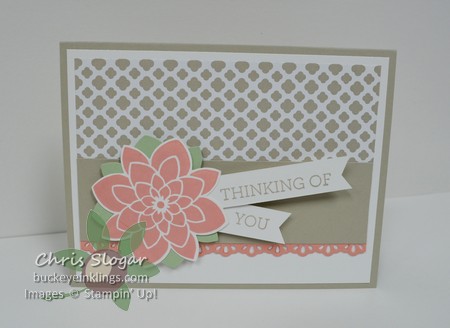
#6  Lattice and Flower – 8/$12  (CASE of Mary Fish’s card)

DSC_0656w

#7  Painted Petals Thank You – 8/$12

DSC_0661w

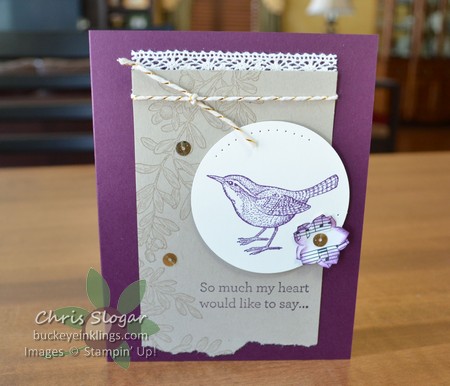
#8  Open Heart Sympathy – 8/$12 (CASE of Anne Matasci’s card)

Chris_buckeye_signature_rose_final

Weekly Deals and a New Photopolymer

First, the Weekly Deals…

Chalkboard Banner Chalkboard Banner Simply Created Kit Item # 133795Regular Price: $19.95 US/$24.95 CAN

Discounted Price: $14.96 US/$18.71 CAN

Gold 1/8″ Ribbon Item # 134583Regular Price: $4.95 US/$6.95 CAN

Discounted Price: $3.71 US/$5.21 CAN

Venetian Crochet Trim Item # 134581Regular Price: $6.95 US/$9.50 CAN

Discounted Price: $5.21 US/$7.13 CAN

Floral Frames Framelits Die Item # 127012Regular Price: $26.95 US/$32.95 CAN

Discounted Price: $20.21 US/$24.71 CAN

Darling Doily Thinlits Die Item # 133736Regular Price: $24.95 US/$30.95 CAN

Discounted Price: $18.71 US/$23.21 CAN

Flower Frenzy Bigz L Die Item # 133728Regular Price: $37.95 US/$46.95 CAN

Discounted Price: $28.46 US/$35.21 CAN

From The Garden Photopolymer Bundle Item # 138862Regular Price: $33.75 US/$41.50 CAN

Discounted Price: $30.38 US/$37.35 CAN

Label This Kitchen Designer Template – Digital Download Item # 133022Regular Price: $7.95 US/$8.95 CAN

Discounted Price: $4.77 US/$5.37 CAN

“Lovely Amazing You”, this month’s photopolymer release is also available now.

Download (PDF, 260KB)

If you are looking for the “a la Carte” choices for next Tuesday’s class, I will put them in a separate post later today.

Chris_buckeye_signature_rose_final

CASEing Shelli

DSC_0652w

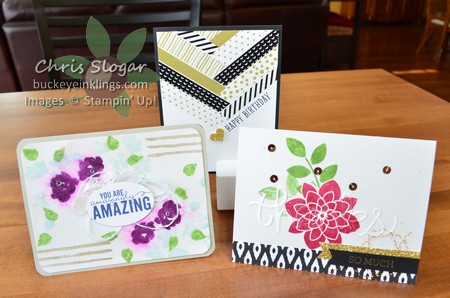
We had a Team Meeting this weekend to share details from our recent conference, so I chose these three projects from Shelli’s Thursday afternoon demonstration for our meeting make-n-takes.  I had to watch the recording again to get the details down, and it was so great that some of our teammates had also seen the session at home, thanks to the live streaming and recordings from events that are available to demonstrators.

DSC_0655w

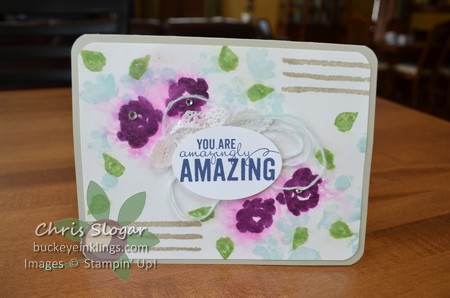
This one uses “Painted Petals” on Shimmery White cardstock.  We stamped the Blackberry Bliss first, and spritzed the stamped flowers with water to create the beautiful streaking.  We dried the cardstock with a heat tool, and then added the Soft Sky and Wild Wasabi, spritzing and drying each.  The Soft Sky and Wild Wasabi don’t run as dramatically as the Blackberry Bliss, but the water did soften them up a bit.

Shelli had added a splatter or maybe “Gorgeous Grunge” to her card, but we stuck with the “Painted Petals” set and stamped the lines.

DSC_0653w

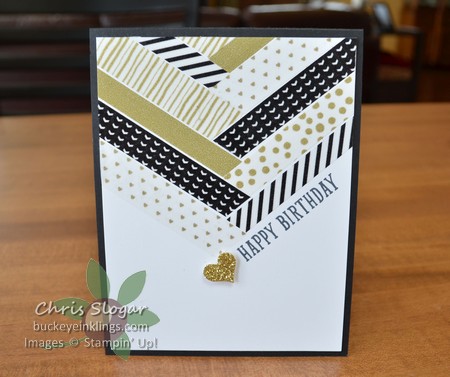
This is a fun herringbone technique with Washi Tape.  Shelli used Sweet Dreams Washi Tape from the Occasions Catalog for a baby card – we used Stacked with Love and Watercolor Wonder.  Imagine the possibilities with all the pretty Washi Tape designs available!

DSC_0654w

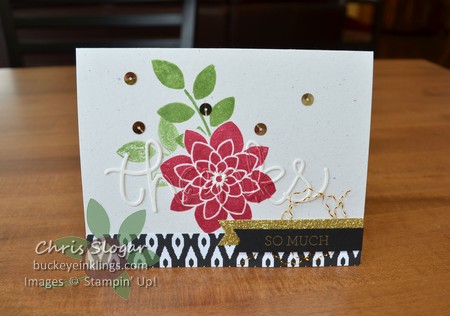
This was fun, too.  I am not sure if this technique has a name.  We stamped the flower on the plain cardstock first.  Then we took our word “thanks” and put it in position over the flower to approximate where we wanted to stamp on the word.  We pulled the word over to our grid paper and stamped it.  If you pay attention to where you want the center of the flower to fall (roughly), this works out pretty well.  The center of the flower is also the easiest point to line up when you are ready to attach the word to the card.

By the way, Shelli pointed out that if you cut the word “thanks” from Watercolor Paper, it pops out of the thinlit very easily.  The extra thickness also looks great with this technique.

Have a great Monday!

Chris_buckeye_signature_rose_final

Mini Treat Bag from a Paper Stack

As a follow-up to yesterday’s Mini Treat Bag favor, I thought it might be helpful to show just the Mini Treat Bag construction in pictures.  That way you don’t have to find it in the video if that is what you are tuning in for 🙂  I like this method because the bag is constructed from only two large pieces – a front and a back.

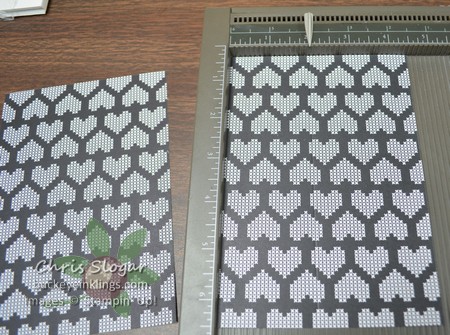
You need two sheets from a Paper Stack.  They measure 4 1/2″ x 6 1/2″, and I am using sheets from the Stacked with Love collection.  Score one lengthwise at 2″.

DSC_0640w

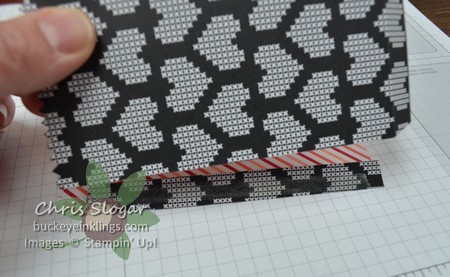
Fold and place on the magnetic platform so the fold is on the left, and the smaller width of paper is on the underside.

DSC_0641w

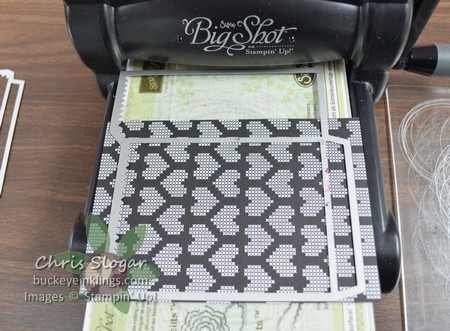
Align the fold with the peak of the second “mountain” at the top.  This will be the back piece.

DSC_0642w

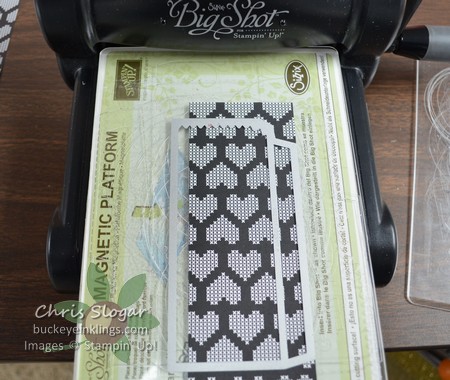
Use the larger thinlit to cut the front of the bag, making sure to cut the entire width of the front.

DSC_0643w

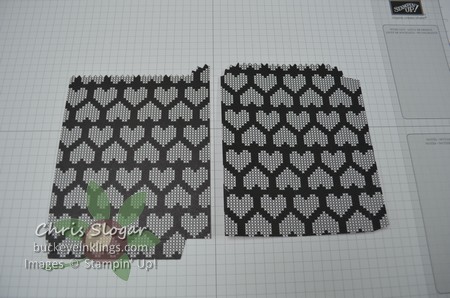
The resulting pieces look like this.  The front is on the left.

DSC_0647w

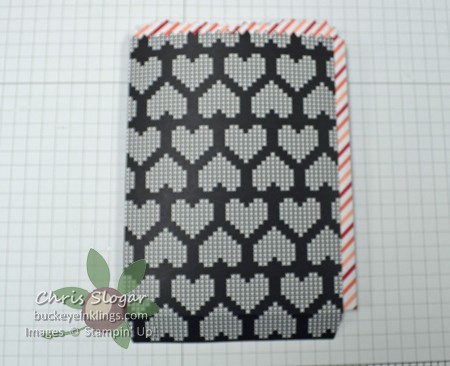
Prepare the front piece by folding on the score, and cutting away the excess at the top of the tab as shown.

DSC_0648w

Now prepare the back piece by folding along the score on the back piece to create a tab.  Apply sticky strip to the tab on the back piece – it is important that you attach this tab to the front piece first.

DSC_0649w

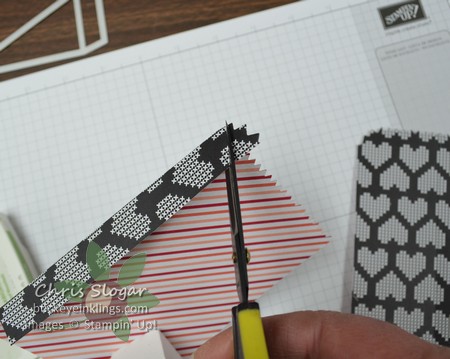
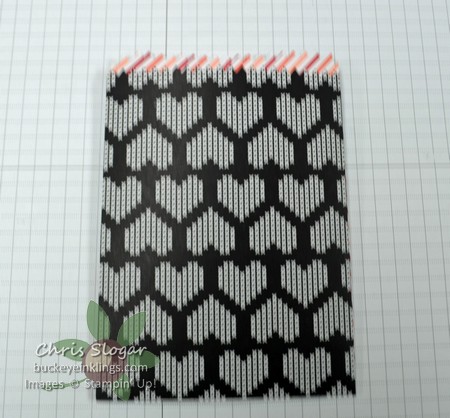
Then apply sticky strip to the tab on the front piece, and lay it down onto the back piece.  The back piece will be a little too wide.  Trim away that excess width with paper snips, and close the bottom of the bag with sticky strip.

DSC_0650w

Finished bag.

Chris_buckeye_signature_rose_final

Stacked with Love Mini Treat Bag Pockets

DSC_0635w

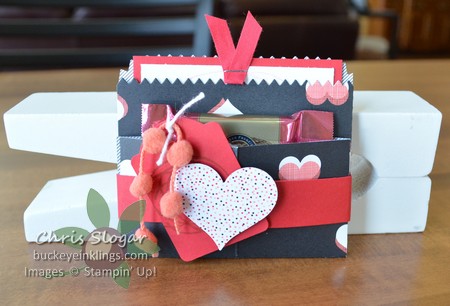
This little Valentine’s favor is created with the Mini Treat Bag Thinlits and the Stacked with Love Designer Series Paper Stack.  I cut only two pieces with the thinlits – a single front piece and a single back piece.  My method is shown in the video linked below.  The first part of the video shows how to cut the front and back to make a bag, and the second part of the video uses a bag to make the favor.

This favor has two “pockets”.  The front pocket holds a Ghirardelli square or a gift card, and the back pocket holds a little note card.

DSC_0637w

I used “Snuggles and Smooches” for the scribbles and the sentiment.

As of today, my Featured Project will include one of these (excluding the candy), along with the Treat Bag/Note Card card as shown in the picture below.  If your product total in my online store is $35 or more before S/H, I will mail you these coordinating projects.  Please allow demonstrator contact when you check out or email me with your address if you would like to receive these completed projects.

DSC_0638w

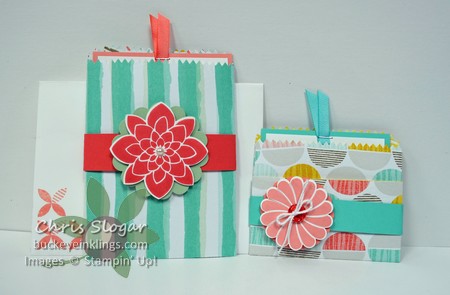
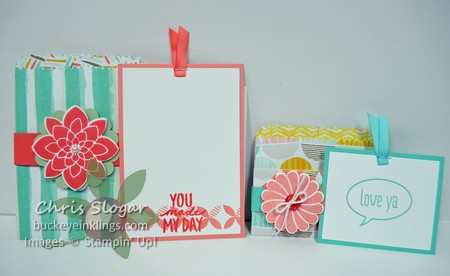
These are made with the Best Year Ever designer series paper, and the flowers are from the set “Crazy About You”.  The inside sentiments are from “Best Day Ever” and “Just Sayin”.

DSC_0639w

Product List for Valentine’s favor…

Built for Free Using: My Stampin Blog

Have a great weekend!

Chris_buckeye_signature_rose_final

Framed Valentine

DSC_0600w

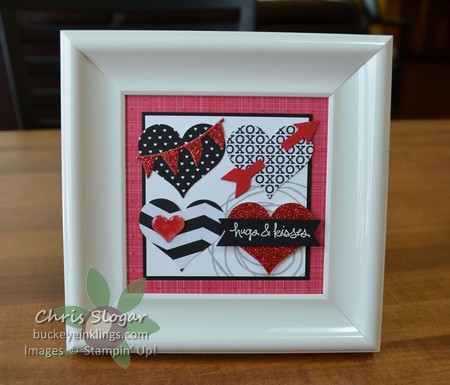
Who wouldn’t love to receive this cute little Valentine frame?  It is a mini-collage of hearts punched with the Sweetheart punch, which is on sale this week for $11.96.  I used a frame that came with one of our Paper Pumpkin kits – the design area is about 4″ square, but you can modify it to fit the frame of your choice.

You can also modify this project to use what you have.  For that matter, the background doesn’t have to be hearts.  I would change the insert to flowers as the seasons change.  Collages are a fun way to incorporate the shapes, colors and trims that you like.

Have a great day!

Chris_buckeye_signature_rose_final

Stacked with Love Valentine Treats

DSC_0629w

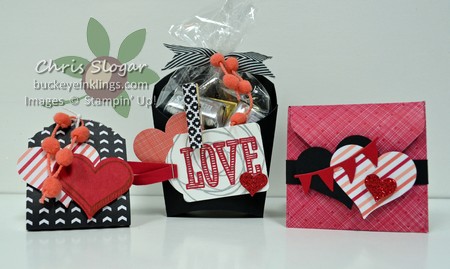
There are so many great prints in the Stacked with Love designer series paper stack.  I made up a few favors with these papers yesterday.  While there is nothing new about the construction of these items, the seasonal papers and trims make them seem fresh and new.  Make them in any colors for any occasion.

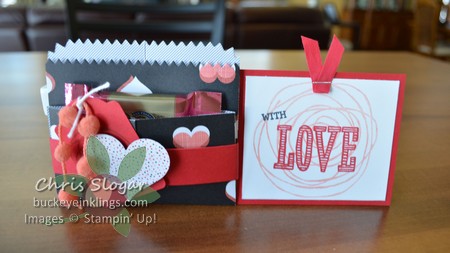
Let’s start with the Fry Box…it is cut from a regular die, and it doesn’t take much to dress this piece up.  I used a tag that I made from “Snuggles and Smooches”.  Put something shiny in a cello bag with some pretty ribbon, and you are pretty much done!

DSC_0631w

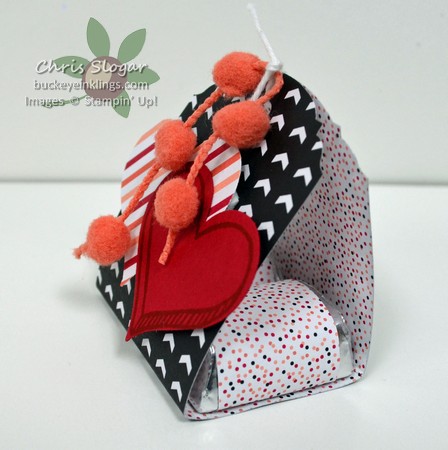
Here is a closer look at the Hershey Nugget favor.  The Nuggets are wrapped with 1″ x 3″ pieces of coordinating paper.  If you are making a lot of these, cut a 3″ wide strip of paper and apply your sticky strip down the entire length of it – then cut off 1″ pieces.

The wrap is a 2″ x 6 1/2″ piece of paper, scored at 2 1/2″ and 4″.  The ends are punched with the Ornate Tag Topper punch from the Occasions Catalog.

DSC_0634w

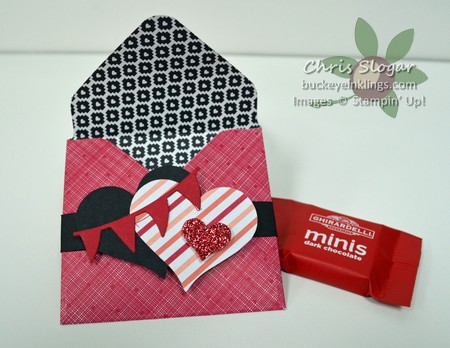
This favor is made from a 4 1/2″ square, punched and scored at 2 1/4″ on each side using the Envelope Punch Board.  The flap tucks under the black band, so the band is only secured to the envelope on either side of the flap.  I added the banner from the Balloon Framelits Dies – love that little piece!

Don’t be alarmed by this big product list – these are definitely “use what you have” kind of projects.  Have a great day!

Built for Free Using: My Stampin Blog

Chris_buckeye_signature_rose_final

Weekly Deals and Leadership Swaps

Here are this week’s Weekly Deals, and there are some good ones for Valentine’s Day!

Heart Punch Sweetheart Punch Item # 133786

Regular Price: $15.95 US/$21.95 CAN

Discounted Price: $11.96 US/$16.46 CAN

Dazzling Diamonds Glimmer Paper Item # 135315

Regular Price: $4.95 US/$5.95 CAN

Discounted Price: $3.71 US/$4.46 CAN

Ornate Tag Topper Punch Item # 137416

Regular Price: $22.95 US/$31.95 CAN

Discounted Price: $17.21 US/$23.96 CAN

Tag A Bag Accessory Kit Item # 133629

Regular Price: $7.95 US/$9.95 CAN

Discounted Price: $5.96 US/$7.46 CAN

Hamburger Box Bigz Xl Die Item # 133724

Regular Price: $42.95 US/$52.95 CAN

Discounted Price: $32.21 US/$39.71 CAN

Boys Will Be Boys Clear-Mount Stamp Set Item # 134138

Regular Price: $17.95 US/$21.95 CAN

Discounted Price: $13.46 US/$16.46 CAN

Hearts Border Punch Item # 133784

Regular Price: $15.95 US/$20.95 CAN

Discounted Price: $11.96 US/$15.71 CAN

Fine Print Coupons Swatchbook – Digital Download Item # 132565

Regular Price: $12.95 US/$13.95 CAN

Discounted Price: $7.77 US/$8.37 CAN

I also have some swaps to share today.  I picked these because they each use a stamp set, tool or technique that I am anxious to try out myself.

DSC_0611w

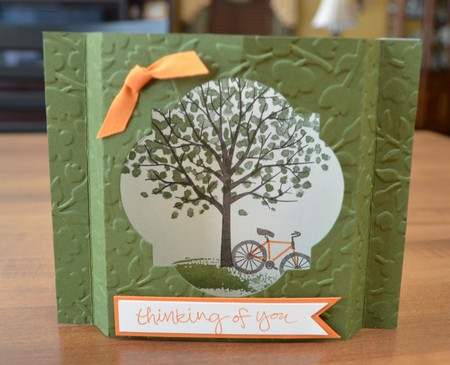
Sheltering Tree Shadowbox by Carmen McNamara

DSC_0623w

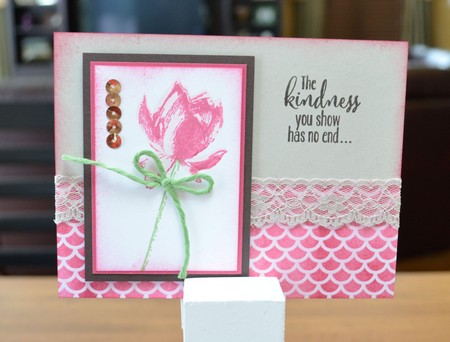
Lotus Blossom and Irresistibly Yours Specialty Designer Paper by Sheryl Wheatley

DSC_0615w

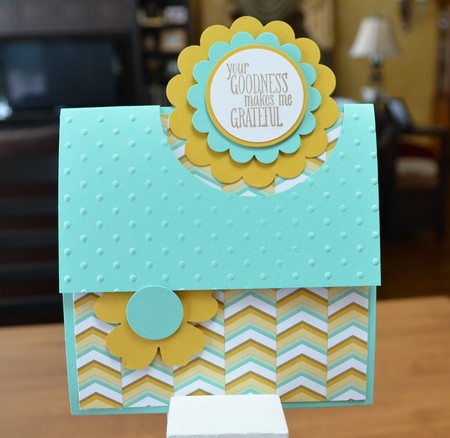
Fun Fold by Geri Grinstead

DSC_0612w

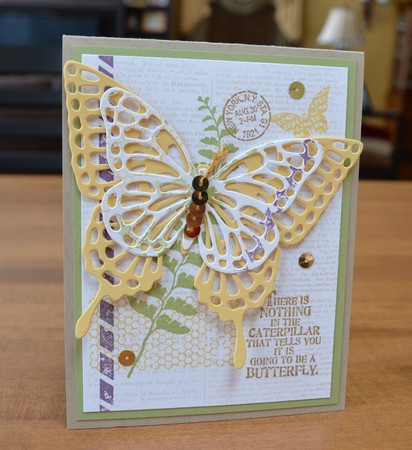
Butterfly Basics Bundle by Robin Friedeck

DSC_0613w

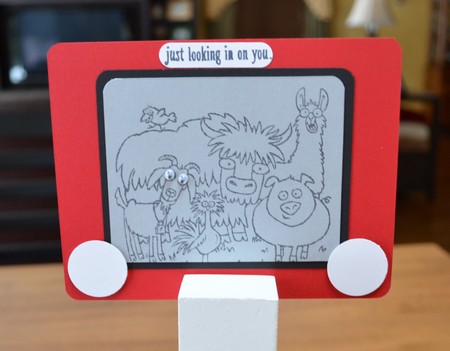
Etch a Sketch with From the Herd by Robyn Ryan

Chris_buckeye_signature_rose_final

Leadership 2015 Wrap-Up

I am running quite late today, but according to this weekend’s training that’s good – it is better to post at different times of the day.  I like to post in the morning, but from now on when I post late, I am just going to pretend I did it that way on purpose.

We were welcomed back to Canton by a winter storm late last night.  It was an intense landing.  We were descending, and then the pilot took us back up while they let the snow plows take another pass on the runways.  I guess that should have made us feel better, but it was a little unnerving.  Meanwhile, 60% of the flights headed into Cleveland (just a little northwest of us) were cancelled.  And our friends that were supposed to go through Chicago?  They stayed an extra night in Orlando.

I have been sorting through pictures today, and have a few to share…
Familytree

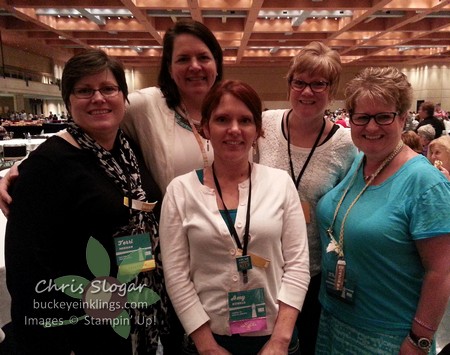
First, my Stampin’ Up! family.  Mindy Gray (in white with glasses) is my upline, and Terri Meehan (in black on left) is her upline.  Amy Kunkle (front center) and Theresa Custer (on right) signed up under me, so this picture represents four generations of Stampin’ Up!
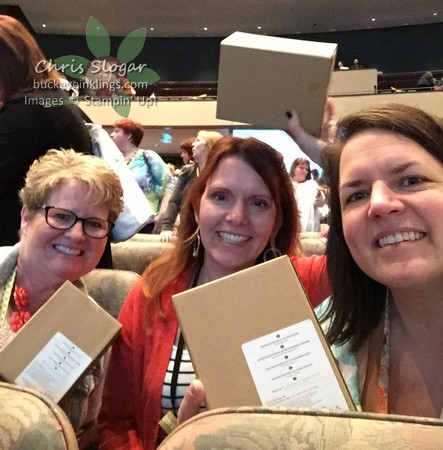
allattendee

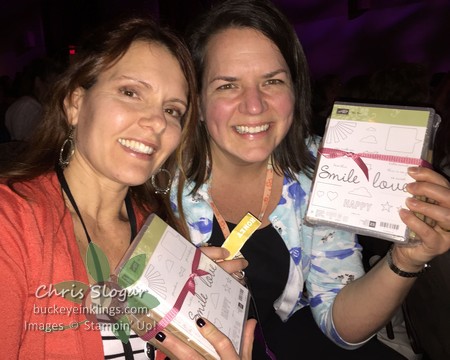
Along the way, there were giveaways…

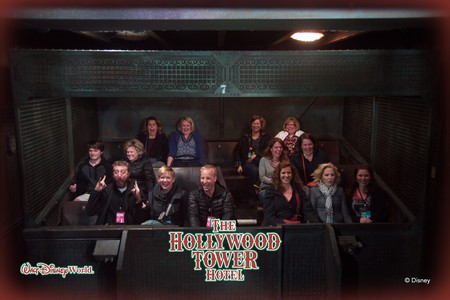
PhotoPass_Visiting_Disneys_Hollywood_Studios_7177935257(1)

…and TERROR…

prizepatrol

…and Prize Patrols.  Amy and I were lucky enough to win Friday night.
Cantongroup

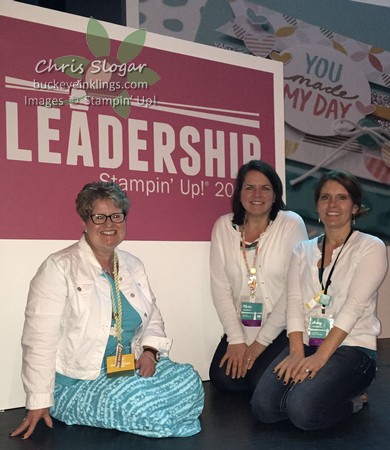
Here’s a shot of us at the close of the Conference.
loot

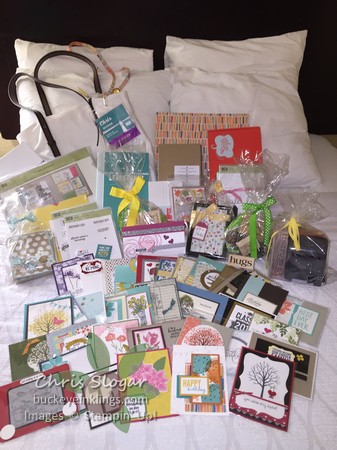
And the loot that we collected over the three days.  I will highlight a few gifts below.  If you haven’t picked up on this yet, there is a lot of giving and swapping at these events!
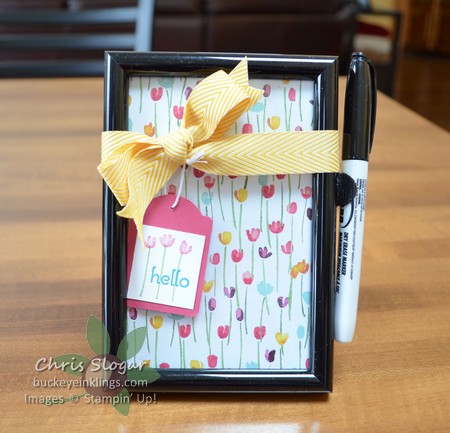
DSC_0621w

This is a dry erase picture frame created by Mindy Gray – so pretty with the Painted Blooms designer paper behind the glass.
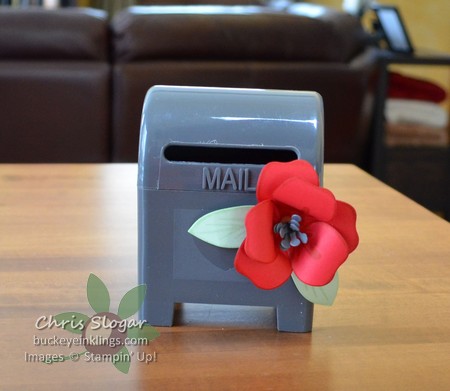
DSC_0622w

This adorable mailbox was given to me by Terri Meehan.  She used the new Bouquet Bigz die and the “Build a Bouquet” stamp set to create that beautiful flower.

I’ll show more through the week, including some swaps.  Have a great week!

Chris_buckeye_signature_rose_final
WordPress theme: Kippis 1.15