Only One Day Left of Sale-a-bration!!

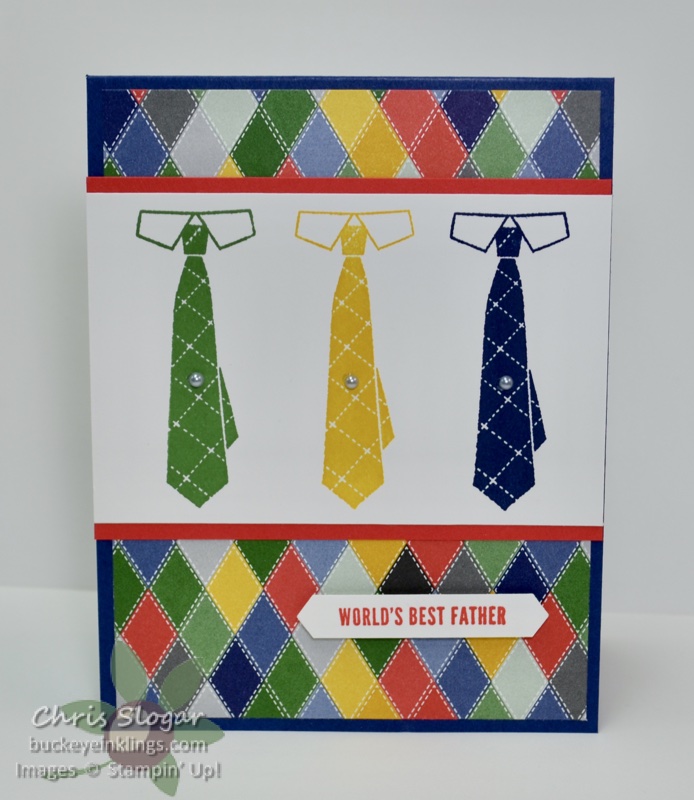
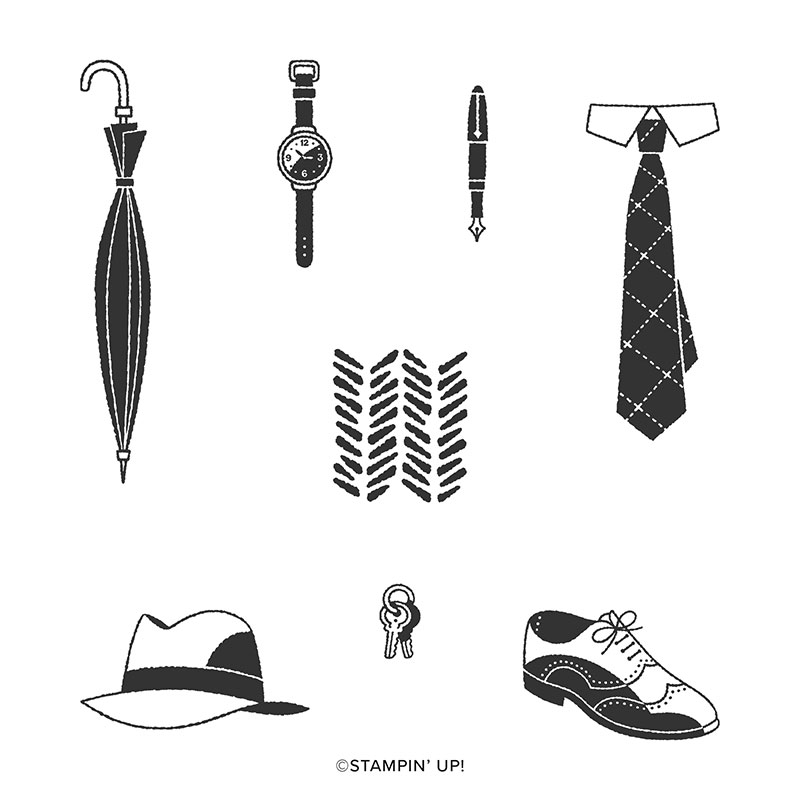
“Well Dressed” is one of the Sale-a-bration sets you can choose for free with a $50 purchase – but only through tomorrow! This is a great masculine set to have in your collection – I have paired it with a pattern from the Country Club designer series paper collection.

I stamped the ties on a 2 3/4″ x 4 1/4″ strip of Whisper White, using my Stamparatus for good alignment. Instead of using the “hinge step”, I slid the Whisper White paper 1 1/4″ between each impression.

Sale-a-bration ends tomorrow, and with it go the exclusive sets and the great Starter Kit deal. If you have a big wish list, you should consider the Starter Kit. For $99 + tax (shipping is included), you can choose $125 in product and a stamp set of any value. You will also receive a sampler pack of designer paper, a mini paper cutter, and business supplies.

There is no obligation to purchase anything beyond the Starter Kit, and never an obligation to sell. You can simply enjoy a discount on products for as long as you are active. Please email me at stampyourworld@gmail.com if you would like to discuss this further – we can set up a call, and I would be happy to answer any questions you have.

If you know you would like to join, click here to order your Starter Kit.

Chris_buckeye_signature_rose_final

Only Four Days Left of SAB!

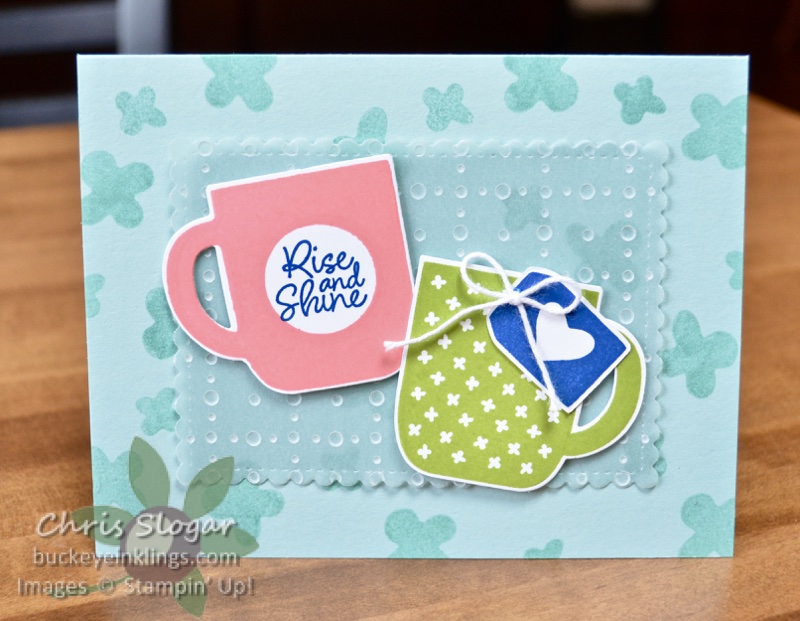
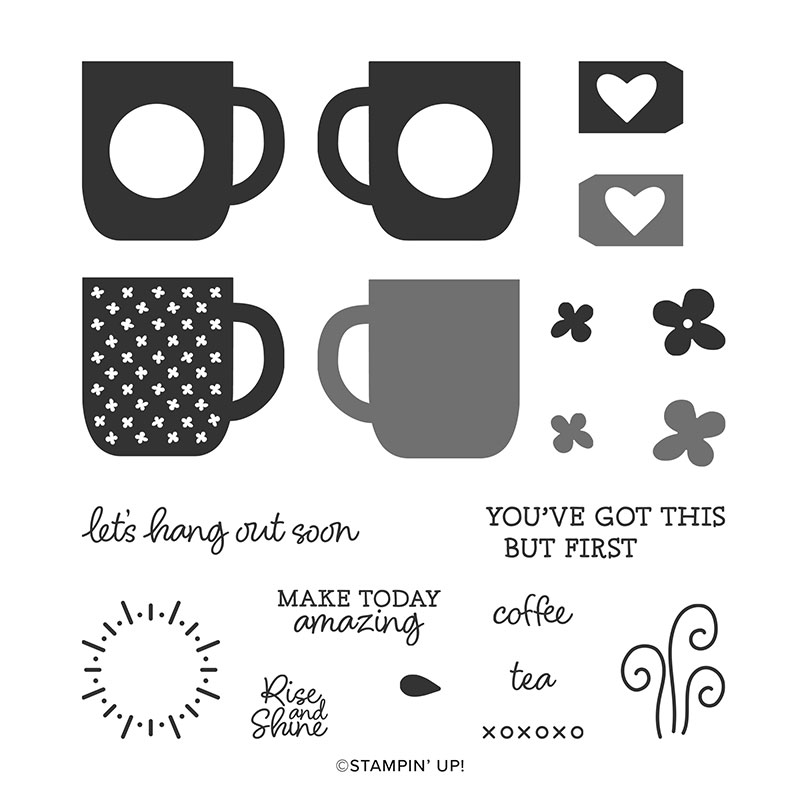
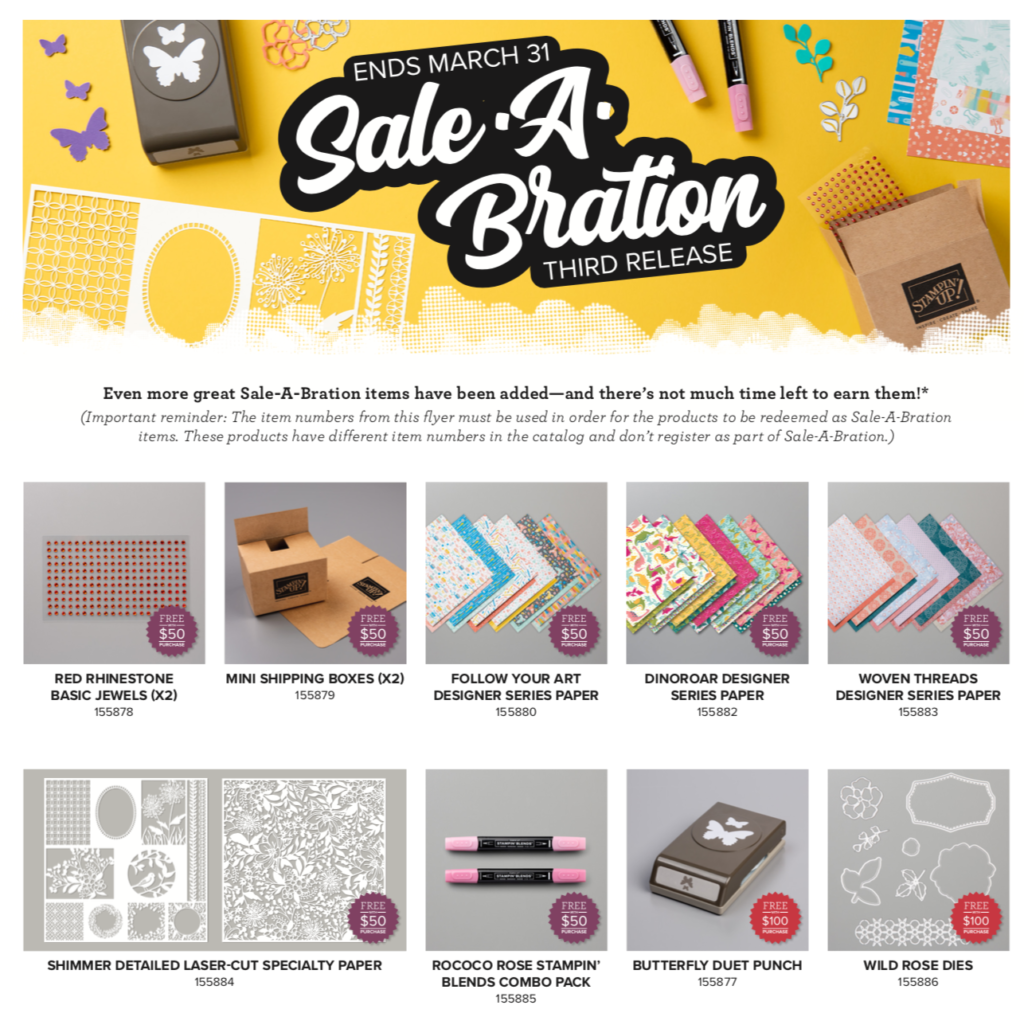
REMINDER!!! March 31 is the last day of Sale-a-bration. My recent SAB favorite, “Rise & Shine” (free with $100 purchase) was used to make this card. The colored vellum (free with $50) is also a Sale-a-bration item.

Thanks for checking out my card today! If you are shopping, please use Host Code EVQ97KBM with a minimum $35 order to receive this month’s gift, a package of Basic Adhesive Backed Sequins. Or, if you are spending $100 to get a Level 2 Sale-a-bration freebie, check out my March gift/Class To Go (pictured below).

Click here for the online store, or use the carousel below to be directed to a product used in today’s project. Thank you so much – I need your business to keep the ideas coming!

Chris_buckeye_signature_rose_final

Using Scraps

I showed several cards that use strips of cardstock or designer paper on last night’s Facebook Live. These ideas are great for using up scraps, though they are also worth cutting into full sheets of paper if you have to!

I don’t know about you, but when I have striped sheets in my designer paper packs, I tend to use them first. Stripes make a fabulous background, and when you make your own, there are so many possible color combinations!

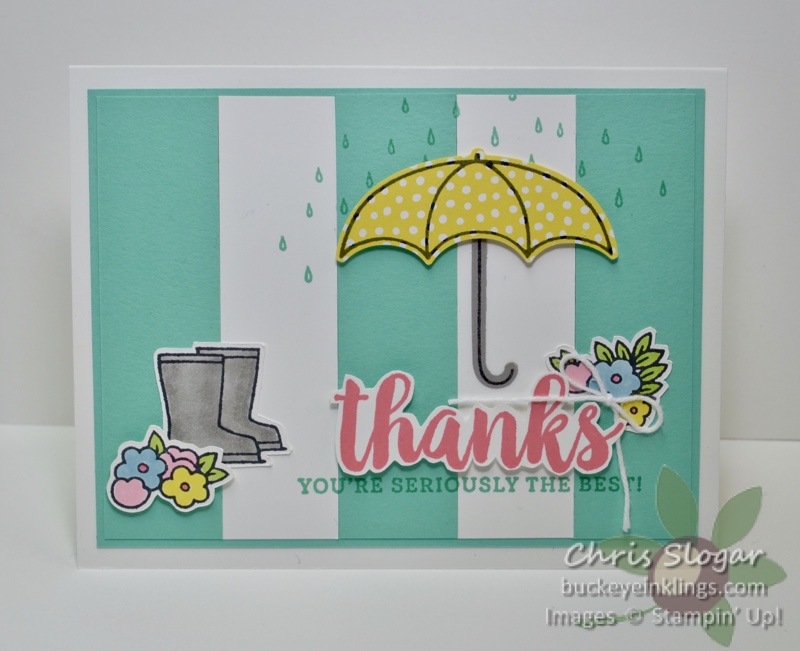
My first card uses 1″ x 3 3/4″ strips of Coastal Cabana and Whisper White matted on a 3 7/8″ x 5 1/8″ Coastal Cabana mat. The edges look perfect thanks to the mat. I assembled the strips first, and then stamped the raindrops and the Coastal Cabana portion of the greeting.

The greetings are from “Seriously the Best”, and everything else is made with the Under My Umbrella bundle.

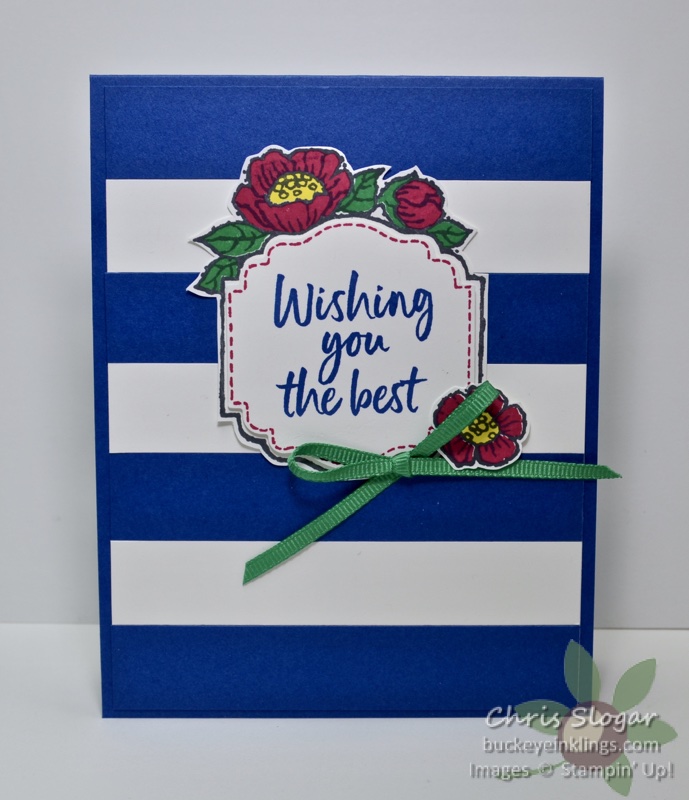
My next card uses more strips – seven 4″ x 3/4″ strips fill a height of 5 1/4″. I assembled the strips on a 4″ x 5 1/4″ mat so that I could trim the ends as necessary before attaching to the card base.

Note all of the retiring 2018-2020 In Colors on this sample. As a reminder, products associated with these In Colors are only available while supplies last. While our Annual Catalog dates extend through May, products associated with the retiring In Colors have often sold out in April. Please get any ink refills, ink pads, and cardstock that you need from this group sooner, rather than later!

The retiring colors are: Lovely Lipstick, Grapefruit Grove, Pineapple Punch, Call Me Clover, and Blueberry Bushel.

It is difficult to cut and assemble the strips to the exact calculated length. I have used a matching mat (first card) and a matching card base (second card) so that the ends blend together. You can also assemble your strips on a mat and then cut the whole mat if you need an exact size – that is what I have done in the next examples.

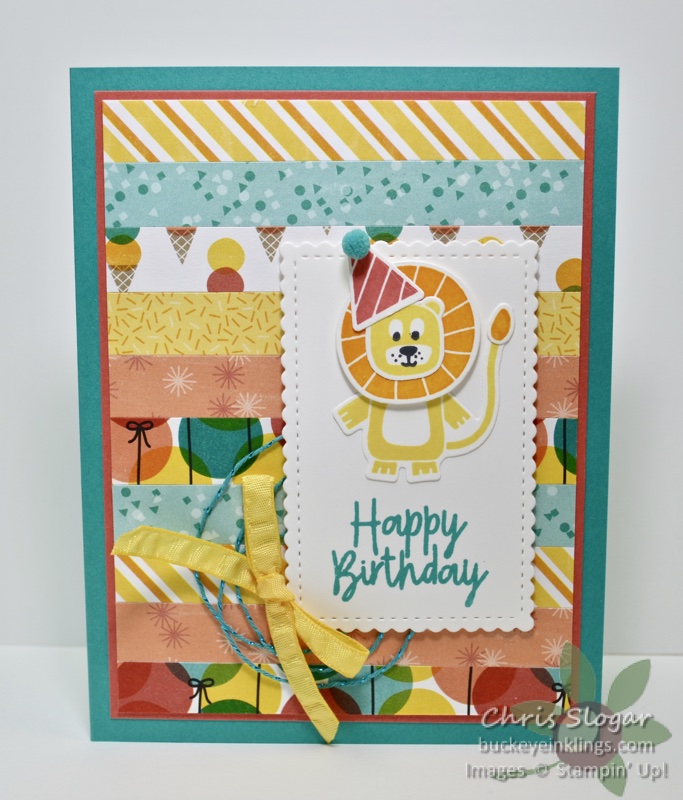
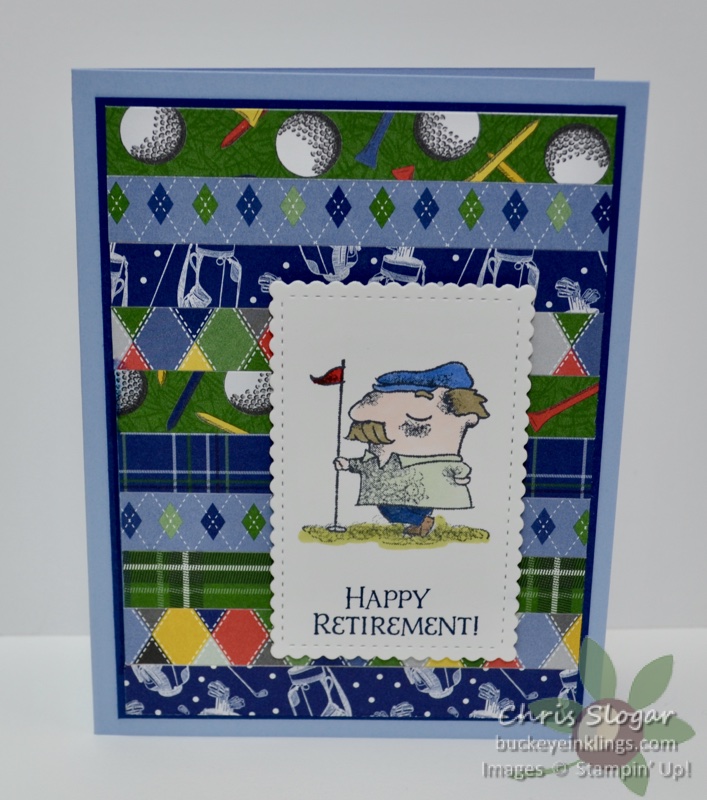
I used 1/2″ designer paper strips on my next two cards. In each case, I assembled the strips onto a 4″ 5 1/4″ piece of Whisper White cardstock, and then I cut the piece to my desired size – 3 3/4″ x 5″. I matted the piece to a 3 7/8″ x 5 1/8″ piece of cardstock in each case.

The first designer paper example uses the Birthday Bonanza Suite, and the second uses Clubhouse designer paper with stamps from “On to Adventure”.

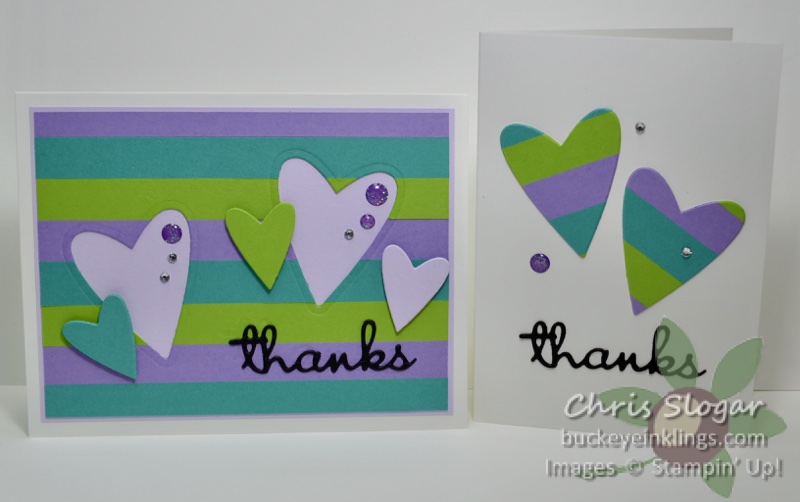
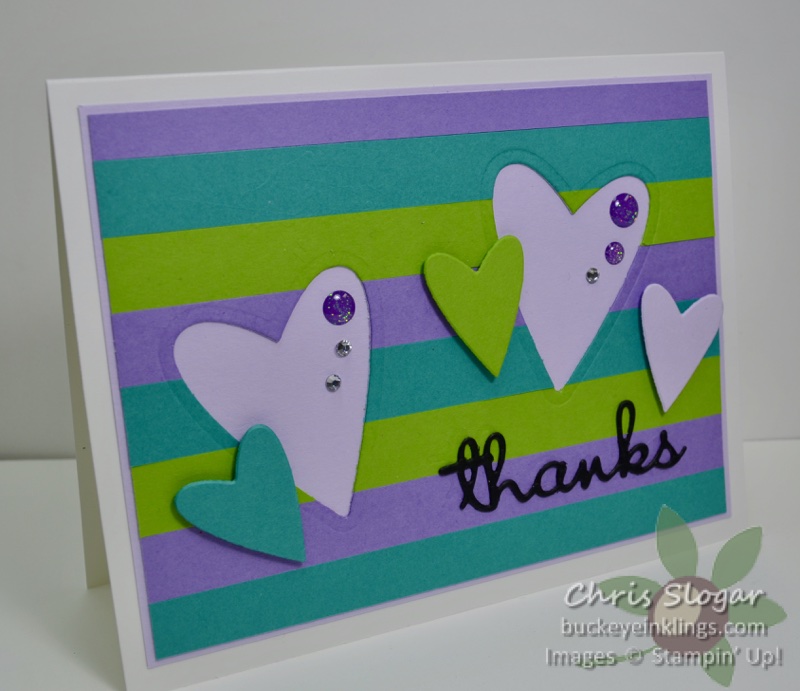
In this case, I attached 1/2″ strips of Highland Heather, Bermuda Bay, and Granny Apple Green to an oversized piece of copy paper. (I used copy paper in order to keep the thickness down.) I cut the piece down to 3 3/4″ x 5″, and then I then cut the two large hearts from the piece with a die from the Be Mine Stitched collection.

Note that the Purple Posy piece (the lighter purple) is a mat behind the striped piece with heart openings. It measures 3 7/8″ x 5 1/8″. The three smaller hearts are on dimensionals on top of the striped piece.

I used the striped hearts on the note card. The greeting on each card is from the Well Written dies.

This post is meant to supplement last night’s Facebook Live video – click here to see the video.

Thanks for checking out my projects today! If you are shopping, please use Host Code EVQ97KBM with a minimum $35 order to receive this month’s gift, a package of Basic Adhesive Backed Sequins. Or, if you are spending $100 to get some of those fabulous new Sale-a-bration freebies, check out my March gift/Class To Go (pictured below).

Click here for the online store, or use the carousel below to be directed to a product used in today’s project. Thank you so much – I need your business to keep the ideas coming!

Chris_buckeye_signature_rose_final

No Matter the Weather

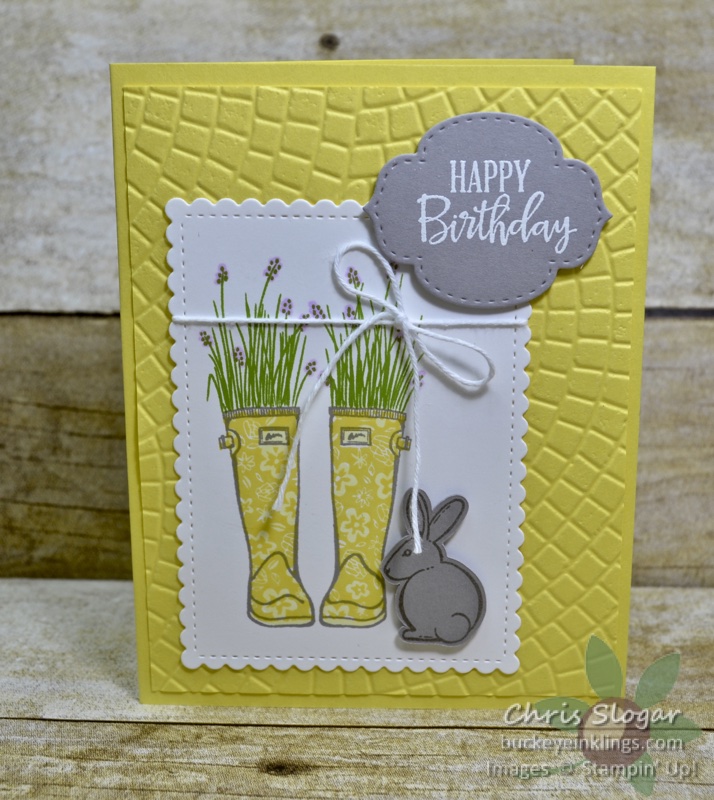
Each year, the March Paper Pumpkin kit marks the anniversary of our subscription service, and it typically includes an extra gift. This year was no different – and we received a beautiful stamp set as our gift. I used the stamps on today’s cards with various greetings from my collection.

The boots are a multi-step stamp. I stamped the outline in Gray Granite and the floral fill-in stamp in Balmy Blue. Then I colored in the soles and negative parts of the floral pattern with my Light Balmy Blue Blend. I added the greenery with Granny Apple Green, and I touched some color onto the ends with my Dark Pineapple Punch blend. The greeting is from “Itty Bitty Birthdays”.

The greeting on my Flirty Flamingo card is from “So Sentimental”.

The greeting here on my Pineapple Punch card is from “Peaceful Moments”.

I hope you had a great weekend, maybe with some extra crafting since we are all encouraged to stay home. My state’s Stay-At-Home orders start at midnight tonight, though I have already been living that way, for the most part. “Stay home and craft” is the best advice I can give!

Have a great Monday!

Chris_buckeye_signature_rose_final

Rise & Shine Fun Folds

I made these two fun folds on Facebook Live this week. Since the Live was a little rambling and disjointed (and since I have more time on my hands these days), I decided to film a clean video of each project for YouTube.

Ha! I did need a lot of time with the problems I ran into – just one thing after another! Went to bed last night with fingers crossed that the videos would load, and found them in the right place this morning, already getting views.

So…I am sorry for the delay on getting the details to you this week! On the plus side, I am resolving some storage issues on my laptop – and I passed an entire day 🙂

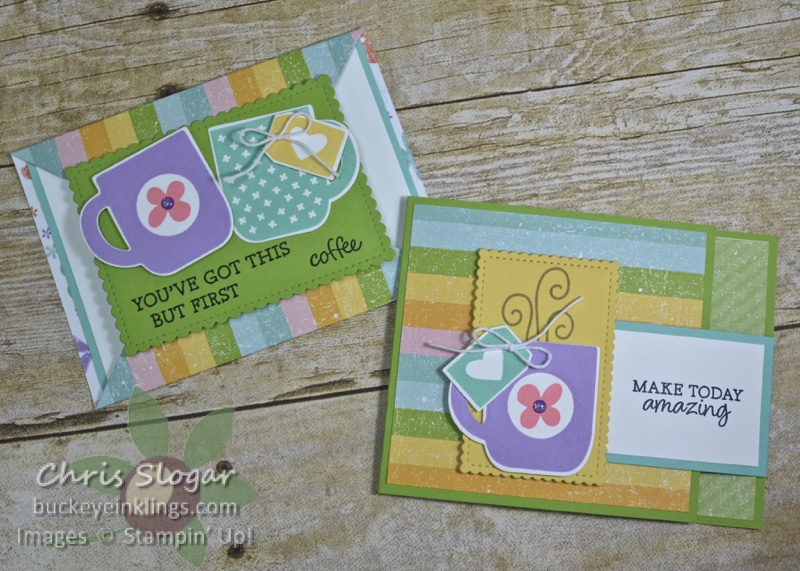
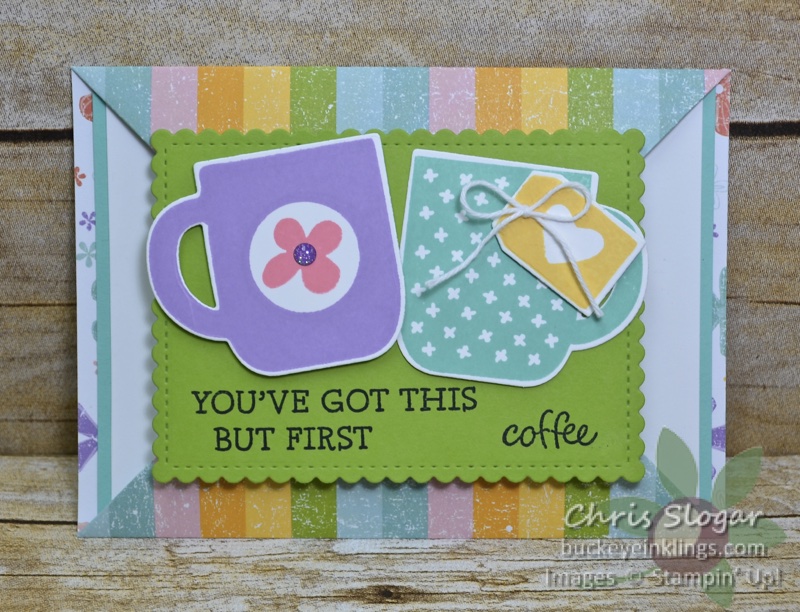
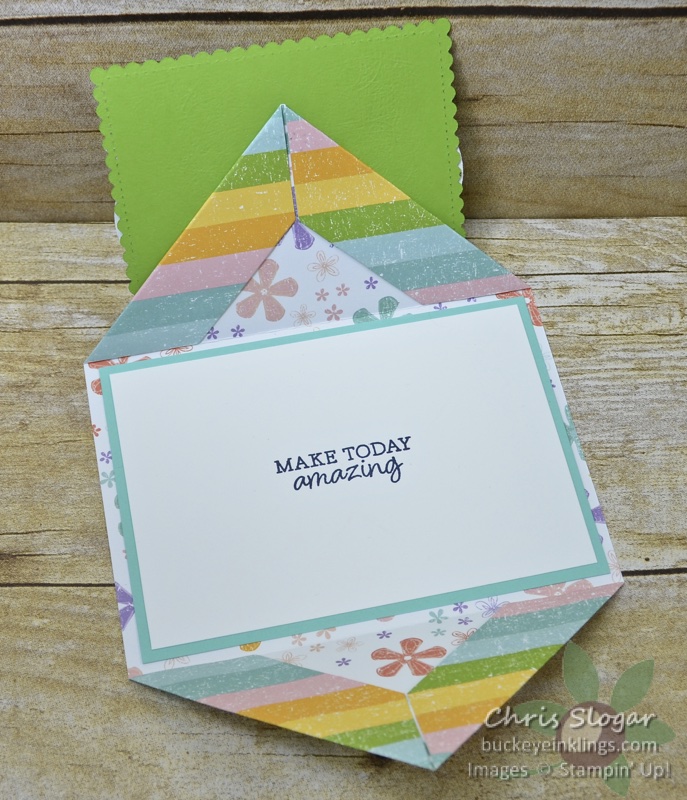
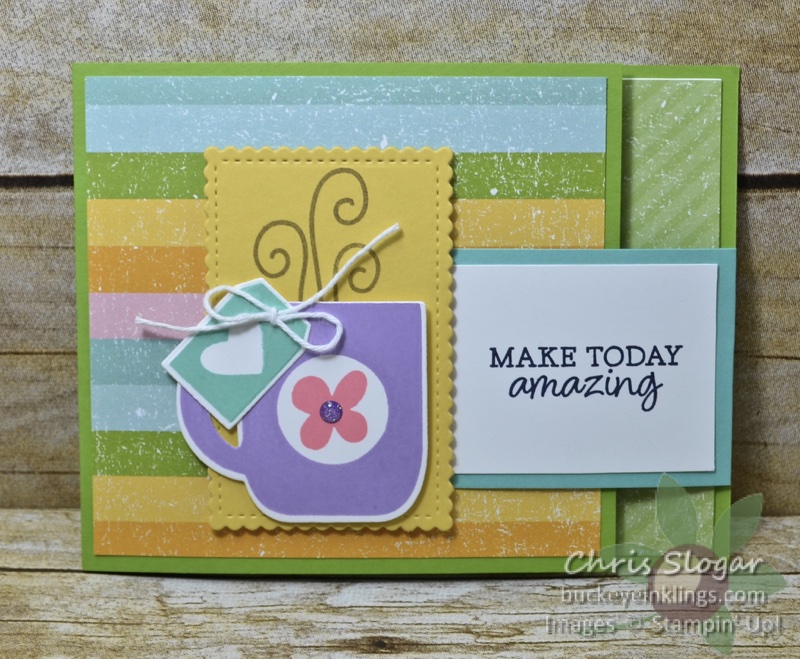
I am calling this a Pointed Flap Gate Fold. It was inspired by the pointed flap cards that gained popularity last year. (Click here to see that post). Today’s version is not made the same way, though. In this case, I used the designer paper as the card base.

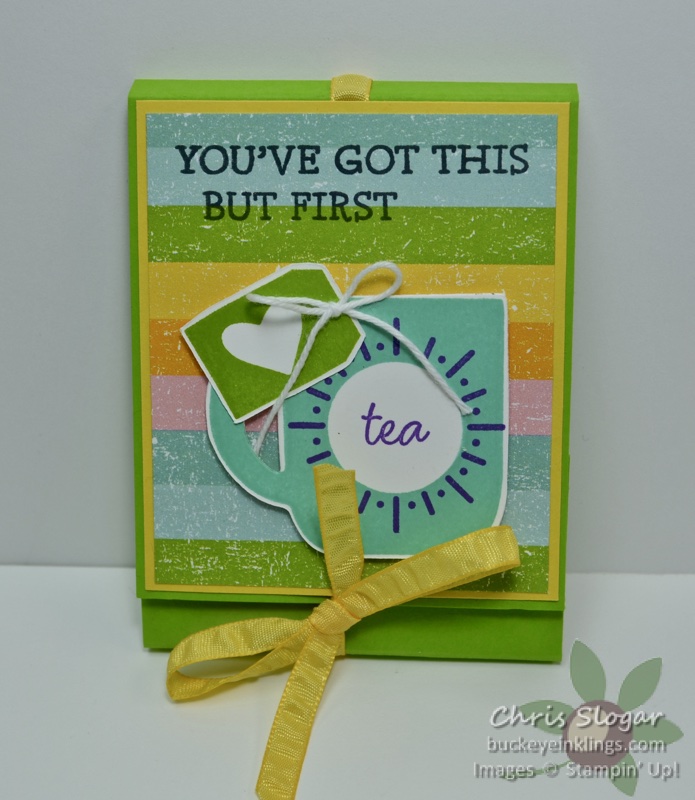
The front panel is made from the largest stitched, scalloped rectangle from the Stitched So Sweetly dies. The mugs are from the Sale-a-bration set Rise & Shine. This cheery paper is from the Coordination Product Release, and it is called Pleased as Punch.

The designer paper measures 5 1/2″ x 9 1/2″, scored at 2 3/4″ and 6 3/4″. You can make this card landscape (as I have) or portrait; just watch the direction of any prints you have on the designer paper.

The Coastal Cabana mat measures 3 3/4″ x 5 1/4″ and the Whisper White measures 3 1/2″ x 5″. Complete instructions are in the video below. If you are receiving this post in an email, click here for the video.

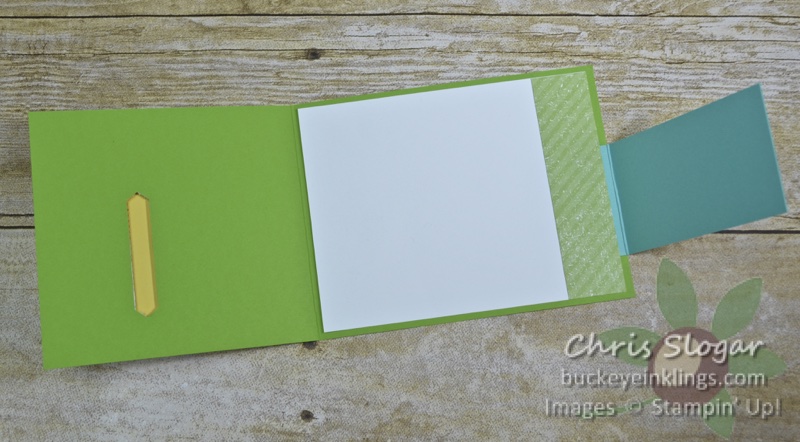
My second card this week is this Buckle Card, made with the same papers and stamp set. We have made cards exactly like this before – click here for more examples. If you like this card type, definitely check out the link for more examples – in December we made this style card in portrait and landscape.

There is a hidden slot, punched with the Classic Label Punch, for the strap piece.

The Granny Apple Green card base measures 4 1/4″ x 10″, scored at 5 1/2″. The designer paper pieces measure 4 1/4″ x 4″ and 1″ x 4″. The Whisper White insert piece measures 4″ x 5 1/4″.

The Coastal Cabana strip measures 2″ x 4 1/4″, scored at 1″). The Whisper White measures 1 3/4″ x 2 1/2″.

Complete instructions are shown in the video below. If you are receiving this post in an email, click here for the video.

I hope you are all staying home, staying well and crafting! If you need anything, please click here for the online store, or use the carousel below to find items used in today’s projects. Have a great day!

Chris_buckeye_signature_rose_final

Soft Colors

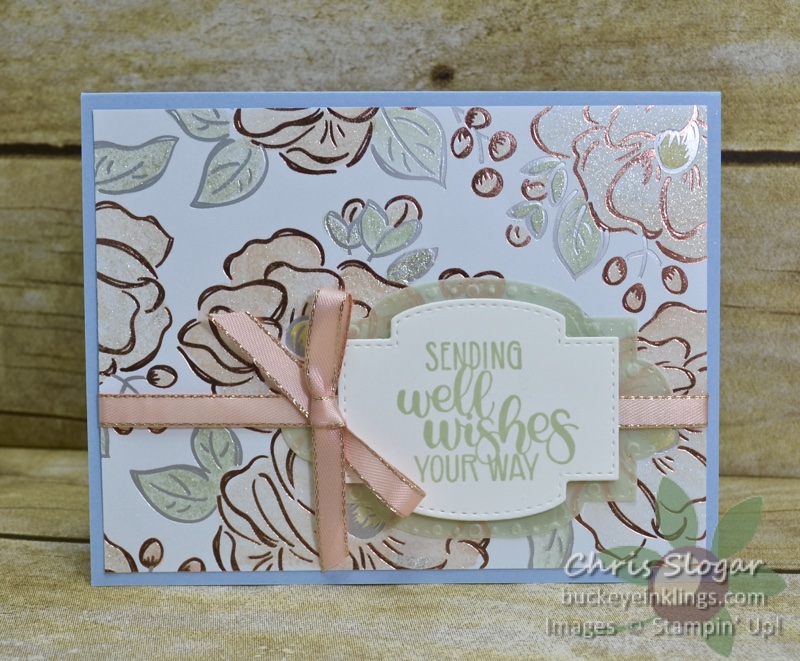
Pastels aren’t always my first choice, but our great new Sale-a-bration items make me want to break out the soft colors. I colored the flowers on the specialty paper (Flowering Foils) with a mixture of Wink of Stella and drops of ink – Petal Pink, Soft Seafoam and So Saffron – for a beautiful, shimmery background.

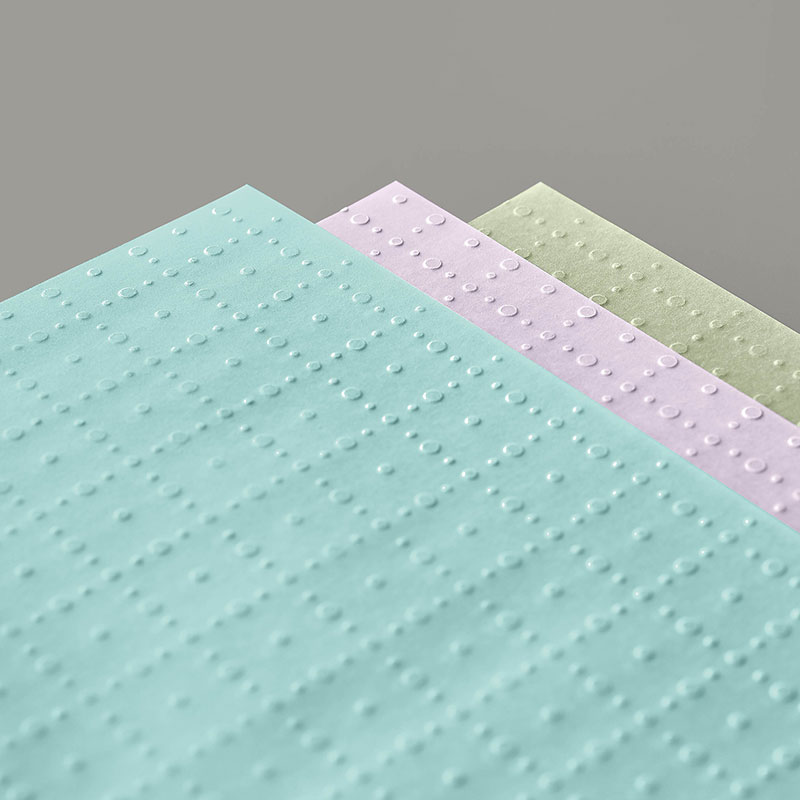
I added a touch of our new colored vellum, too. This vellum comes in three pastels – Soft Seafoam, Purple Posy and Pool Party. It is available for free with a $50 purchase while supplies last.

Thanks for checking out my card today! If you need any of our wonderful products, please click here for the online store, or use the carousel below to be directed to a product used on today’s project.

Spend $35 with Host Code EVQ97KBM for this month’s gift, a package of Basic Adhesive-Backed Sequins. Or click here for details about my special gift for March – the materials to make the Stamp Case Gift Set shown below.

Chris_buckeye_signature_rose_final

Tags in Bloom

Well, this is an understatement in these anxious times. Most of all, I hope you are all well, and stay well!

You may have more unscheduled time now, and you may need a little getaway from the news – I encourage you to make a card, and send it! We can all think of somebody who is isolated and lonely right now, or somebody who could use some happy mail – and the therapeutic benefit of crafting is an added benefit to you.

Have a good day!

Chris_buckeye_signature_rose_final

Flowering Foils Specialty Designer Paper

You can choose to receive Flowering Foils Specialty Designer Series Paper for free with a $50 this month (while supplies last). The beautiful designs are foil-embossed in rose gold and silver, and they can be colored.

Last night on Facebook Live, I showed a few methods of coloring these papers. Flowering Foils lend themselves to projects that look fancy and special, without a lot of work! They are also a bit difficult to photograph, but I did my best…

I touched color onto the paper used on these cards with sponge daubers. You cannot “color in the lines” with sponge daubers, but you can get a beautiful effect that is quick and carefree. The greetings are from “Peaceful Moments”.

I used a sponge brayer with Night of Navy ink to color this background. The greeting is from “So Sentimental”.

I used the negative of one of the Stitched So Sweetly die cuts as a stencil, allowing me to make the darker shape behind the greeting. I used the sponge brayer on this shape first, and then I added color to the entire piece of designer paper.

This card reminds me… I advise you to have a paper towel or tissue handy when working with the foils. The foil designs resist ink, and ink can collect on the foil. You will want to wipe over the pattern to remove excess ink and reveal the shine of the foil. In the absence of a paper towel, I used my navy blue sweater sleeve in the video, but I do not recommend this 🙂

The designer paper on this card is also colored with sponge brayers – in Pineapple Punch, Grapefruit Grove, and Lovely Lipstick. The greeting is from “Layered with Kindness”.

I colored these backgrounds with my Stampin’ Blends, Light Purple Posy and Dark Seaside Spray. It looks like a lot of tedious coloring, but it goes quite quickly – and coloring is very relaxing!

The greetings are from “Happy Birthday To You” and “Peaceful Moments”. That fabulous die-cut trim piece is from the Lily Pad Dies.

I’d say that these papers give a lot of bang for your buck, but that’s not really appropriate since they are free! Please keep in mind that they are only available while supplies last.

This post is meant to supplement last night’s Facebook Live video – click here to see the video.

Thanks for checking out my projects today! If you are shopping, please use Host Code EVQ97KBM with a minimum $35 order to receive this month’s gift, a package of Basic Adhesive Backed Sequins. Or, if you are spending $100 to get some of those fabulous new Sale-a-bration freebies, check out my March gift/Class To Go (pictured below).

Click here for the online store, or use the carousel below to be directed to a product used in today’s project. Thank you so much – I need your business to keep the ideas coming!

Chris_buckeye_signature_rose_final

Rise & Shine

One of the new Sale-a-bration items for March is the Rise & Shine stamp set (shown below) that coordinates with the Cup of Cheer dies from the 2019 Holiday Catalog. These dies are currently available (Item 151150, $30).

So many cute images and greetings here! You can choose to receive this set for FREE with a $100 purchase.

Thanks for checking out my card today! If you need any of our wonderful products, please click here for the online store, or use the carousel below to be directed to a product used on today’s project.

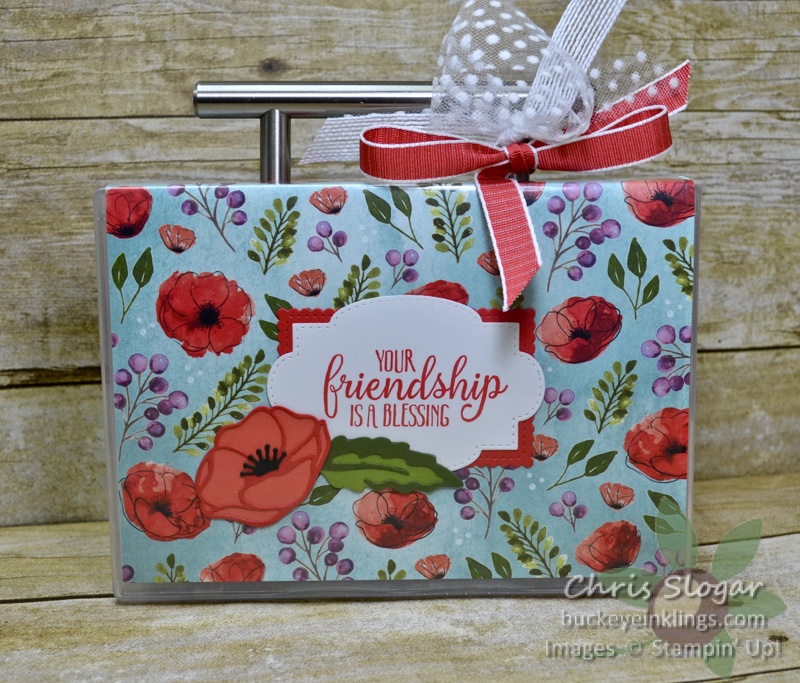
Spend $35 with Host Code EVQ97KBM for this month’s gift, a package of Basic Adhesive-Backed Sequins. Or click here for details about my special gift for March – the materials to make the Stamp Case Gift Set shown below.

Chris_buckeye_signature_rose_final
WordPress theme: Kippis 1.15