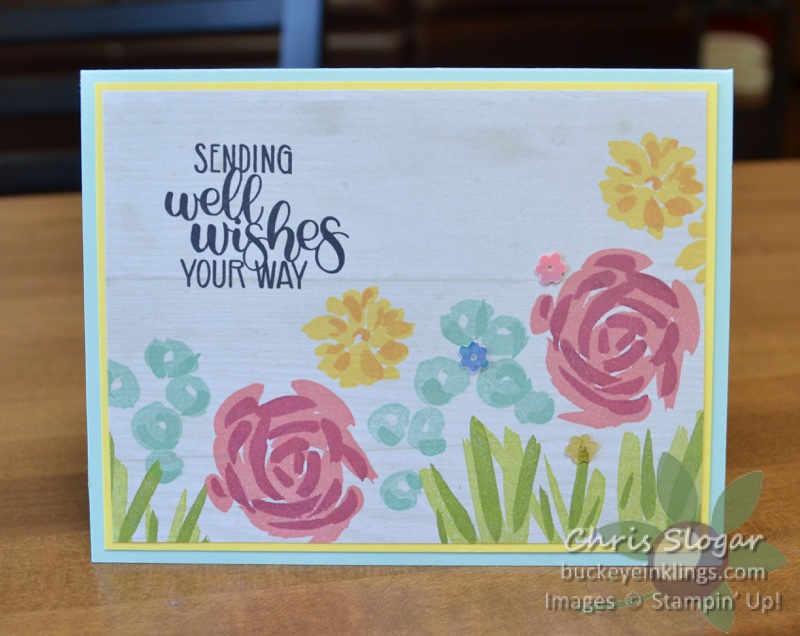
Last night’s Facebook Live was all about using designer paper – especially the neglected sheets from your collections! I started with this beautiful wood grain from the Floral Romance Specialty collection. Of course, we were wild about the vellum sheets in this collection, but this really subtle printed sheet is great for stamping.
I used “Abstract Impressions” and a bunch of bright colors here – Flirty Flamingo, Lovely Lipstick, Pool Party, Coastal Cabana, Lemon Lime Twist, Granny Apple Green, Pineapple Punch, and Mango Melody. When compared to stamping on Whisper White, these colors are slightly subdued here, but still show up very nicely.
The designer paper measures 3 7/8″ x 5 1/8″ in this and the next example, and the mats (Pineapple Punch and Whisper White) measure 4″ x 5 1/4″.
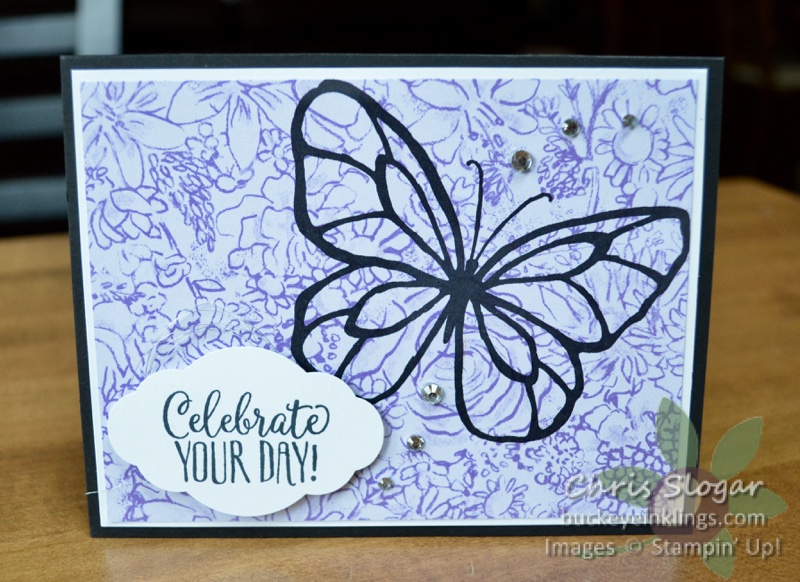
Here’s an even easier example. I used the big bold butterfly from “Beautiful Day” on this designer paper from the Butterfly Gala collection. The greeting here is from “Hello Cupcake”.
To produce a really opaque black image on a printed sheet, I recommend Archival Black or StazOn Black. I also recommend using the Stamparatus or Stamp-a-ma-jig when stamping these images so that you can easily stamp multiple times to get a really dark image.
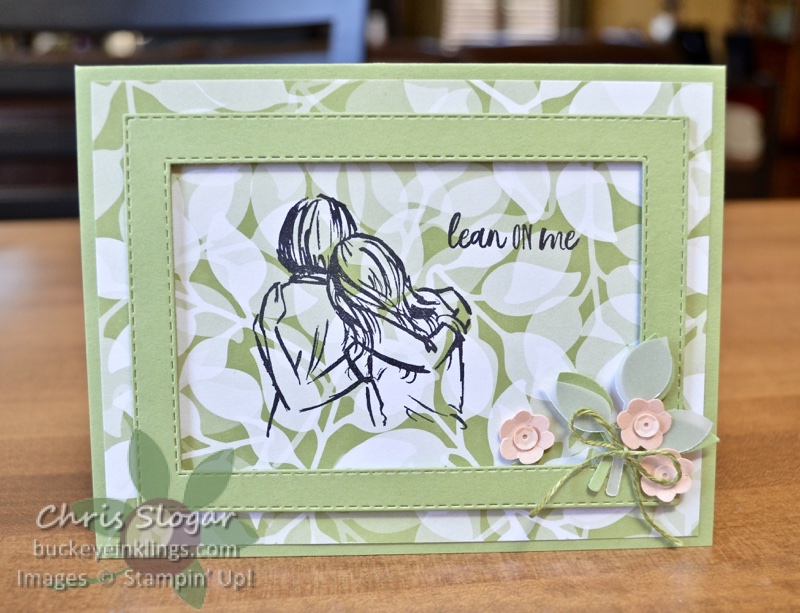
This is another of the printed sheets from the Floral Romance collection. I framed an image from “Artfully Aware” with the Stitched Rectangle Framelits. This is simple, but I think the end result is really sweet.
The designer paper measures 4″ x 5 1/4″ on this card and in the following samples.
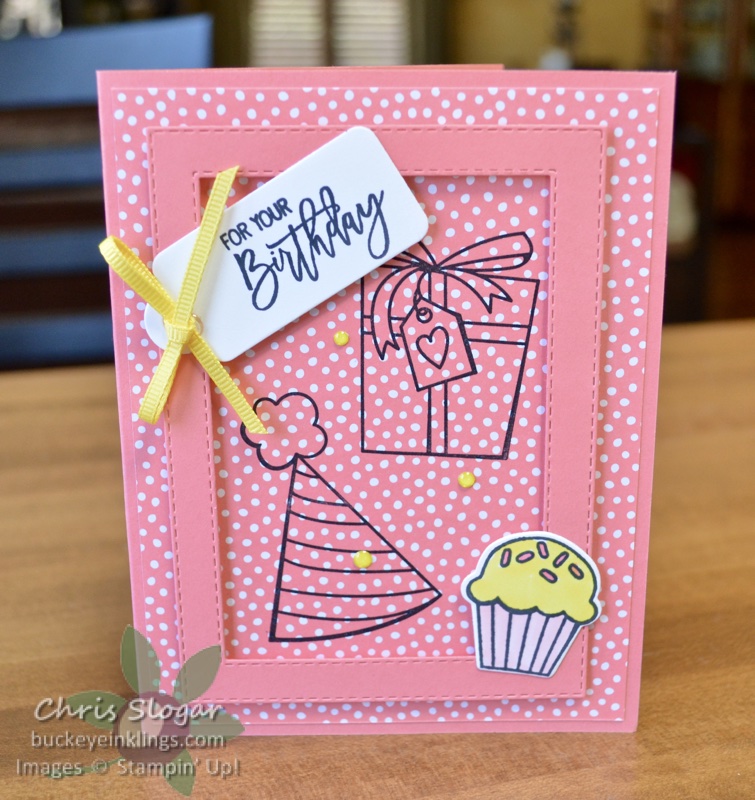
This is similar to the previous example, but made with brights and “Birthday Cheer”. This bundle is expected to sell out before the end of the Occasions Catalog, so don’t hesitate if you want it!
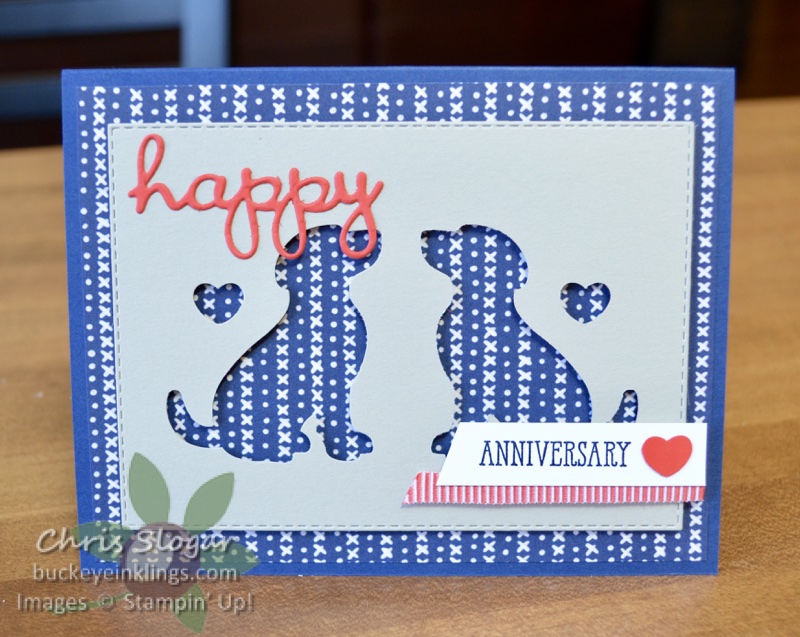
Finally, we used designer paper (Needlepoint Nook) to highlight negative space – in this case from the Dog Builder Punch. The greeting is from the Well Said Bundle. There are so many great greeting options in this bundle. A second version of this card is shown below.
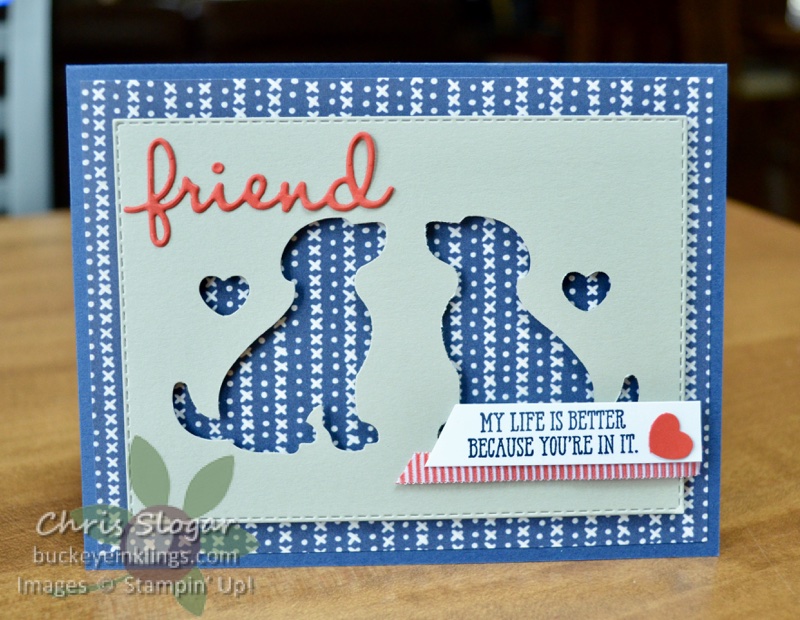
You can also use the negative space from your dies for this same effect.
I hope these projects inpsire you to get creative with your designer papers, stamps, punches and dies. This post is meant as a supplement to last night’s Facebook Live – click here to see the full video.
Thanks so much for checking out my cards! I would love to keep bringing you ideas for free on my site, but I need your help! Please click here to shop, or use the carousel below to be directed to an item used on today’s projects. (Since there are so many projects today, I am only listing the stamp sets and tools in the carousel. Please don’t hesitate to contact me at stampyourworld@gmail.com if you have questions about any of the other products.)
Place an order over $35 with this month’s Hostess Code and you will receive a Simply Shammy and a handmade card from me as a thank you! Orders over $50 are also eligible for a free Sale-a-bration item and a Buckeye Point in my Loyalty Rewards Program. I appreciate your orders!
