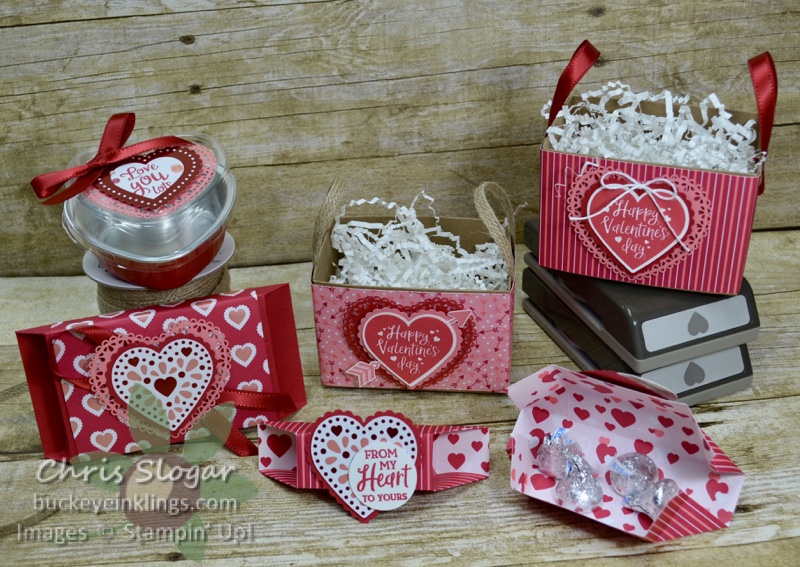
Last night on Facebook Live, I showed a collection of projects made with the From My Heart Suite. Thanks to the beautiful specialty designer paper and coordinating Heart Punch Pack in this suite, these projects are so easy!!
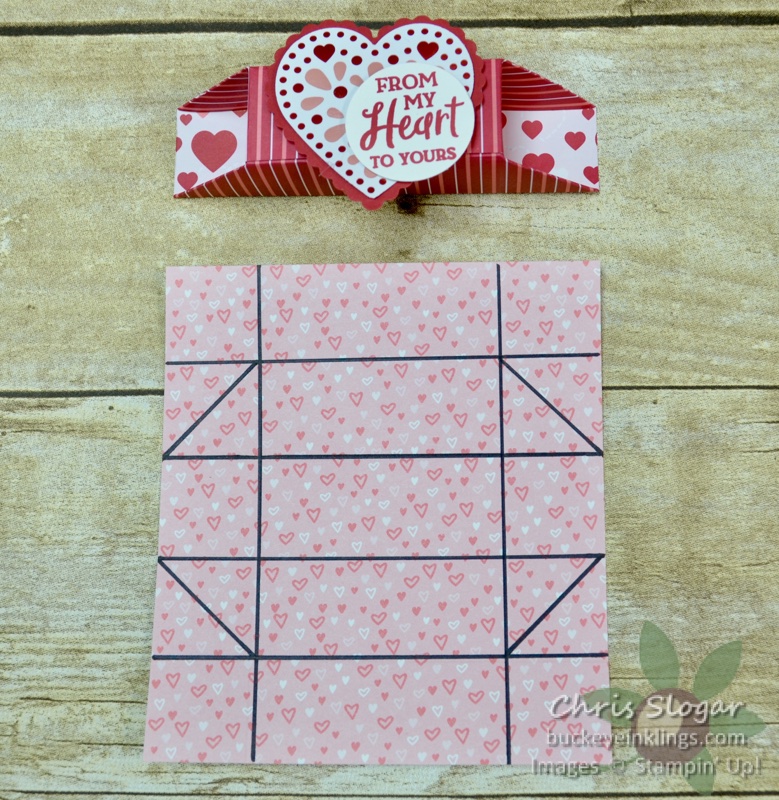
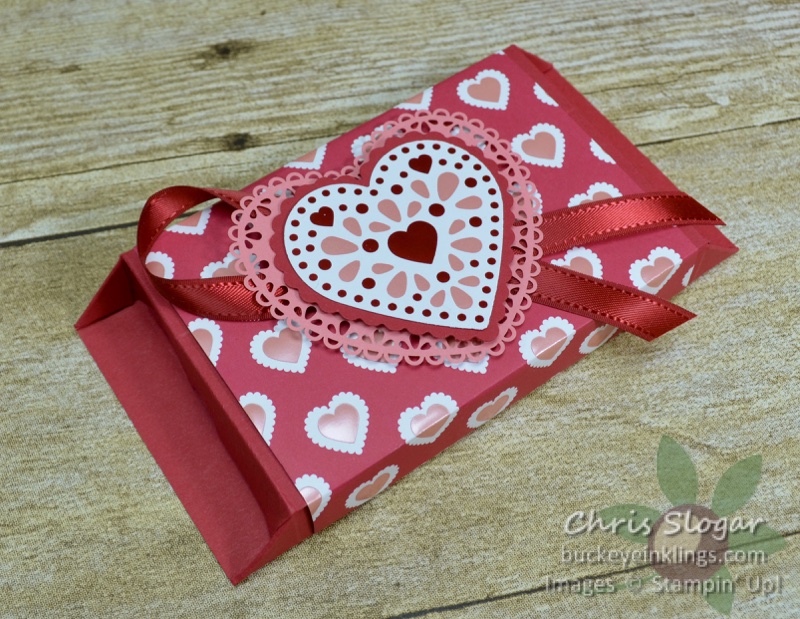
This simple no-adhesive tube was the first project. It starts as a 4 1/2″ x 5″ rectangle of designer paper (last year’s dsp shown with score markings). It is scored on the 4 1/2″ side at 1″ and 3 1/2″. It is scored on the 5″ side at 1″, 2″, 3″, and 4″. Four diagonal scores are added as shown in the above picture.
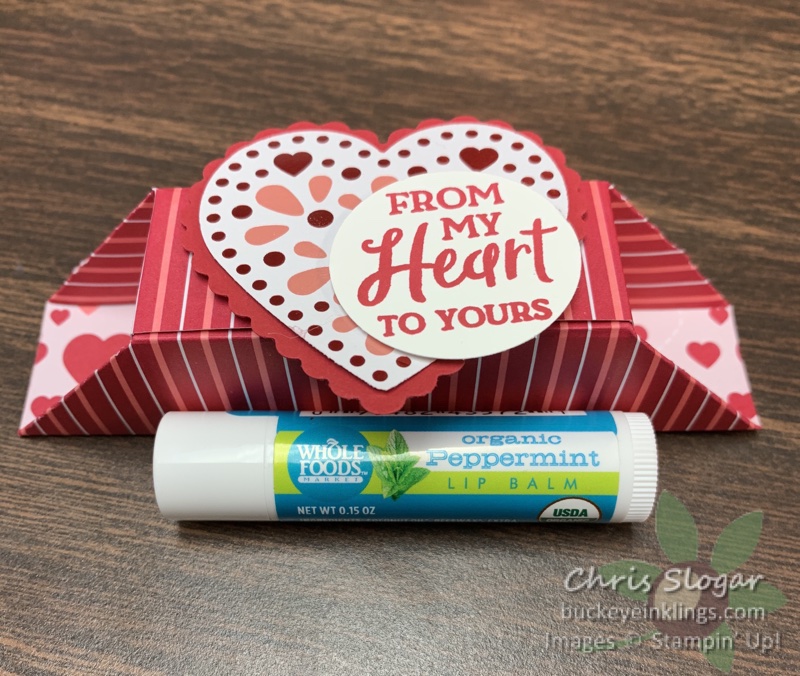
My version holds four Hershey kisses, and we were discussing whether a lip balm would fit. As I suspected, the version I made last night is a bit too short for a lip balm, but it could easily be modified. To lengthen it 1/2″, simply start with a 5″ square of designer paper. Score at 1″ and 4″ on one side and at 1″, 2″, 3″, and 4″ (same as my original version) on the other side.
The end treatment on this box is really the focus of the technique here – and you can use this end treatment on different shapes and sizes. I showed how to apply the same idea to a full size Kit Kat bar.
I determined the dimensions from the size of the Kit Kat bar – it would fill a 4 1/4″ x 2 3/4″ x 5/8″ space.
The key to the end treatment on these tubes is to make the height match the distance to the score line at each end. With that in mind, I planned the first Real Red cardstock dimension to be 4 1/4″ + 5/8″ + 5/8″ = 5 1/2″. The 5 1/2″ dimension is therefore scored at 5/8″ and 4 7/8″.
In the interest of efficiency, I made the other dimension 8 1/2″, so that two of these could be cut from one sheet of cardstock. I scored the 8 1/2″ dimension at 2 3/4″, 3 3/8″, 6 1/8″ and 6 3/4″. While this doesn’t create a full overlap over the top, it works just fine.
I added a 4″ x 8″ designer paper wrap (scored at 2 1/8″, 2 3/4″, 5 1/2, and 6 1/8″) and some quick embellishments to finish.
This is a very adaptable idea for other shapes and sizes. You can simply modify the lengths, as for the lip balm, or change the shape completely.
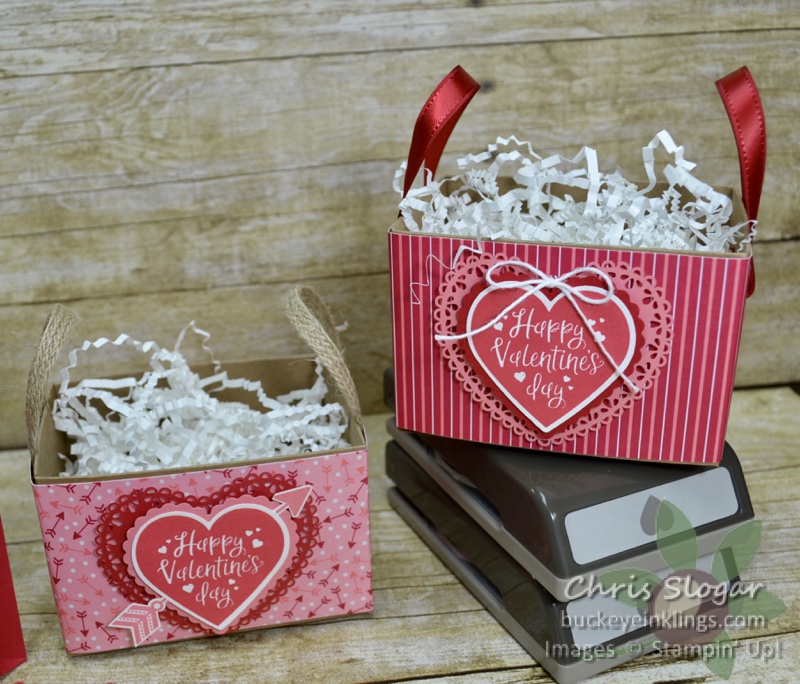
Our Shipping Boxes from the Annual Catalog are the base of my final project. The flaps are pushed in at the open end of the box, and they are covered with two pieces of designer paper – 2 1/2″ x 12″ and 2 1/2″ x 4″.
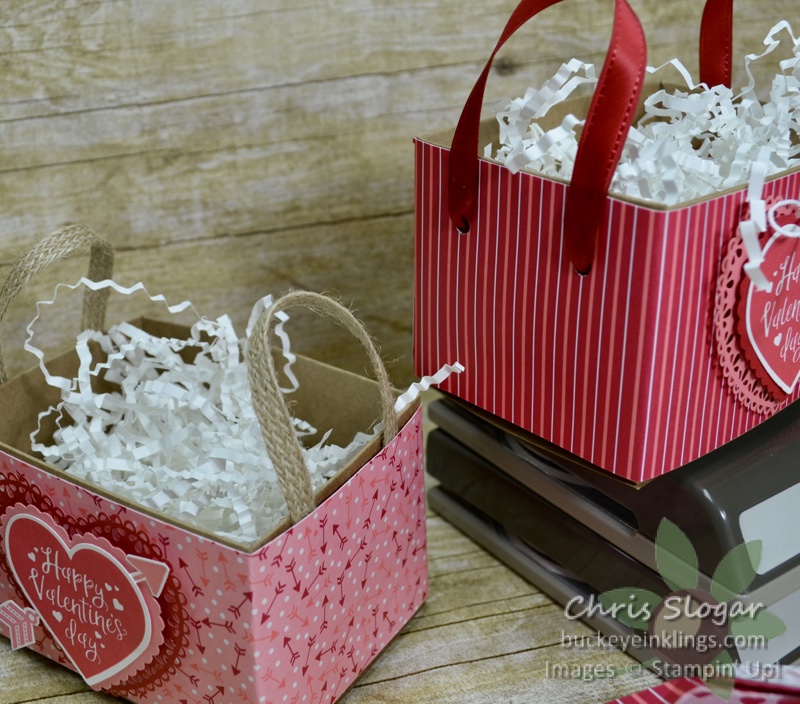
I used ribbon for both of my samples, but you could also make cardstock handles. On the left, I stapled 6″ lengths of Braided Burlap trim onto the ends of the box before securing the flaps to the inside of the box. Each staple is covered on the inside of the box by the flap, and on the outside of the box by the designer paper.
On the right, I secured the flaps and decorated the box first. Then I punched holes for the ribbon handles, and I knotted each end of ribbon inside the box.
Again, the embellishments for these projects are a piece of cake thanks to the products in this suite. The Heart Punch Pack is a sure “keeper” for me. I may need to stock up on some extra doilies and paper, too. They make these projects come together so easily!
This post is meant as a supplement to last night’s Facebook Live – click here for the video. Please join the Buckeye Inklings Stampers Group on Facebook to get notifications of my posts and live videos.
Thanks so much for checking out my projects today. I would love to continue to bring you projects for free on my site, but I need your help! If you need any of our fabulous products, please click here for the online store, or use the carousel below to be directed to an item used in today’s projects.
Use Host Code CKXQFRFG with a minimum $35 order to receive this month’s gift, a package of Champagne Rhinestones. This is my way of sharing Stampin’ Rewards with you!
