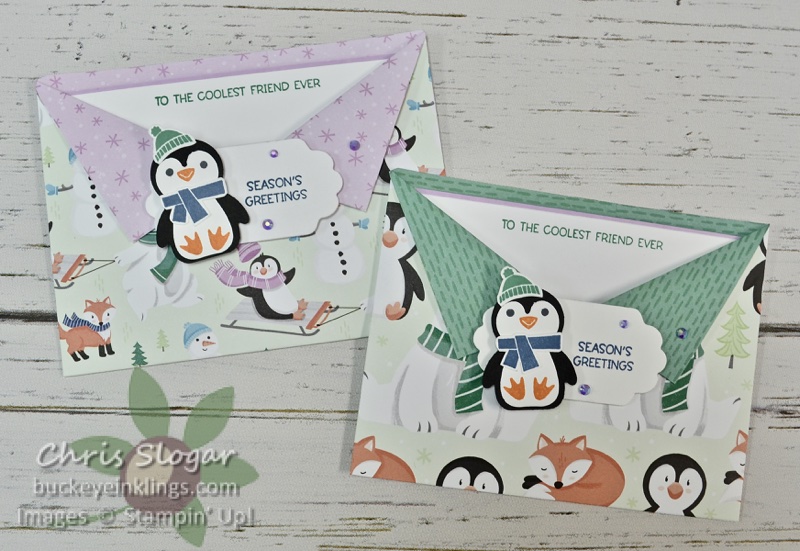
I made these very simple pocket cards last night on Facebook Live. Sale-a-bration is a great time to present projects that are heavy on designer paper since we are getting it for free! How lucky that we have a Sale-a-bration that offers holiday paper this year. The Penguin Playmates collection shown here is one of the “Free with $50” choices.
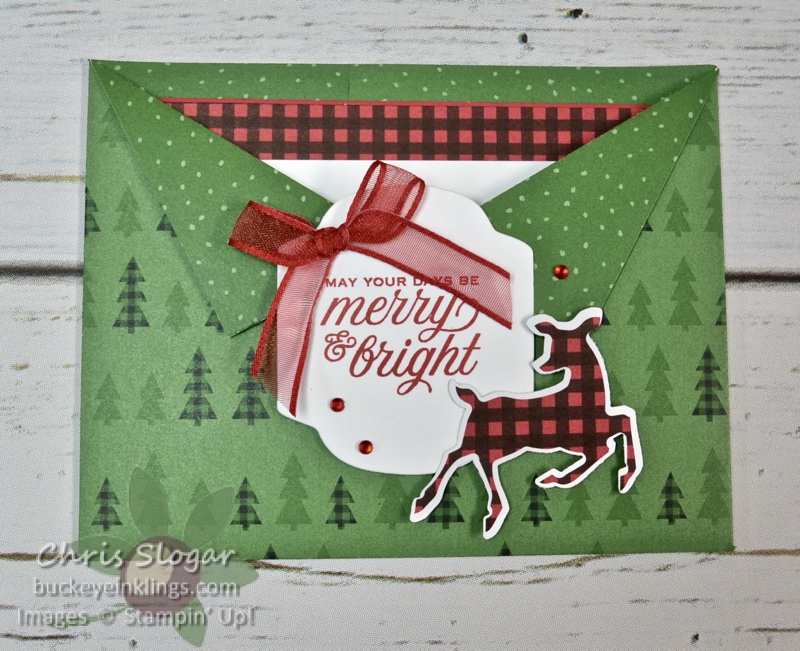
The Peaceful Prints collection used here is another “Free with $50” item.
I am showing pictures and dimensions here for easy reference, but you may need to see the video for complete instructions. Please click here to see the video – and please join the Buckeye Inklings Stampers Group on Facebook to get notifications of all of my live videos.
The overall size of the cards shown above is 4 1/4″ x 5 1/2″. The designer paper piece for the pocket base measures 4 3/4″ x 12″. The designer paper is scored along the bottom edge (watch directional prints) at 1/2″, and along the 12″ length at 3 1/4″ and 8 3/4″.
The collar folds are created with a cut at the halfway point of the long piece – at 6″, a cut that is 1 3/4″ deep will create the middle endpoint of each collar. The long designer paper piece overlaps with a seam at the back. The 1/2″ score line at the bottom of the piece defines the fold for a flap that creates the pocket bottom (cut away this 1/2″ section on both sides of the back). Please refer to the video for more detail.
The inner card is Basic White 5″ x 3 3/4″ on a cardstock mat 5 1/8″ x 3 7/8″.
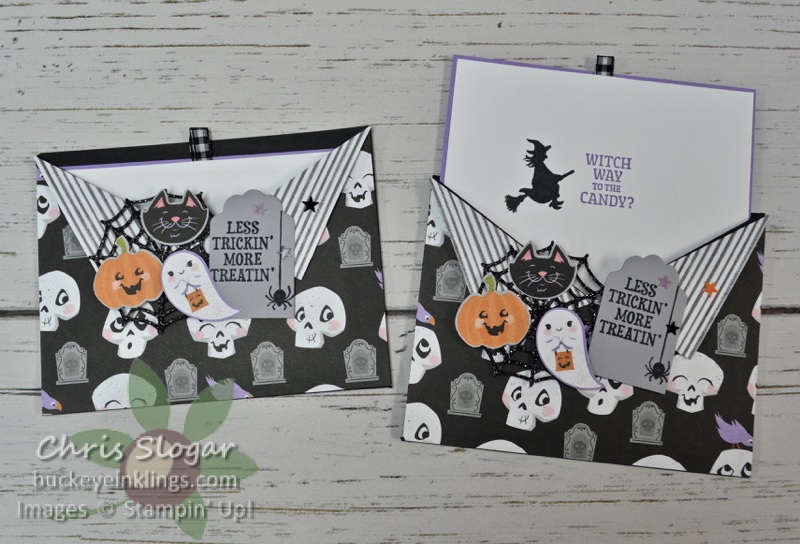
I modified the method so that I could also make this card with the 6″ square designer paper, Cute Halloween. In this case, the pocket is made from black cardstock, and the collar edge is created on a piece of designer paper. By the way, that cute tombstone is cut with one of the Seasonal Labels dies.
I will list the dimensions here for easy reference, but this is a bit tricky (not to mention backwards) from the previous example, so please refer to the video for full instructions.
- Basic Black Cardstock 4 3/4″ x 11″, scored at 2 3/4″ and 8 1/4″ and also at 1/2″ along the length on one edge (to create the bottom )
- Designer Paper 4 1/4″ x 5 1/2″, make a cut that is 1 3/4″ deep at midpoint (2 3/4″) along the top of the 5 1/2″ side
- Basic White 5″ x 3 3/4″ on a cardstock mat 5 1/8″ x 3 7/8″
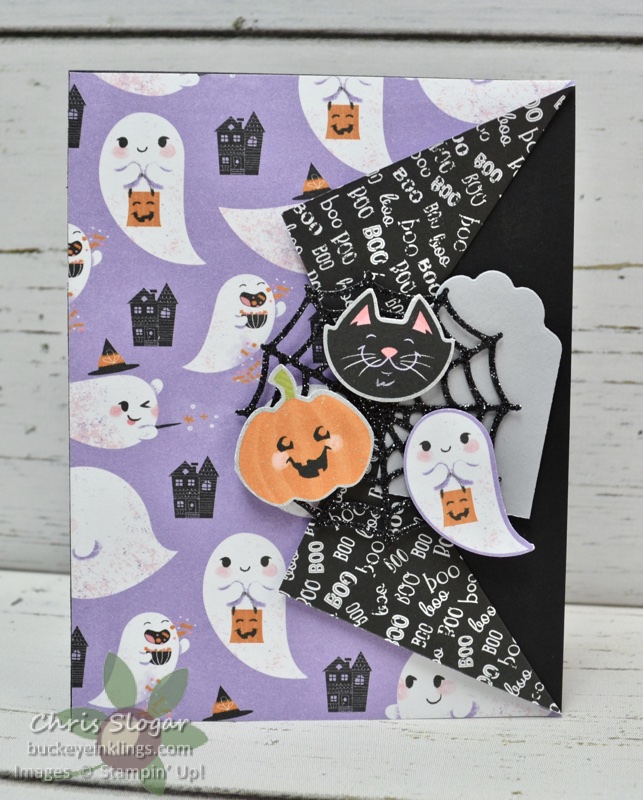
This designer paper collar piece is the same size that I would use for a regular card, like the one shown below. The only difference is that I have cut the directional paper in the opposite orientation. It is mounted on a black card base, 4 1/4″ x 11″, scored at 5 1/2″.
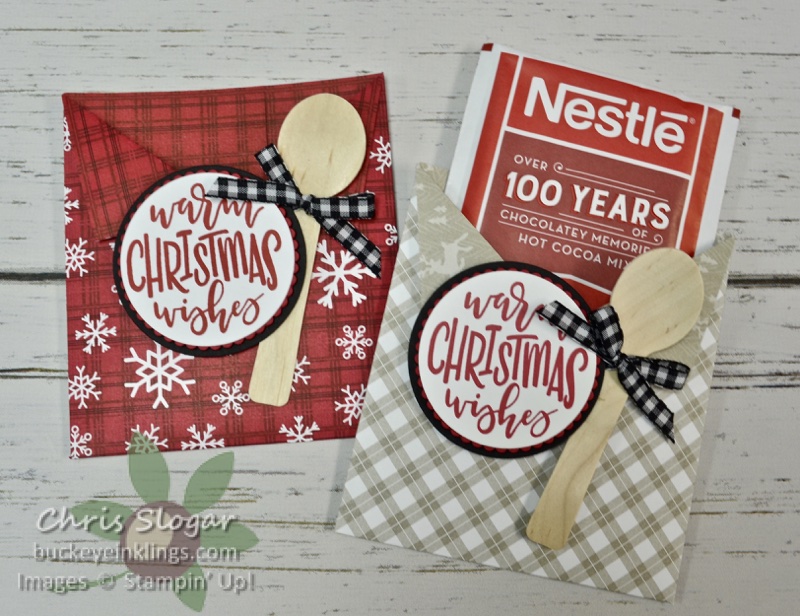
As I mentioned last night, I will be modifying the size of this pocket to fit holiday gifts and craft show items. The pocket is perfect for so many flat items, like this hot cocoa pouch. The designer paper for this project started at 5 1/4″ x 9 1/2″. It is scored at 2 5/8″ and 6 7/8″ along the 9 1/2″ length and at 1/2″ from the bottom edge. The cut for the collar is made 1 3/4″ deep at the midpoint along the top edge (4 3/4″).
This isn’t the only size I plan to make – I have some flat face mask packages and other drink mixes to package this way. I will modify the dimensions to fit – while this is a great layout for a pocket card, I think it is a also cute and easy way to “wrap” a little gift.
Thank you so much for checking out my projects! If you need any of our products, please know that your support in my online store helps to keep my business going. It is my goal to continue to present ideas freely.
Place a $35 order with Host Code JV62AHQD in August, and I will send you a spool of Black & White Gingham Ribbon and a handmade card. This is my way of sharing the Stampin’ Rewards with you – I appreciate your business!!
