I learned this fun project from my upline Mindy Gray at a team event this week, and I had to share – so it was the subject of this week’s Facebook Live. I should also mention that Mindy gives credit to our friend Candy Michael for showing her how to make it – very typical that we are all sharing and CASE-ing each other!
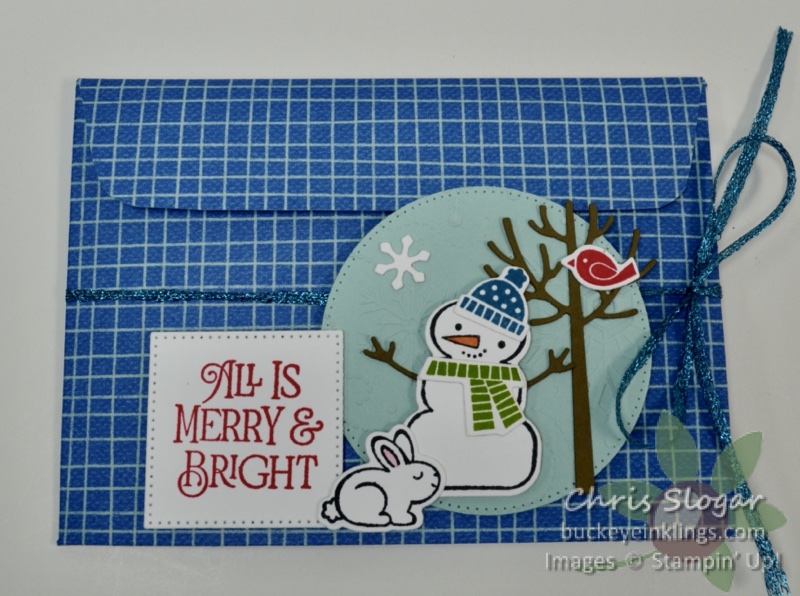
The version I made last night (shown above) uses Celebrate Everything designer paper with the Snowman Magic Bundle and a greeting from Brightest Glow. I have put that Facebook Live on my YouTube channel, and you can view it here…
Please join the Buckeye Inklings Stampers group on Facebook to catch my videos live. I appreciate any help you can give me in Likes and Shares, as well as purchases in my online store!
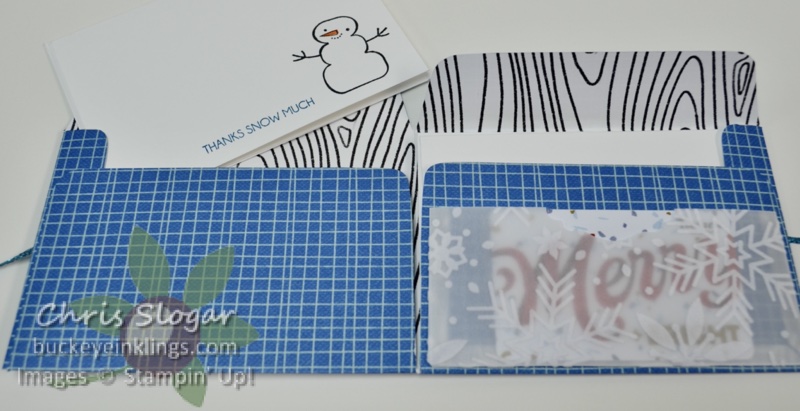
The gift wallet opens as shown above, and each side can hold a note card or any type of flat gift, like a hot cocoa pouch. I have put one of our precut and scored note cards in each pocket. There is also a vellum pocket that is perfect for a little gift tag or a gift card.
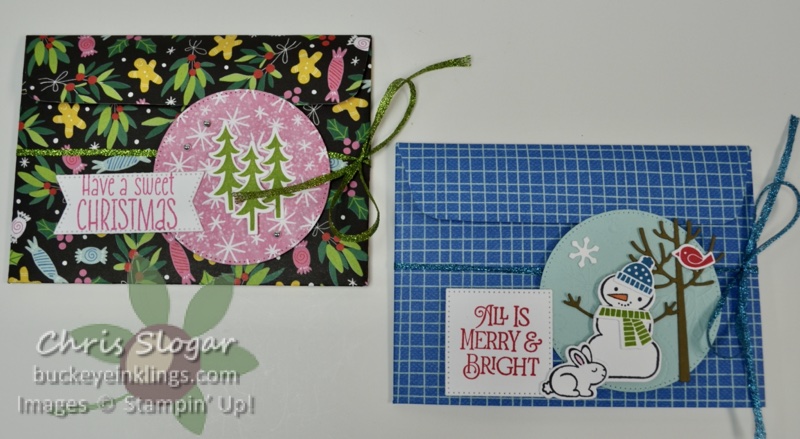
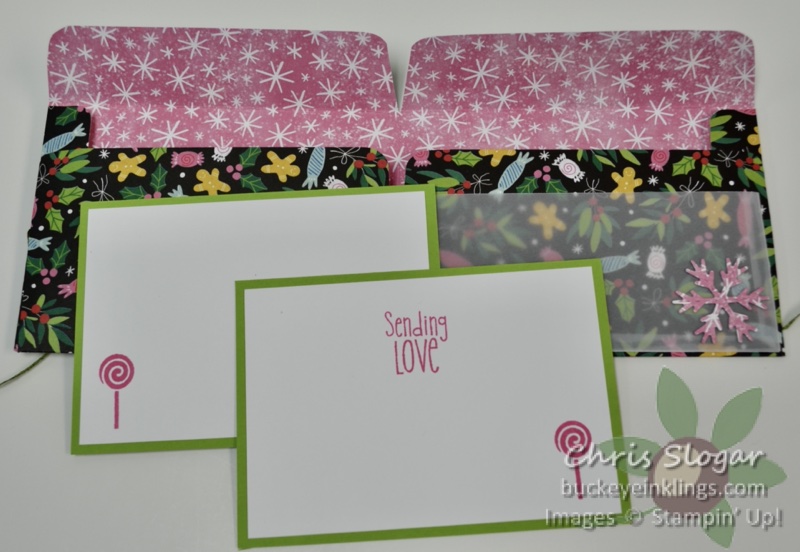
The one on the left is the version we made at our team event, also made from a print in the Celebrate Everything designer paper collection. The stamps are from Sweet Gingerbread. It holds pocket cards as shown below…
The wallet itself is easy to make from a 8″ x 12″ piece of designer paper. The paper is scored along the 12″ side at 3/4″, 6″ and 11 1/4″, and along the 8″ side at 1 1/4″ and 5″. Watch directional prints, and keep in mind that the 1 1/4″ dimension is for the flap at the top of the pouches. You may need to refer to the video to see how to use these score lines as a guide to cut the base shape.
The vellum pocket is made from vellum measuring 5 1/2″ x 2 1/2″, and scored at 1/4″ on three sides.
The pocket cards in the black and pink version are made from 3 1/2″ x 5″ cardstock mats with 3 1/4″ x 4 3/4″ Basic White stamped layers.
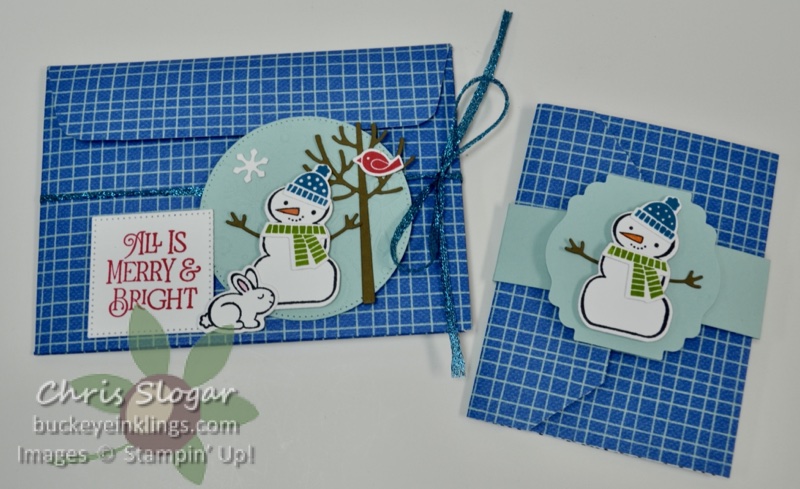
I made a coordinating gift card holder with the leftover 4″ x 12″ strip of designer paper. This is my all-time favorite (and easiest!) design for gift cards.
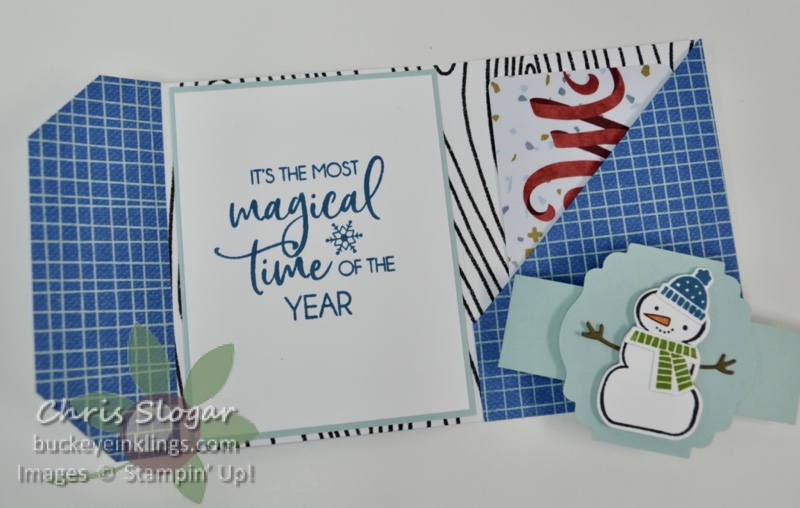
The 4″ strip was scored at 3″, 6″ and 9 1/8″. The 3″ section is the one that creates the pocket with the diagonal fold. The 2 7/8″ section is folded back on itself to create the end flap (at left in the above picture). The greeting is stamped on 2 7/8″ x 3 3/4″ Basic White, matted on 3″ x 3 7/8″ cardstock.
These are really fun designer paper projects. Our designer paper is so perfect for these because of its weight, and the fact that it is two-sided! I hope you’ll give these projects a try! The products used are on a carousel at the end of this post.
And if you are still reading…I would like to repeat some thoughts from a post I made last fall. They are even more applicable this year as I consider the changes I need to make in my business.
My favorite part of the job is creating and sharing new projects. I welcome visits from Teammates, Customers, Demonstrators, and Customers of other Demonstrators 🙂 It has always been my intent to freely share ideas.
My following has increased by all measures, and I really do appreciate that! Unfortunately, like many Demos, my sales are down, and that does have me questioning the time I can devote to sharing my projects.
I am opposed to offering big discounts and freebies that entice Customers away from my own Teammates and other Demonstrators. The vast majority of Demonstrators cannot provide big discounts and excessive freebies. I offer a modest gift for my customers from the Stampin’ Rewards that are collected from our combined orders.
I know there are many factors currently affecting sales. However, if you are a Customer, you can help – please do not choose your Demonstrator by the discounts and freebies. Instead, consider where you get your ideas and who you would like to support. This is a thoughtful PSA from me today, and I thank you for considering it! It may be a losing battle, but I say it for the sake of my Team and all of the other Demonstrators who share so freely!
