Last night on Facebook Live, I showed off two fun folds that I love. Each uses a fair amount of designer paper, so they are perfect for Sale-a-bration when we can choose to receive beautiful designer papers for free with our orders.
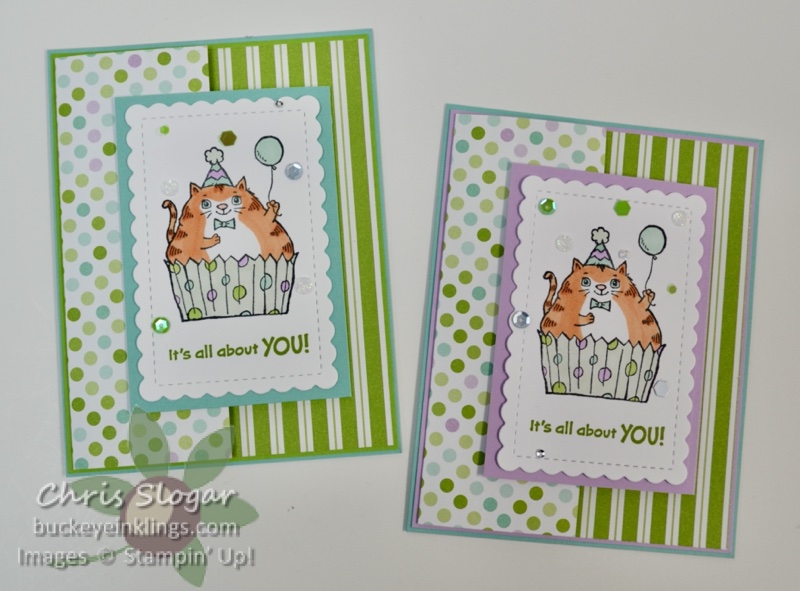
The first card I showed is this joy fold, and I used Dandy Designs designer paper. This paper has cute little prints that are not overwhelming, and the fronts and backs coordinate beautifully!
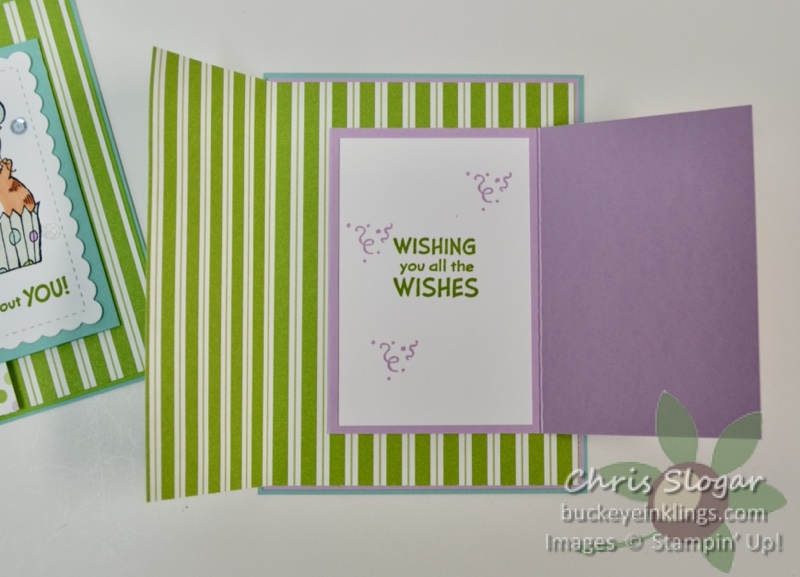
Dimensions are as follows:
- Coastal Cabana 4 1/4″ x 5 1/2″
- Fresh Freesia 4 1/8″ x 5 3/8″ and 4″ x 5 1/2″, scored at 2 3/4″
- Designer Paper 5 1/4″ x 6″, scored at 2″ (pay attention to the direction of the print)
- Basic White 2 1/2″ x 3 3/4″ and Scalloped Contour Die Cut of similar dimensions
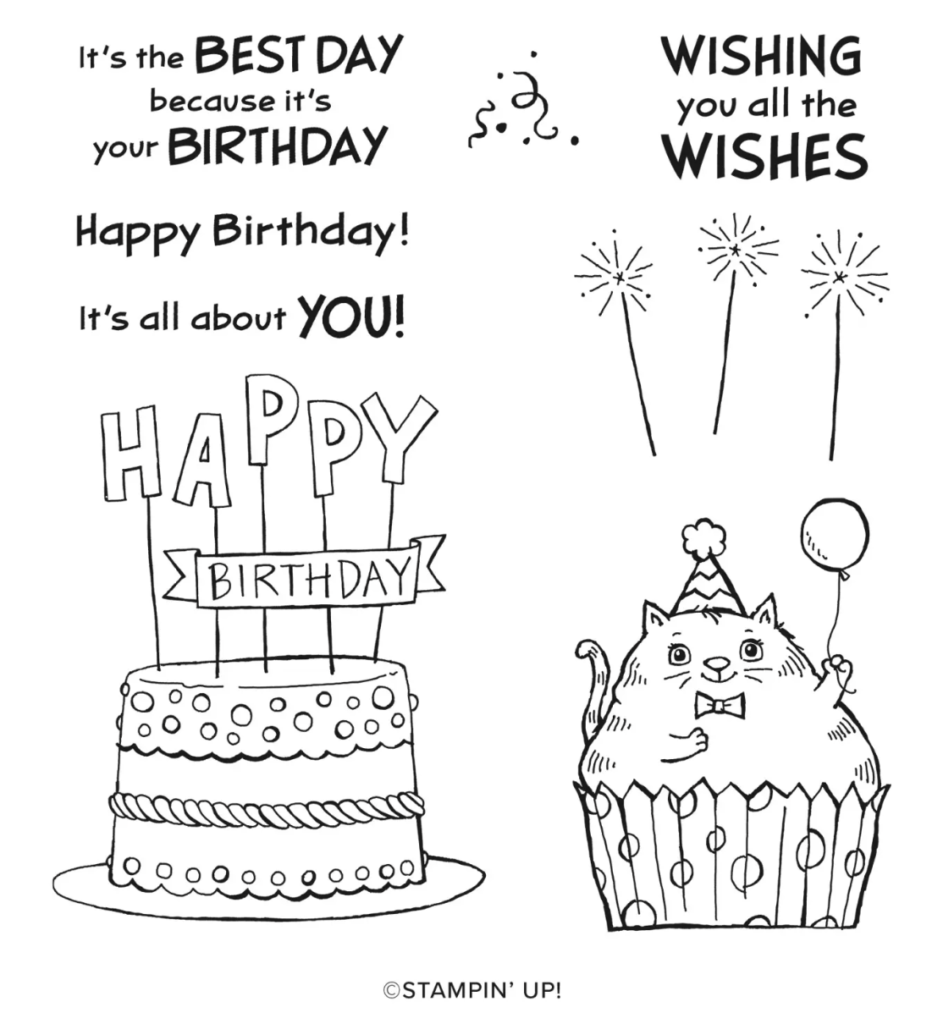
I used the stamp set Best Day. I love this set for its quirky images, but also for the wonderful birthday greetings. Not only do I reach for this set repeatedly, I also use every stamp in the set.
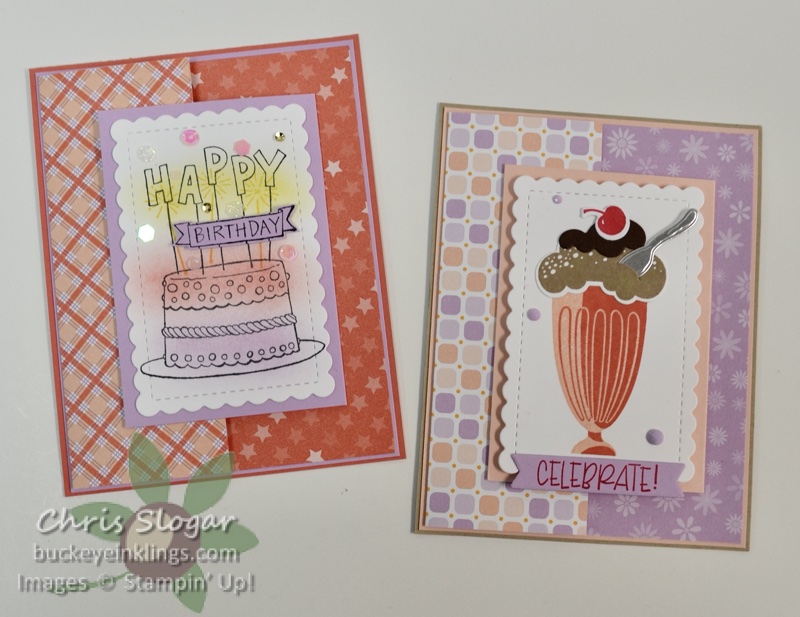
Here are two more examples of this fold. The designer paper for each of these is also Dandy Designs, but I have used the Share a Milkshake bundle on the second card.
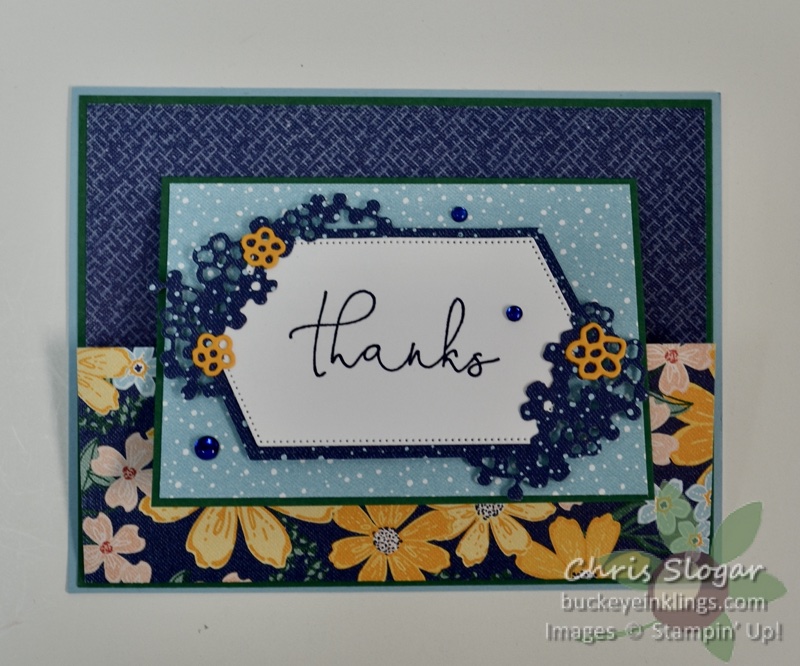
I used the Regency Park Suite to show an example in the opposite orientation. You can find more examples in this post – note that the size of the smaller folded card can be modified.
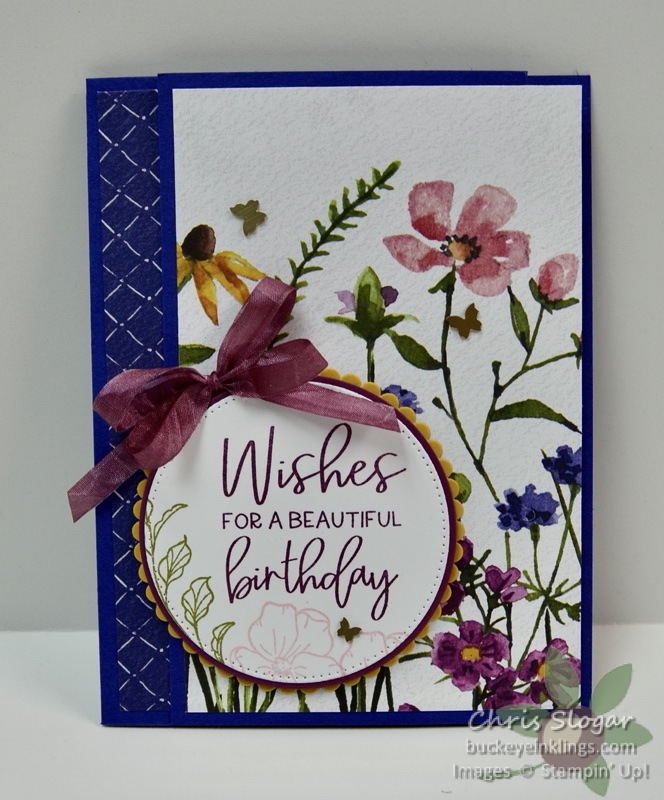
The second layout I showed in last night’s Live is this panoramic z-fold, made with Dainty Flowers designer paper. I learned this clever fold from Laura Miller in a team meeting.
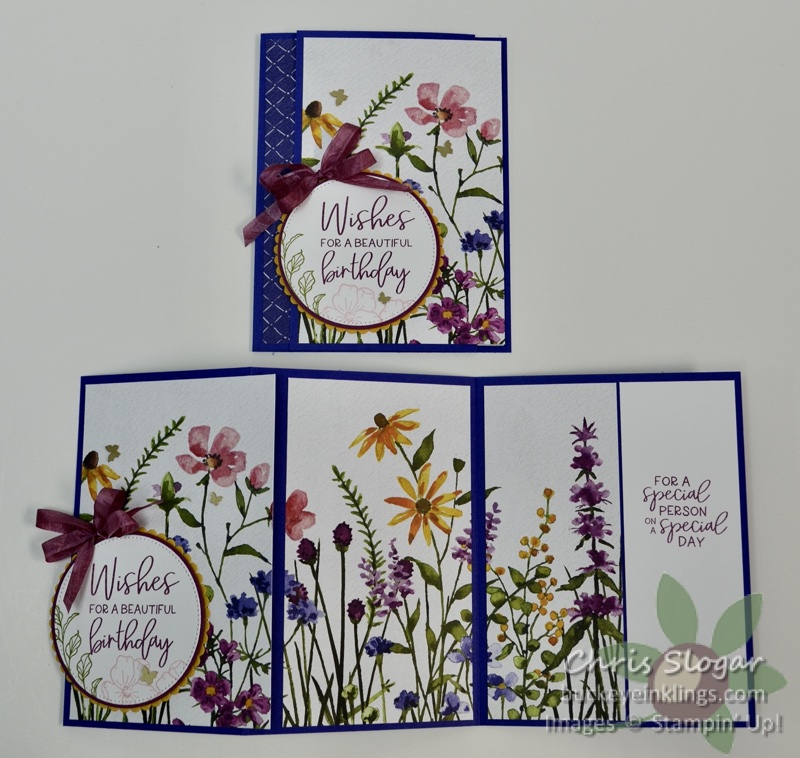
The card pulls open to showcase a continuous print over three panels. It’s a little tricky because the designer paper on the front panel extends beyond the fold so that it covers part of the middle panel when open. The designer paper on the middle panel is not as wide as the middle panel, and it is attached leaving a space at its left side.
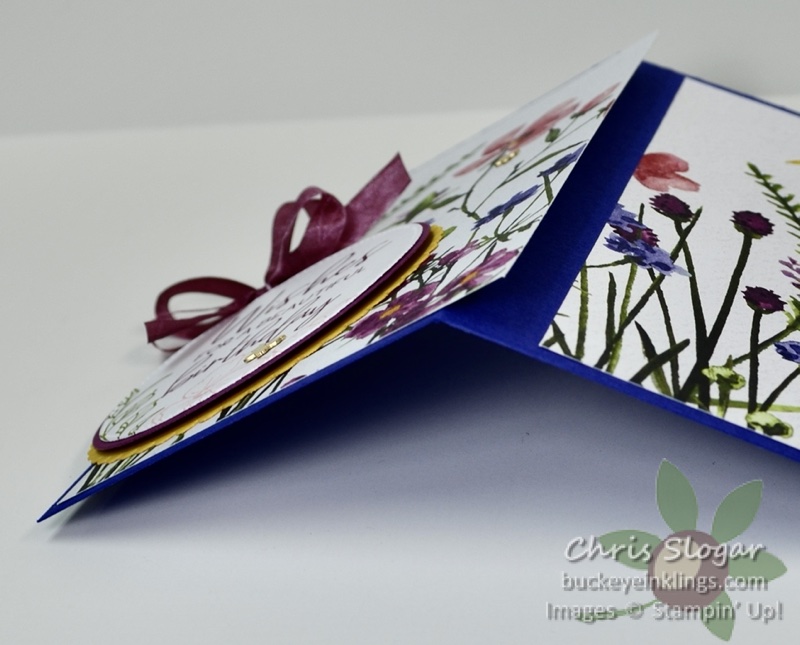
Note how the designer paper from the front extends beyond the fold, and the designer paper from the middle does not come close to the fold. When the card is open, the image is continuous.
I do recommend watching the video carefully for this one, in order to get the cutting, scoring and placement of the panels correct.
Dimensions are as follows:
- Starry Sky 5 1/2″ x 11″, scored at 3 1/16″, 6 3/4″
- Designer Paper 5 1/4″ x 8 1/2″, cut at 3 3/8″ (front panel), 3″ (middle panel), leaving 2 1/8″ for third panel
- Basic White 1 13/16″ x 5 1/4″
The stamp set here is Framed Florets, another set that I would highly recommend for its beautiful greetings! I am always on the lookout for birthday greetings in great fonts – I think we don’t get enough of them.
Thank you for checking out my cards! If you need any of our fabulous products, I would very much appreciate your business. Please click here for the online store, or use the carousel below to be directed to a specific product used today. (Due to the variey of projects, I am not listing all the cardstock and ink.)
Place a $35 order with Host Code 44AGAKFJ in February and I will send you a package of Enamel Dot Essentials and a handmade card. This is my way of sharing the Stampin’ Rewards with you – I appreciate your business!!
