Memories

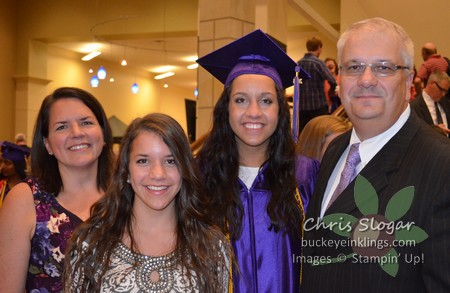
Yesterday was a pretty momentous day for my family…Jen’s Graduation!   Wahoo!!
DSC_0833w

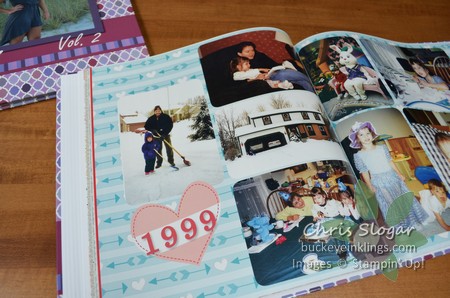
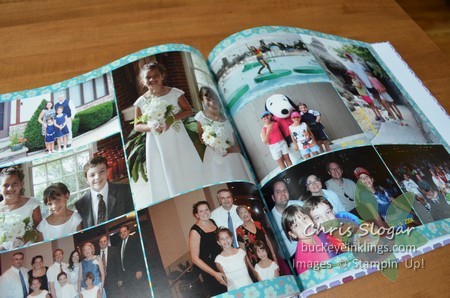
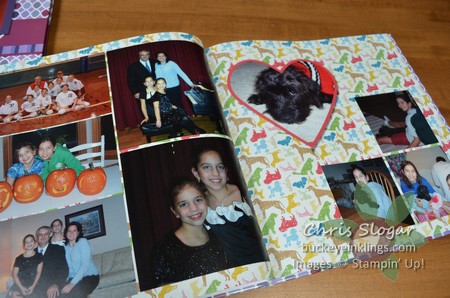
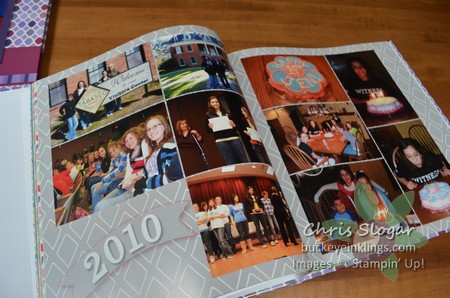
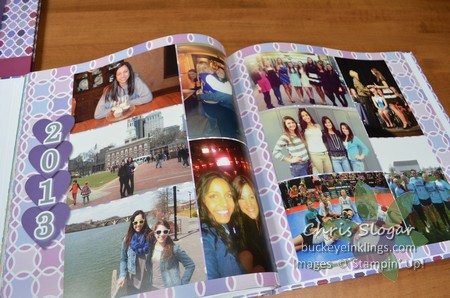
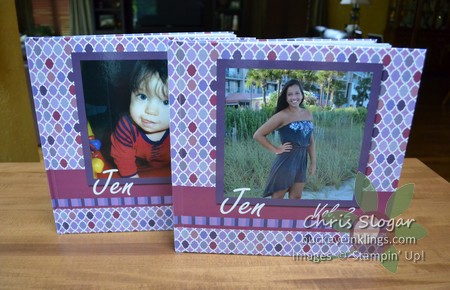
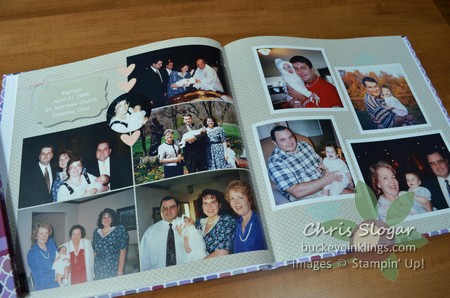
Yesterday was also exciting for another reason too.  I received the printed scrapbooks I created for Jen with My Digital Studio (MDS) – what fantastic timing!  The pictures I am showing here don’t do the books justice, but I would like to give you an idea of what is possible with our software.
mds1

First of all, let me confess that scrapbooking is not my forte.  I have been delinquent in getting my pictures into albums for these past 18 years, and I haven’t even printed pictures from every important event.  I would be hard-pressed to show you my girls’ lives in pictures, unless you wanted to sit by my computer with me, picking through files!

If this sounds like you, read on.  And if you are a faithful scrapper, you are probably cringing!  You still might like to check out this post, though – digital projects will fit into your life somewhere.

Second confession…I am not wild about crafting without paper and tools. So what was I thinking?  Why combine my shortcoming with my disinterest in this way?  Was this some kind of torture?  No, it was desperation!  I know exactly what I was thinking two months ago, as time was flying by.  I was thinking, “Hmmm, it’s already March, and I would really like to have a neat and concise picture story of Jen’s life by June.”

My goal was to come up with a book showing a few highlights from each year.  I thought I would have about 4 pages per year.  I ended up with more pictures per year than originally planned, but I was enjoying the process, so I didn’t hold back.  My finished project was around 130 pages, and I split it into two books.

I had to scan pictures from Jen’s early years when we didn’t have a digital camera.  That was the most time-consuming and least fun part of the process.  The rest was a breeze!

I spent a few hours here and there, usually at night, on the couch with my laptop, while watching TV.  It was actually great to be creative without the tools and mess for a change – picking out papers, cropping and matting pictures, and creating pages.  I don’t plan to give up the tools and the mess anytime soon, but now I see that there is room in my life for both methods.

A handful of the pages are shown below.  As you can see, my love for designer paper carries over to my MDS projects.  I used designer paper collections for the backgrounds, starting with pastels in the baby years, transitioning to brights, and then purples, and finishing with some trendy black and white prints.  Since the pages are overflowing with pictures, they didn’t need much else!
mds2

mds3mds4mds5mds6mds7mds8mds10

I will be printing a second copy of this for myself – what a bonus!  Also, I can use the papers and elements over and over.  There are definite advantages to digital projects.  I have used my MDS for limited projects over the years, but this project – the same project that was hanging over my head ominously in March – has made me a believer!

If you would like to try MDS, you can have it for free for 30 days.  Just click “Shop Now” at the top right and put the trial version in your shopping cart like a regular item.  You will check out for $0, and there is no commitment.  It will simply expire after 30 days.

I have another Memory Keeping project to show you, also inspired by Graduation, and also created in a short period of time 🙂  It combines memorabilia with Project Life picture pages.  I will save it for tomorrow since I have gone on long enough today!

Chris_buckeye_signature_rose_final

Weekly Deals and Word Bubble CASE

Click here to go to this week’s Weekly Deals.  As of my post time, the sale prices are not showing up in the online store.  I am sure that will be resolved this morning, so please check back if you are interested in these items!

DSC_0709w

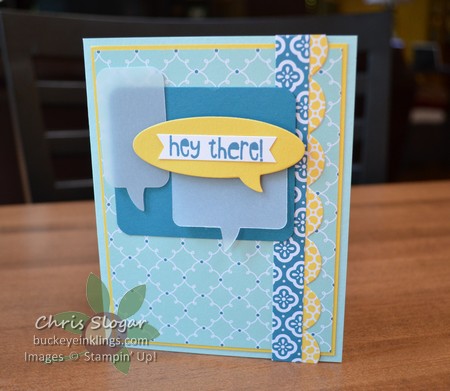
I am not sure why we don’t call the Annual Catalog an Idea Book anymore – it still is a great source of inspiration.  I CASEd the card on page 109 to make this fun Word Bubble card.  My vellum word bubbles are each attached with a single glue dot under the Daffodil Delight word bubble.  This is fun and simple, and it is based on just the one bundle (scallop trim optional!)  The designer paper is Quatrefancy, which is still available for 50% off ($6.48).  Many of the retired items are reduced now, you can see them all here.

Have a great day!

Chris_buckeye_signature_rose_final

Hello Baby Boy

DSC_0707w

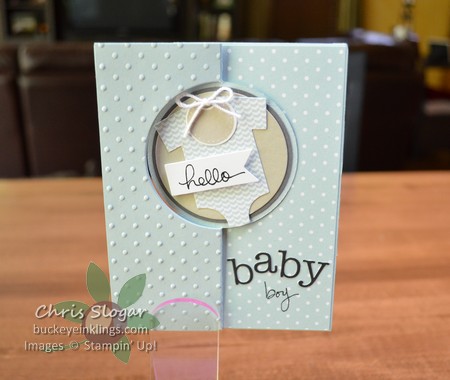
When I saw the color challenge at Create with Connie and Mary, I knew I wanted to make a baby card.  My Endless Birthday Wishes set was still out on my work table, and the words “boy” and “girl” jumped right out at me.  I used sticker letters from my Project Life accessories to spell “baby”, and just like that, I had my greeting.

The bib and onesie are from the bundle which includes the Something for Baby stamp set and Baby’s First Framelits.  This bundle will be available from the new catalog on June 2.  The card base is made with the Circle Card Thinlits Die.

Here are the colors:

http://www.createwithconnieandmary.com/.a/6a01310fc1b623970c01a511a1a96b970c-pi

You can see more entries in this color challenge at Create with Connie and Mary.

Chris_buckeye_signature_rose_final

Endless Possibilities

DSC_0699w

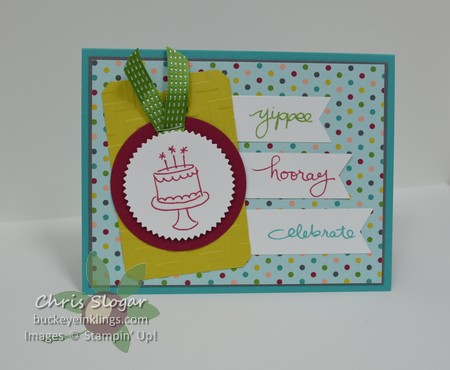
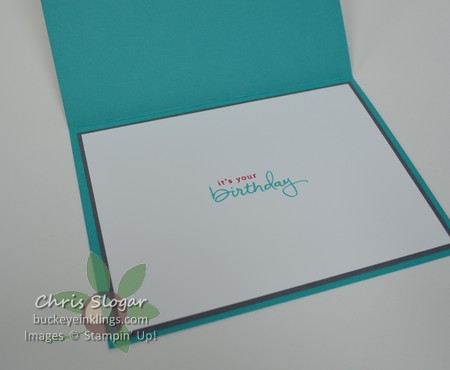
Check out my new favorite greeting set, Endless Birthday Wishes.  The script words are so lighthearted and festive, and they contrast nicely with the little typed words that you can interject here and there.  I used both fonts on the inside of this card.

DSC_0701w

With 25 different words and portions of phrases, you can make so many greetings.  Since they are photopolymer, they are super-easy to place.  Plus you get the cute cake and sprinkles to go with!  You can see all of the stamps in the image below.  So much fun for only $13.95!

Download (PDF, 301KB)

I made this card for this week’s sketch challenge at Pals Paper Arts.  Here is the sketch:

http://stampinpretty.typepad.com/.a/6a00e54f95df92883401a511bbe0dc970c-pi

You can see more entries in this sketch challenge at Pals Paper Arts.

Chris_buckeye_signature_rose_final

Throwback Thursday

First, a reminder of the announcements I posted late on Wednesday…

Stampin’ Up! just announced a great deal for new Paper Pumpkin subscribers.  Subscribe by Friday, May 23, and you will get 50% off June’s kit.  Click on the pumpkin in the left column of my page to sign up online, or call 1-800-STAMPUP.  Simply use the promo code SHELLIDEAL to get half off.  There is no long-term commitment; you can suspend or cancel at any time.  Please let me know when you sign up so that I can send you a pack of thank you notes.

Stampin’ Up! will also start a Blow-Out Sale on Retired Items May 22 (TODAY), with a 25%-50% discount on many of the retiring products while supplies last.  Check the store early!  Click on “Shop Now” at the top right of my page to see the deals and use Hostess Code MXFE7WFQ when you check out.

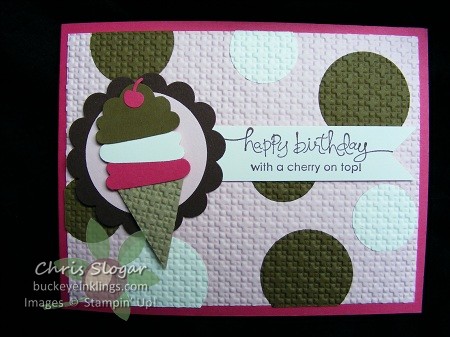
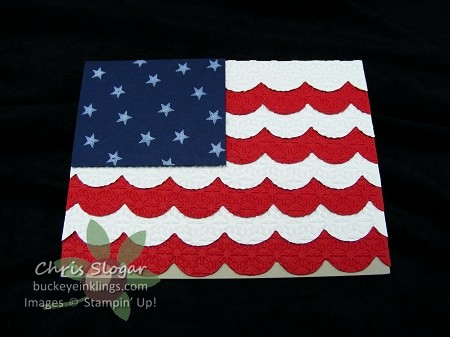
I thought it would be appropriate to post project throwbacks in honor of retiring products.

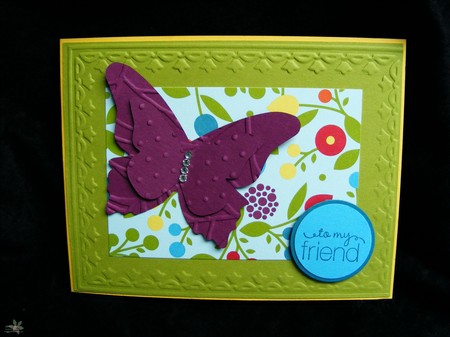
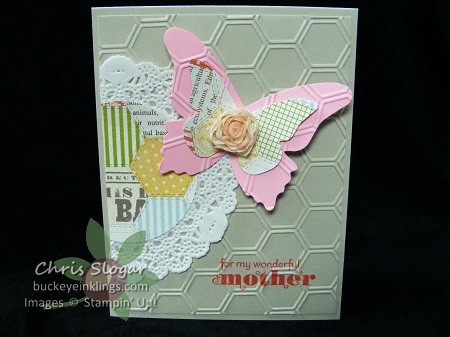
Beautiful Butterflies Bigz Die, Framed Tulips Textured Impressions Embossing Folder, Delightful Dozen (for my wonderful mother)…

DSCF5822

DSCF5985r

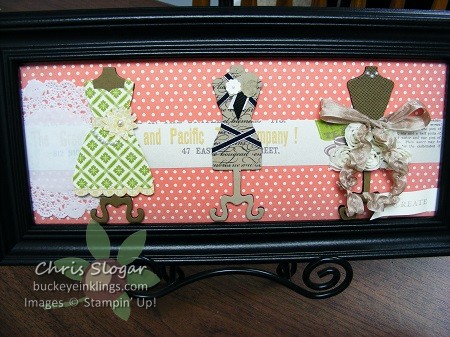
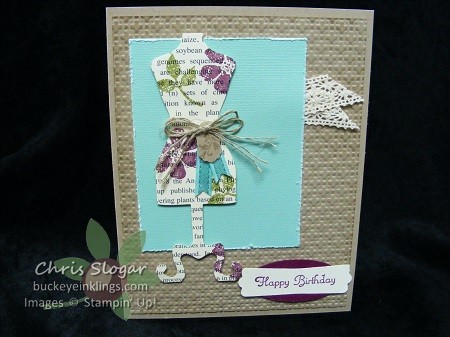
Dress Up Framelits Dies, Square Lattice Textured Impressions Embossing Folder…

DSCF5976 DSCF5993r DSCF5819r

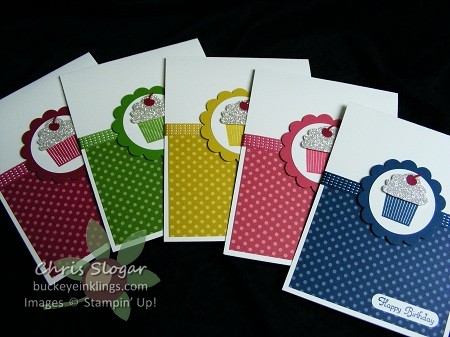
Create a Cupcake, Tasteful Trim Bigz Die…

DSCF5864r DSCF5803r

Check the store (Shop Now button) to see which retiring items are discounted, and please contact me if you would like a new annual catalog.

Chris_buckeye_signature_rose_final

Half Off Paper Pumpkin & Blow-Out Sale on Retired Items

Stampin’ Up! just announced a great deal for new Paper Pumpkin subscribers.  Subscribe by Friday, May 23, and you will get 50% off June’s kit.  Click on the pumpkin in the left column of my page to sign up online, or call 1-800-STAMPUP.  Simply use the promo code SHELLIDEAL to get half off.  There is no long-term commitment; you can suspend or cancel at any time.  Please let me know when you sign up so that I can send you a pack of “Thank You” notes.

Stampin’ Up! will also start a Blow-Out Sale on Retired Items tomorrow, May 22, promising a 25%-50% discount on many of the retiring products.  Check the store early!  Click on “Shop Now” at the top right of my page to see the deals.

Chris_buckeye_signature_rose_final

Sneak Peek from a Guest Stamper

DSC_0655w

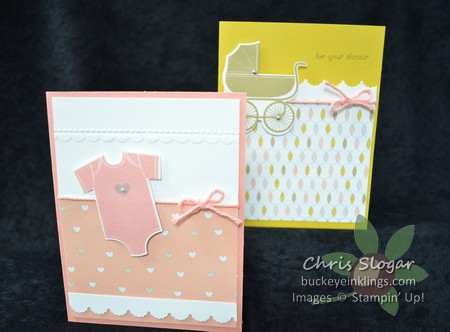
I have been trying to get to my “Something for Baby” pre-order set to make some samples, and I still haven’t had the chance.  But lucky for us, Mary Jane Ebie brought the cards she has made from this set to Stamp Club this weekend, and she gave me permission to photograph and post the sneak peek.

“Something for Baby” is a set of 12 stamps, with coordinating framelits available for 11 of the stamps.  It promises to be a “go-to” set for baby projects.  As you can see in Mary Jane’s cards, those cut-out images make great focal points.  Don’t you love the colors, too?  The designer paper she used is called Lullaby, and it is also from the upcoming Annual Catalog.

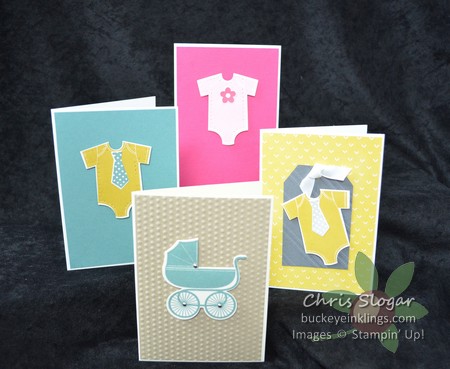
Mary Jane also shared this set of cards, made on our 5″ x 3 1/2″ note cards.  The onesie and the baby carriage fill that card size nicely, and they are so adorable that you don’t need anything else!  She added little details to make each one unique – the tie and the flower are also part of the bundle, and I love the mini brads used as hardware on the baby carriage!

DSC_0665w1

Thank you for the great Sneak Peek, Mary Jane!

Chris_buckeye_signature_rose_final

Weekly Deals and File Folder Gifts

Click here to see this week’s Weekly Deals.

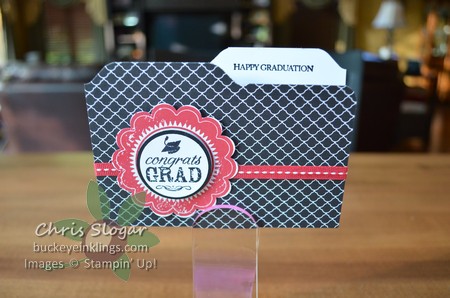
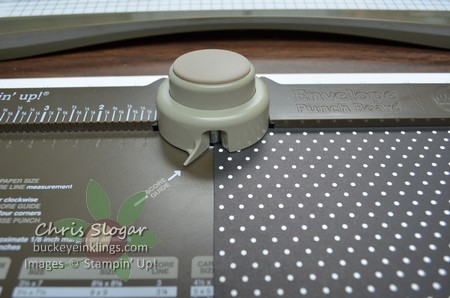
One of our Stamp Club projects this month was this little file folder for a gift card.  The envelope punch board is a great tool for making these file folder tabs.

DSC_0684w DSC_0685w

The ribbon is not attached on the inside, so the gift card slides right under it.  I also added an oval on a dimensional so the gift card cannot slip out.

The finished card is 3 1/2″ x 4 3/4″, and it fits nicely in our note card envelopes, or you can make an envelope to match.

To create the file folder card start with a 6 3/4″ x 4 3/4″ piece of cardstock, scored at 3 1/4″.  Attach  a piece of designer paper, 3 1/4″ x 4 3/4″, to the front (the smaller side) and attach a piece of Whisper White, 3 1/2″ x 4 3/4″, to the inside.

DSC_0687

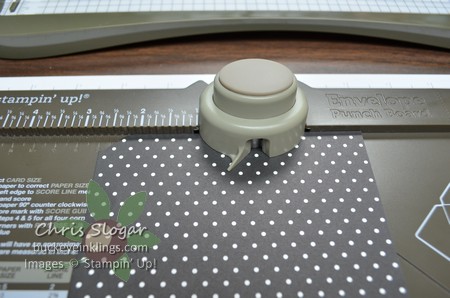
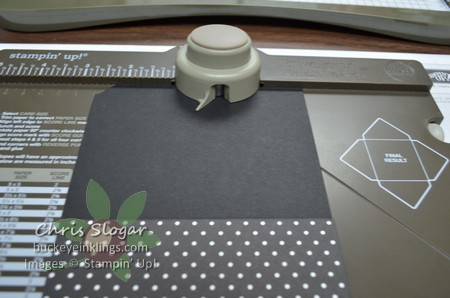
To make the tabs, starting at the upper left corner of the front of the file folder, punch at the very edge of the card as shown in the picture.  Slide the card over to the 2 3/4″ mark and punch again.

DSC_0688

ROTATE the cardstock 180° (do not flip over!) and punch the back of the file folder in the same manner – punch at the edge, then slide over and punch at 2 3/4″.  (The picture below shows the edge punch already done.)

DSC_0690

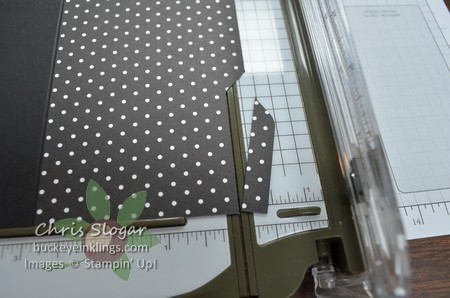
Slice off the excess along the tab edges on the front and back (front shown) and round the sharp corners with the corner rounder on the envelope punch board.

DSC_0694

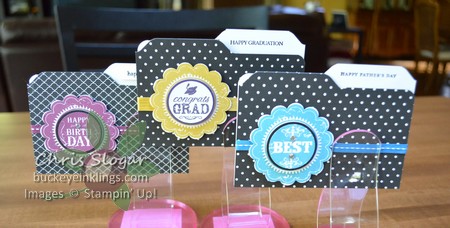
You can decorate these as desired – they don’t have to be graduation cards.  I used a greeting from the Blue Ribbon stamp set on each of the cards shown below.  The little greetings on the tabs are from Teeny Tiny Wishes.

DSC_0696w

Chris_buckeye_signature_rose_final

Cool Kid Kites

DSC_0677w

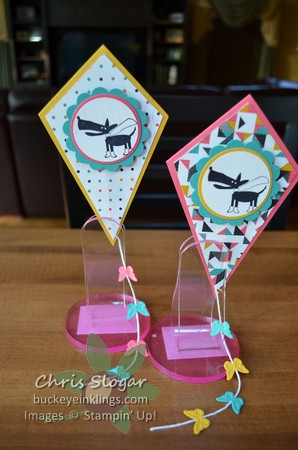
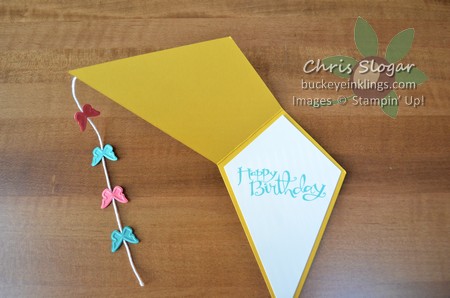
I love this unique card shape that I saw at The Paper Players.  I thought it was really fun for spring and summer, not necessarily just for a kid…but that superhero dog from the set “Cool Kid” does make it into a great kid card, doesn’t it?  There is even a kite stamp in that set, which is perfect for the envelope for this card.  We made these in Stamp Club this weekend.  It unfolds with space for a greeting.

DSC_0679w

The card I saw at The Paper Players was a winning challenge card by Dawn Tidd, and she gave directions from her friend, Lynn G, who created this.  My dimensions may be slightly different, I just took the idea and ran with it.

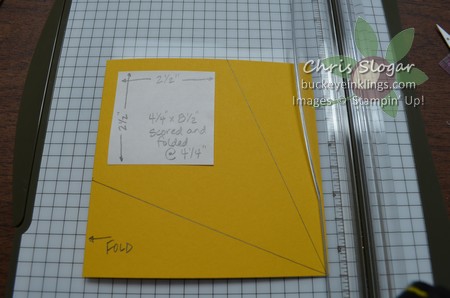
To make the kite, start with a piece of cardstock 4 1/4″ x 8 1/2″.  Score and fold in half so that you have a 4 1/4″ square to work with.  Cut the kite shape as shown in the picture below, starting each diagonal cut line 2 1/2″ from the top left corner.

DSC_0651

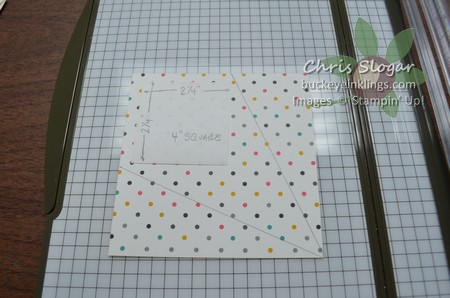
The designer paper piece and white liner are done in a similar fashion.  In either case, start with a 4″ square, and cut from a point 2 1/4″ from the corner (see picture below).

DSC_0650

Just make sure to attach some Baker’s Twine to the card base to create a tail before you add the designer paper.  Can you tell how I made my bows on the kite tail?  They are butterflies from the Beautiful Wings embosslit.  Have fun with it!

Chris_buckeye_signature_rose_final

Work of Art in Cool New Colors

DSC_0649w

I created this card to showcase two of the new 2014-2016 In Colors – Mossy Meadow and Lost Lagoon.  You can get a variety of shades of each color by “stamping off”.  I stamped the big brushstroke in “Work of Art” three times on Whisper White to get the three Lost Lagoon brushstrokes you see on the card.  They were stamped from top to bottom without re-inking the stamp.

Work of Art is a versatile set of 11 stamps.  I only used three of the images here, and they are different images than I used on my last Work of Art card, shown below.  The set inspires many combinations that can be used on their own, as you see in both of these samples, but these stamps will also make great backgrounds for other elements. You will definitely see more of this set in the future!

Work of Art

Chris_buckeye_signature_rose_final

WordPress theme: Kippis 1.15